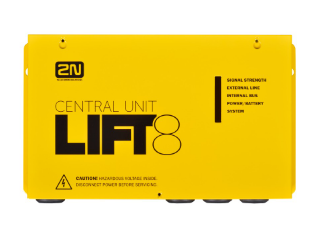
Confirmation mode - How to configure confirmation mode on 2N® Lift8
Info
This FAQ describes how to configure confirmation mode of alarm calls on 2N® Lift8 communicator. You will find what are the options for confirmation mode and what standard protocols can be used. Please keep on mind that if you will disable confirmation for alarm calls, then you are doing this at your own risk as there is no human interaction!
How to configure confirmation mode
- First of all you have to add at least one phone number for alarm calls. 2N® Lift8 offers up to 6 alarm number memories whose are represented by parameters from 011 up to 016. Please refer to Table of Parmeters in User manual for more detailed description of this parameters.
- Once you will add the phone numbers, then you can configure confirmation for each memory slot. This is represented by parameters from 111 up to 116. Values for this parameter are 1-9 and default value is 1. So in default you always have to confirm alarm call by pressing number 1 on the receiving device! Description of all parameters is below:
1 = with confirmation DTMF (1)
2 = confirmation of picking up (supported only for GSM/UMTS/VoIP)
3 = CPC Antenna
4= CPC KONE
5 = P100
6 = autodetection DTMF protocol (CPC Antenna/P100)
7 = CPC Antenna 2N ext
8 = CPC KONE 2N ext
9 = P100 2N ext
2N ext is a protocol that transmits the shaft number and audio unit position together with the ID (to be displayed in 2N® Lift8).
If there is no guarantee of problem-free transfer of DTMF, do not set 6 for autodetection CPC Antenna/P100, but precisely specify the protocol to be used (3 or 5).

