2N® IP Style – display customization
2N® IP Style has a large touch screen with some new display customization options compared to our other intercoms, such as 2N® IP Verso or 2N® IP Vario.
The accepted image formats are JPEG and PNG. PNG files give you the option to upload images with transparent background.
pre-production firmware used
The firmware used to create this guide was a pre-production beta version of 2.32 for 2N® IP Style. Some text in the attached screenshots may not be finished or correct.
Background Image
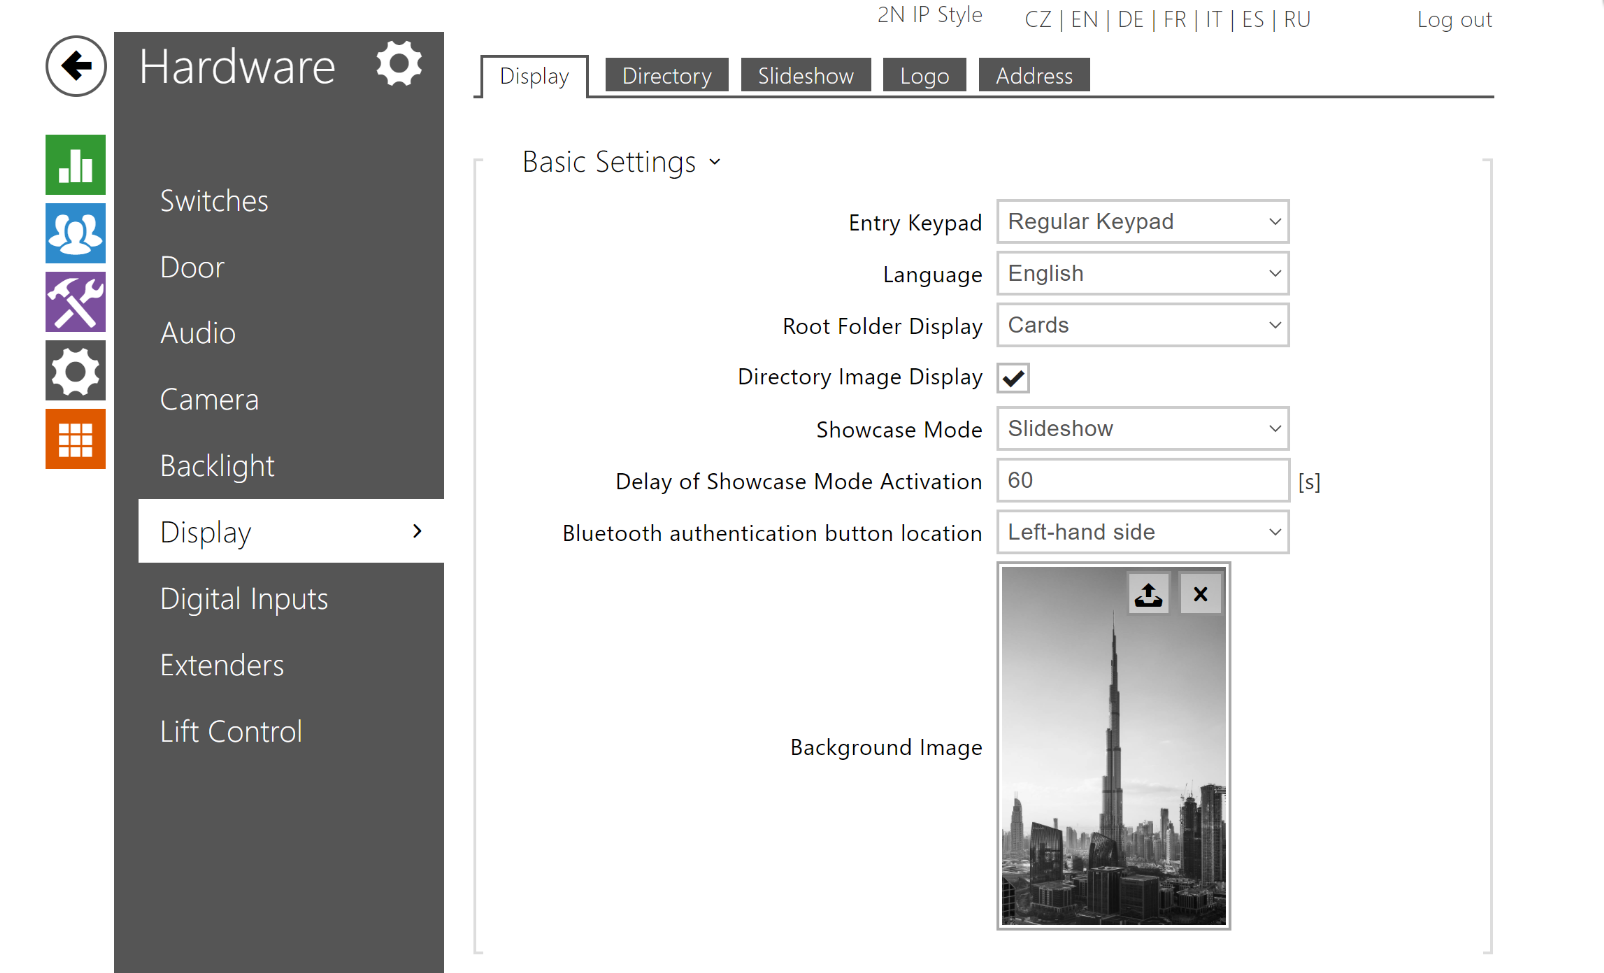
2N® IP Style offers the option to set a custom background image that will be visible in various screens. The setup is very easy, navigate to Hardware>Display>Basic Settings>Background Image and click the upload icon at the top.
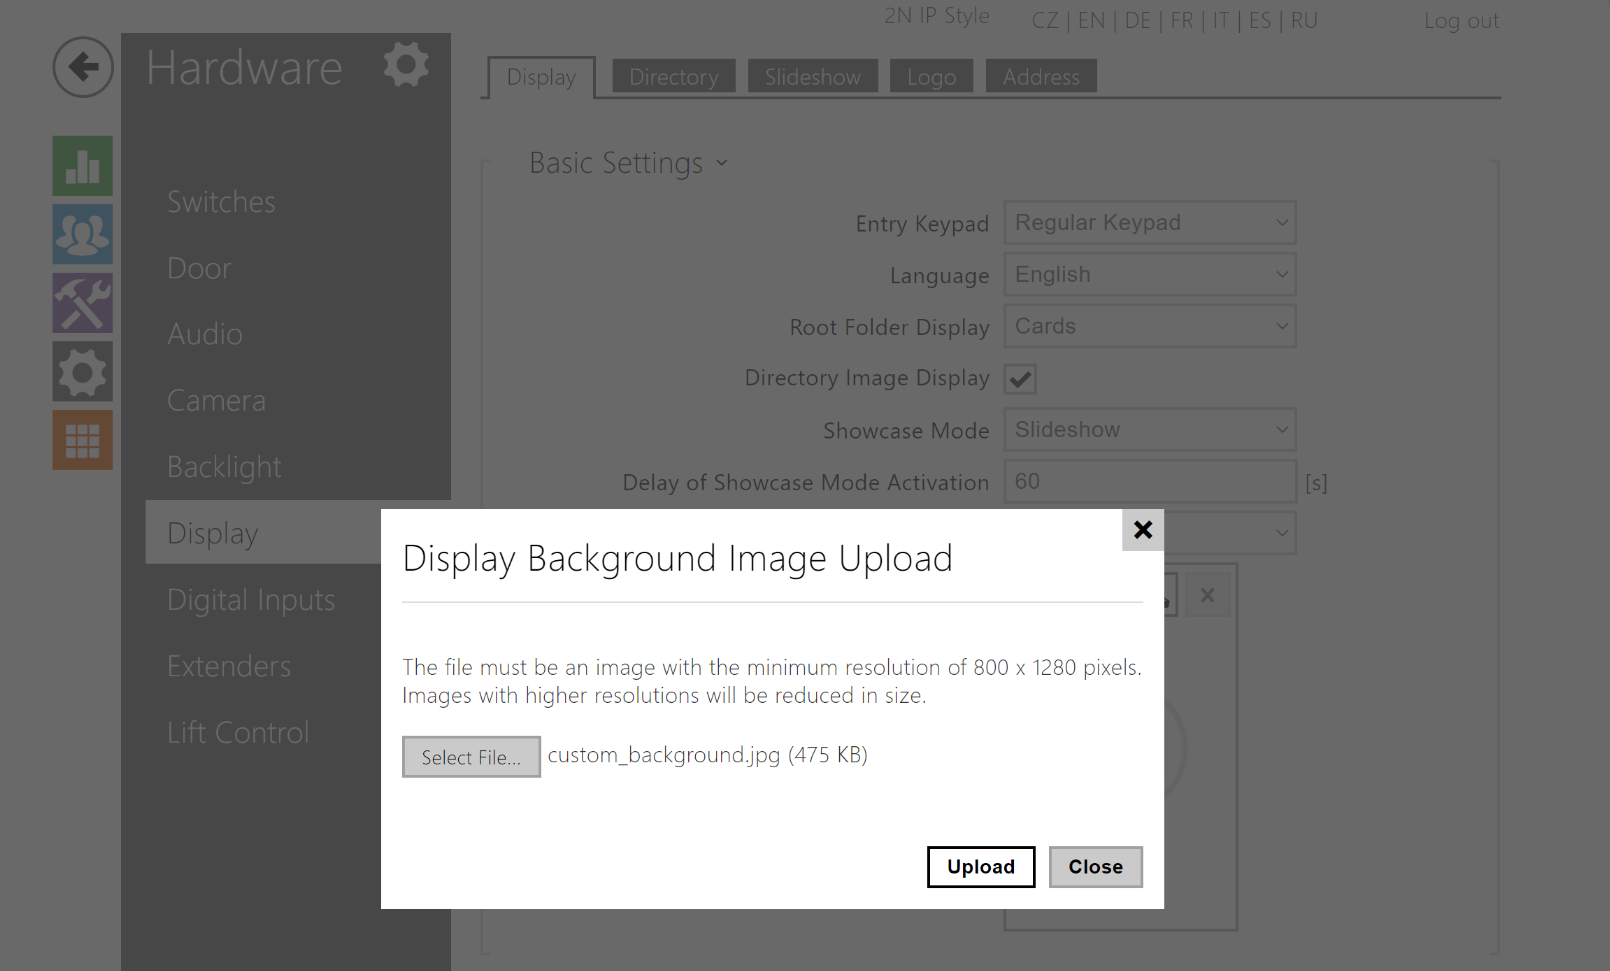
Then click Select File… and locate the JPEG or PNG image you would like to use in your computer. Save the image into the intercom by clicking Upload.
Preferably, the selected image should be exactly 800×1280px, as larger images will be automatically cropped and adjusted to fit that resolution.
Please note that if the image you uploaded was in a resolution other than 800×1280px, then the final, cropped and adjusted version will be shown here.
The final image will now be visible on the display, for example under Cards…

…or under a transparent logo, see logo mode in the showcase mode section below for more details.

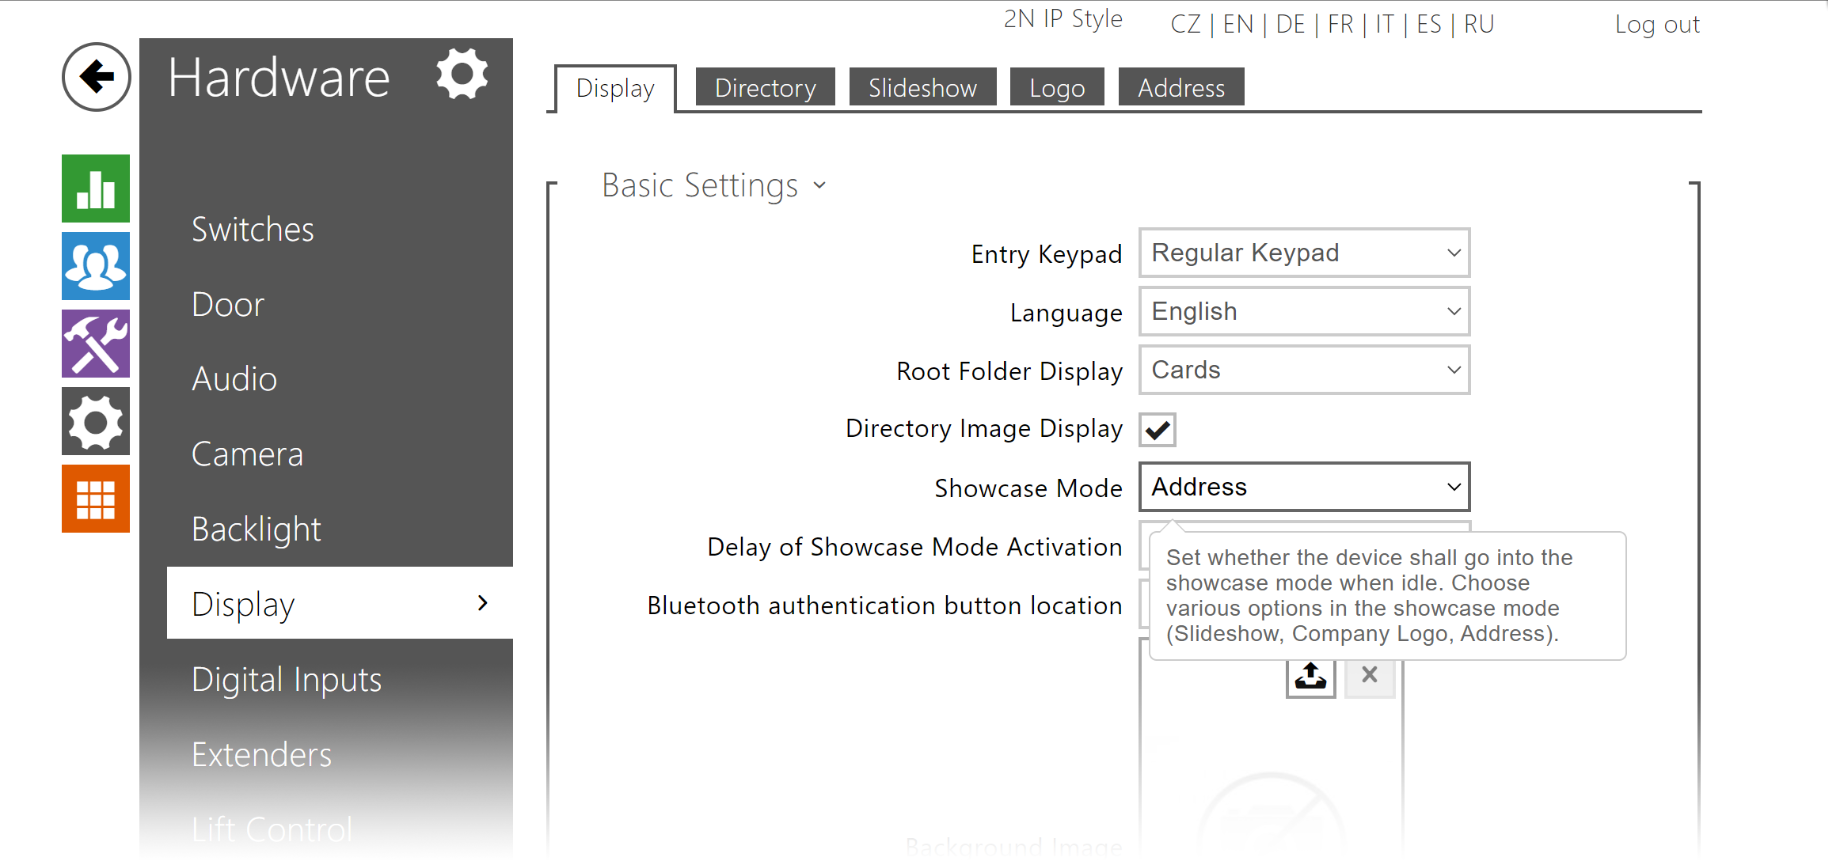
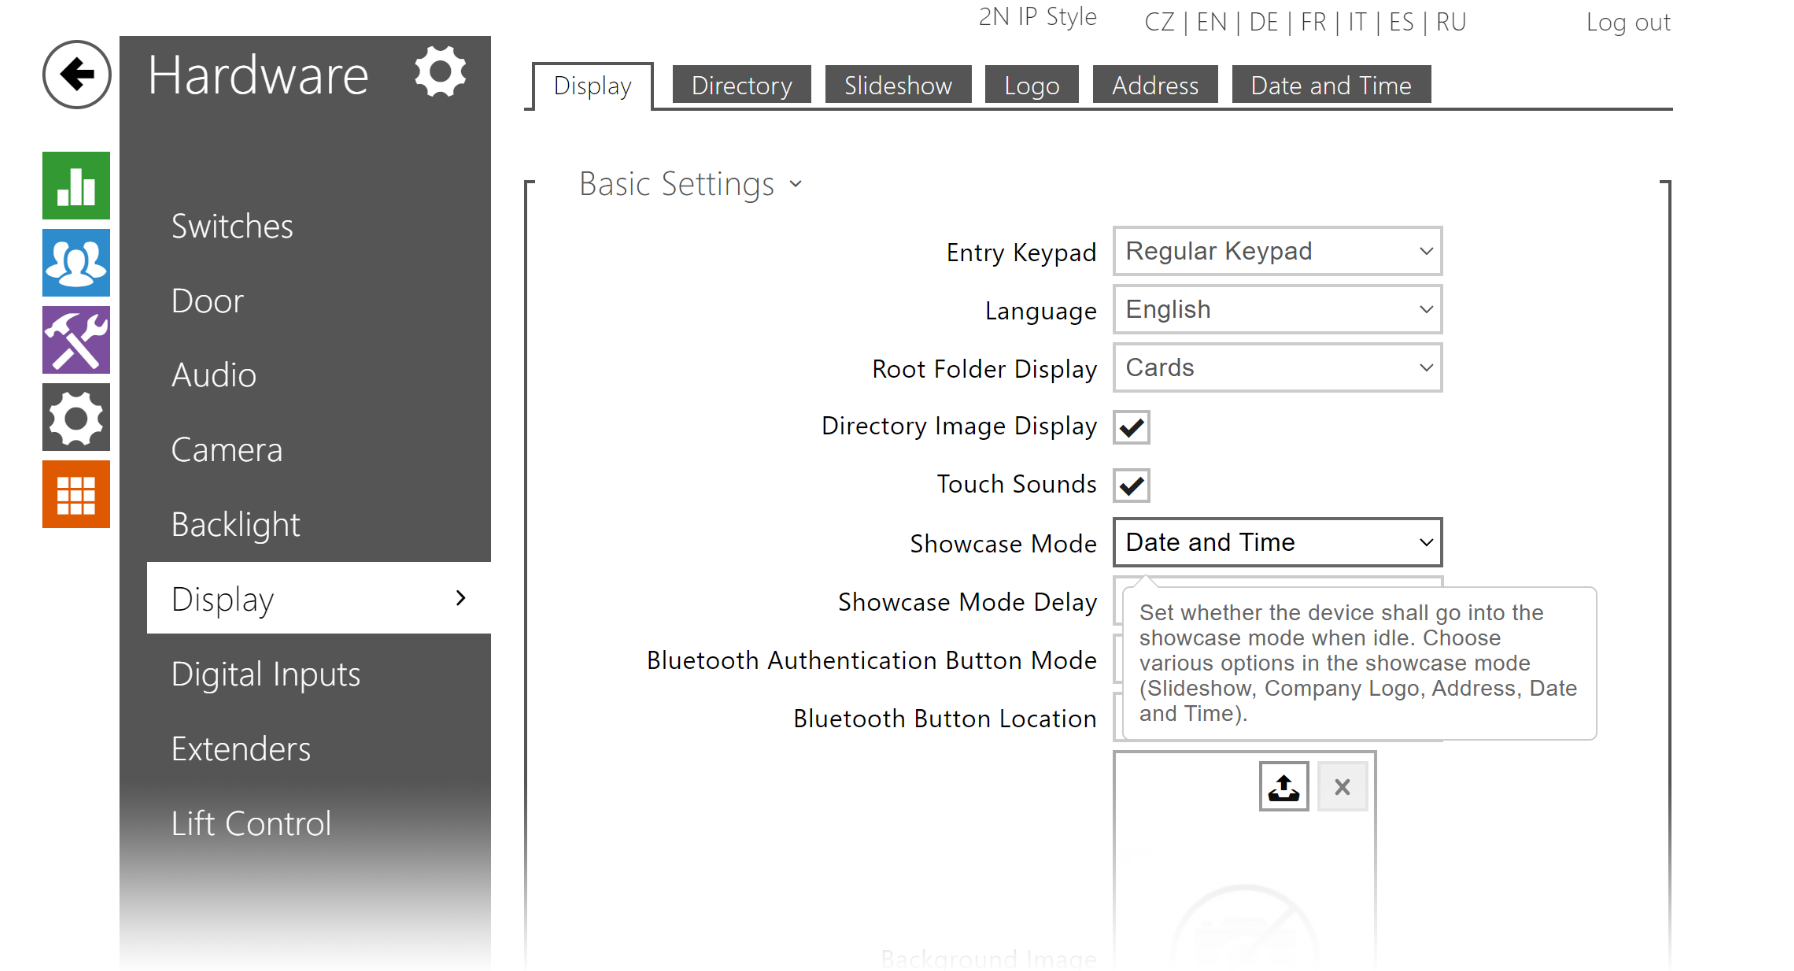
Showcase Mode setup
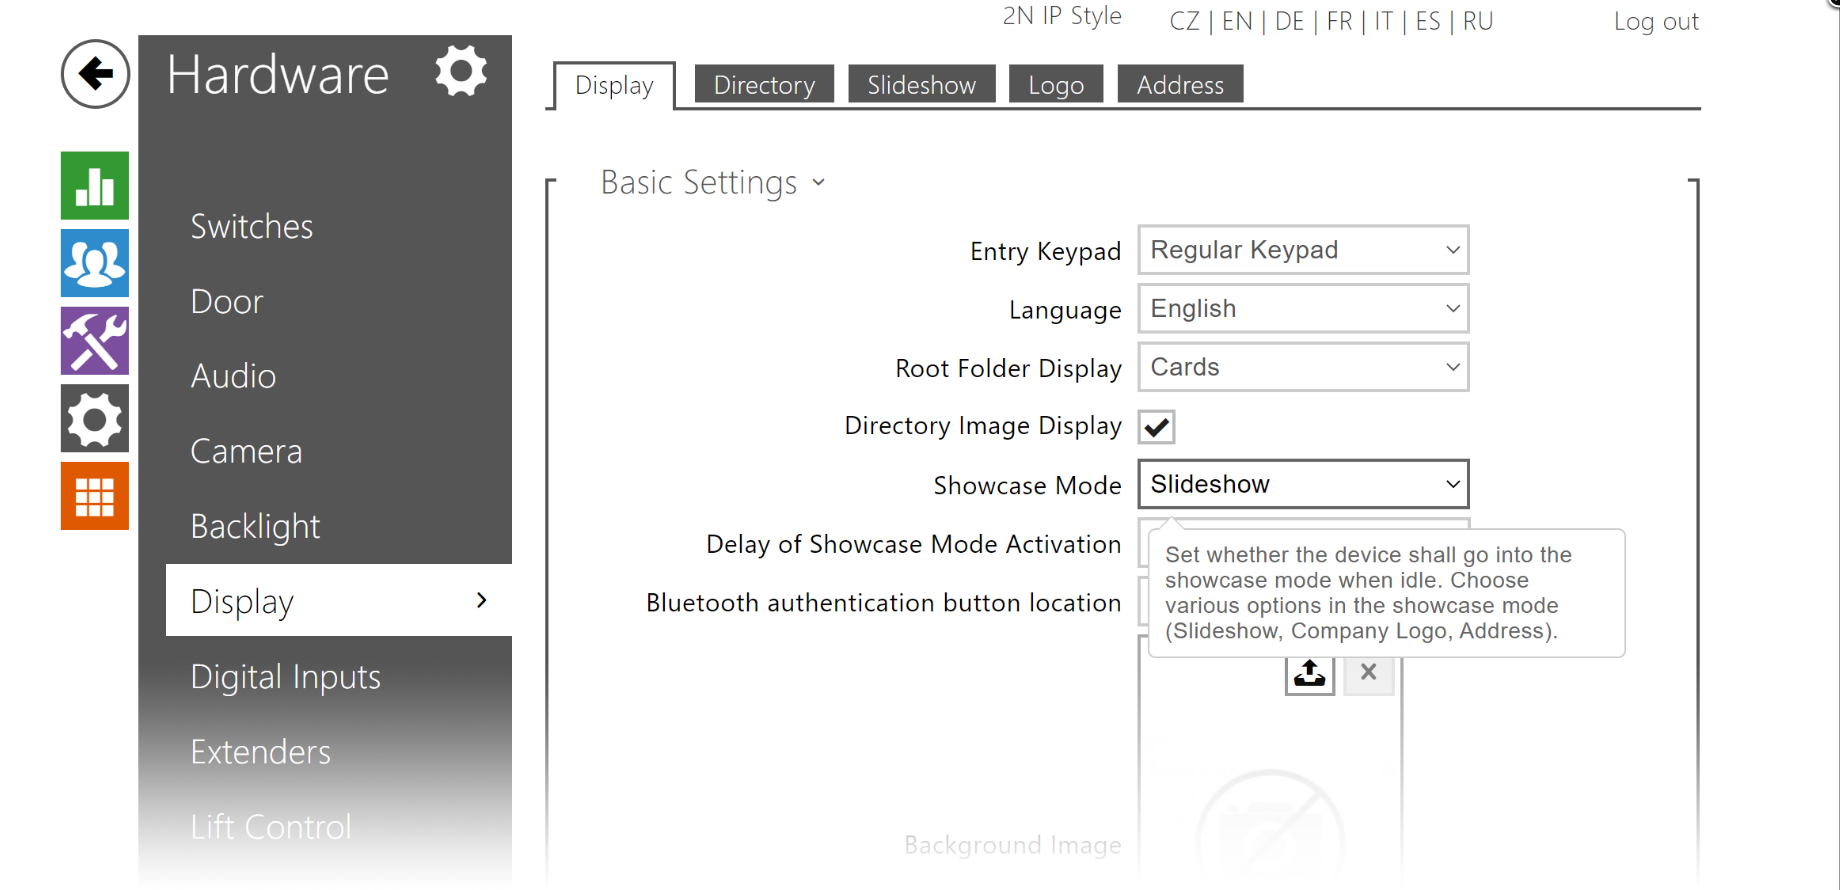
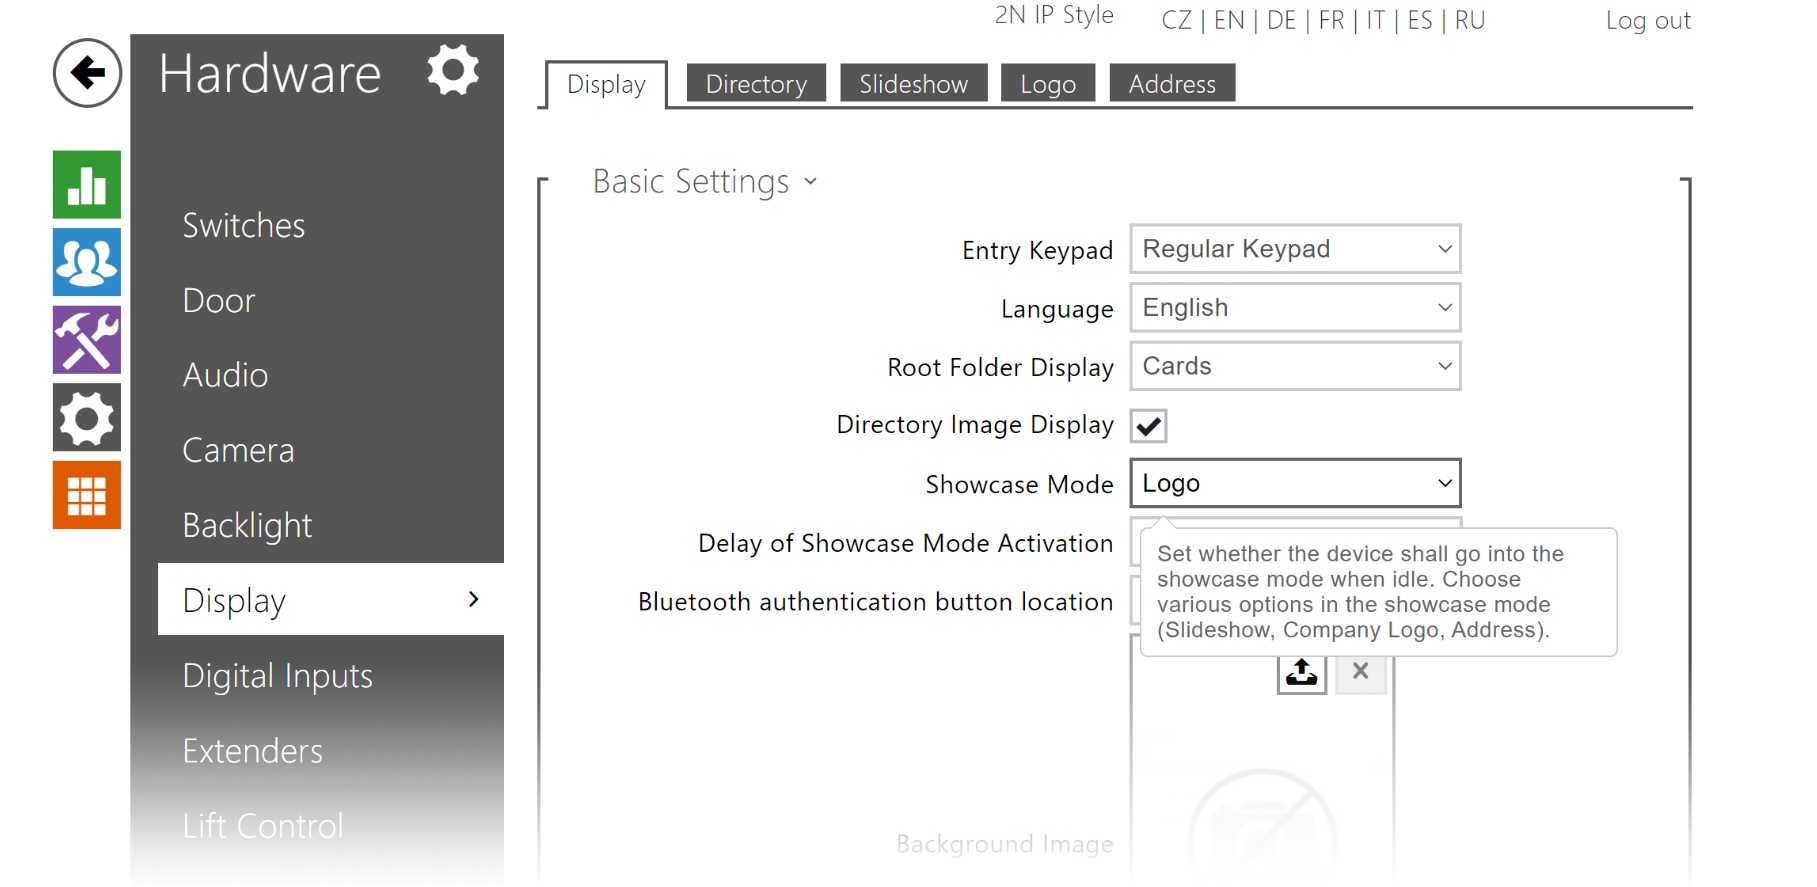
2N® IP Style contains two brand new showcase modes, logo, address, and date and time:
- OFF – the device will always show your root folder
- Slideshow – multiple images will be shown in a loop once showcase mode is activated
- Logo – your logo will be displayed while idle
- Address – your address or some other text will show up while the device sleeps
- Date and Time – current date, time, and weather will be shown on the display
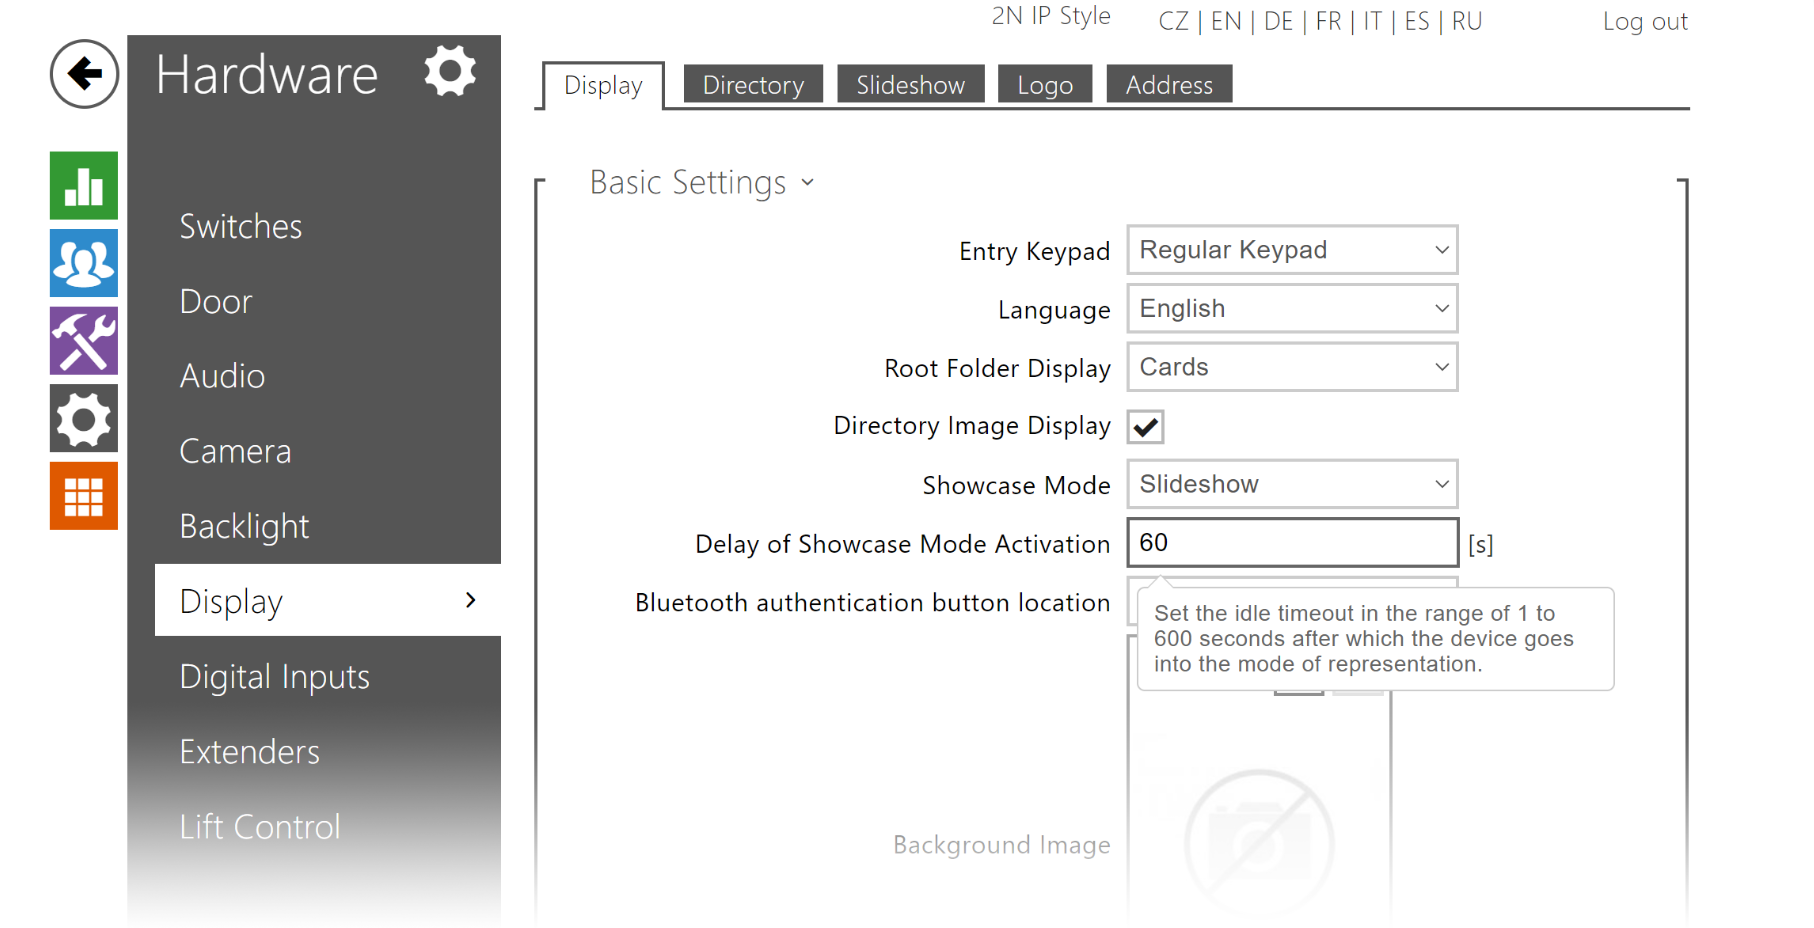
This is where you can set the duration after which showcase mode starts automatically.

Slideshow mode
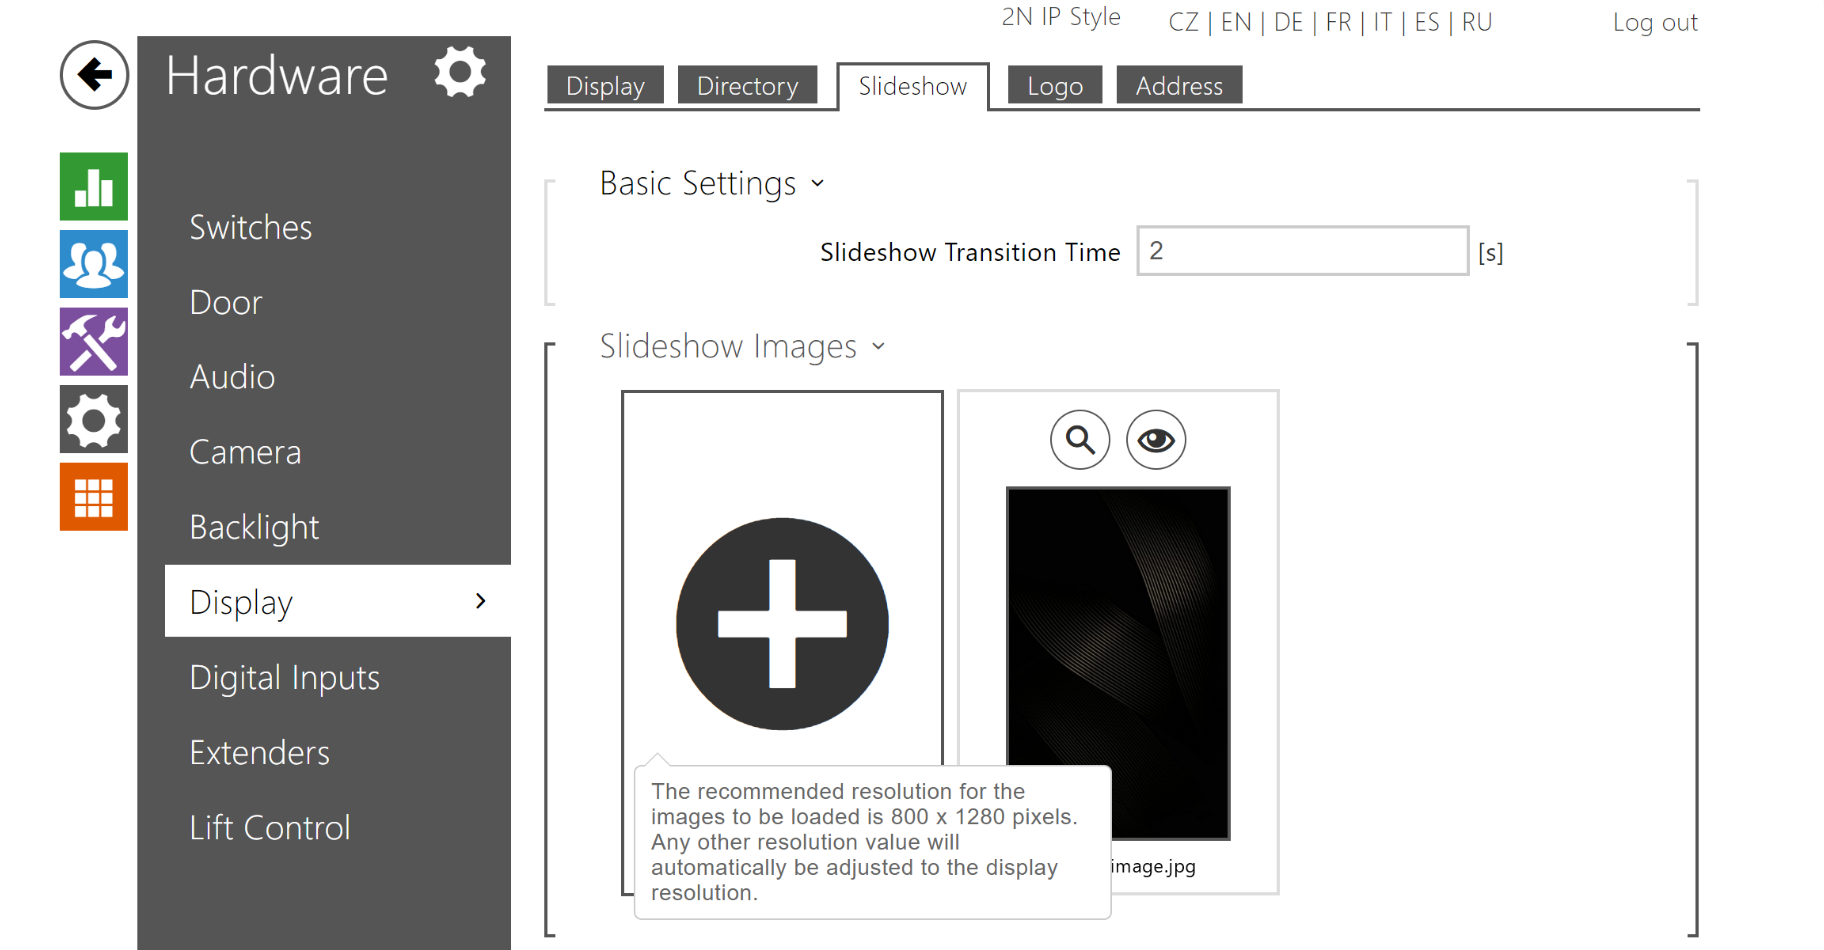
Slideshow is the default showcase mode, its settings can be found in the Slideshow tab.
The Slideshow tab contains the option to adjust the image-to-image transition time and image uploader.
As you can see, there’s already a preloaded image by 2N which you can optionally disable by clicking the eye icon. Your own JPEG or PNG images may be uploaded by clicking the + icon. They should be exactly 800×1280px, larger images will be automatically cropped and adjusted to fit that resolution.
Once you upload a new image it’ll show up in the grid. You can then magnify, delete, or disable it. Playback order can be easily adjusted by drag-and-dropping the images.

Here we swapped custom_background1.jpg for custom_background3.jpg and disabled the default_image.jpg.

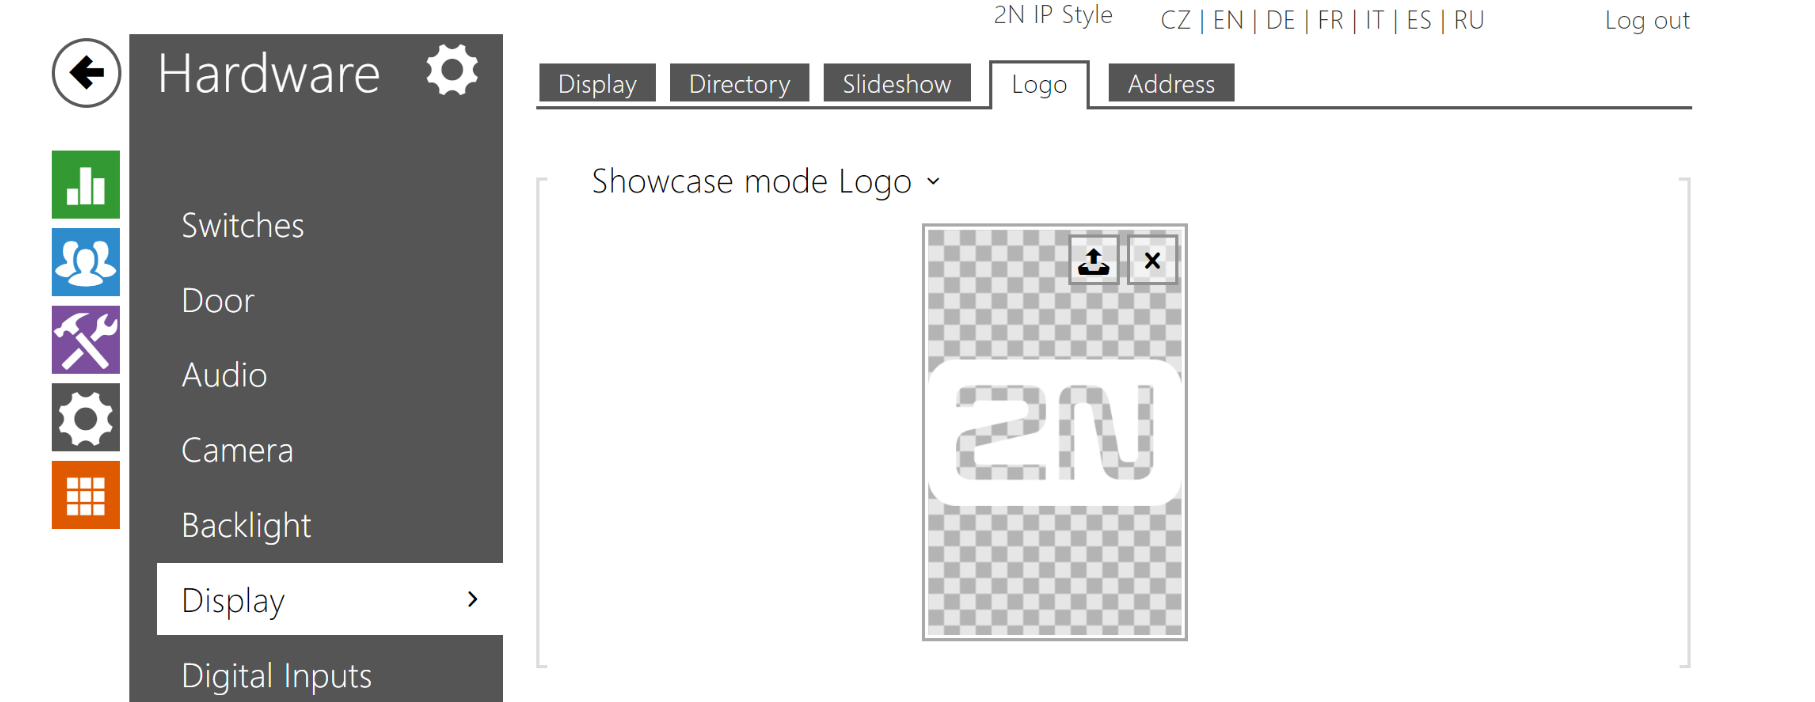
Logo mode
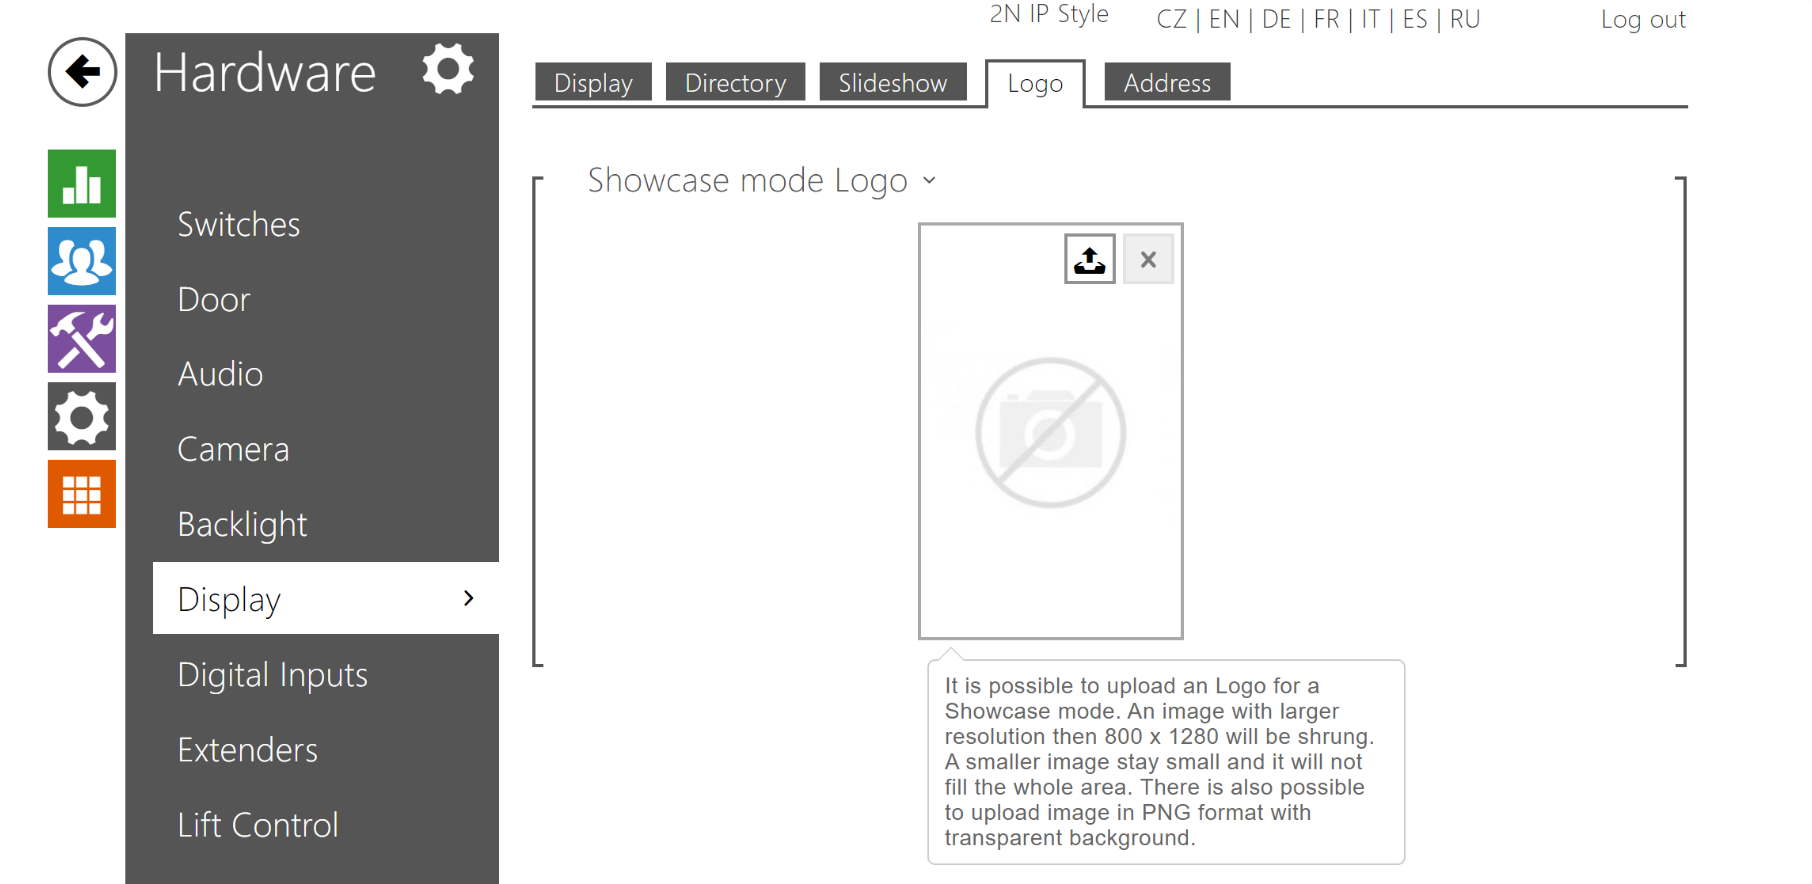
Logo mode gives you the option to display your company’s logo on the display while the device is idle.
Click the upload icon at the top.
Full screen image or logo with its own background
Use this option in situations when you want a dark logo on a bright background. To fill the whole screen in Logo mode, you can use JPEG or PNG images that are at least 800×1280px, larger images will be automatically cropped and adjusted to fit that resolution.
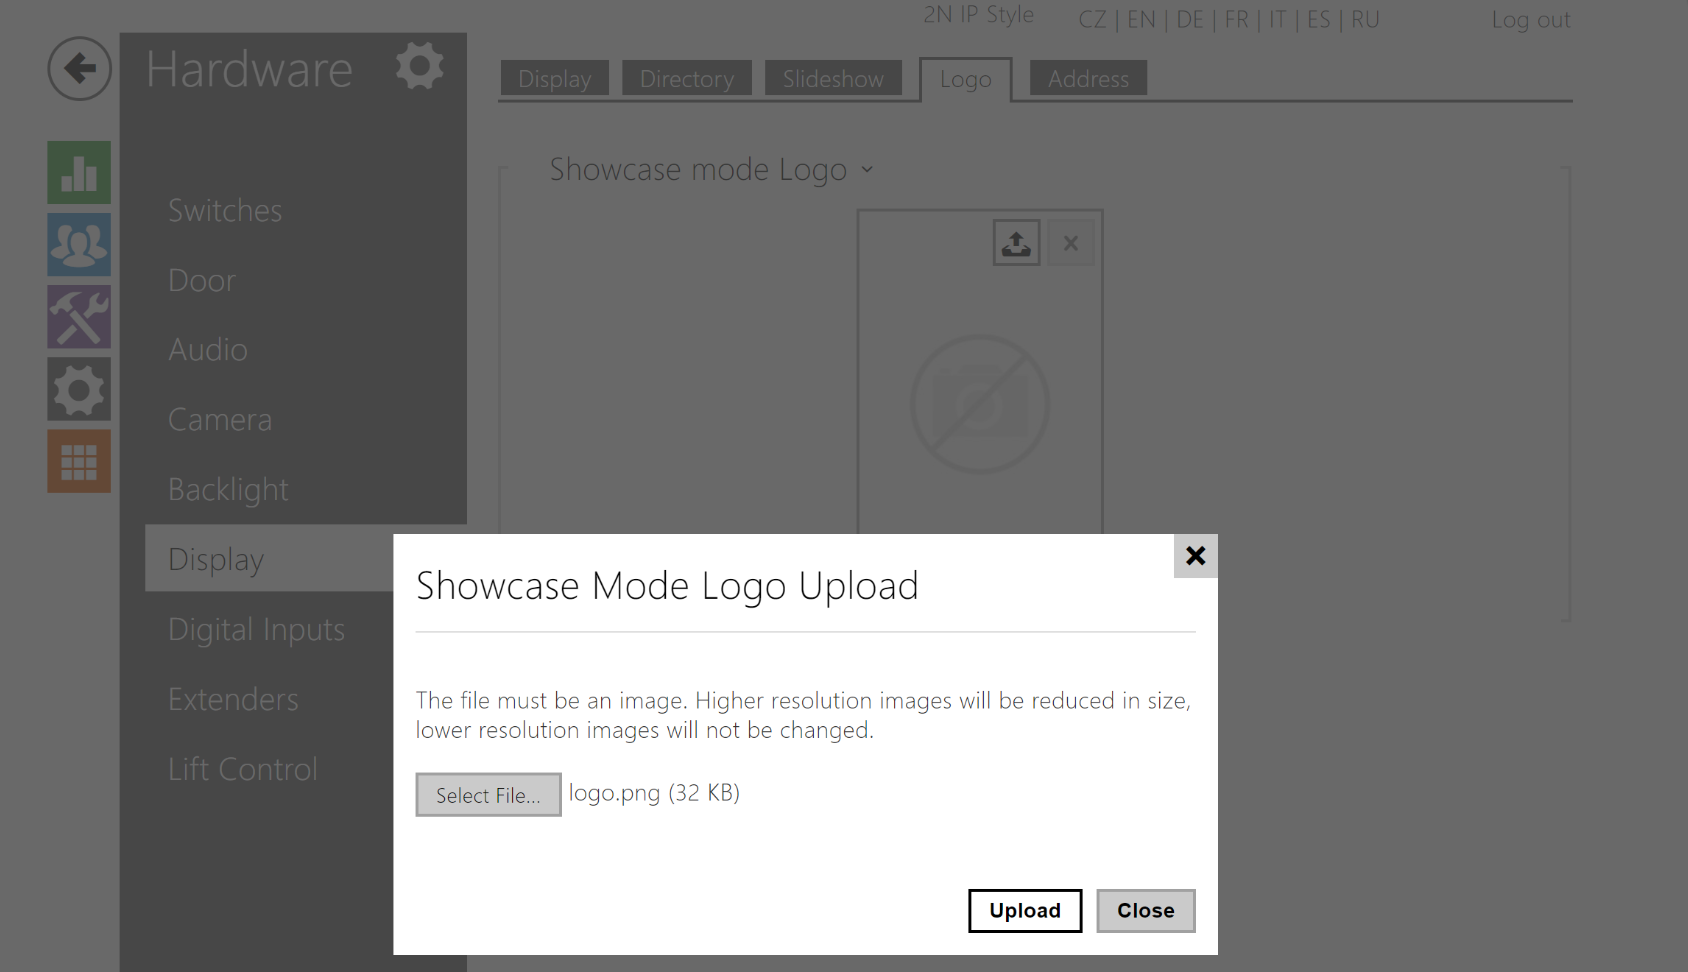
Click Select File… and locate the image you’d like to use, then click Upload.

The final image will be shown here.

This is what it looks like on the display.

Logo with transparent background
Please note that the logo should be as bright as possible because the background is always darkened, or black if no custom background was uploaded. If you want a dark logo on a bright background, upload a full screen image as shown in previous steps.
Click Select File… and locate the image you’d like to use, then click Upload.
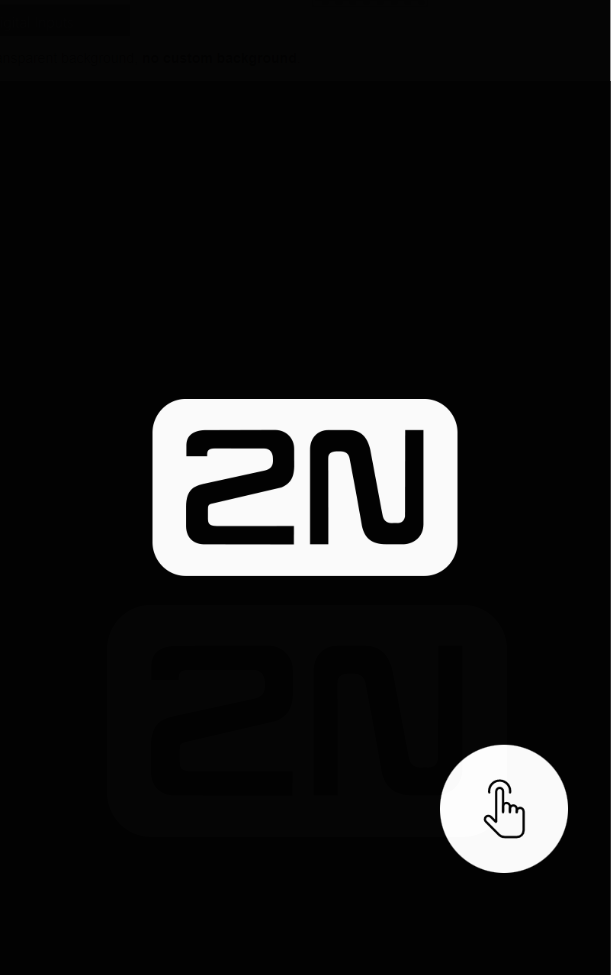
If the logo is smaller than 800×1280px then it won’t be enlarged on the display, but it’ll be enlarged to fill the preview here.
This is what it looks like, white logo with transparent background, no custom background.
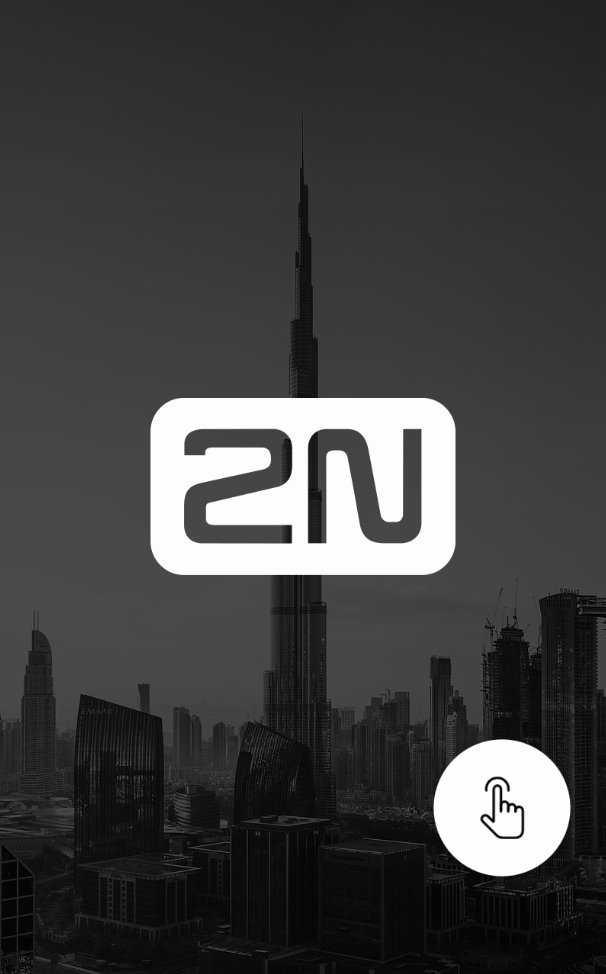
Alternatively, custom background with white logo on top of it. As you can see, the background is automatically darkened to make the logo clearly visible.
Address mode
Switch to Address mode if you’d like to put your custom text on the display.
You can then enter custom text via the Address tab. The number field uses a large font, the address field uses a smaller one and can be up to three rows long.
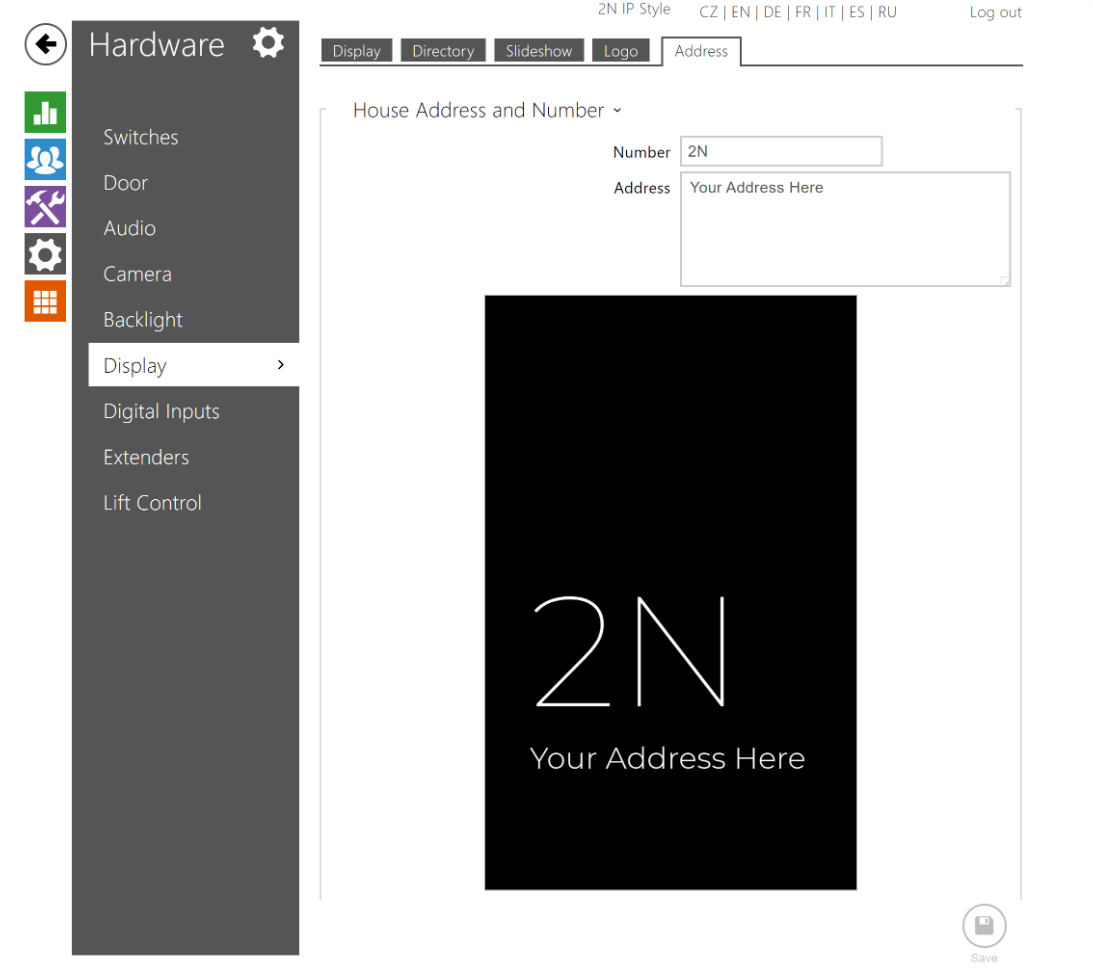
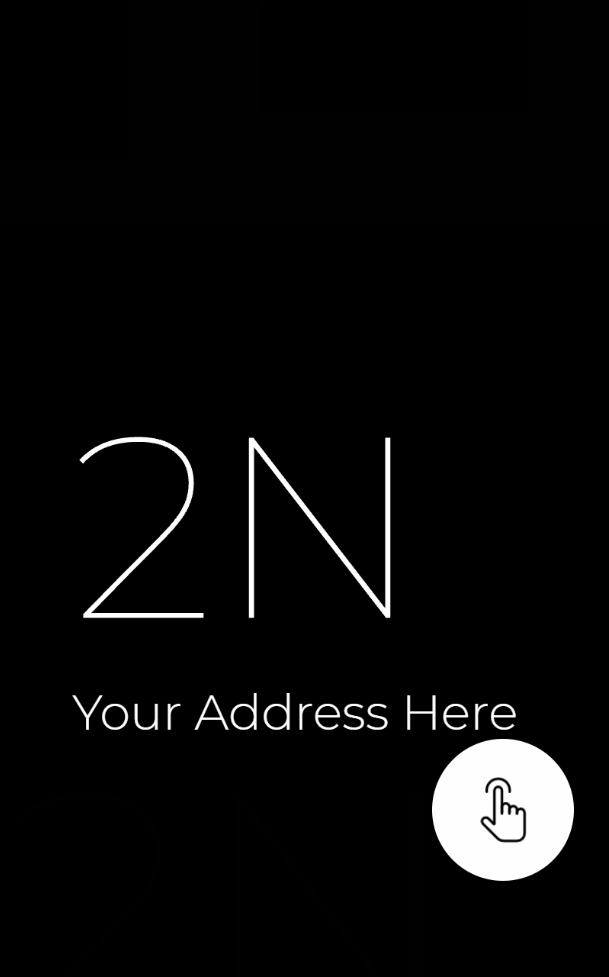
Address mode always puts white text on black background as you can see in the preview above and result below.
Date and Time mode
The last showcase mode allows you to display current date, time, and weather info on the display of 2N® IP Style.
As shown in the image below, you can customize date and time formats and show weather info; Location is the place from which weather information will be obtained, Location Shown is what will be shown on the display, you may leave this field empty to show Location.

Conclusion
This concludes this display customization guide for 2N® IP Style.
Last update
- 2022-09-06
Devices used
- 2N® IP Style
Licenses required
- none