Direct call - How to set up a 2N® IP Handset for a direct SIP call (without PBX) and how to open door
This FAQ describes how to set up 2N® IP Handset for a direct SIP call with 2N® IP Intercom, including opening door by a DTMF code.
Configuration
a) Incoming call
- on the other side we set the SIP address of the 2N® IP Handset device as a contact (in our example "sip:192.168.50.16")
b) Outgoing call
- in the 2N® IP Handset´s web interface go to the Function Key section, where we select the same-named Function Key tab
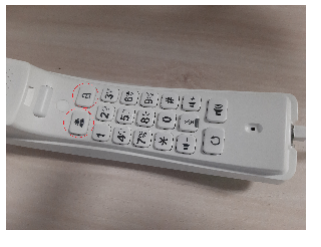
according to the Key column we select the button we want to use to dial the contact (here usually DSS Key 1; see the second image below), in the Type column we select the Memory Key, in the Name column we can name the contact, then enter the IP address of the called device in the Value column (in our example "192.168.50.156") and select Intercom in the Subtype column; we can ignore the "Line" column (as well as the "PickUp Number")
finally, save the changes by clicking the Apply button - everything is shown in the image here:
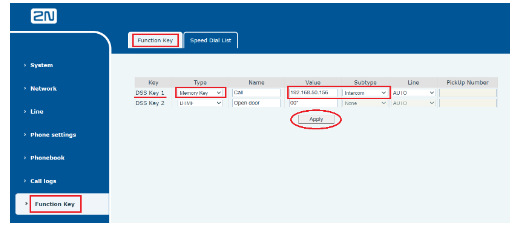
Tip
Under the "lock" key (DSS Key 2) you can save the DTMF code that will be sent during the call when the key is pressed
(for example, to open the door, as it is possible in connection with the 2N® IP Intercom - therefore 00 * is already preset here):
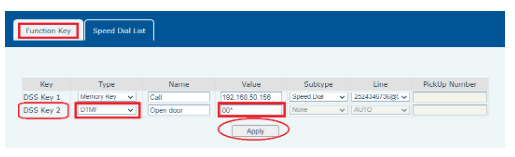
- on the Speed Dial List card we can similarly program the "DSS Key 1" (other than in the case of "Functions Keys") to "DSS Key 0" button
Calling
a) Incoming call
- the call is answered by picking up the handset from the base and ended by hanging it up
b) Outgoing call
to dial a contact stored under a certain button, press the given key briefly
(in the case of a call via the number keys, keep it pressed until the given station is dialled (approximately 2 seconds))