Display, 2N IP Intercom - Display configuration
2N® IP Verso
This FAQ was made with firmware 2.29
Detailed information about display configuration you can find in the manual: 5.3.7 Display
1. Enabling phonebook displaying
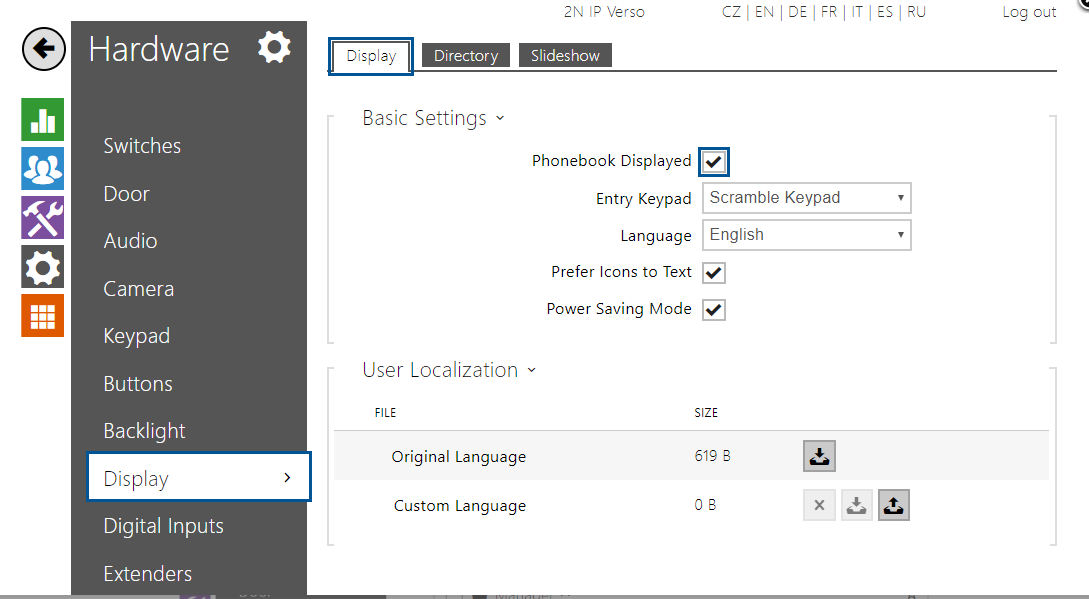
To display the phonebook you need to check the function Phonebook Displayed.
- Launch your web browser and log in to your intercom.
- In the section Directory > Users make a list with users and their phone numbers.
- Continue to section Hardware > Display, tab Display and check the Phonebook Displayed.
2. Directory / Phonebook
This tab helps you configure a structured list of users. You can create practically any count of groups and assign any count of users to each of the groups. One user cannot be assigned to one group more times, but one user can be assigned to more groups at the same time.
- Go to the section Hardware > Display, tab Directory.
Make folders (groups) according to your preferences.
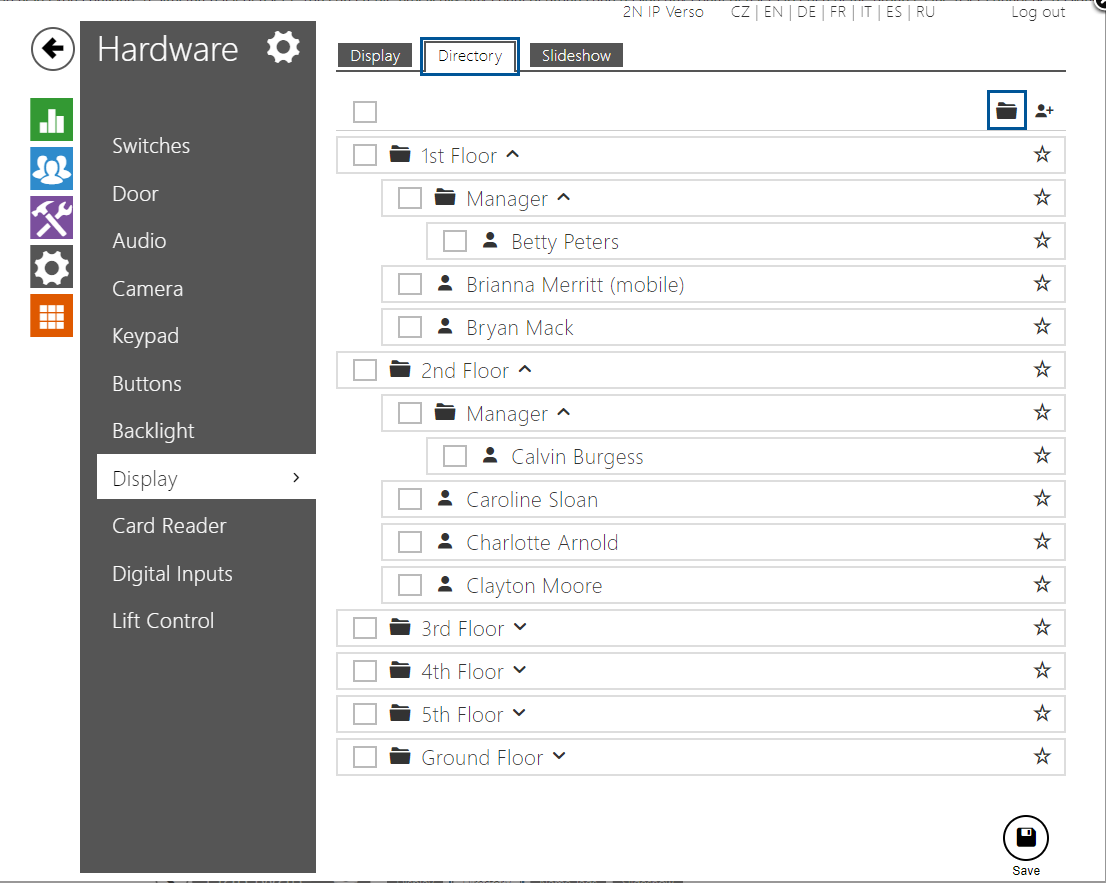
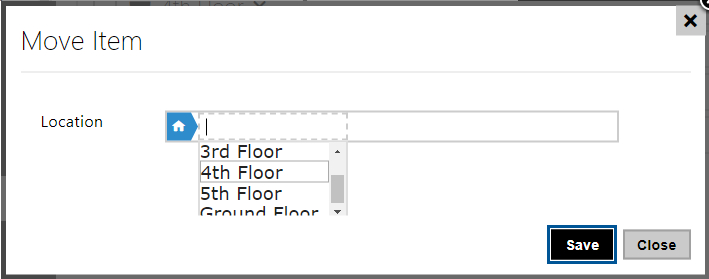
- Select users and move them to the folders, optionally you can select multiple users and move them all at the same time.


3. Slideshow / Presentation
This tab helps you to configure a list of images to be displayed in the Slideshow mode, upload up to 8 images that can be max. 214 x 320 px.
When Slideshow should be activated and time between slides you can set by parameters called Slideshow Activation Timeout and Slideshow Transition Time.
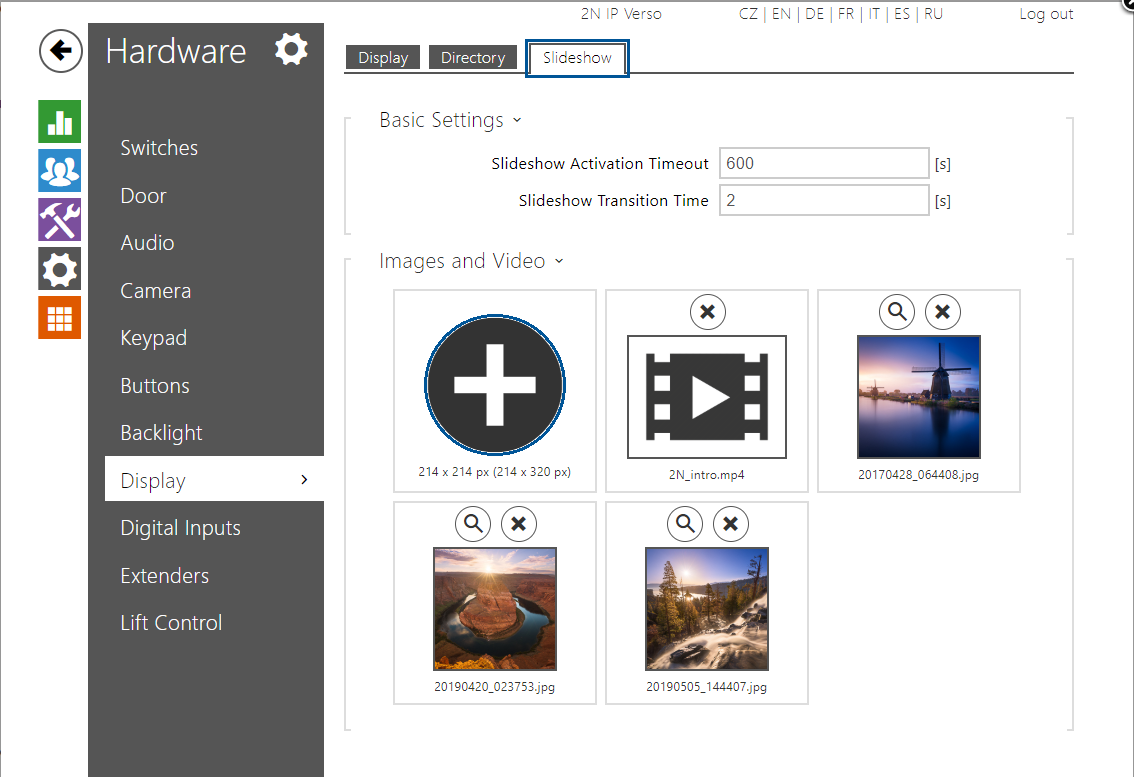
- Go to the section Hardware > Display, tab Slideshow.
- Click on (+) icon and upload images from PC storage.
You can click on the image and move it to change the order of the images. To magnify you can click on the magnifying glass; to delete you can click on the cross.
2N® IP Vario
This FAQ was made with firmware 2.29
Detailed information about display configuration you can find in the manual: 5.3.7 Display
1. Enable display
- Launch your web browser and log in to your intercom.
- In the section Directory > Users make a list with users and their phone numbers.
- Continue to section Hardware > Display, tab Display and check the Display Enabled.

2. Name Tags
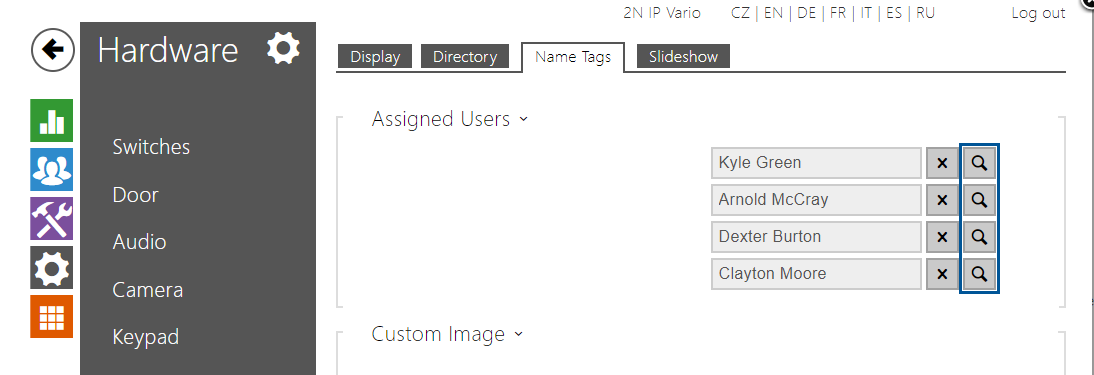
- Go to the section Hardware > Display, tab Name Tags.
- Select up to 4 users from your directory and assign them to the buttons around the display.
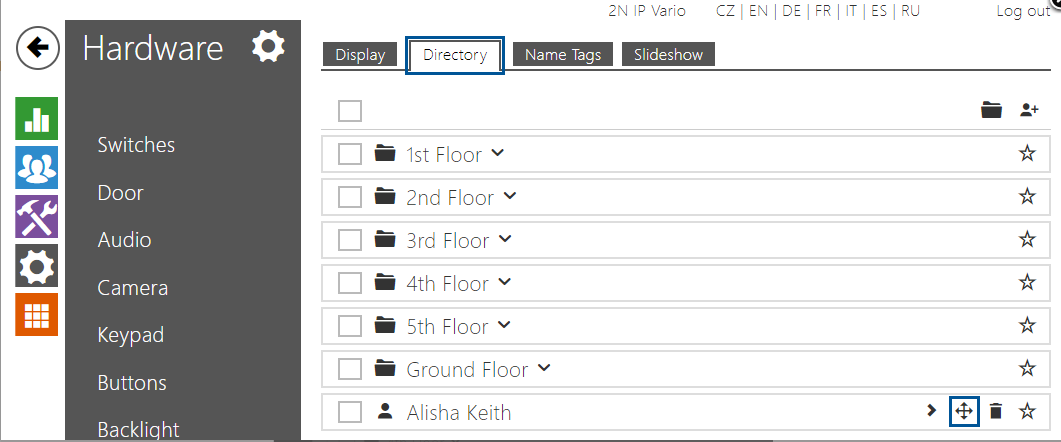
3. Directory / Phonebook
This tab helps you configure a structured list of users. You can create practically any count of groups and assign any count of users to each of the groups. One user cannot be assigned to one group more times, but one user can be assigned to more groups at the same time.
- Go to the section Hardware > Display, tab Directory.
- Make folders (groups) according to your preferences.
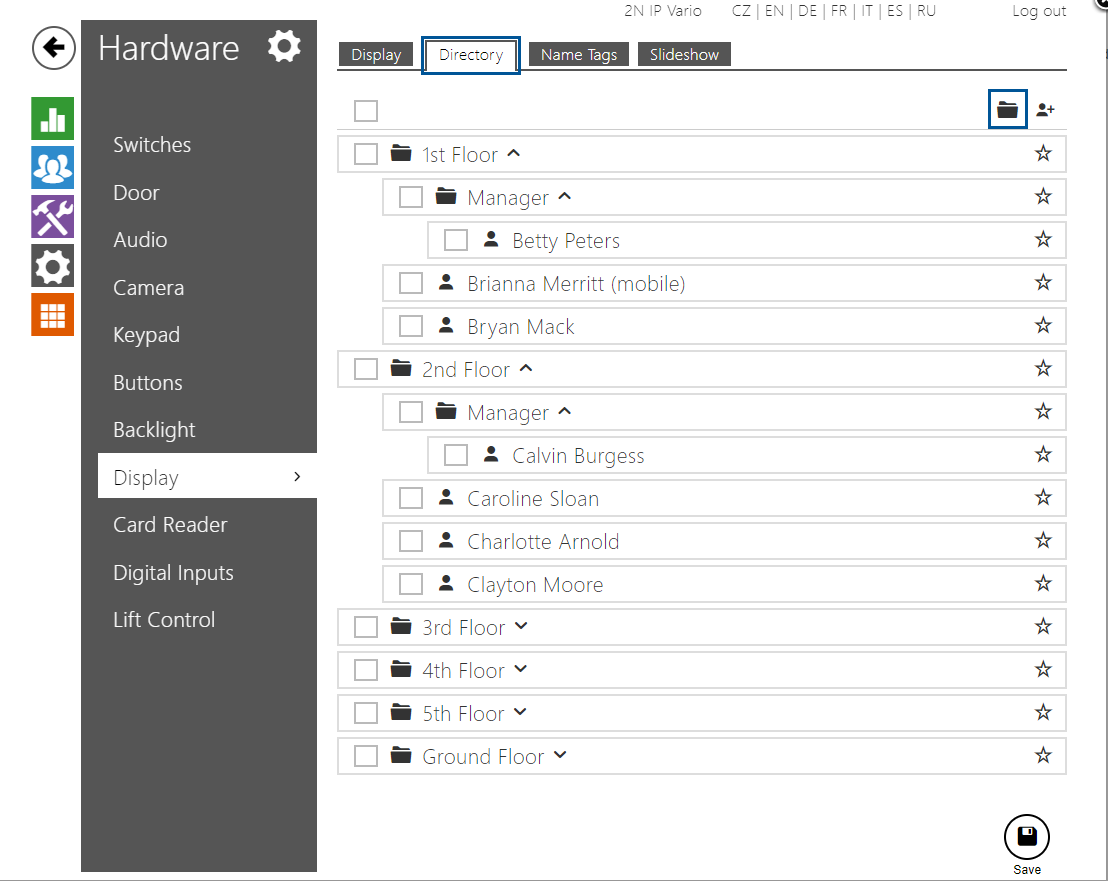
- Select users and move them to the folders, optionally you can select multiple users and move them all at the same time.

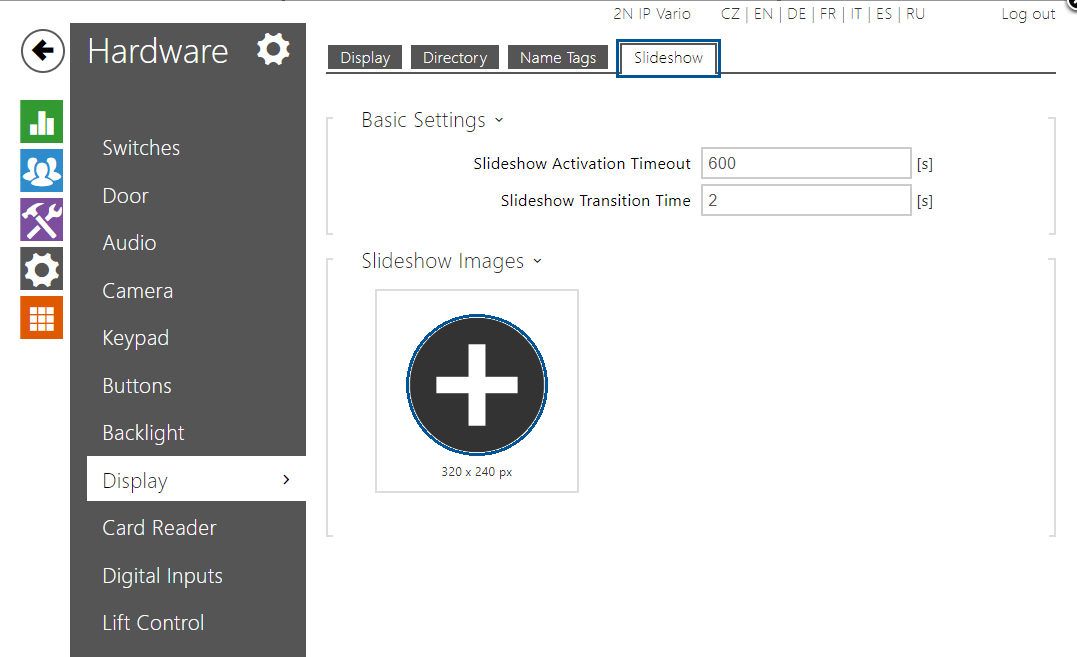
4. Slideshow / Presentation
This tab helps you to configure a list of images to be displayed in the Slideshow mode, upload up to 8 images that can be max. 320 x 240 px.
When Slideshow should be activated and time between slides you can set by parameters called Slideshow Activation Timeout and Slideshow Transition Time.
- Go to the section Hardware > Display, tab Slideshow.
- Click on (+) icon and upload images from PC storage.
You can click on the image and move it to change the order of the images. To magnify you can click on the magnifying glass; to delete you can click on the cross.