How to upload a video to display on 2N® IP Verso
Info
It's possible to upload a video to the 2N® IP Verso display since firmware v2.20 for 2N IP Intercoms. This allows you to upload your advertising video, which can be played after a predefined timeout. The video has to meet certain parameters which are described below. To get video with the required parameters it is necessary to convert it in a 3rd party video converter. Below you will find a step by step guide with a video converter we have tested.
How to convert the video to meet the required parameters
Required video format:
- Maximum file size: 2MB
- Maximum resolution: 214x214 px
- H.264 MP4 Compression settings:
- H.264 Profile: Constrained Baseline Profile
- H.264 Level: up to 5.2
- Download video converter HandBrake here and install it.
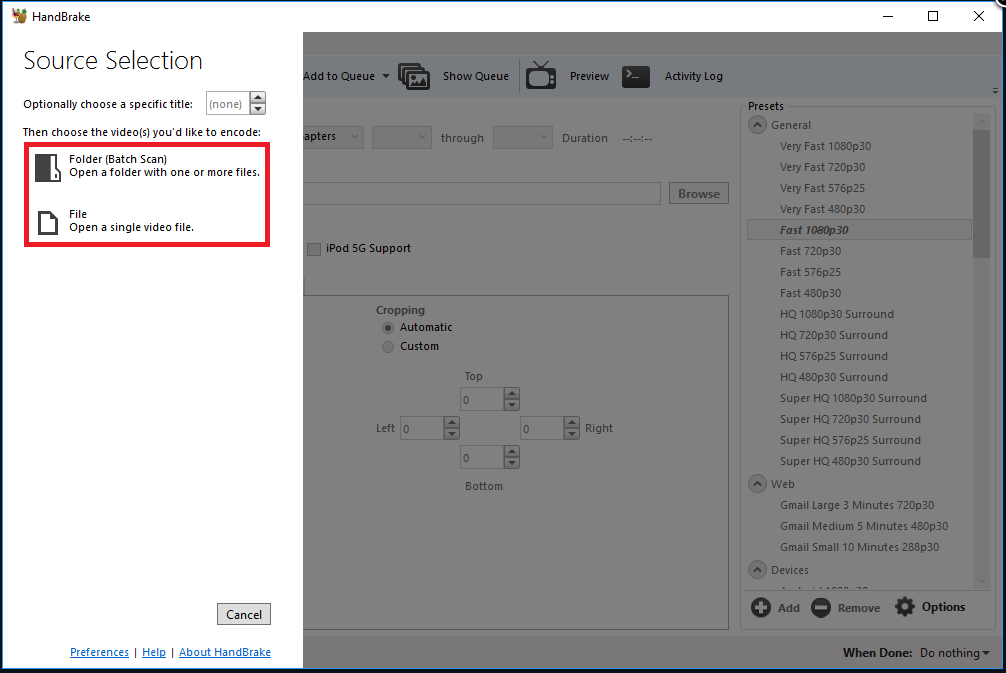
- Choose a video you would like to encode
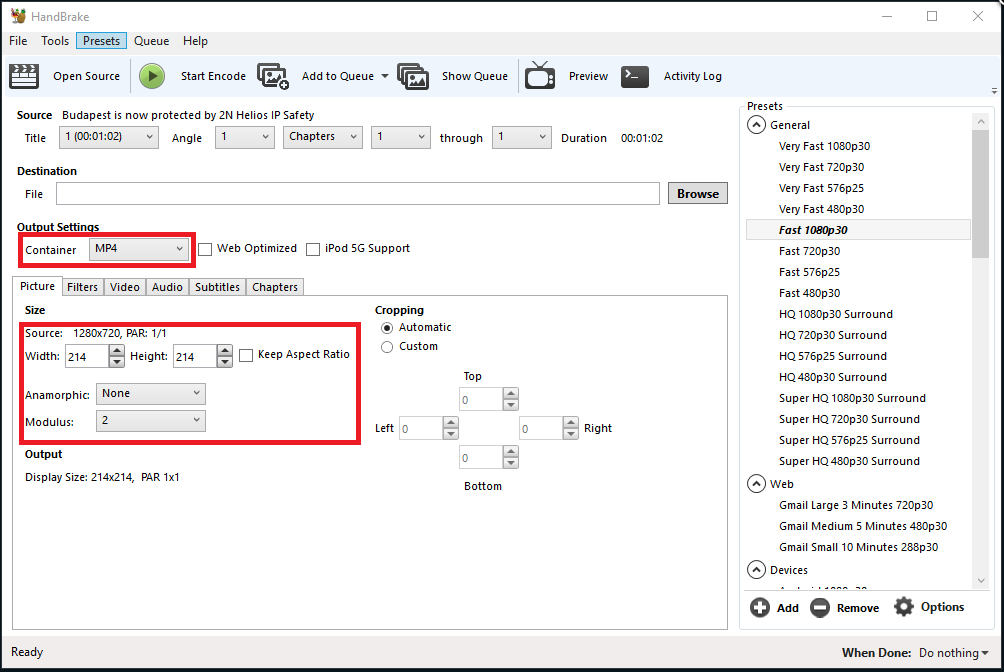
- Start in the tab "Picture" and set "Container" to "MP4". Then set "Anamorphic" to "None". After that disable "Keep Aspect Ratio". And set "Height" and "Width" to "214x214".
- Switch to the tab "Video" and set "Video Codec" to "H.264 (x264)". Then set "Framerate (FPS)" to "15". Now you need to enable '"Fast decode" and set "Encoder profile" to "Baseline". You can keep "Encoder level" as it is but in can't be higher than "5.2"

- In the next step go to the tab "Audio". If the video contains any audio track, you can optionally delete it as it is redundant in our case since audio will not be played by the intercom. You can delete it by clicking on the red cross. We recommend to delete the audio as it can reduce size of the file.

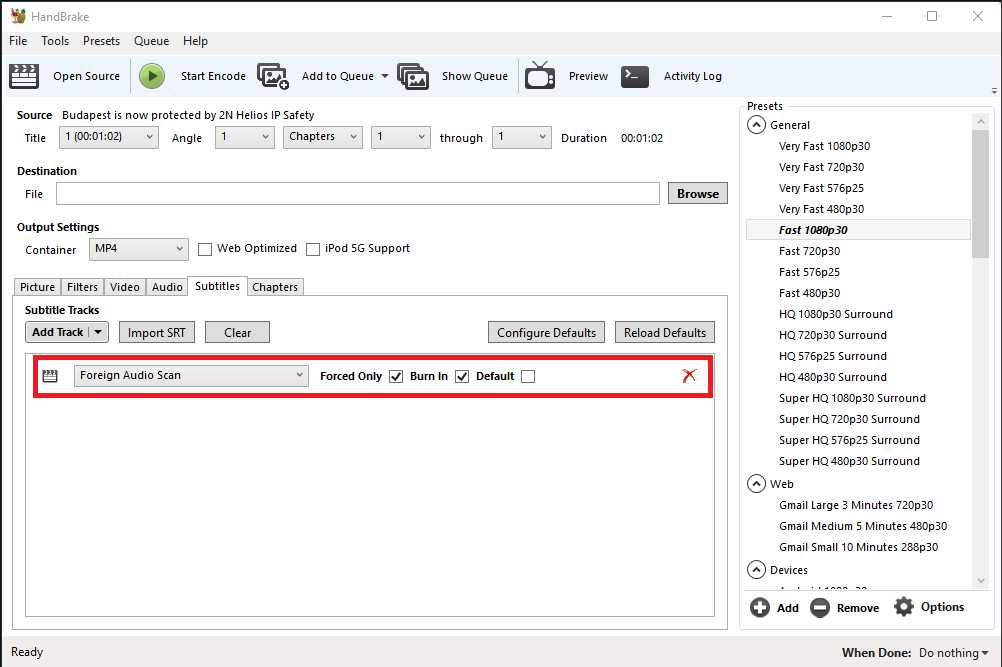
- Now open the tab "Subtitles". Situation here is pretty much the same as in the previous step. If the video contains any subtitles you can optionally delete them by clicking on the red cross.
- In the tab "Chapter" disable "Create chapter markers" and fill in a folder and the encoded video's name into the field "File". Then you can click on "Start encode". Encode of the video will start now.
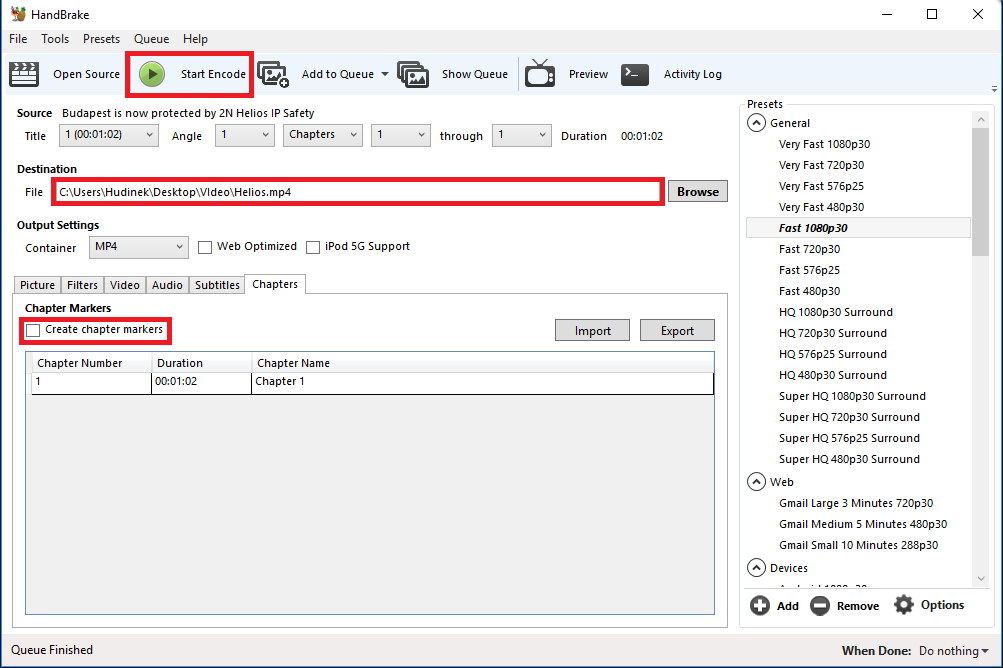
- You can check whether the encoding started by checking the tool bar at the top and the progress bar on the bottom of the window. Once the encoding is finished, you will find the encoded video in the predefined folder.

How to upload the video to the 2N® IP Verso
- Go to section "Hardware -> Display -> Slideshow" and click on the plus picture and choose a video you created in the previous steps. Once the video will be uploaded, you should see it next to the plus button. Then you can click on "Save". You can upload multiple videos. You can modify "Slideshow Activation Timeout", this parameter defines time after which the video will start when display is in idle state.

- Now all you have to do is wait until the video appears on the display.