Installation - How to install 2N® SIM Star Server?
2N® SIM Star Server allows you to manage a large number of SIM cards from one location.
You can use it with single or multiple gateways at single or multiple destinations.
Requirements:
Computer which meets following parameters: https://wiki.2n.cz/simsug/latest/en/5-technical-parameters
Latest available Installation CD or ISO image version 1.22
CAUTION! By using installation CD or ISO image YOU WILL REMOVE ALL DATA FROM HARD-DRIVE!!!
Step by Step guide:
This installation is automatic and requires minimal user interaction.
Follow subsequent instruction to get fully working system.
Please set up your computer to use CD-ROM as default boot device.
Then place installation CD into CD-ROM.
After computer starts, you will get this screen. You can choose from multiple boot options. Automatically Install new system graphical is first option.
Please choose it and press Enter to confirm.

On next screen, please choose to Discard all data on hard-drive and continue by clicking on Yes, discard any data button

Please make sure you are installing 2N® SIM Star server to dedicated hard-drive and therefore you will not loose any important data.
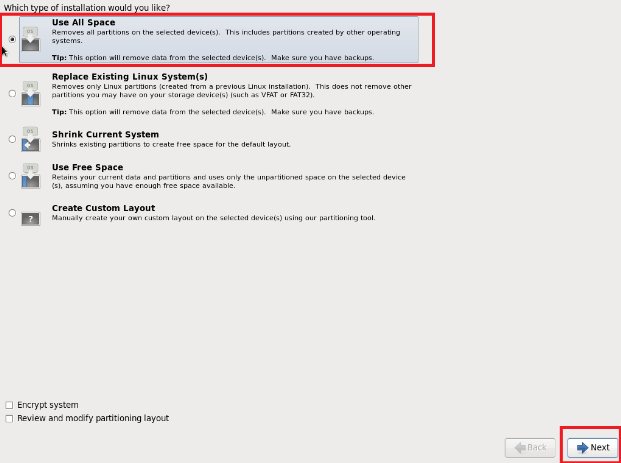
We will use all space of hard-drive, please choose this option on next screen and click on Next button.
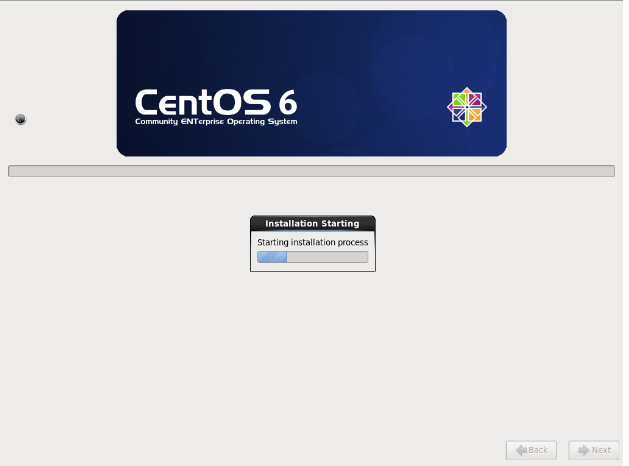
Installation will start.
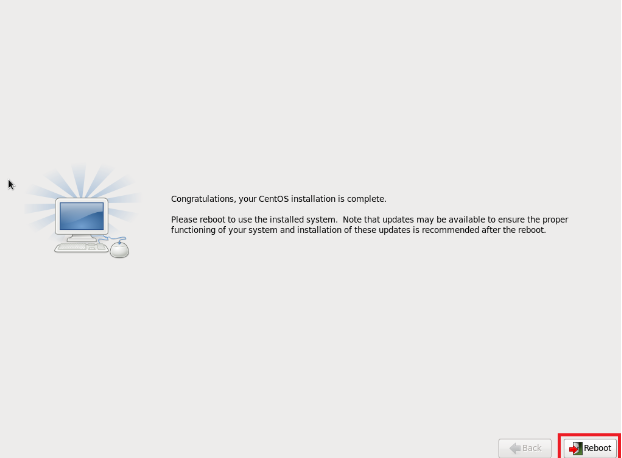
Please wait till installation finish. Once installation finish, please remove installation disk from CD-ROM and click on Reboot button.
Please let your installation reboot and when system asks for login credentials, please login to linux with following details:
Username: Admin
Password: 2n

Please note that this Admin account is for linux login, not 2N® SIM Star Server itself.
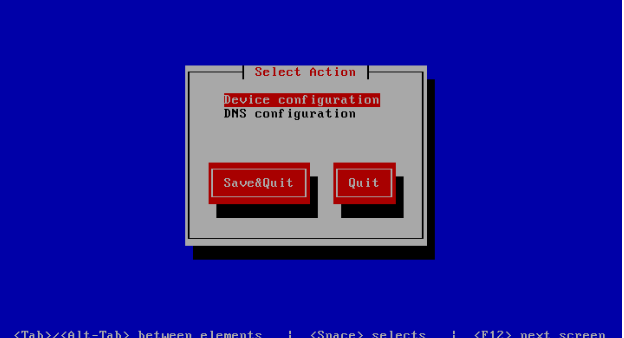
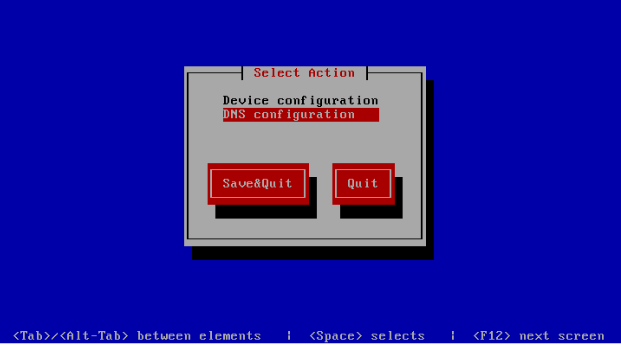
After you login to linux using credentials mentioned above, system will automatically ask you for setting up your network device.
Please choose Device configuration for setup network connection of your computer.
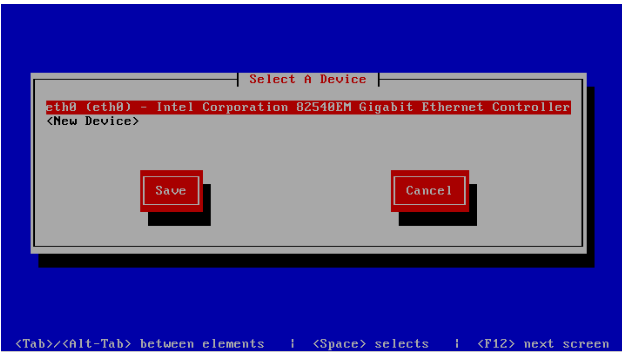
Please choose which Ethernet adapter you wish to setup (in our example it is eth0) and press Enter.
Please choose if your computer will use DHCP or static IP addressing.
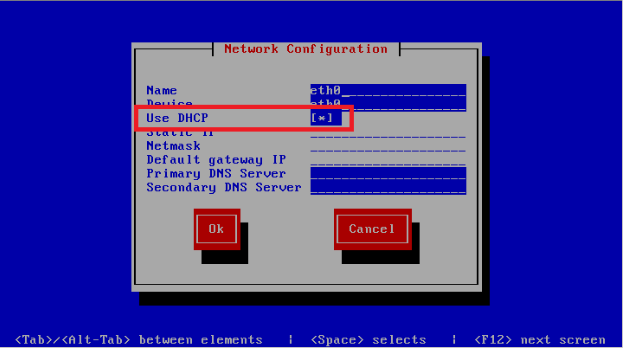
In case you will use static IP address, please do not forget to fill in all necessary fields required by standards (address, gateway, mask, etc...)
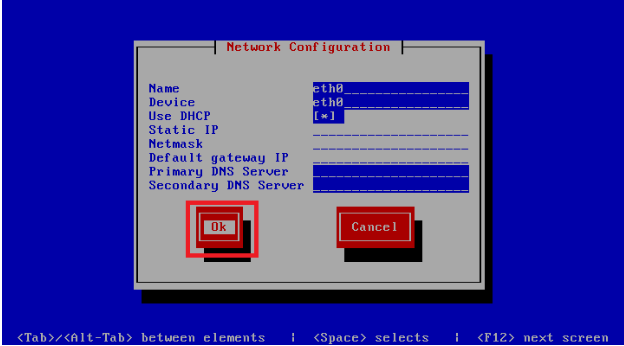
After you finish with network settings, please use Tab key to navigate to OK button and press Enter.
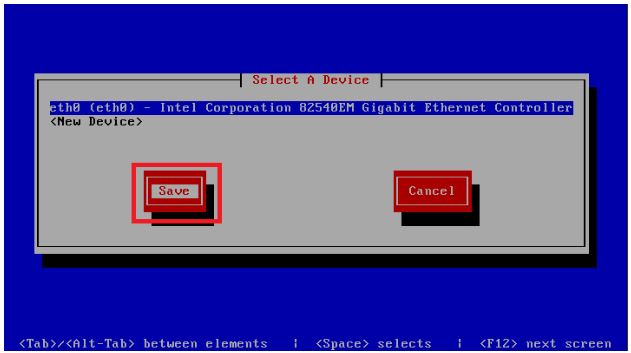
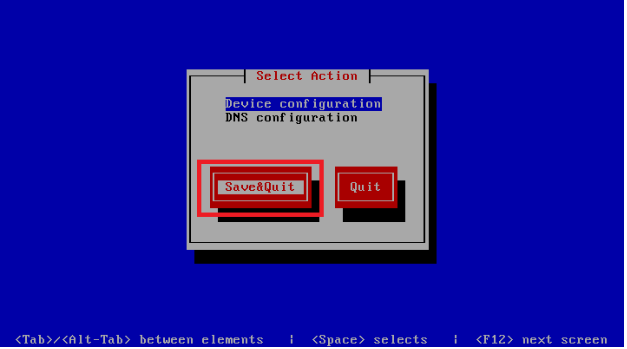
- Please save your settings by navigating using Tab key to Save button and press Enter.
(Optional) In case you are using static IP address settings, please choose on next screen DNS configuration, press Enter, fill in DNS IP addresses and save your change .
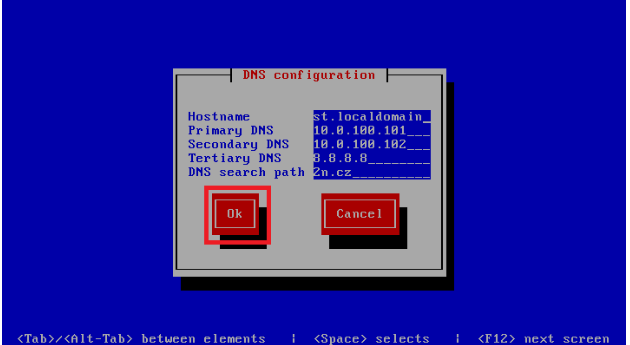 Please use your own values for DNS settings, information on image are only example settings.
Once you finish your network configuration, please navigate to Save & Quit button using Tab key and then press Enter.
Please note that you can rerun network setup later from linux by running set-ip command after you login to linux using Admin account.
- Please wait till installer finish deployment of 2N® SIM Star Server and 2N® External Routing Machine binary files to systems.
After it finish, you will be asked to change linux Admin user password. Please change it in order to secure your installation.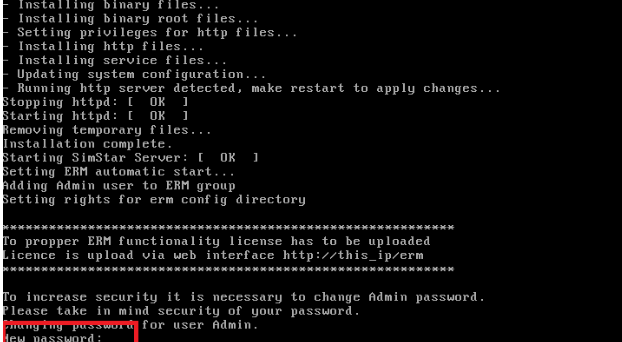
Please note that this Admin account is for linux login, not 2N® SIM Star Server itself.
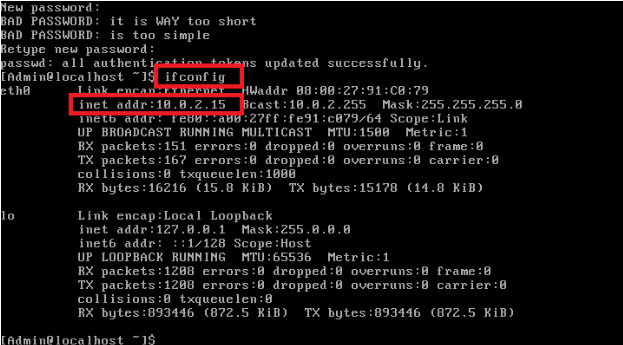
Now you have sucesfully installed 2N® SIM Star Server and 2N® External Routing machine. To find out on which IP address those servers are available,
please type in linux shell following command:
ifconfig
and check what IP address is assigned to Ethernet interface.
Then please open on some different computer web browser and type obtained IP address to its address bar.
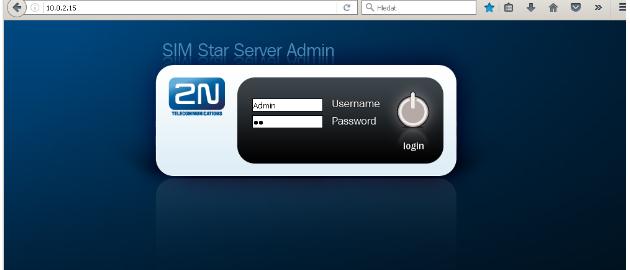
Please login with following credentials:
Username: Admin
Password: 2n