SIP Proxy - How to create it and add VoIP terminal
Creation of SIP Proxy
Go to Virtual ports ‐> SIP and add a new virtual port.

- In the popped window specify the SIP Proxy name and choose in “Type“ parameter option “SIP Proxy“.

- Then go to SIP Proxy and in bookmark “Stack” set parameters according to picture below.Realm (Domain) – IP address of NetStar CPU
Realm (Domain) – IP address of NetStar CPU
RTP interface – here make a right mouse button click and add RTP interface
Codecs – transfer required codecs from “Supported” to “Selected”
DTMF according to RFC‐2833 – check this option for proper transmission of DTMF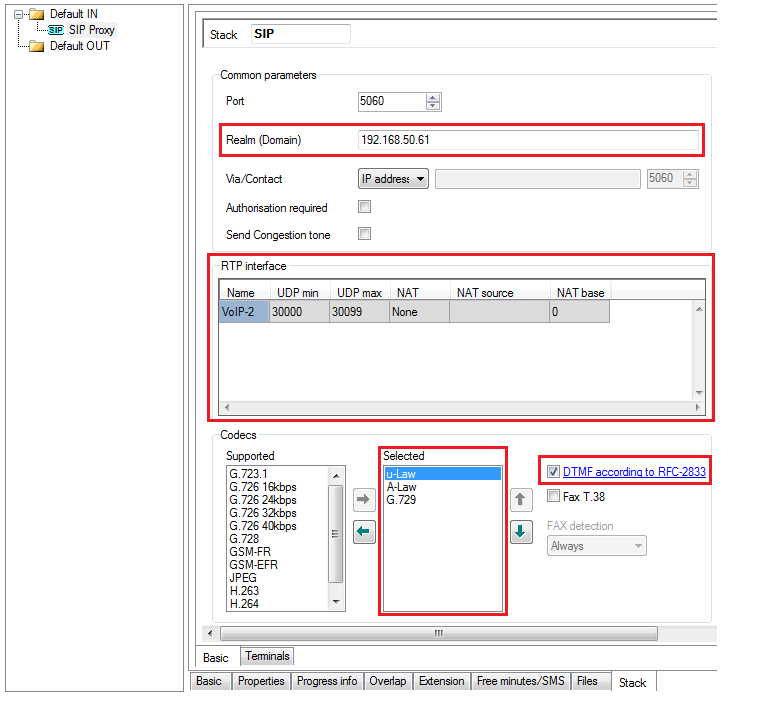
Creation of VoIP terminal
- Go to SIP Proxy ‐> Stack ‐> Terminals and add new terminal.

- Specify the terminal name – it has to correspond with SIP extension name! Then click to “OK” and the terminal is created.

Creation of SIP station
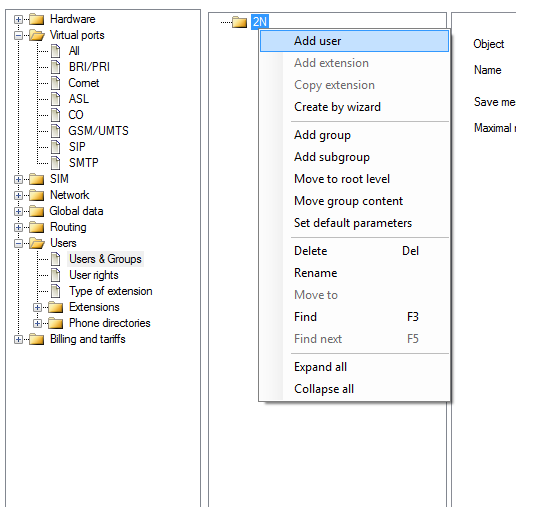
- First of all you need to create user group. Go to Users ‐> Users & Groups and add new group.

- When the group is created, add to it new user.
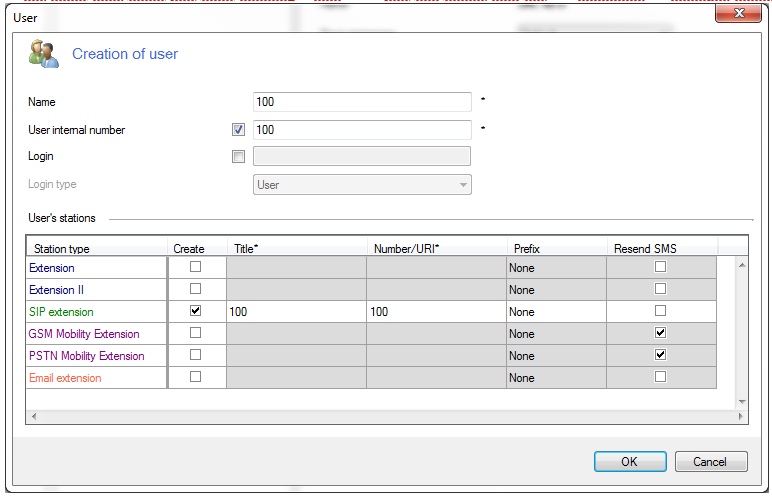
- At the same time when you were creating a new user, you can create also the SIP extension. In example below both user and extension have the name and the number "100".
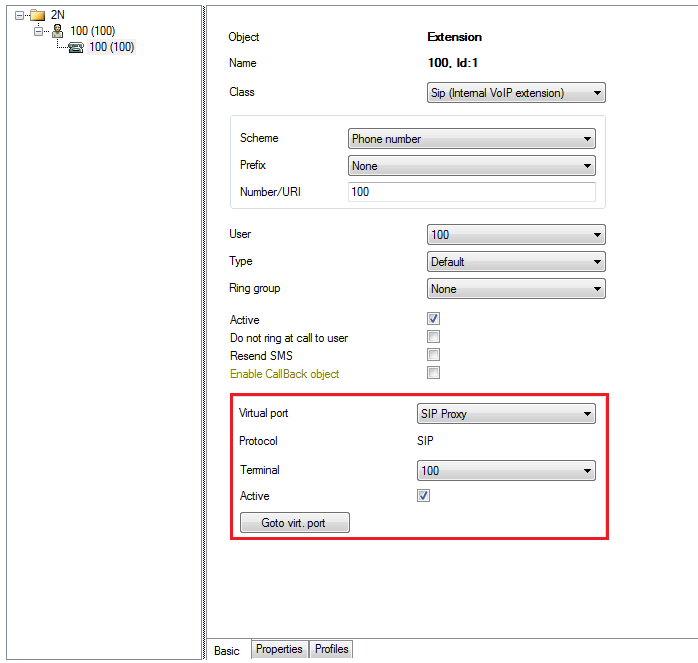
- When the new user and extension are created, go to extension setting and assign this extension to previously created terminal 100.
- Last thing you have to do is to assign the login to newly created extension. You can do it in section Users ‐> User rights.
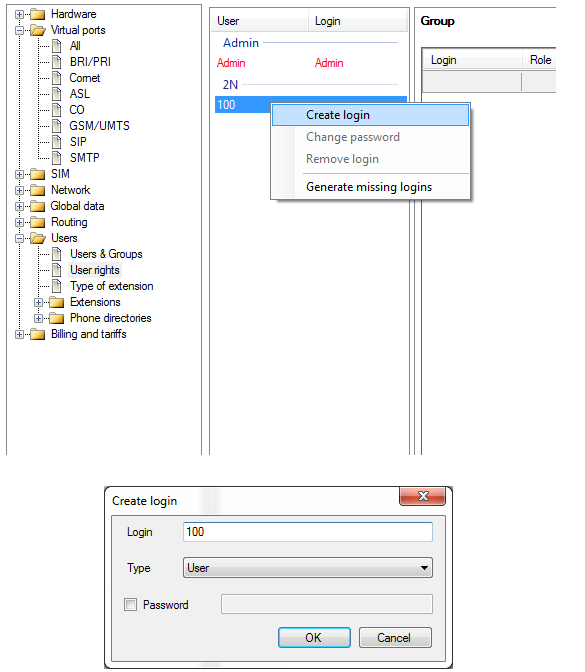
- Now is everything set properly and you can connect SIP station to sip proxy. Register information will be in this case:Username: 100
Password: 100