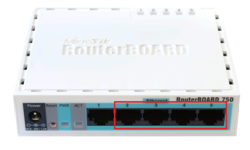
- Connect your PC with MikroTik over Ethernet cable to Ethernet port 2-5
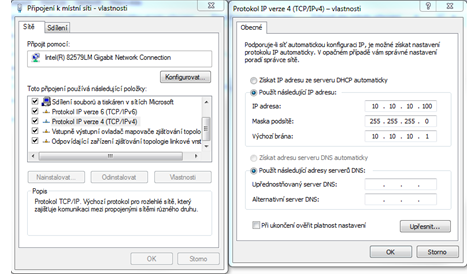
- Setup IP address on your Network adapter as described in the picture
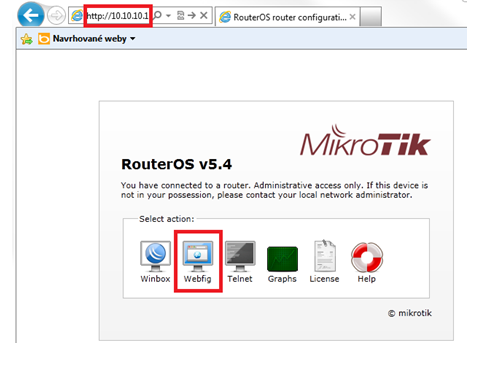
- Open your web browser and type 10.10.10.1 to connect to the MikroTik Configuration web interface
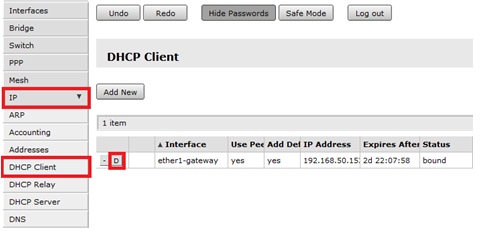
- Disable or remove DHCP client
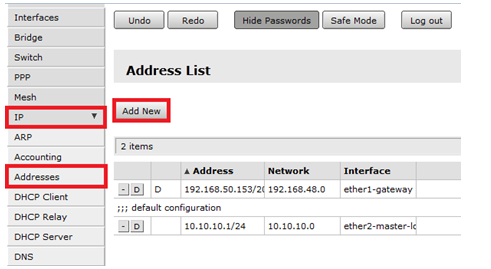
- Setup static IP address on Ethernet port 1
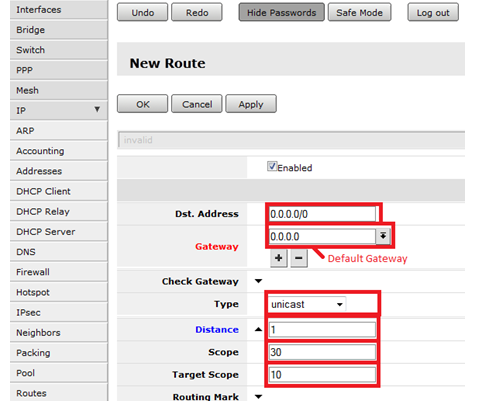
- Add Default Gateway. Go to IP -> Routes -> Add New and setup like on following picture
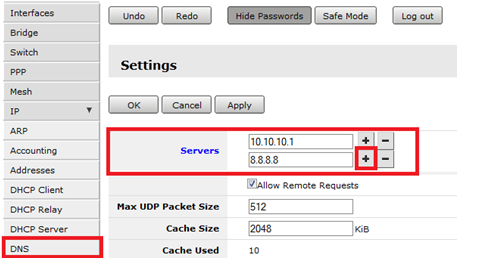
- Add IP addresses of DNS servers. Go to IP -> DNS -> Settings and setup all DNS servers