VoiceMail to Email - How to set it in 2N®NetStar
Before you start
- check if you have in your Netstar license for VoiceMail
- check correct setting of DNS servers in your Netstar
Settings
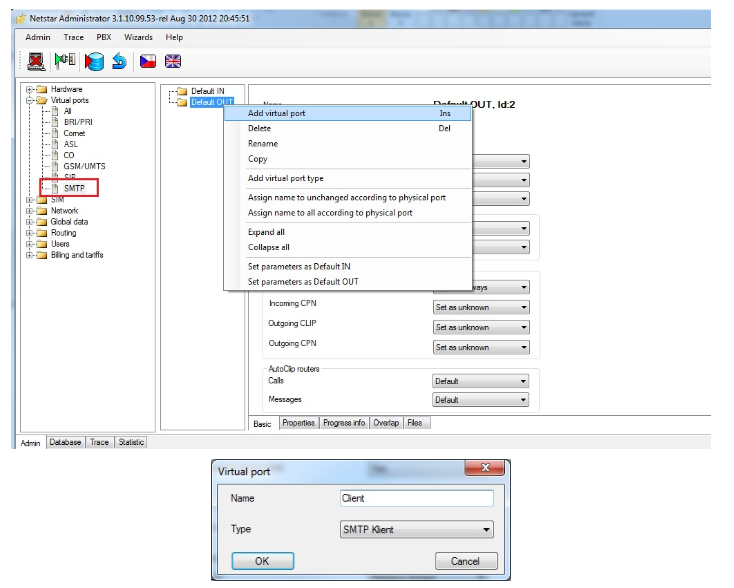
In order to use VoiceMail feature, you need to setup email extensions for user who is going to use this feature. In order to do that, it is necessary to create SMTP client port. Go to section "Virtual ports –> SMTP", make a right click on the "Default OUT" group and select "Add virtual port". Then there will be new pop-up window where you have to specify the name of the SMTP Klient.
Stay in the "Virtual ports –> SMTP" section and click on the new virtual port called "Client" and select "Stack" tab. You must fill the information of the email account from which all emails will be sent from Netstar to the user account.

After these steps add a new Email extension for given user (in our case its user 110). Make a right click on the user 110 and select "Add extension". You will see new pop-up window where you specify name, class and email address for this user - see pictures below:

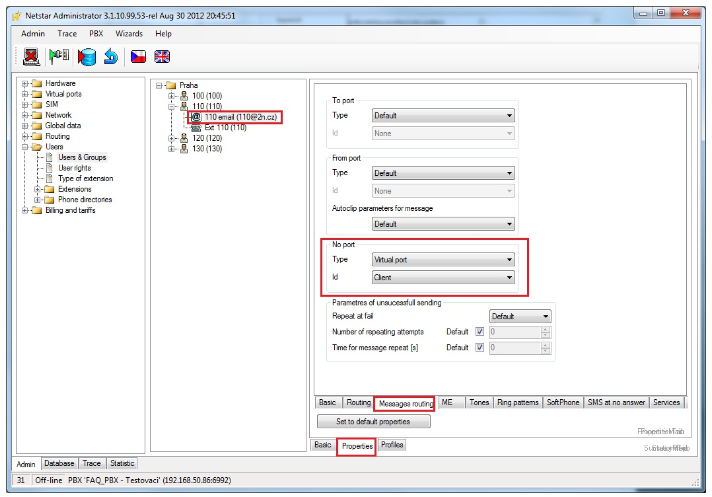
Once the new email extension is created go to "Properties –> Messages routing" and set there "No port" parameters to previously created SMTP Client virtual port.
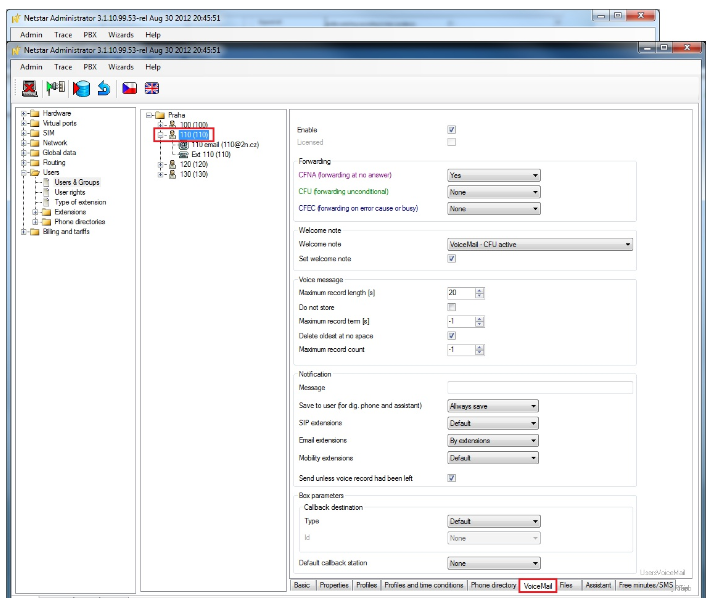
Now move to the user on whom you want to activate VoiceMail feature. Go to the Tab "VoiceMail" and set all parameters according to the picture below.
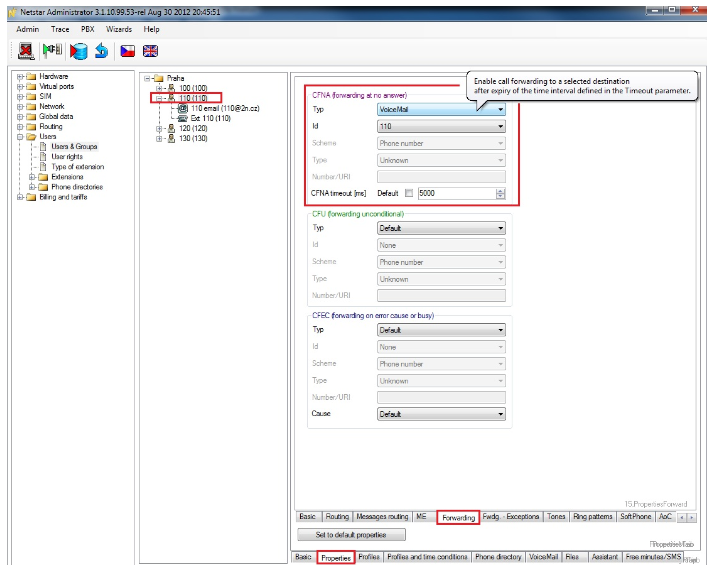
As a last step go to tab "Properties –> Forwarding" and specify there that you want to forward calls to VoiceMail if no one picks up the call within 5 second. For appropriate configuration see the picture below:
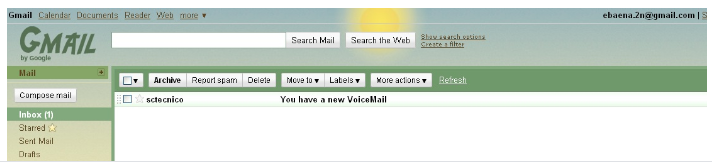
Now if you make a test call and you should be able to see email with recorded message in your email account.