VoIP gateway - How to set 2N® NetStar as a VoIP gateway
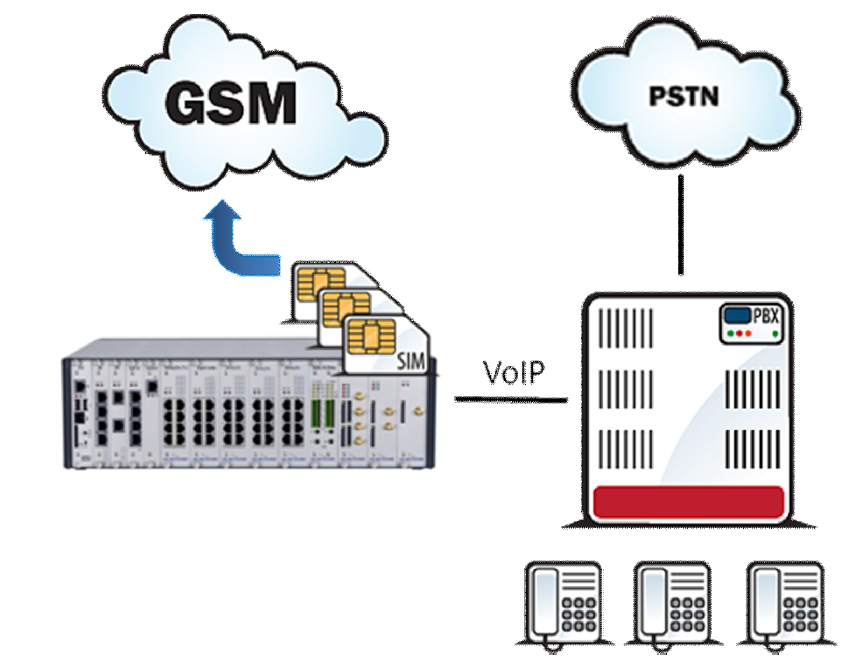
This „how to“ manual will help you to set up 2N® NetStar as a SIP <-> GSM/UMTS gateway. Before you start programming the system, it is highly recommended to read configuration manual.
- Check your licence (Global data -> Licence). If you do not have it, please contact us.
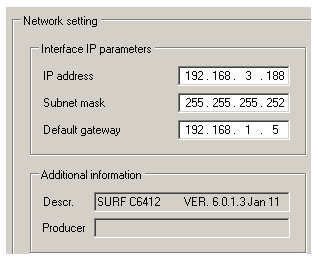
2. Set up a VoIP card
3. Set up a SIP trunk.
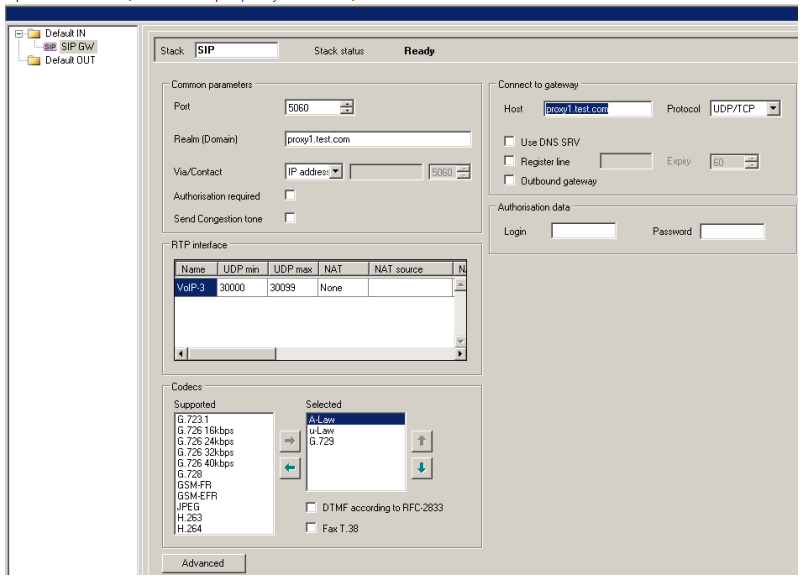
- Create a SIP trunk – SIP GW. (Virtual ports -> SIP -> SIP Gateway).
Add RTP interface
Select codecs
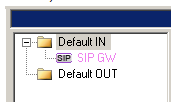
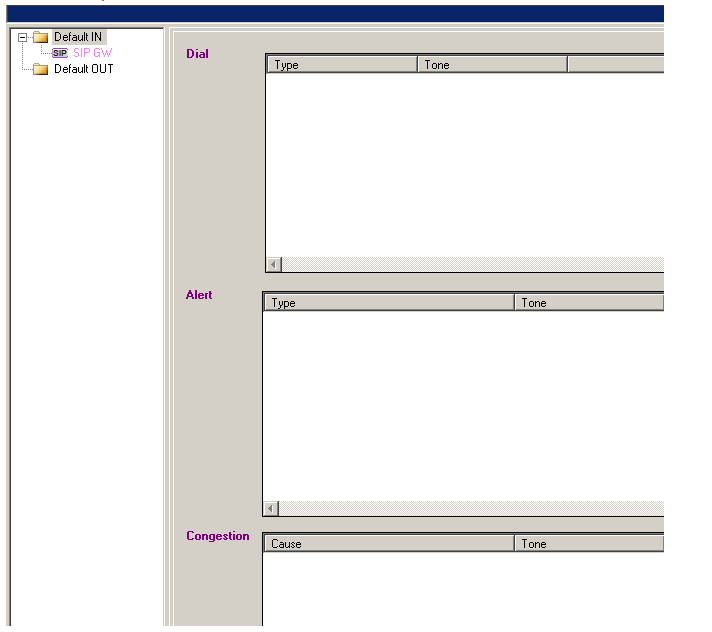
Set up IP address of the other peer and realm (in our example proxy1.test.com) - Set up SIP GW as Default IN (important for proper network tones transmission).
- Delete all tones from Default IN (Properties -> Tones)
- Create a SIP trunk – SIP GW. (Virtual ports -> SIP -> SIP Gateway).
- Set up GSM/UMTS ports
- Create a budle - GSM (Routing -> Routing objects -> Bundle) and use all GSM ports in this bundle. It is recommended to use cyclical strategy.
- Create a budle - GSM (Routing -> Routing objects -> Bundle) and use all GSM ports in this bundle. It is recommended to use cyclical strategy.
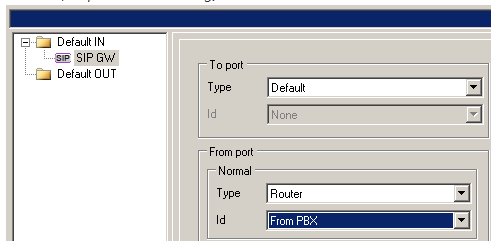
- Create a router - From PBX. (Routing -> Routers -> Called party number Router)
this router will send all calls to GSM. It is very important to specify the length of the numbers. In our example GSM prefixes are 6 and 7 and numbers are 9-digit long. - Use router From PBX as a from port router on the SIP GW. (Properties -> Routing)
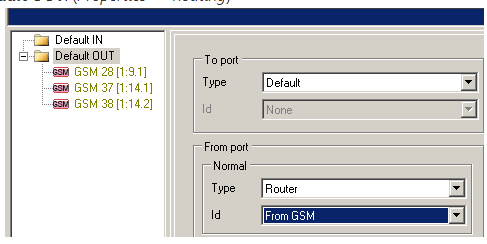
- Create router – From GSM. (Routing -> Routers -> Called party number Router)
the purpose of this router is to route all calls from GSM to a predefined extension in the PBX (in our example 111). - Use router From GSM as a from port router on Default OUT. (Properties -> Routing)
- Switch off CLIP normalizing (Global Data -> Localisation)
in case you do not want NetStar to modify incoming CLI (e.g. strip international prefix)

