Integriti PRO / Infiniti
Content
About
Inner Range Security Management and Access Control systems offer solutions and integration possibilities across a wide variety of commercial and enterprise applications. The combination of Inner Range's sophisticated access control and extensive intruder alarm features with integration possibilities for a large range of 3rd party hardware and software applications makes Inner Range systems particularly flexible and ideally suited to manage your security requirements.
Version 20
| Integriti PRO / Infiniti | 2N IP Intercom Version | Calls | Video stream | Switch control | Intercom control |
|---|---|---|---|---|---|
| 20.0.2.16435 | 2.30.2.39.7 |
2N IP Intercom Settings
All HTTP API settings can be found within the ‘HTTP API’ section of the 2N Intercom’s service settings. Enabling Services - At an absolute minimum, the System API, Phone/Call API, and Logging API should be enabled for the Intercom System to start up, but it is recommended to enable all services for the full functionality within Integriti. Connection Type - When configuring an Intercom Point in Integriti, make sure the HTTP API services has the same connection type (Secure for HTTPS, Unsecure for HTTP) in Integriti. Authentication Type – As with the connection type, the authentication used should be the same type as you configure in Integriti.
 |
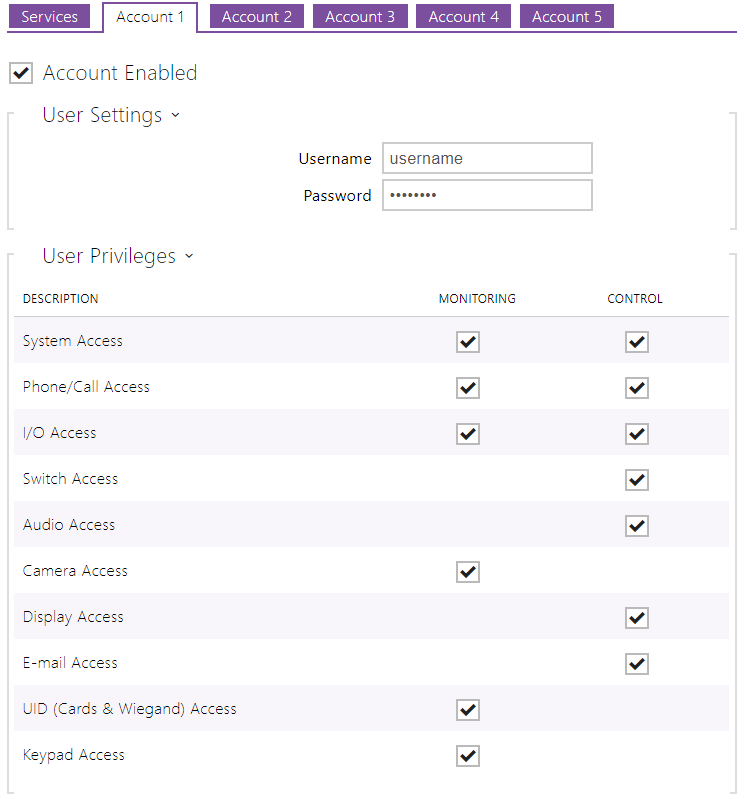
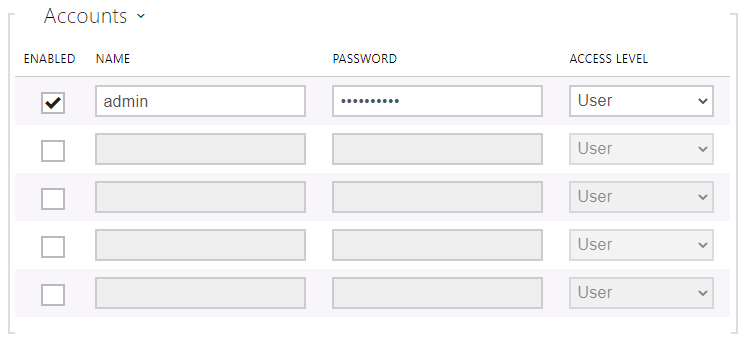
At least one user account should be enabled, and this account can be used in configuring Intercom Points. If possible, monitoring and control should be enabled similarly to services, otherwise an Intercom Point configured with this account will not have that service’s functionality.
 |
 |
 |
 |
 |
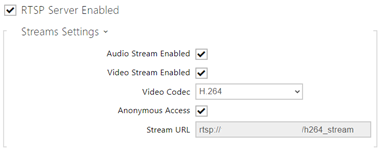
Enabled – Whether or not the account is enabled. To use the configured credentials to view the intercom video, the account must be enabled. Name/Password – The credentials of the account that can be entered in the ONVIF fields in the Integriti intercom point configuration. Access Level – The access level privileges for this user account for ONVIF standards. For Integriti usage, any access level will allow RTSP streams to be viewed.
 |
Integriti PRO / Infiniti Settings
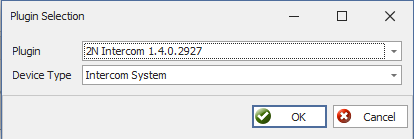
In Integriti System Designer, select ‘New Integrated Device’ from the System tab. Select the integration to enrol from the list that appears and press Ok.
NOTE: The same version of each integration must be installed on both the Integriti Integration Server and on the Integriti Client Workstation that is enrolling the integration for it to be enrolled. If the desired integration does not appear in the drop-down list, ensure that both the 32-bit and 64-bit (for supported OS’s) Integriti Integration Servers are running.
|
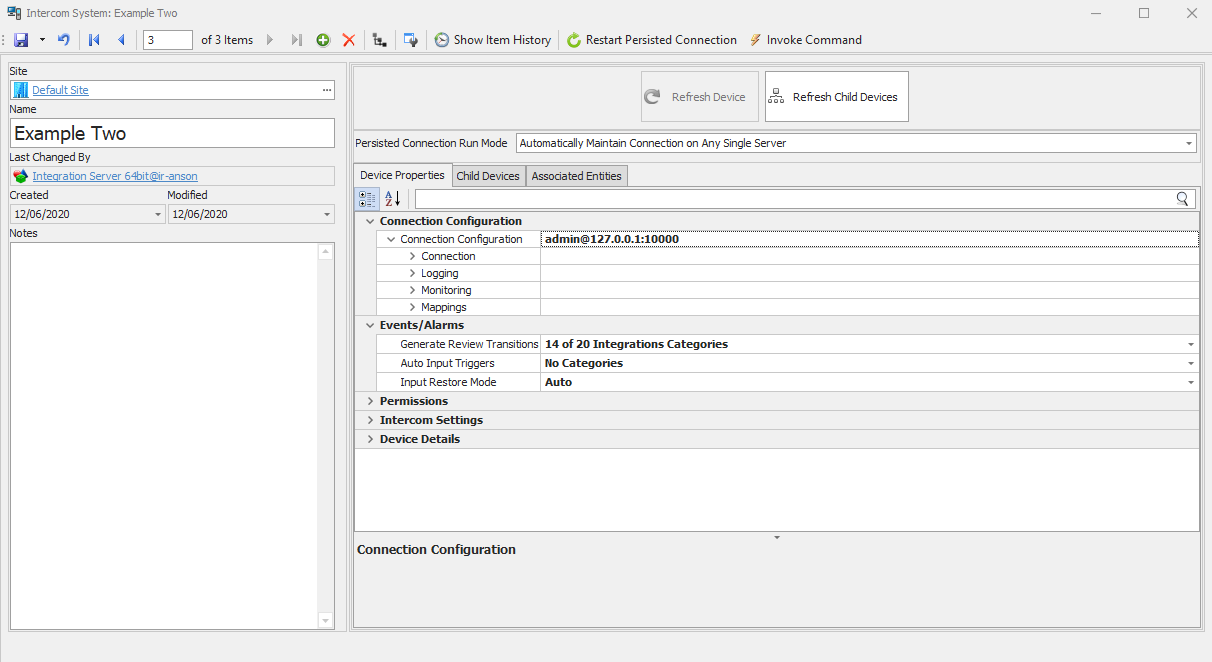
In the editor window that appears, give the newly created device a Name and optionally enter some Notes describing the device.
Persisted Connection Run Mode - Select the preferred Persisted Connection Run Mode. This is necessary for features such as event and intercom point state monitoring. This typically does not affect the ability to view video or invoke commands on this device and its child devices.
Connection Configuration - On the ‘Device Properties’ tab, under ‘Connection Configuration’, configure the integration specific properties, including details on connecting to the 3rd party system. For more details on how to configure integration specific properties, please refer to the individual integration’s manual.
Select the Save button to save the newly created device.
Refresh Device - If the ‘Refresh Device’ button is both visible and not greyed out, click on it to load configuration details from the 3rd party system. The exact details that are loaded from the 3rd party system by the Refresh Device button varies between different integrations, however typically this will load details of user defined events that can be received by the integration and user-defined commands that can be triggered by through Invoke Command.
Refresh Child Devices - Click on the ‘Refresh Child Devices’ button and select ‘Yes’ in the dialog that appears to populate the child devices for the integration module. Depending on the integration, this will do one of the following: - Query the 3rd party system at the address specified under Connection Configuration for an up to date list of the intercom points configured in the 3rd party system. - Perform a network scan for Intercom points compatible with the integration - Create Intercom Points based on the child intercom points configured in the Intercom System.
Save and close the editor window for the new device and, if enabled, a persisted connection will automatically begin to the 3rd party system and start any monitoring supported by the integration and enabled in the device’s properties.
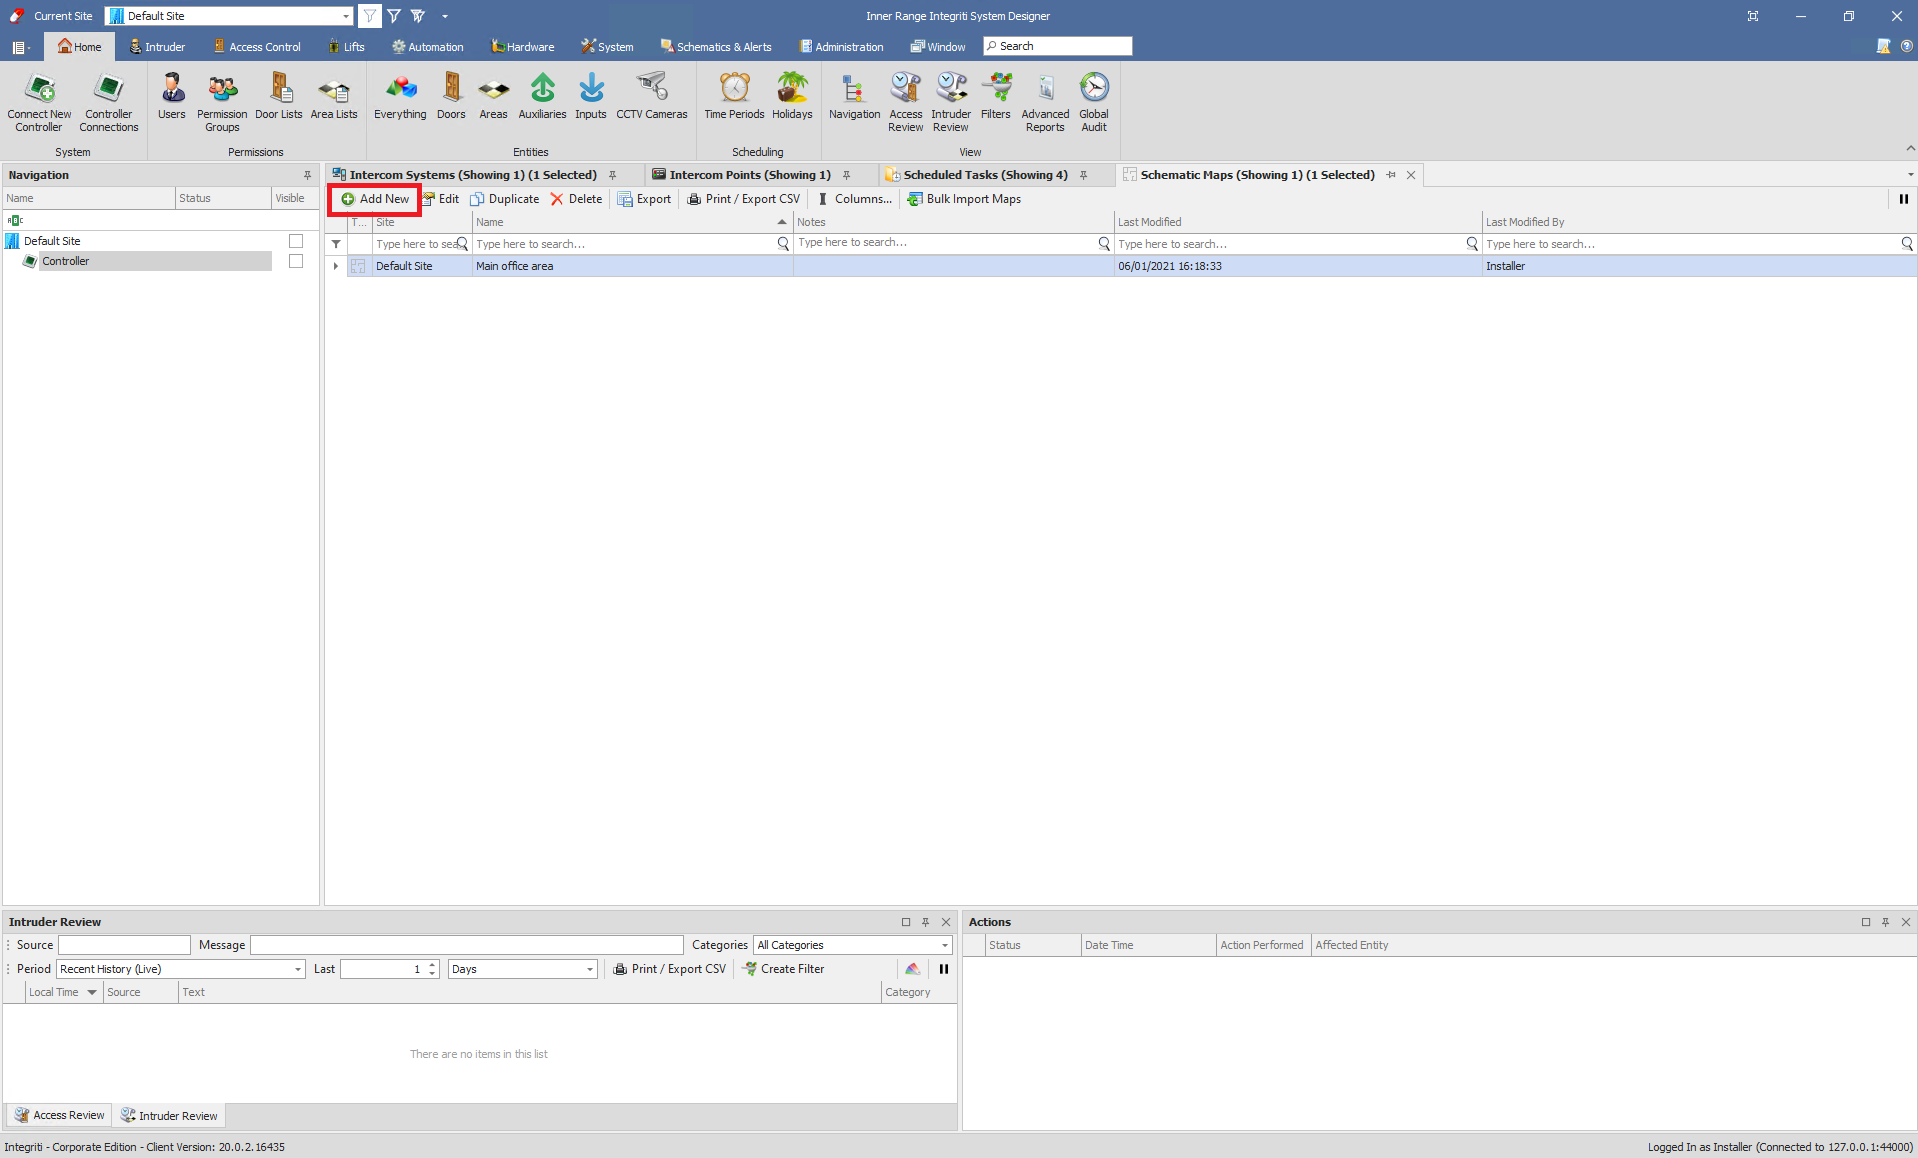
The current Intercom point state can be viewed from the following locations: Intercom point List - From the Intercom point list in Integriti, the Status and Summary columns give information on each Intercom point’s current state. Status provides an overview of the intercom’s current status, while summary can give more information specific to each integration. This can include intercom alarms, call state and several other useful details, dependent on the specific integration.
 |
Review - If generating intercom events for the Intercom categories is enabled in the Device Properties then all changes to device state will result in Review being generated as with other Intercom events and alarms. These Review Records can be viewed in the CCTV/Integration Review window or can be used to trigger another event to happen in the system.
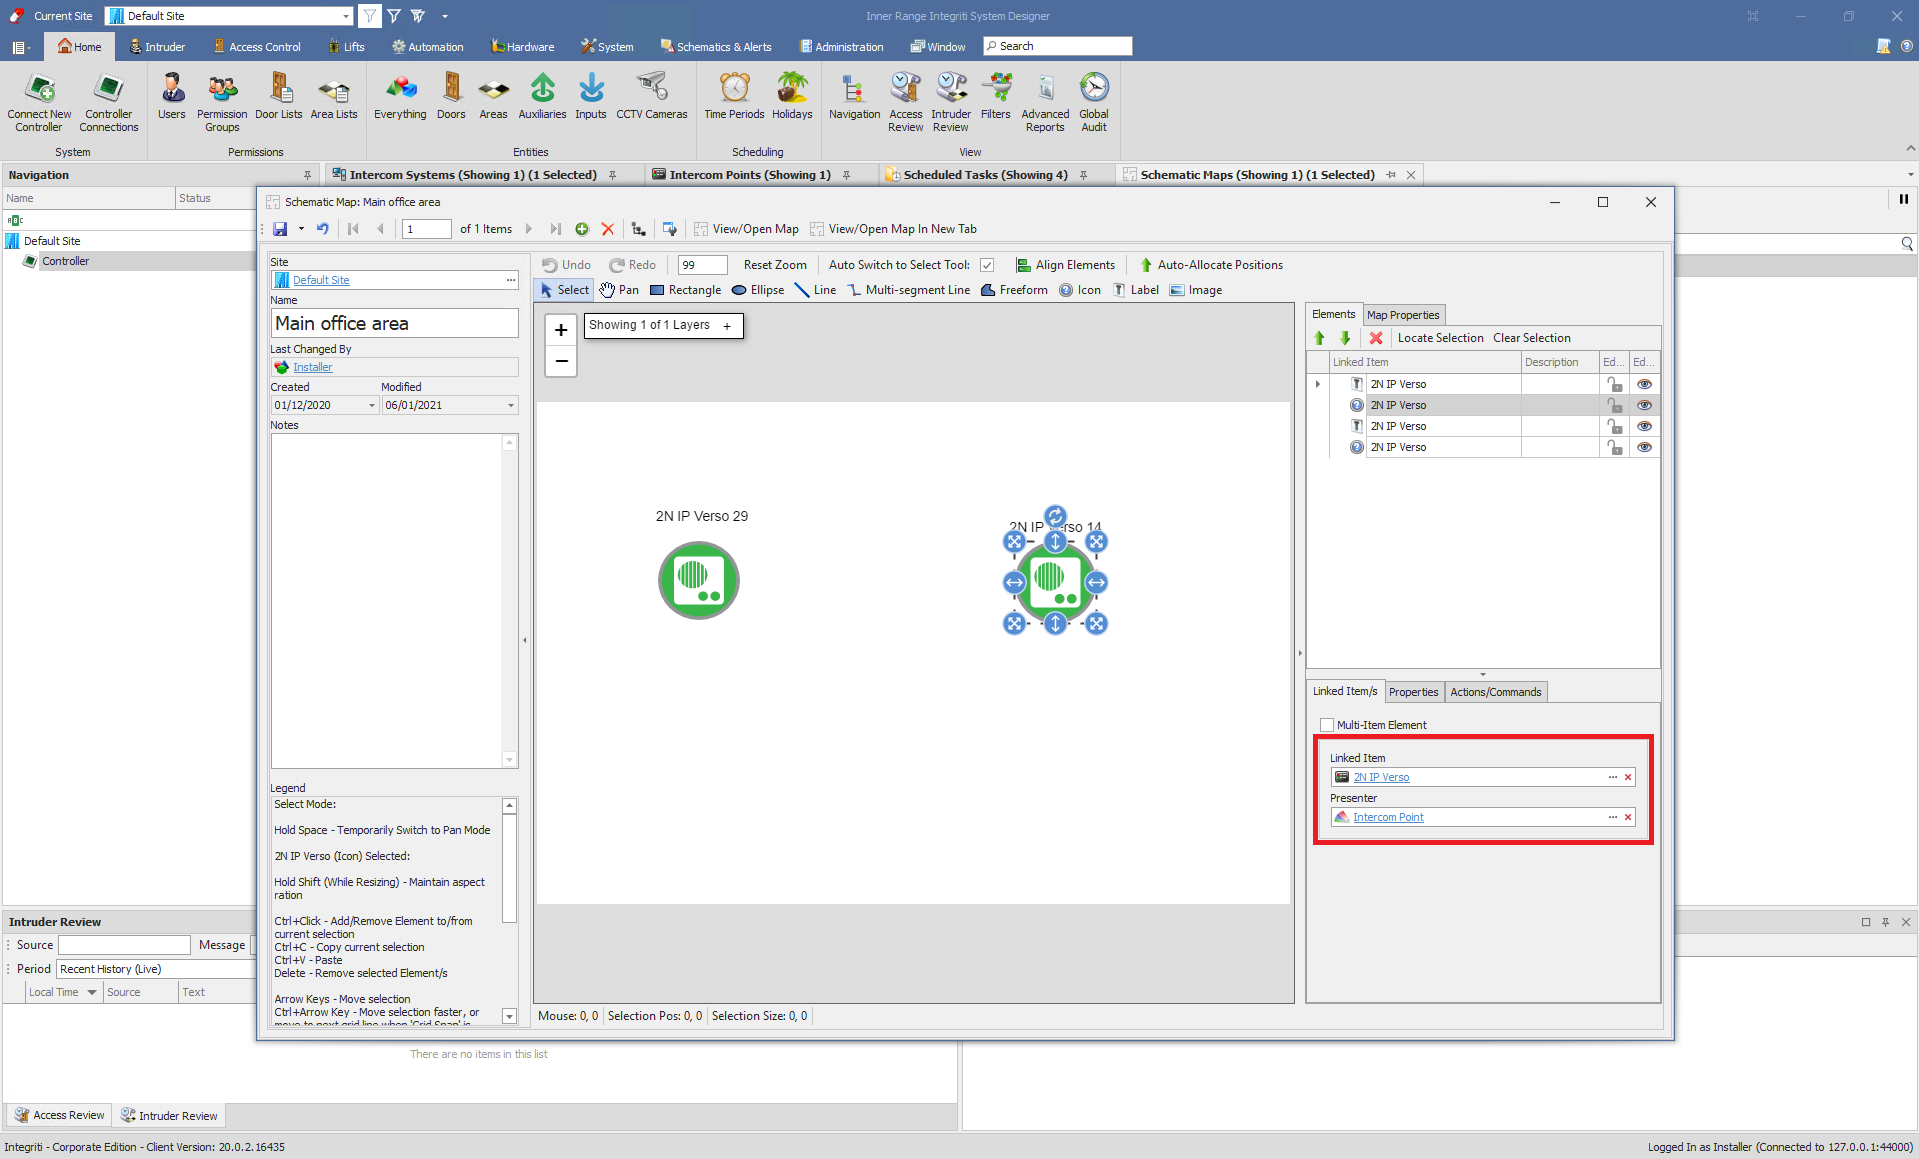
Schematics - Schematic Maps provide the ability to add Intercom points to a Schematic to allow a live indication of the current state of each Intercom point. The appearance and associated text of elements on a Schematic will be updated based on the assigned Element Presenter as state changes are received from the 3rd party system.
Add new Schematic Maps and add your intercoms points. You can add some lables or icons. Now set parameters: "Linked Item" - your intercom and "Presenter" - your intercom point.
|
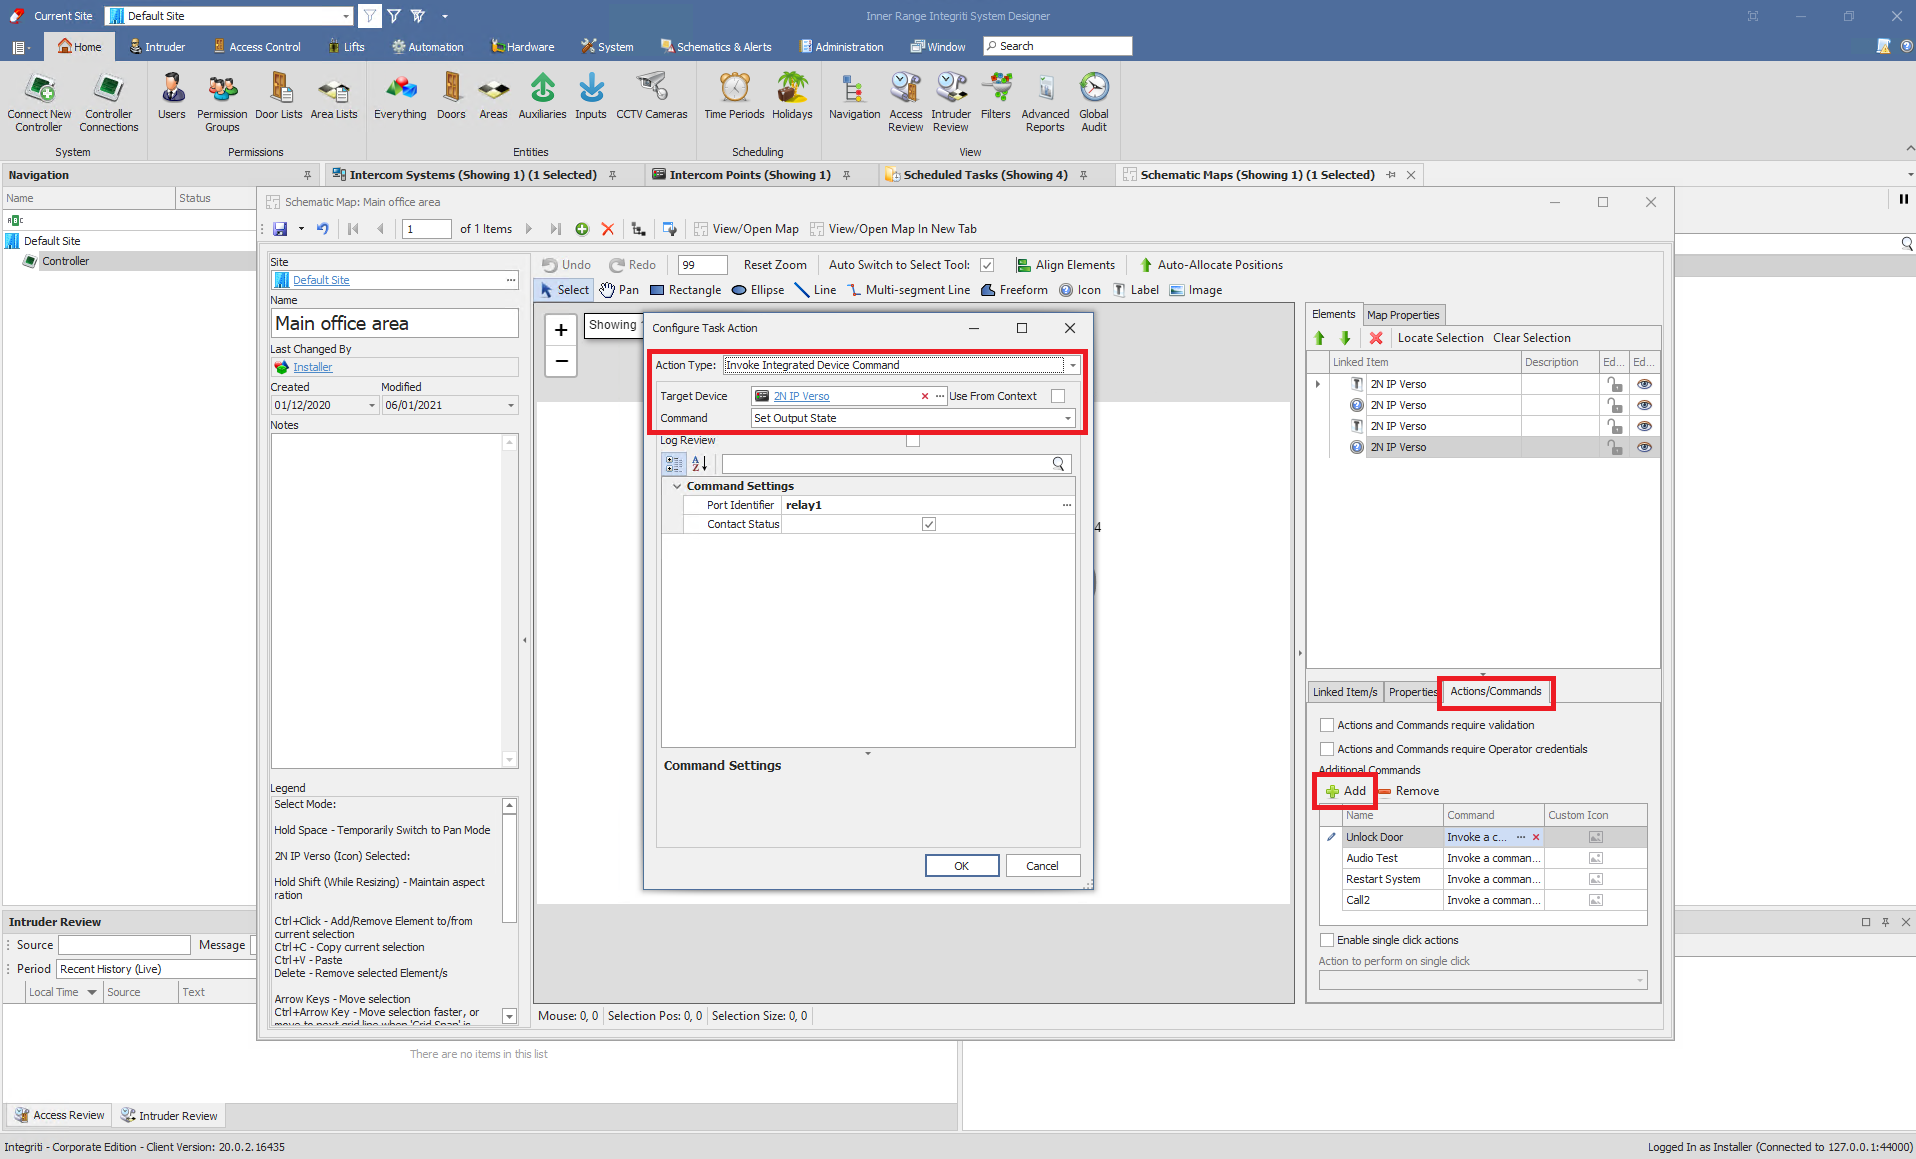
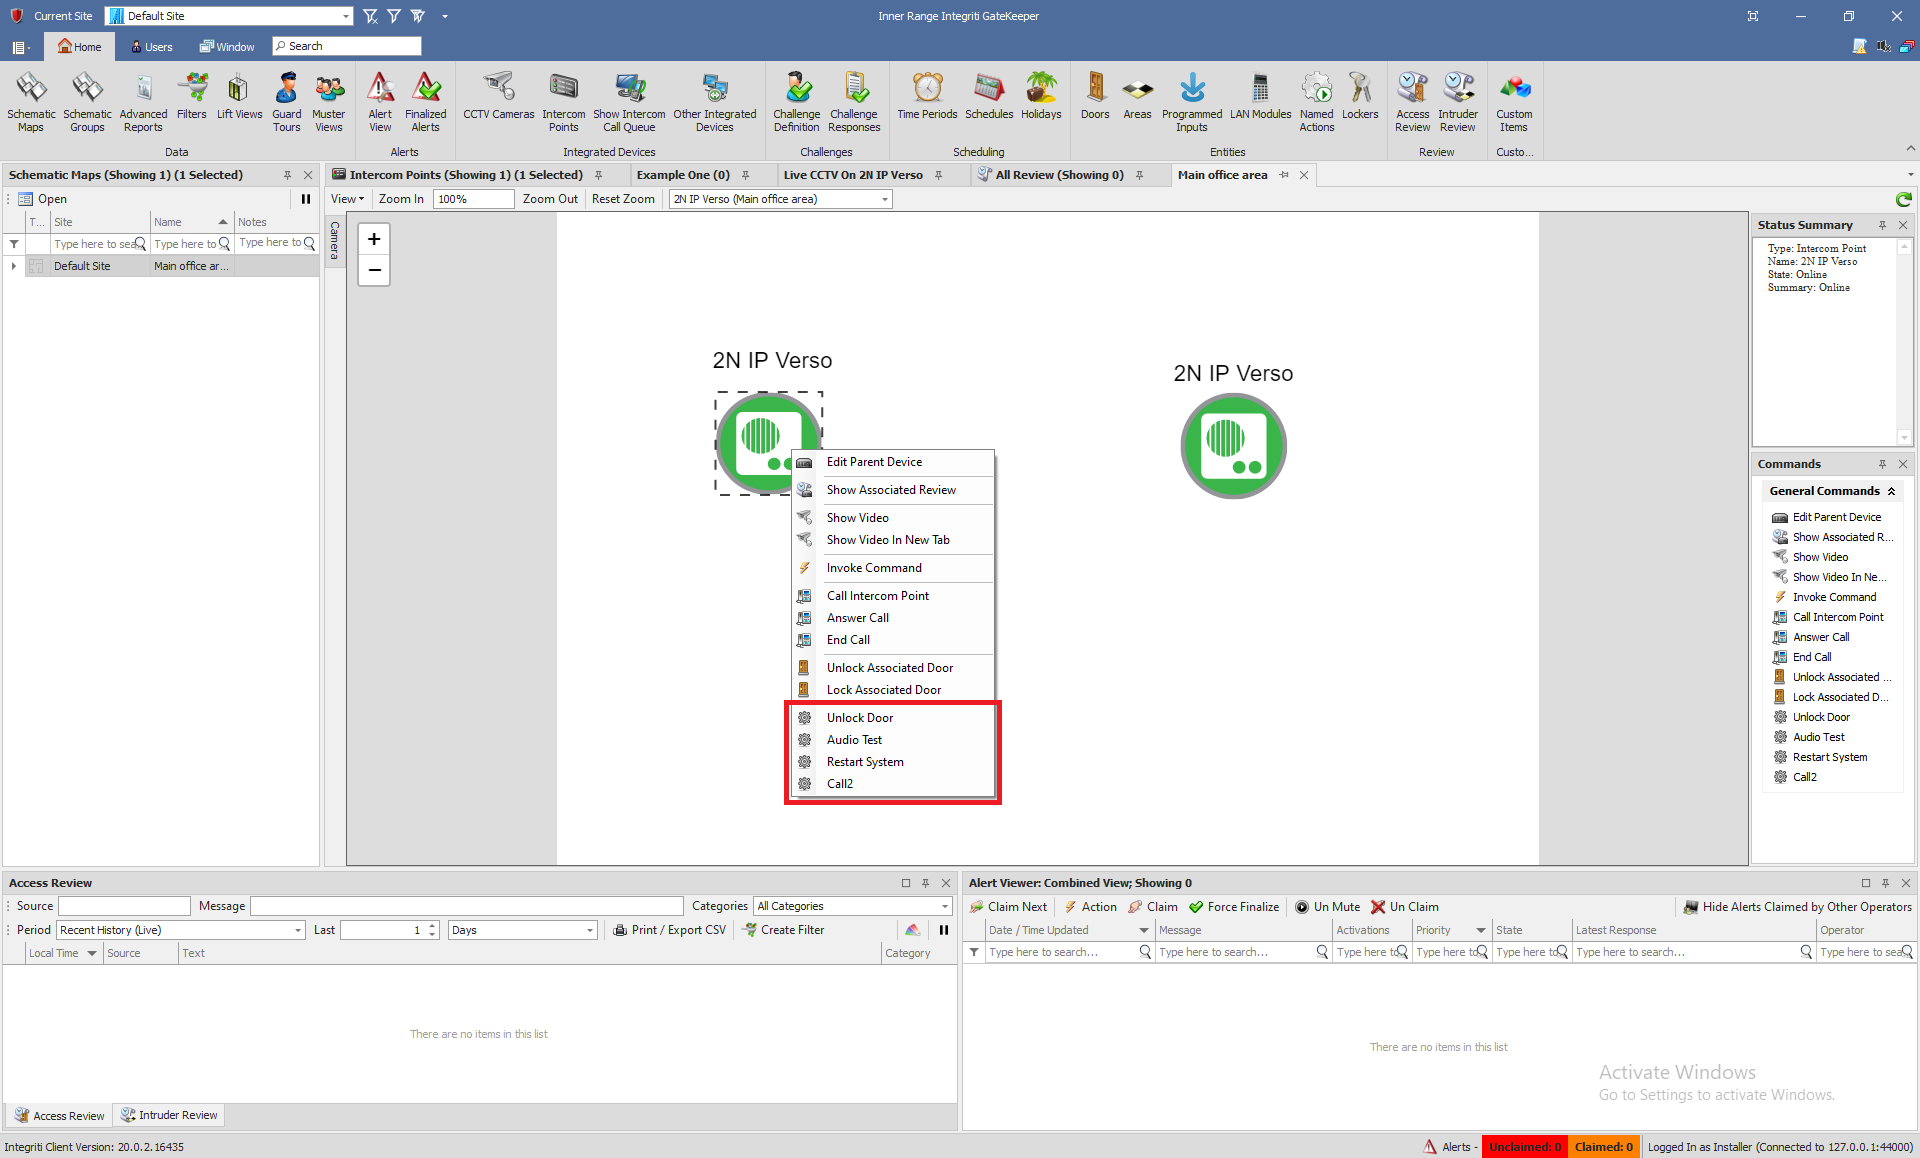
Now you can add Actions/Commands. Set Action yoe as "Invoke Integrated Device Command", Targer Device and choose a command. Save it and click on "Refresh Child Devices" in the menu Intercom System.
 |
|
Licenses
- 2N Enhanced Integration license
- 2N Enhanced Video license
Used Symbols
![]() - Compatible
- Compatible
![]() - Work with limitation
- Work with limitation
![]() - Incompatible
- Incompatible