2.5 Completion
Check the connection of all wires and the RJ-45 plug to the board connector.
Caution
- All unused connectors have to have tightened screws in order to avoid vibration caused by sound.
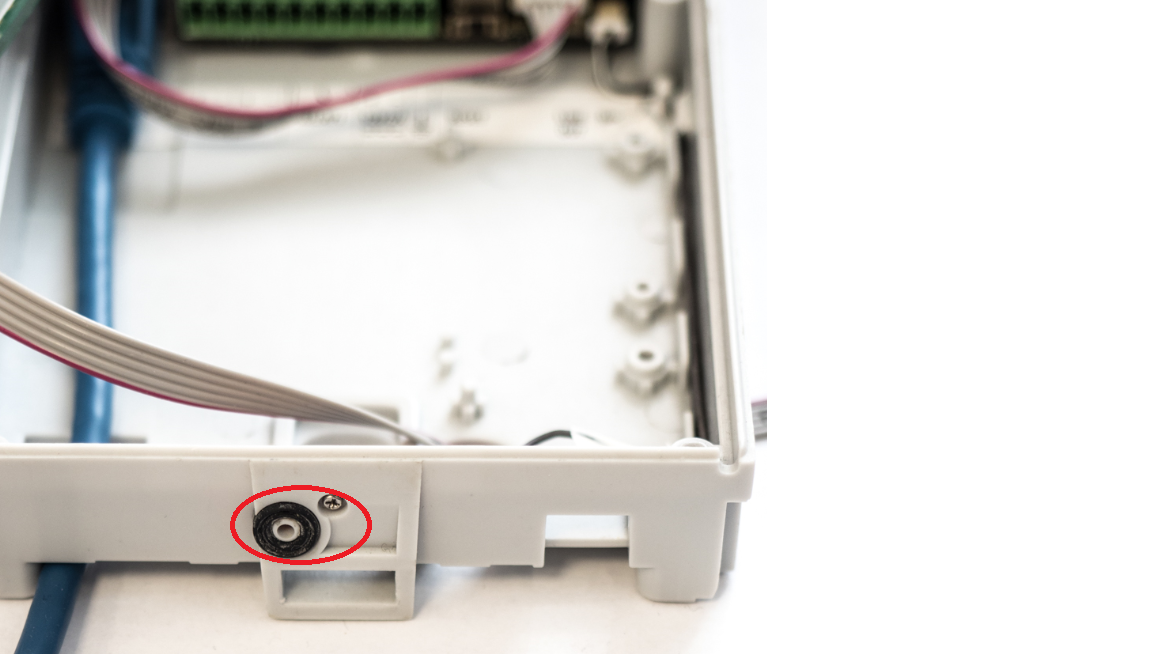
Make sure before mounting that the black sealing ring is placed properly. We recommend you to fit the microphone with the screw included in the delivery.
Nametag Placing
Every intercom package includes a piece of transparent foil, which can be laser printed. Cut the printed foil and insert the nametags in the buttons.
We recommend you to use separate foil for every button in the 5-button module. Refer to section download for the nametag printing template.
Nametag dimensions for 5-button module:
- 1 button: 52.0 (W) x 15.2 (H) mm (dimensional tolerance: +0; -0.5 mm)
- 5 buttons: 57.5 (W) x 89.0 (H) mm (dimensional tolerance: +0; -0.5 mm)
Infopanel nametag dimensions: 69.2 (W) x 86.7 (H) mm (dimensional tolerance: +0; -0.5 mm).
Caution
- The area where nametags are placed is called a wet zone. After heavy rain, water can penetrate to the nametag. Water in this area does not affect the intercom functionality in any way and evaporates soon.
- Always use waterproof foil (enclosed or other) for the nametags. Never use paper or ink jet printing to avoid damage due to water leakage!
Nametag inserting/replacing
- Remove the frame.
- Lift up the button door. The 5-button module buttons have just one door.
- Remove the used nametag and insert a new one.
- Close the button door.
- Replace the frame.
Frame Replacement
Check the frame sealing before replacing the frame.
Version A
- Screw the flush mounting frame in the upper and bottom parts.
Version B
- Hang the surface mounting frame on the hook in the upper part and then screw it tight in the bottom part.
Caution
- Improper mounting may deteriorate the intercom waterproofness and water may damage the electronic part.
- Make sure that all holes are filled with some waterproof material – the top part, around the cables and the screws.
- Use silicone or some other sealant to seal the box against the wall if uneven to avoid water leakage and wall damping.
Most Frequent Mounting Errors
At first, mount the metal bolts, level the bases on an even surface and tighten the screws.
Caution
- Make sure that the bases are levelled properly to avoid water leakage and electronic damage.
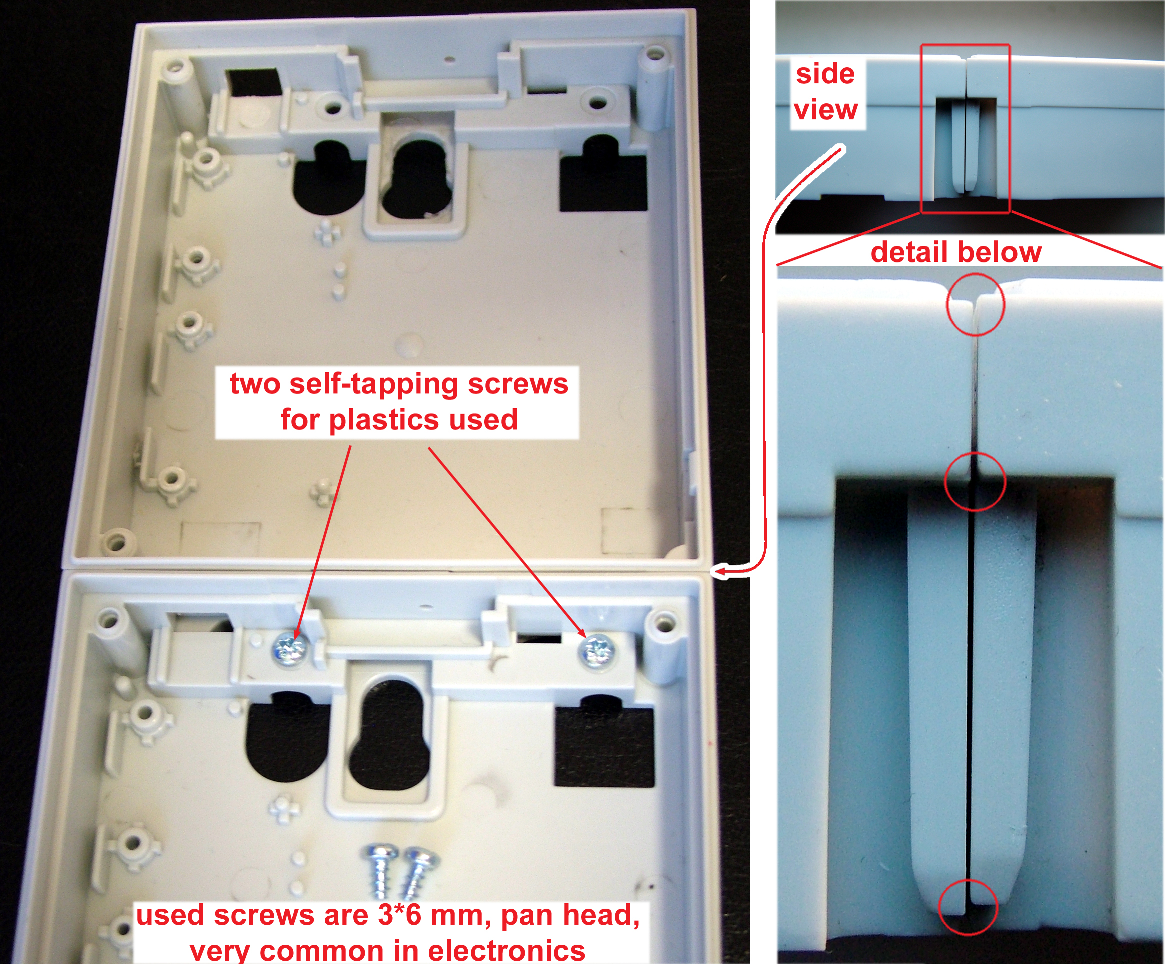
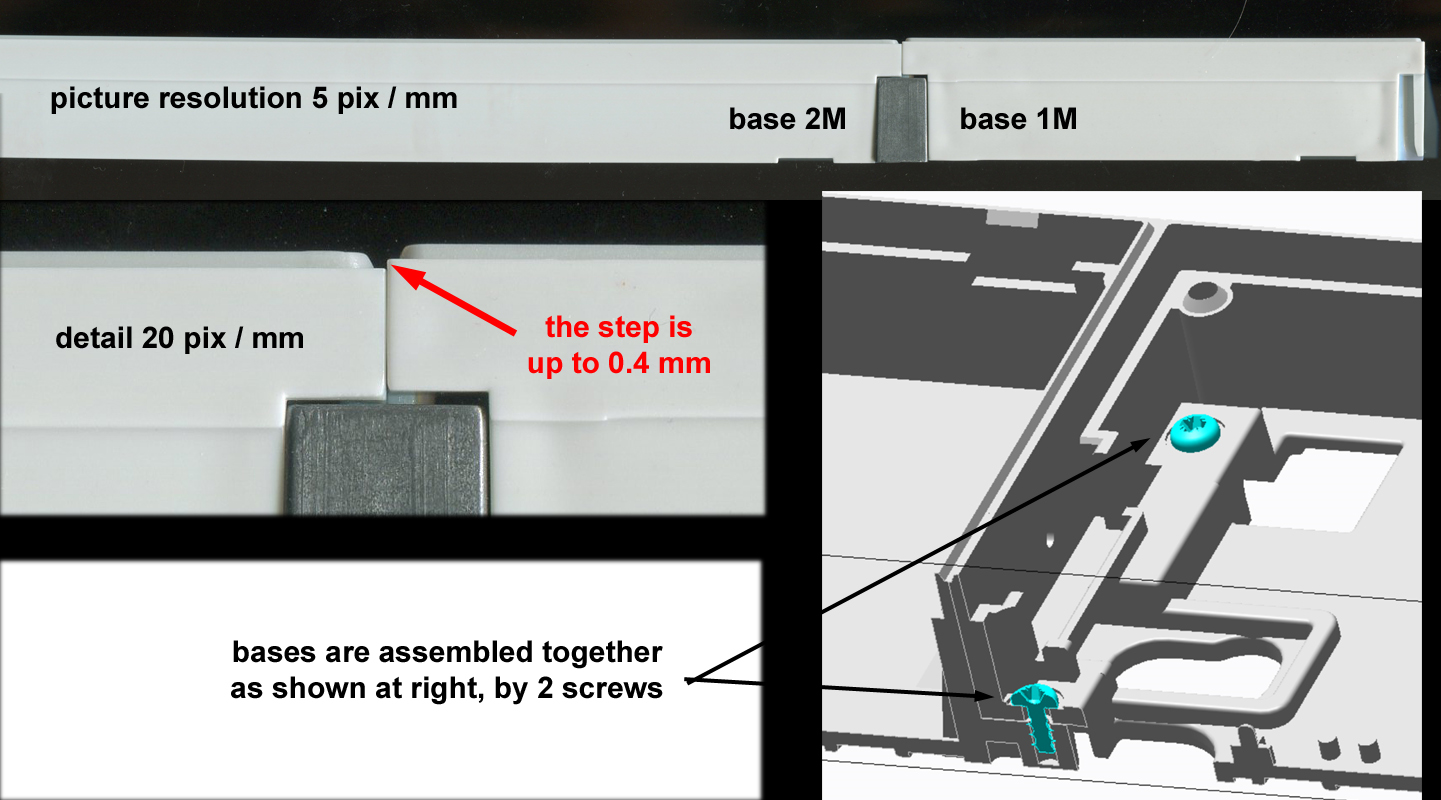
The examples in the figures below show incorrectly assembled bases. This happens, in particular, where the screws are tightened first.


