6.2 Use
Central Unit Login
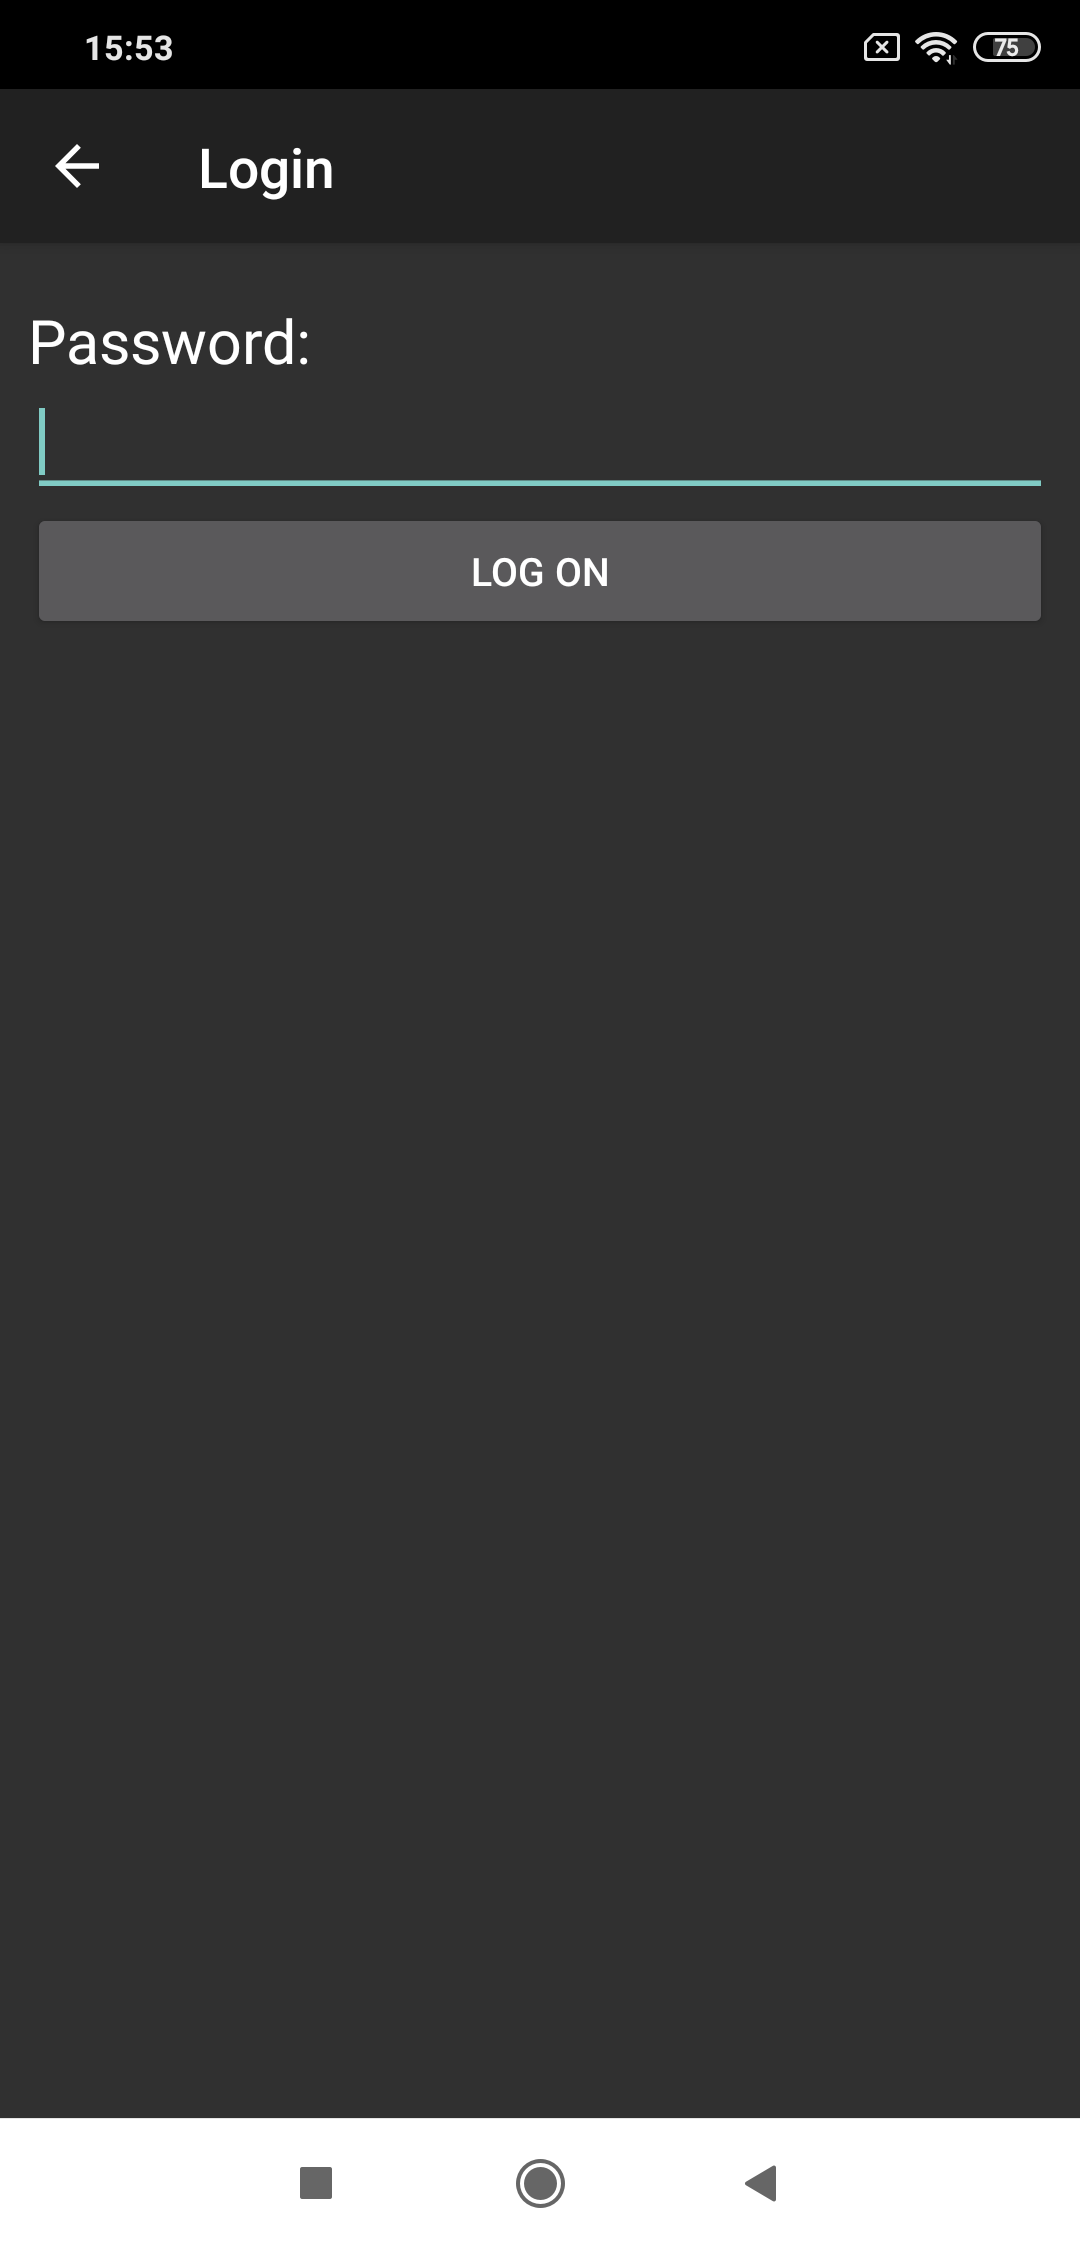
Having launched the application, press Login (right-hand bottom corner) to display the password entering menu. Enter the CU password, which has up to 15 characters.
Note
- The CU default password is 2n unless specified otherwise by the customer. Refer to the CU package for the correct password.
- A window pops up for you to get access to the USB device upon every login.
Login Screen
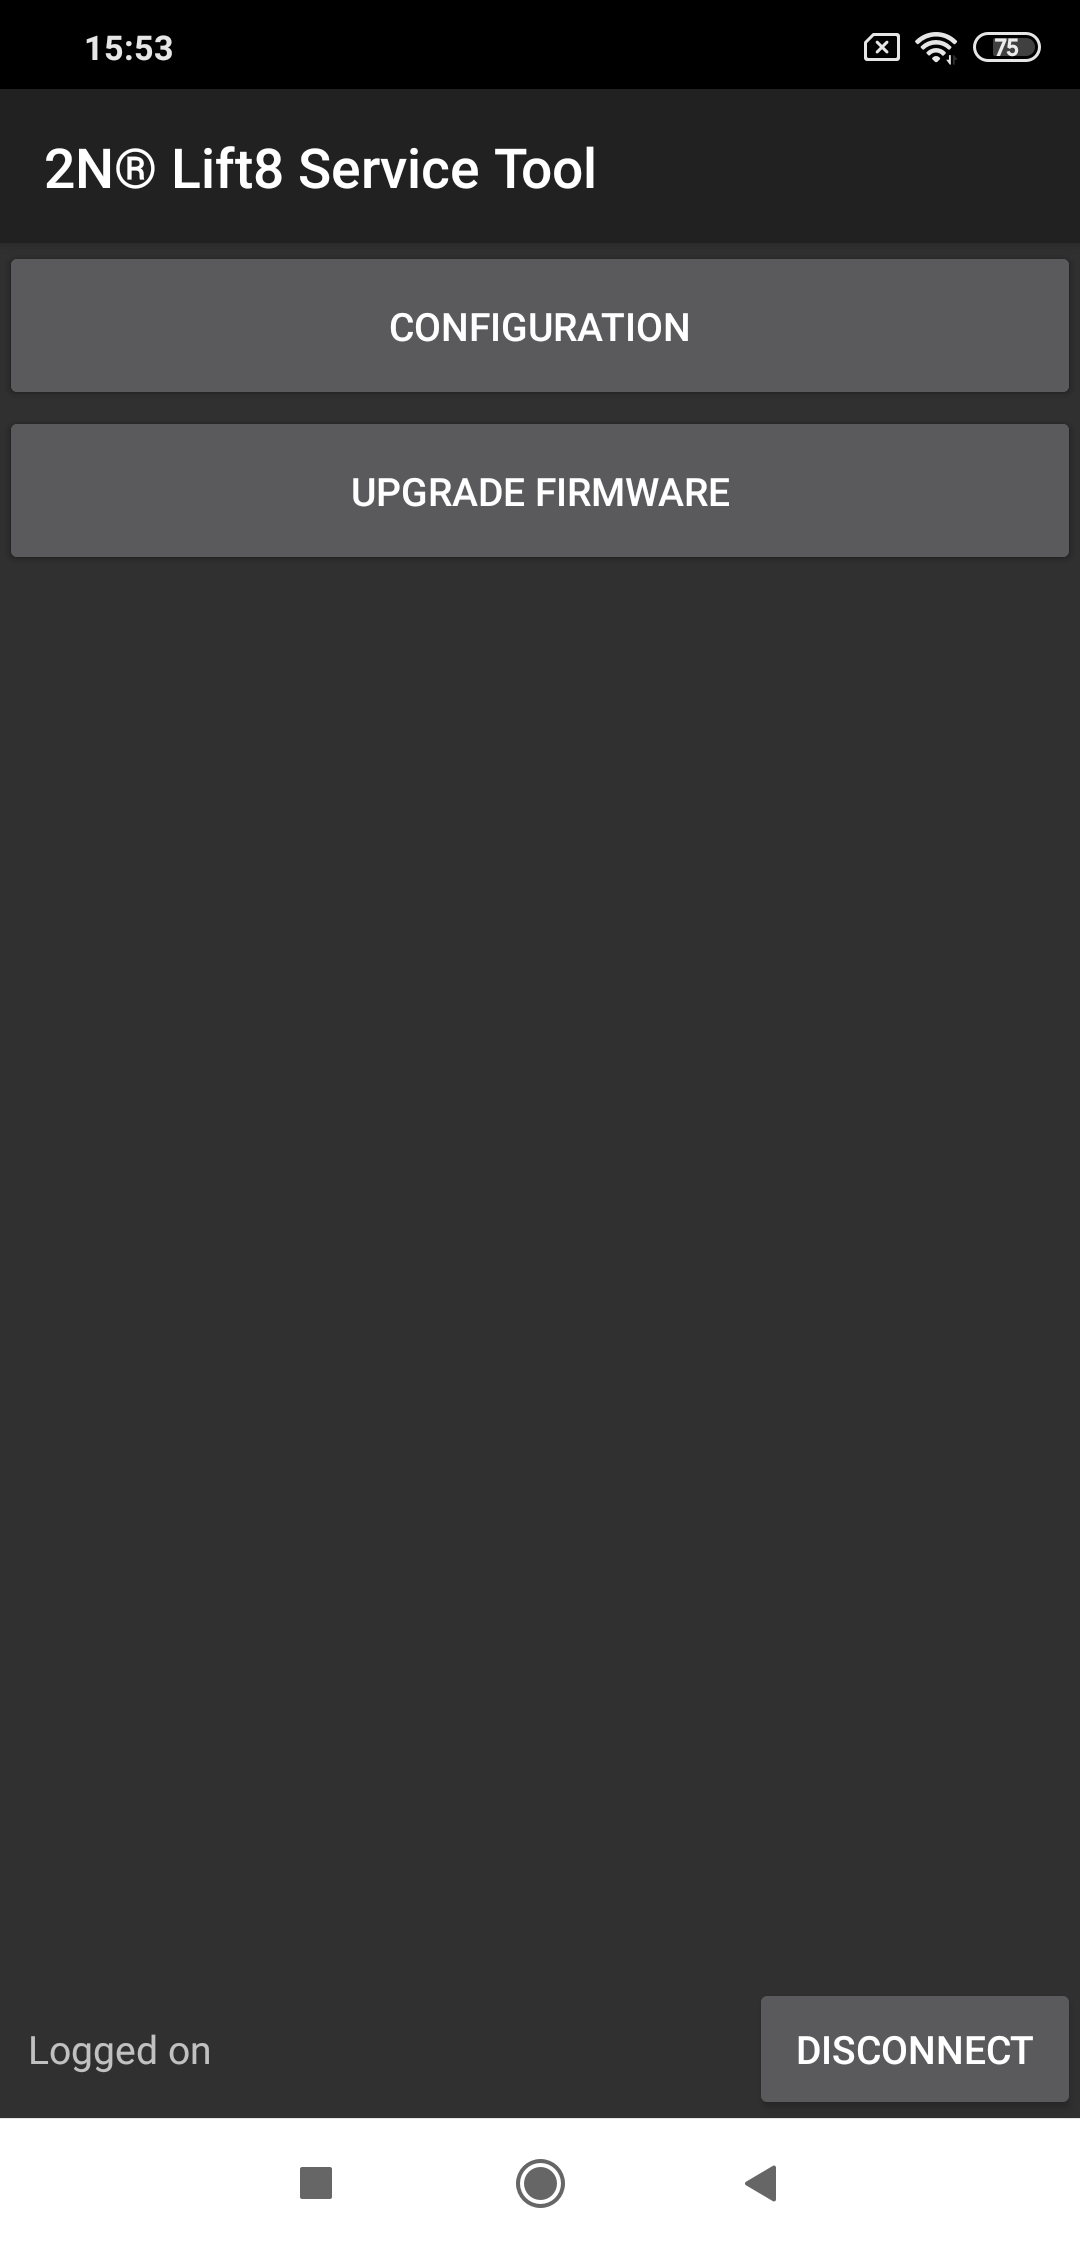
Enter the correct password and click Log in to log in to the Central Unit connected. The application warns you of any typing error and allows you to re-enter the password. Upon login, you get into the Main menu and its submenus. The Configuration and upgrade menu is only available at present. Other menus known from the 2N® Lift8 Service Tool PC application will be available in the future.
Configuration Menu
Configuration
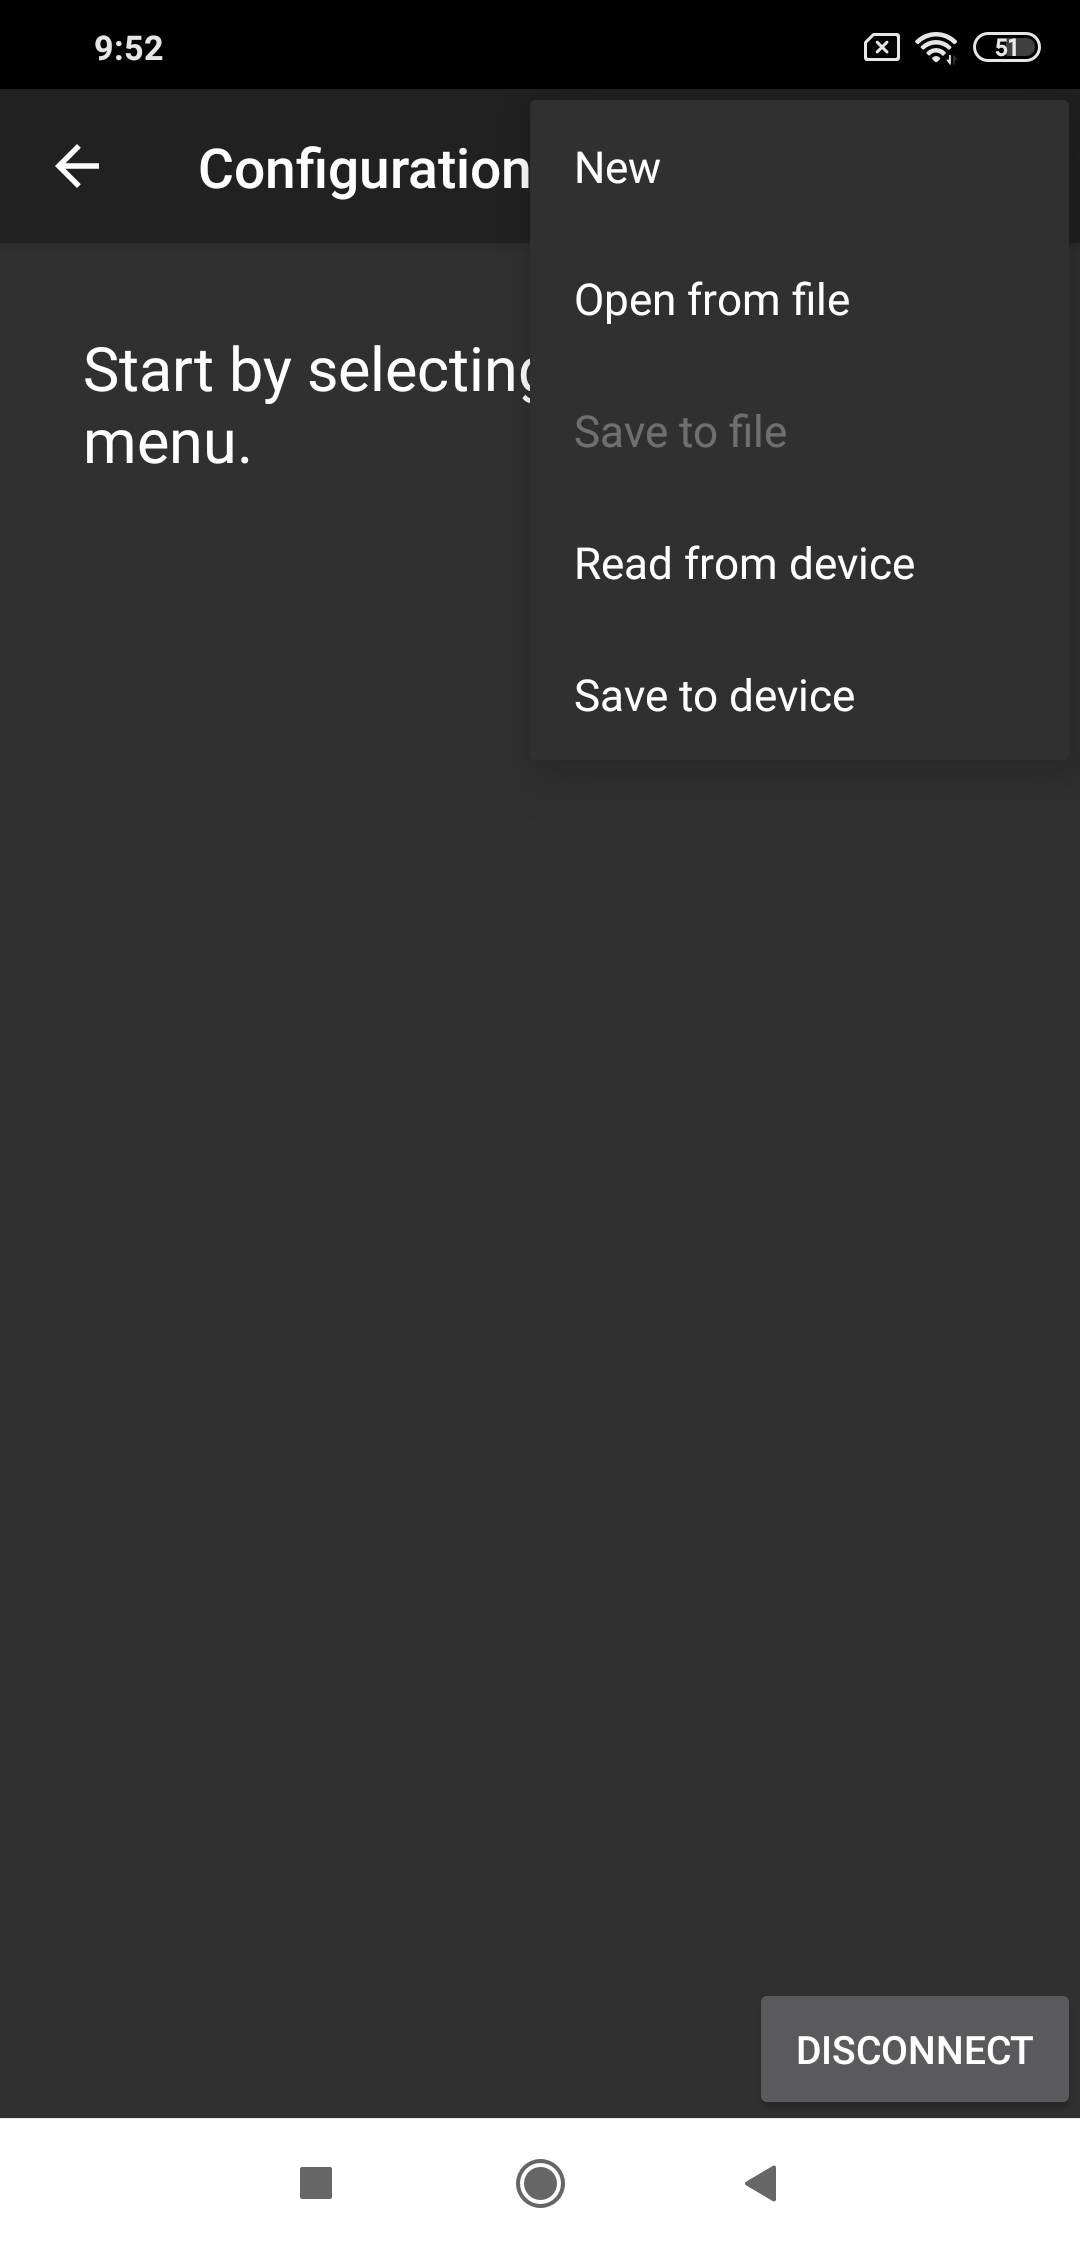
Click on the menu name, i.e. Configuration, to open the menu. No data are available yet. The informative message Start by selecting menu is only displayed. Click the pop-down menu in the right-hand upper corner to display five options: New, Open from file, Save to file, Read from device and Save to device.
Tip
- The control design may be different in different Android versions. Yet, the location and operation of the system control elements are almost the same.
Read Configuration
New – create a new configuration file.
Open from file – upload configuration from a file (saved on a phone or Google disk).
Save to file – save configuration (read from a phone or Google disk).
Read from device – read configuration from the connected Central Unit. The “Upload has started“ message is displayed. When the parameter table has been uploaded, a dialog window is displayed to inform you that the configuration has been read successfully.
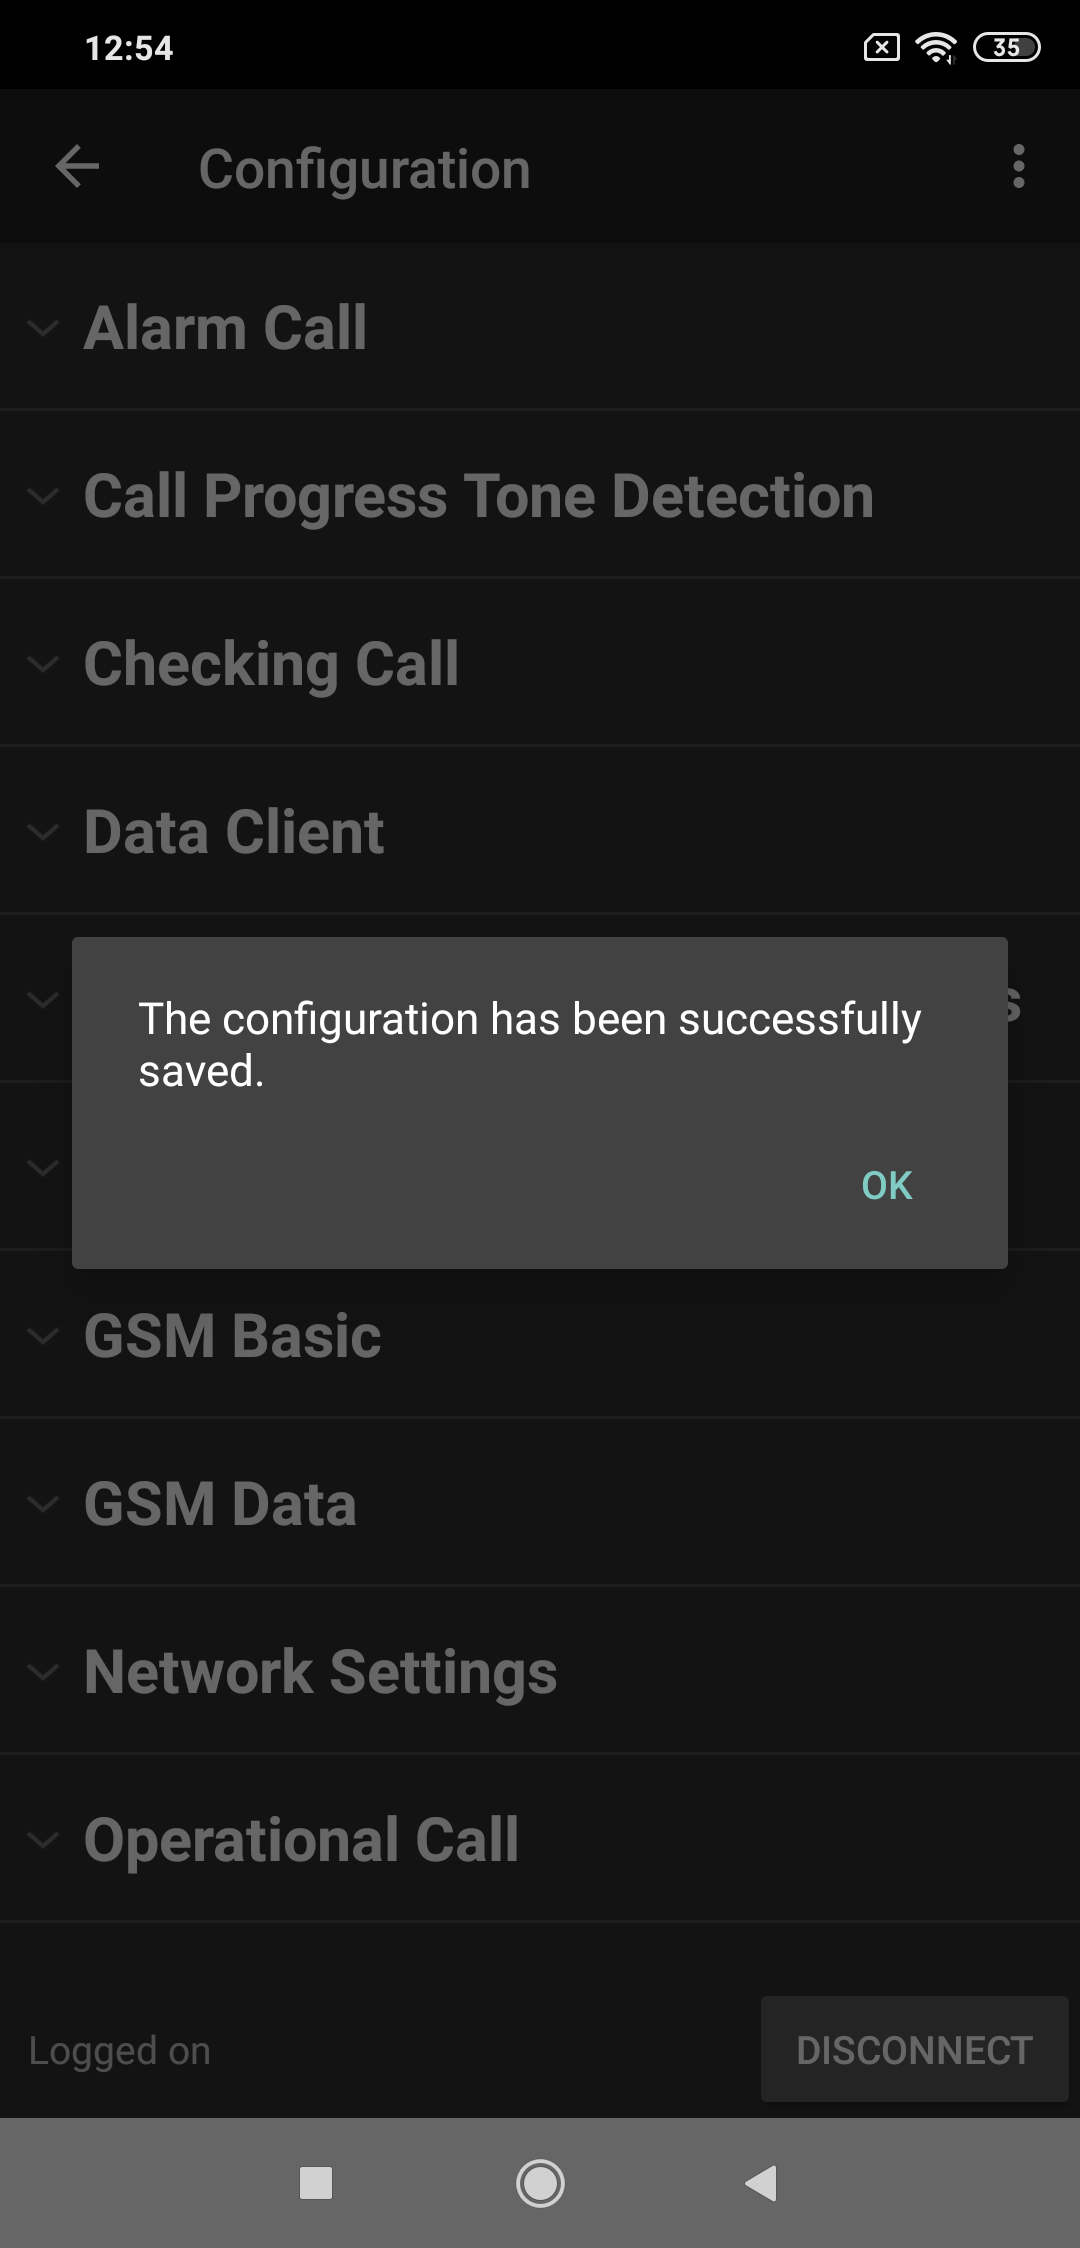
Save to device – save configuration to the Central Unit. The “Saving has started“ message is displayed. When the parameter table has been uploaded, a dialog window is displayed to inform you that the configuration has been saved successfully.
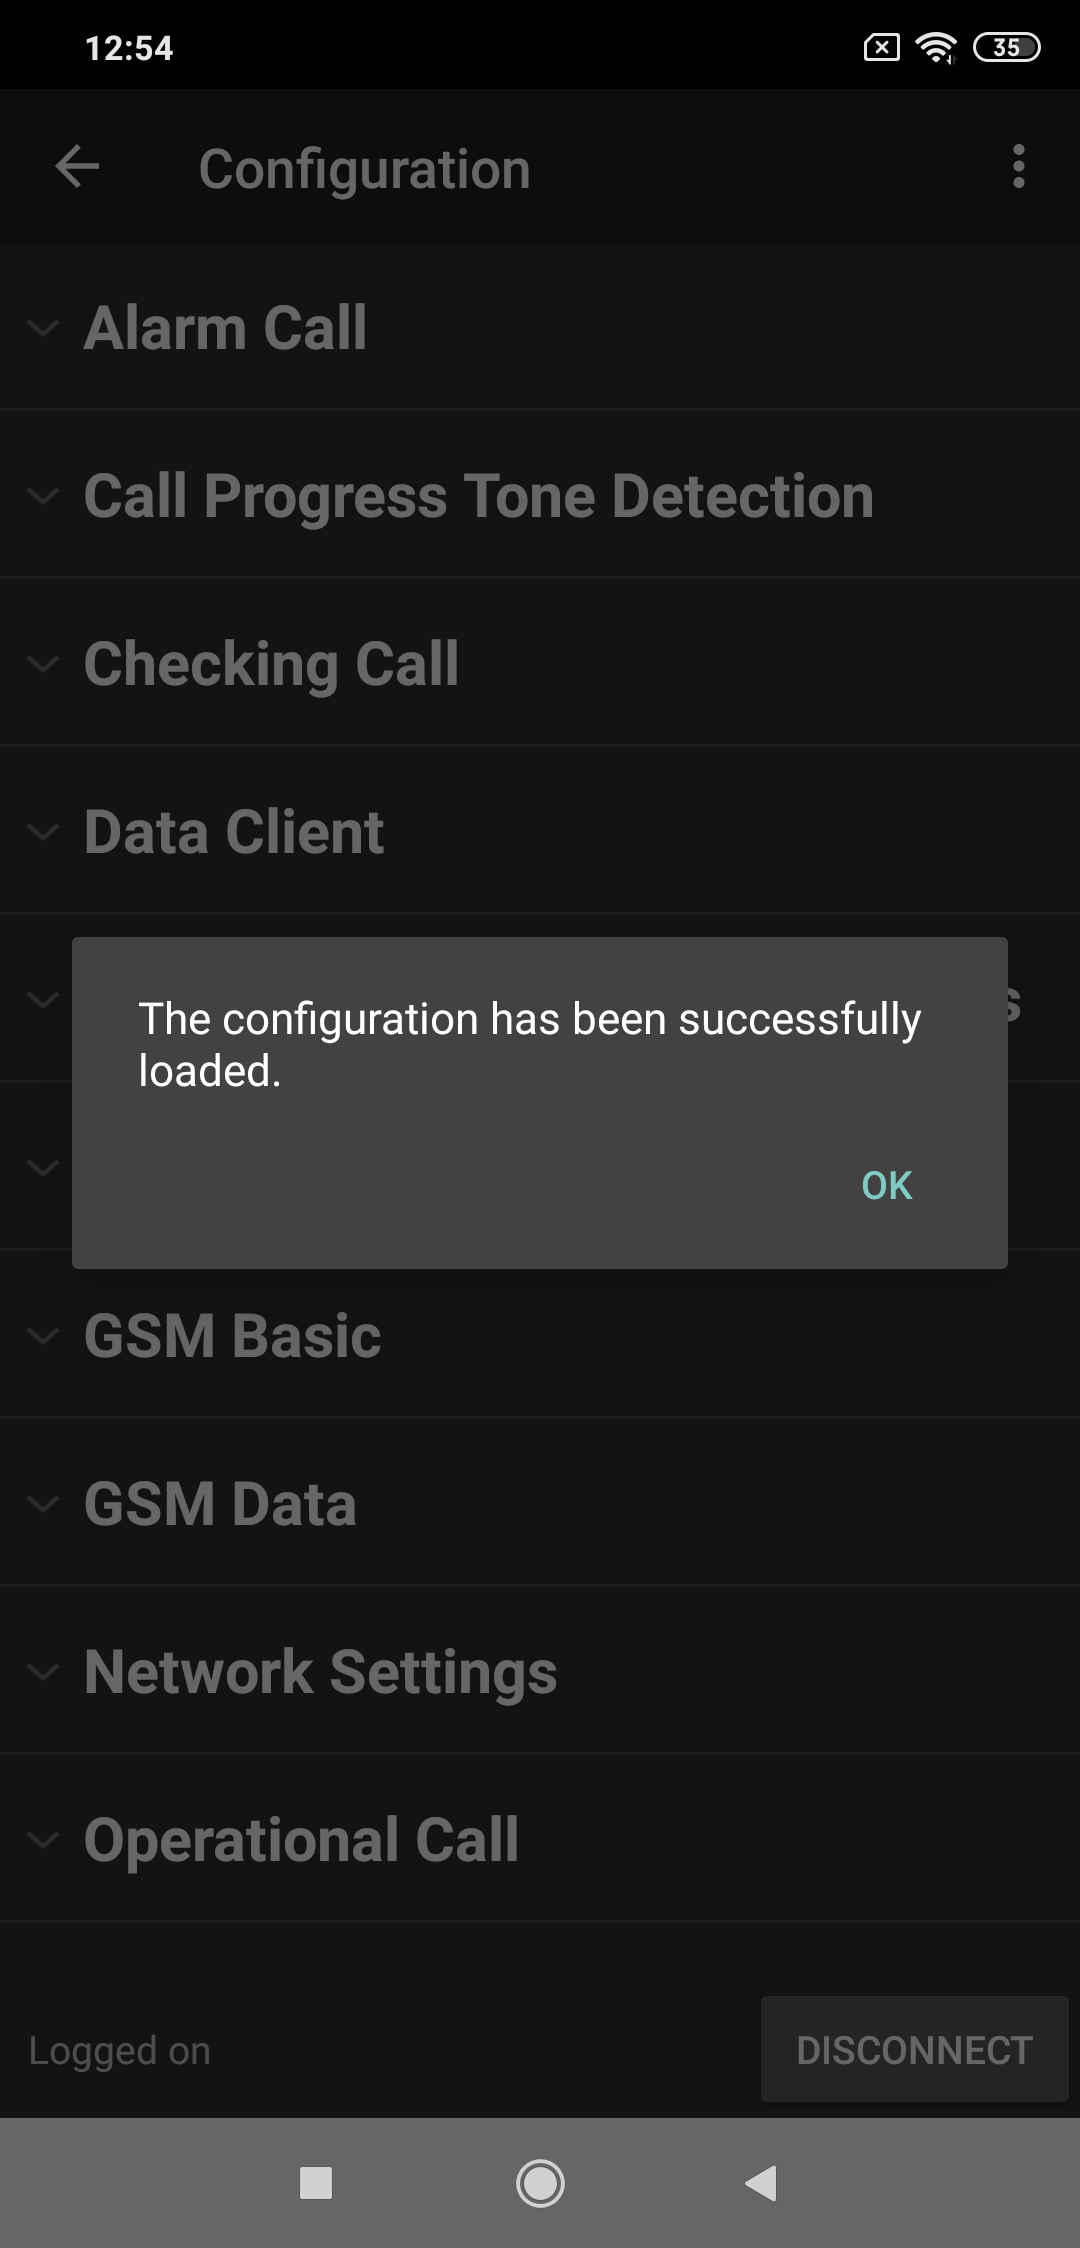
When the parameter table is loaded, a dialogue window gets displayed confirming that the configuration has been read successfully and that you can view and edit the data. The loading time depends on your hardware power output. In general, loading takes a few seconds. If it takes more, press the Back button and repeat the operation.
Configuration Download Confirmation
Parameter Editing
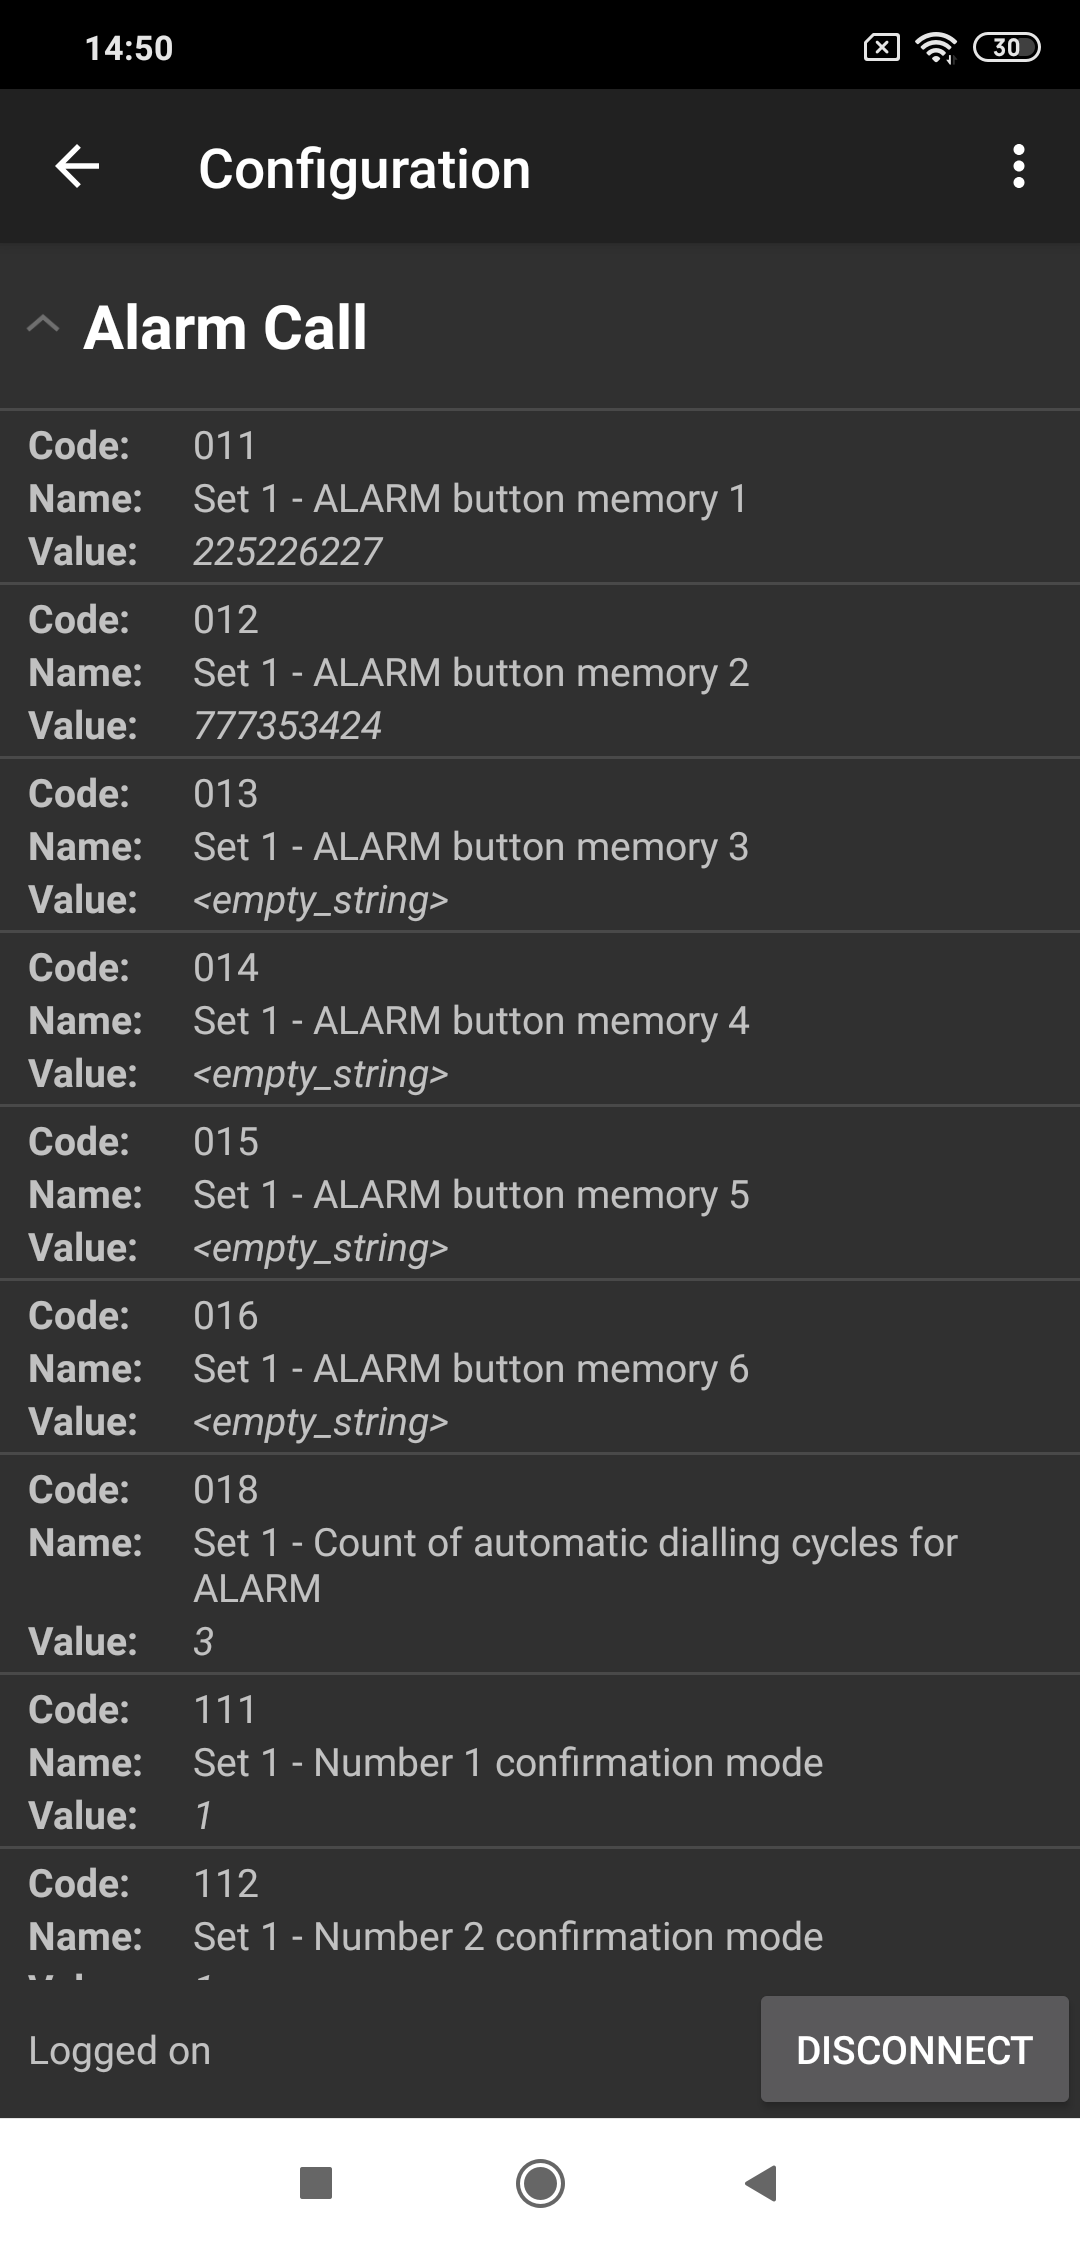
When the configuration has been read, parameter blocks are displayed in the alphabetical order like in the PC application. Click on the selected block to open the list of related parameters. Every parameter includes a numeric code, name and current value.
List of Parameters
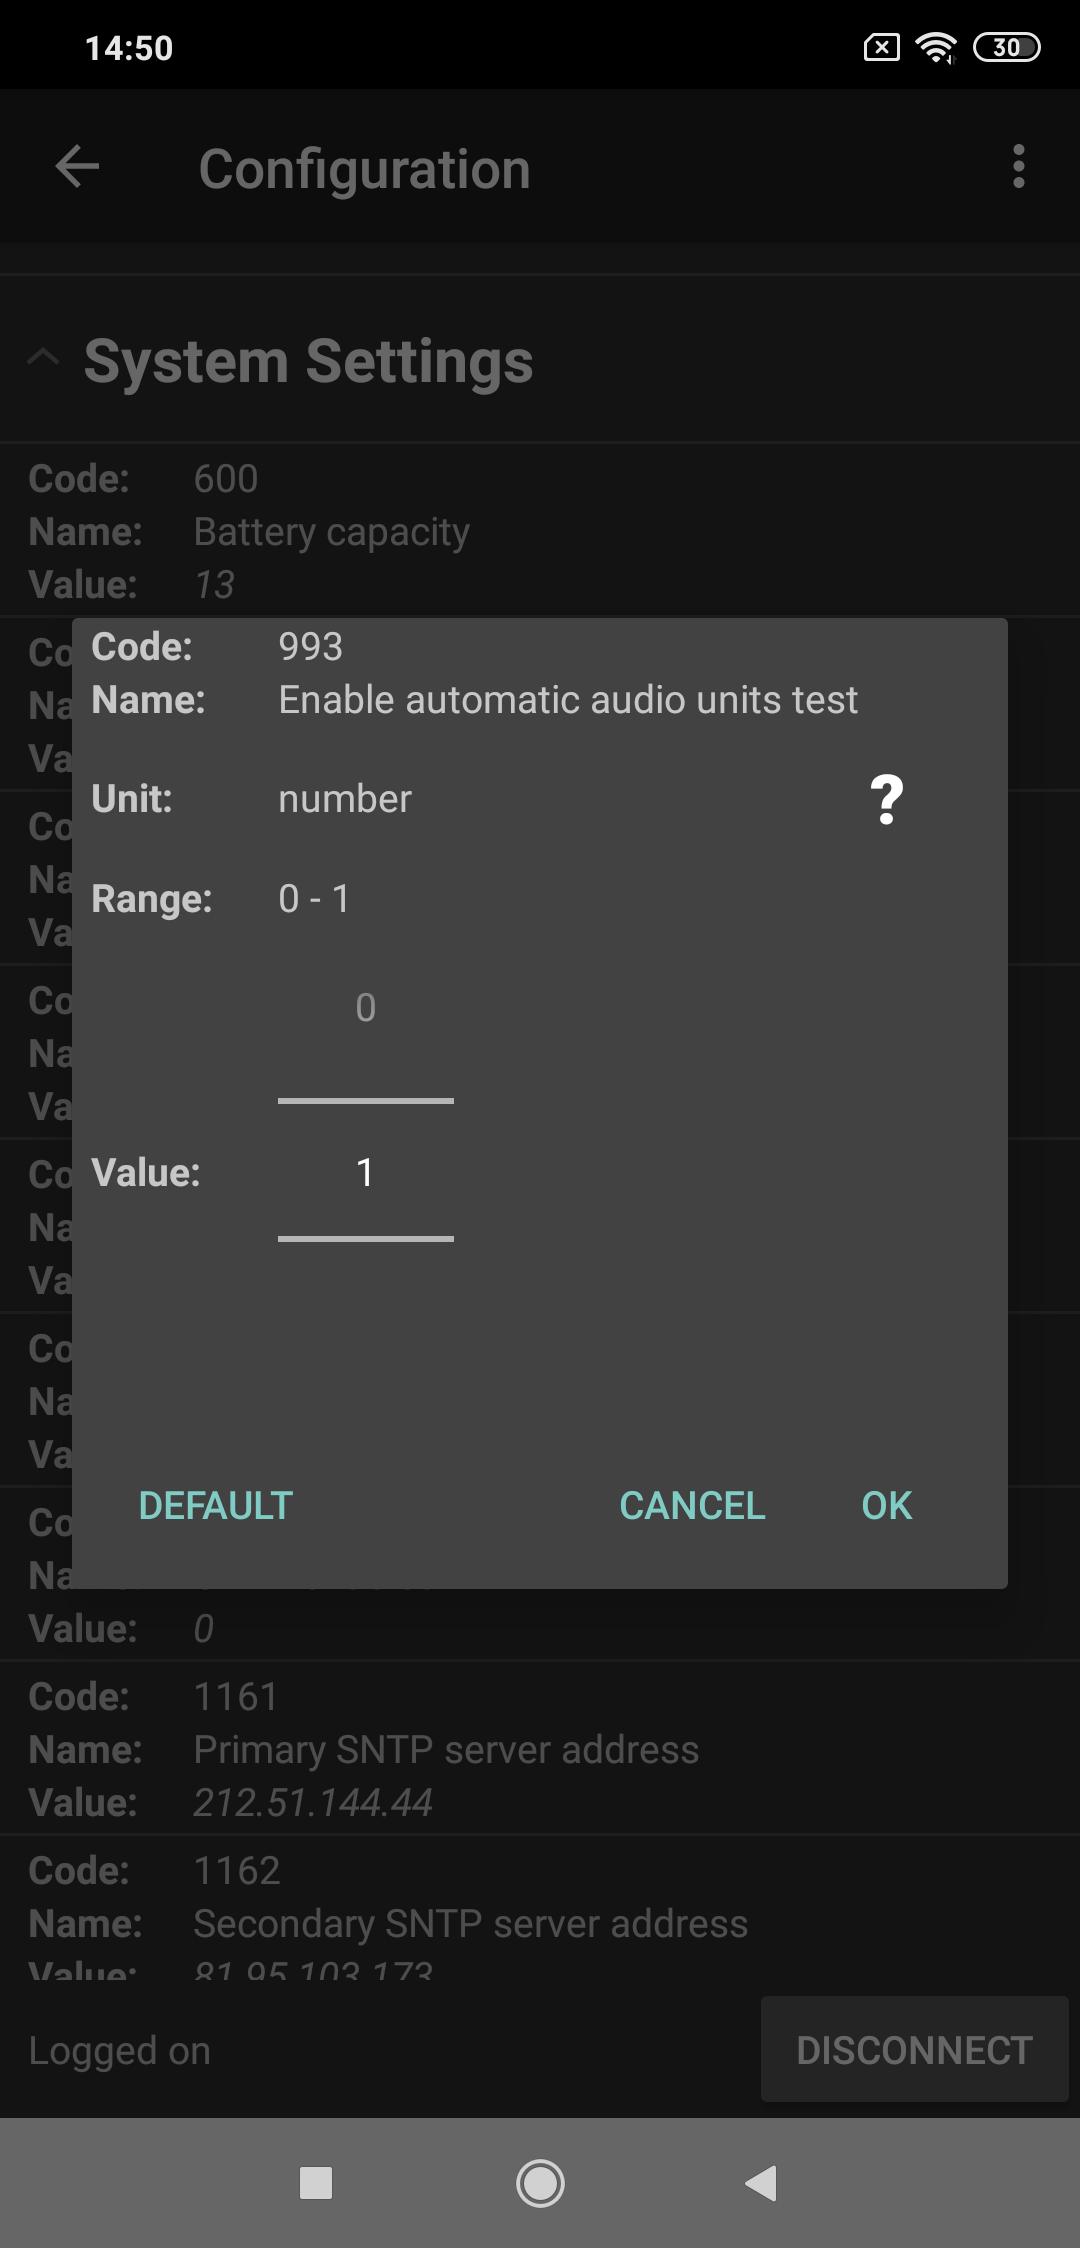
Click on the parameter to be modified. The dialogue window includes the Numeric code, Name and Unit of the parameter. Click the question mark to know the parameter function. The Value parameter defines the range of values, which can be modified. If you use numeric or hourly values, you can use the system scroll bar to set the required value. With wide-range values, however, we recommend you to click the value and enter the new value via a keypad. The same applies to string (password) entering. Or, you can use a combobox to modify parameters with pre-defined values.
Parameter Setting
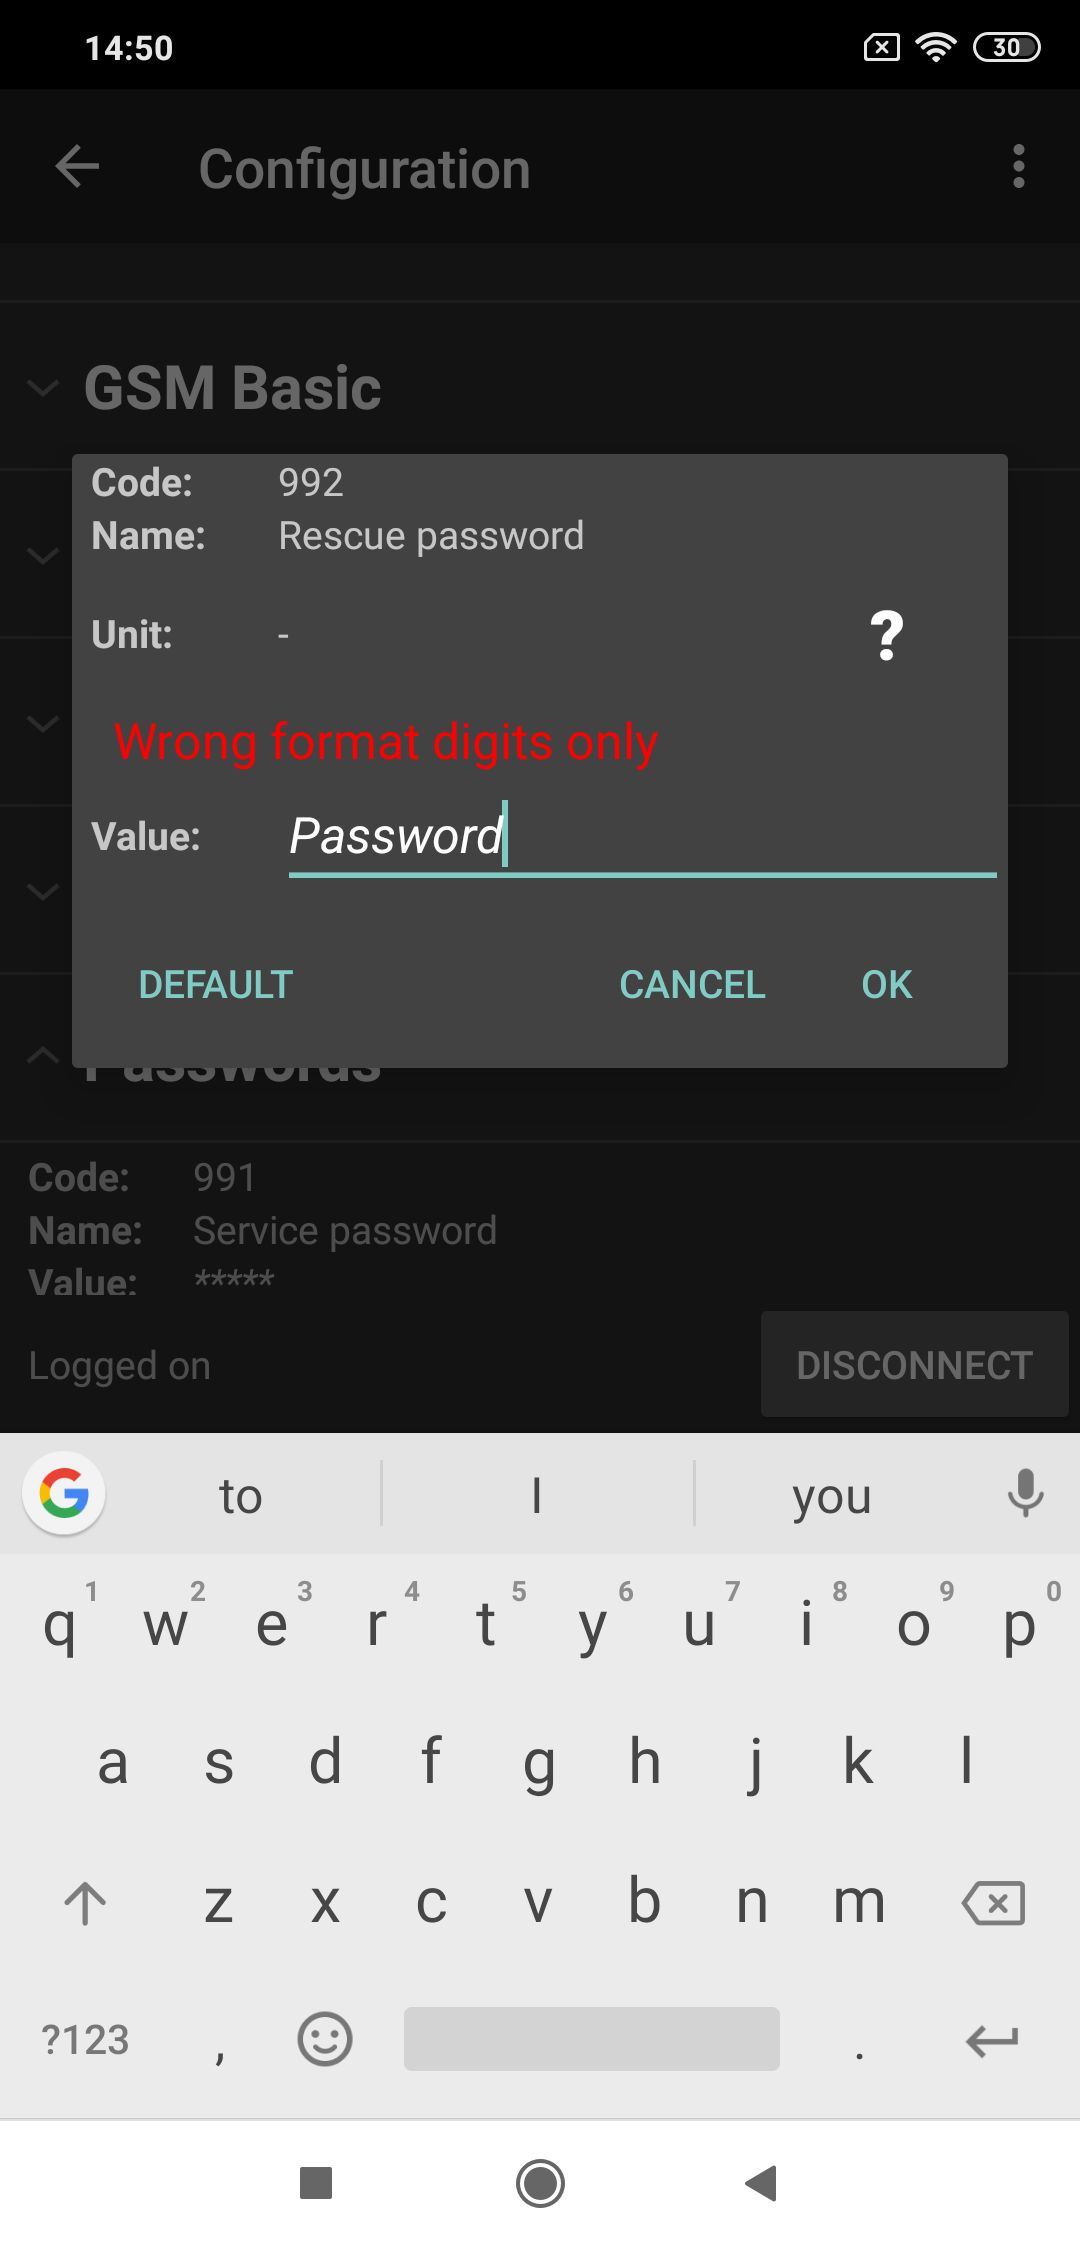
There are three controls in the lower part of the dialogue window. Click Cancel to quit editing and save the original setting. Click Default to set the default value and OK to confirm the new setting. If you make a typing mistake (set a value beyond the limits or exceed the character limit), you will be warned by the validator.
Value Validator Function
Having set all the parameters correctly, select the Save configuration option in the right-hand upper corner of the menu to save the settings into the CU database. Click Back to return to the preceding menu. If you click Back in the Main menu, you will log out. Click the system Home button to quit the application and press Last used programs to terminate the application.
Upgrade firmware
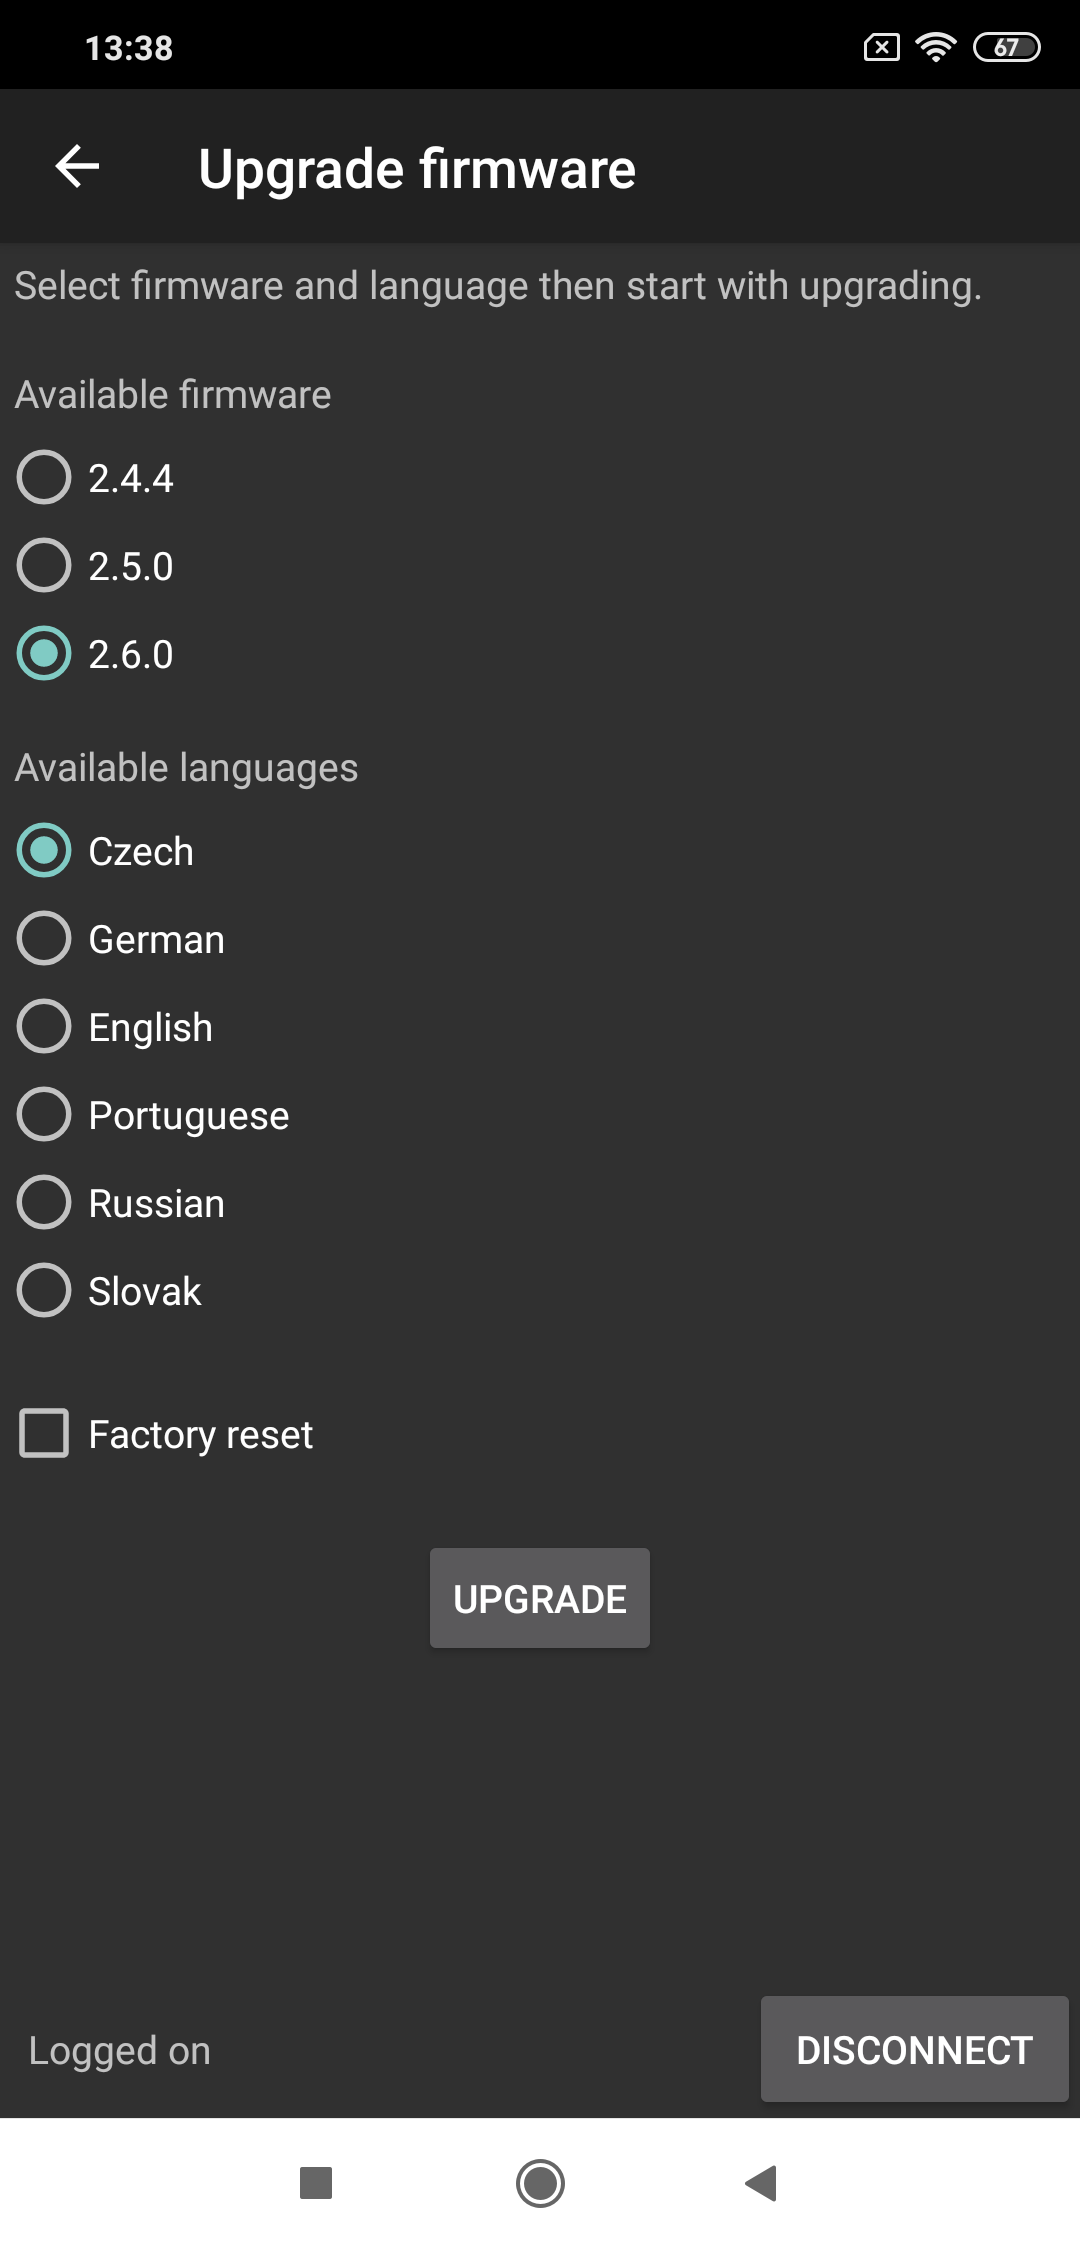
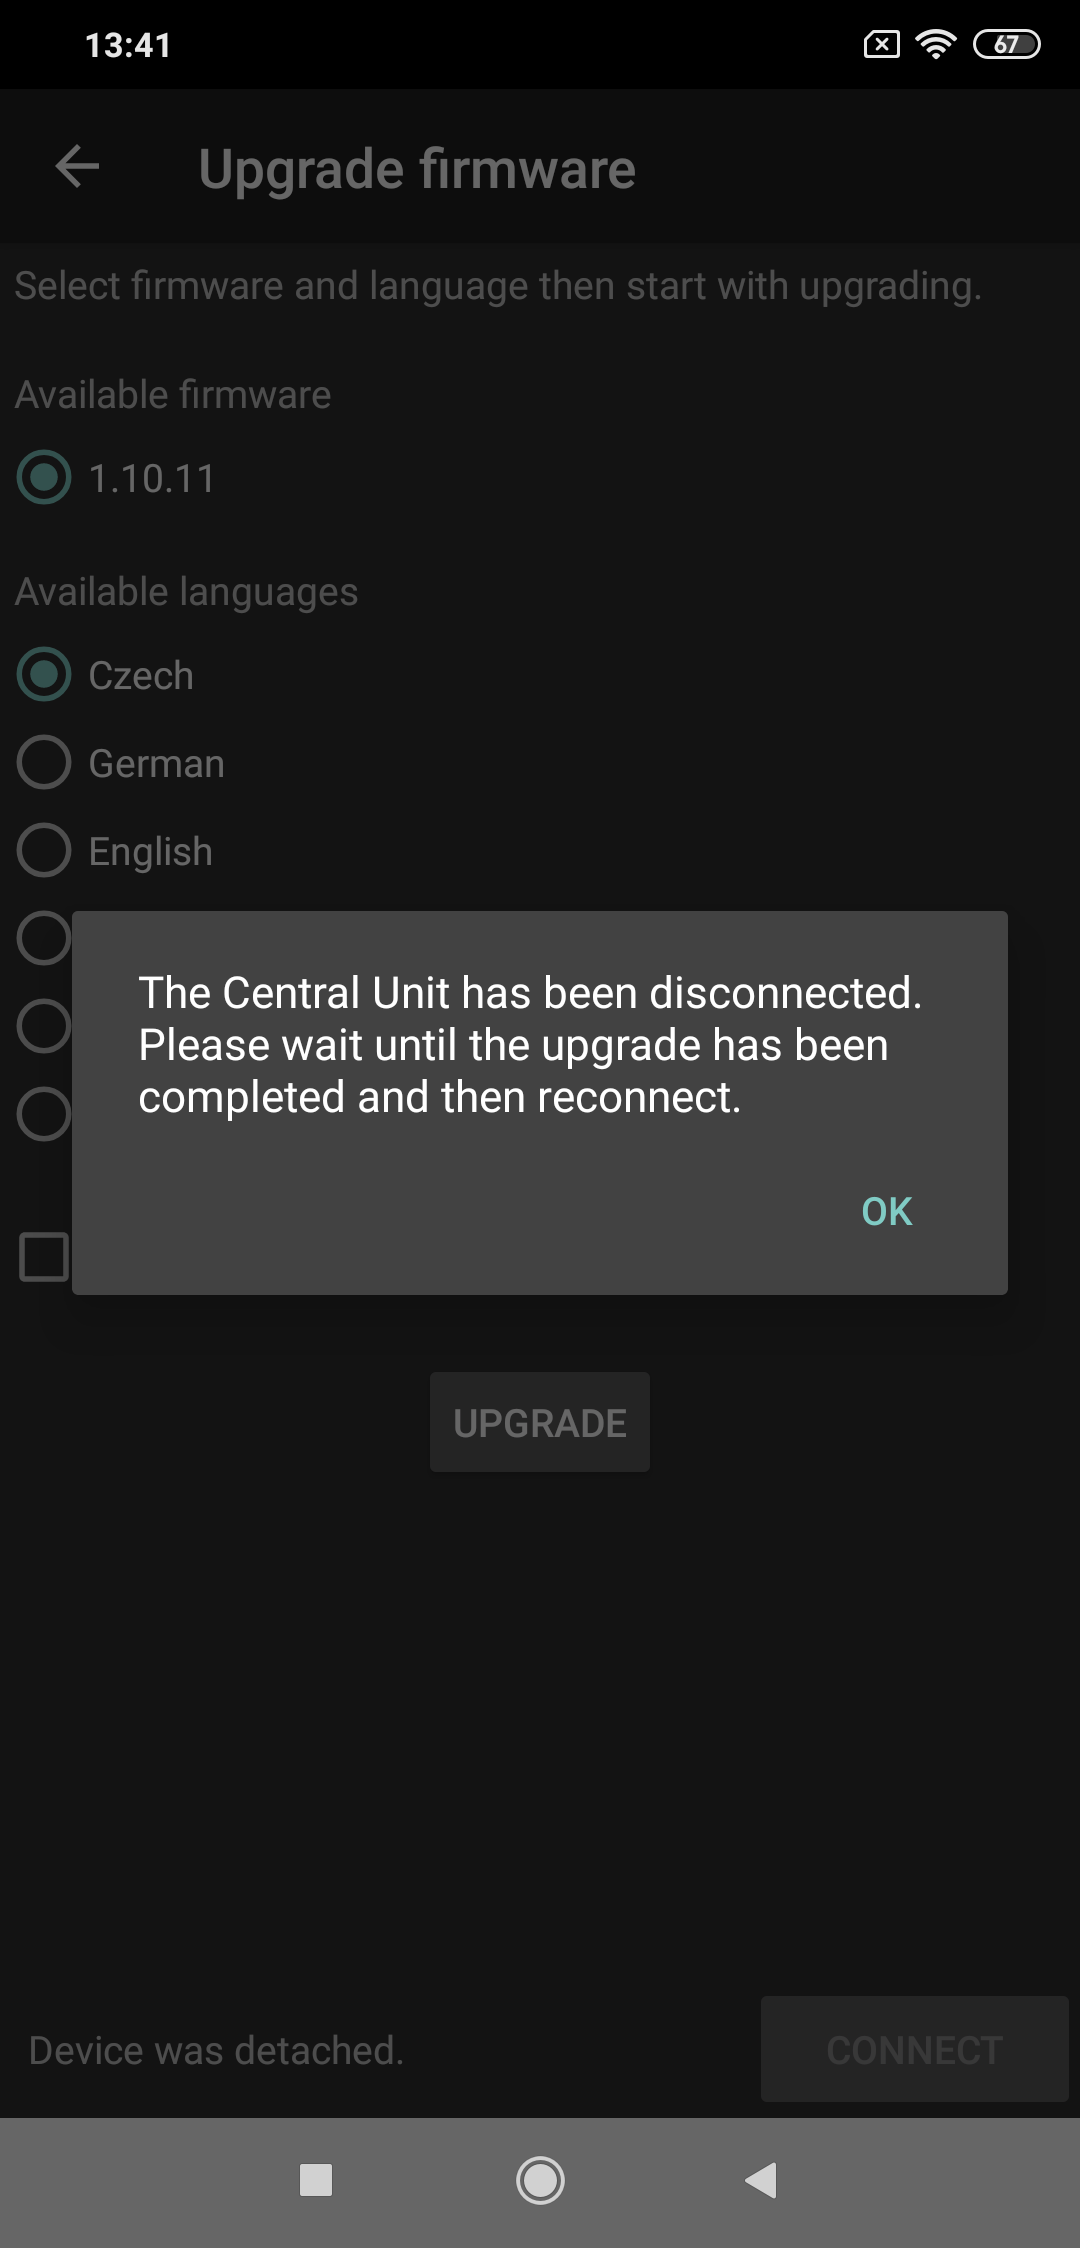
Click Upgrade firmware to display a menu to select the required firmware and voice menu. While upgrading, you can reset the Central Unit to the factory values using a checkbox. Having pressed Upgrade, wait for the firmware and voice menu to be upgraded. Then a message pops up and the applications disconnects. You cannot reconnect to the CU until the upgrade process has been completed.
Note
- Upon connection, the application recognizes the hardware and offers compatible firmware.

