3.2.1 Express Settings
The steps below describe how to set a new 2N® SIP Mic device quickly for announcing to a multicast zone via a microphone. This is what you need for operation:
- 2N® SIP Mic
- microphone
- supply adapter
- UTP cable with PoE for LAN connection
Use a PC connected to the same network as 2N® SIP Mic to configure the basic parameters.
Step 1: Connection
Pack out 2N® SIP Mic and connect the microphone and supply adapter included in the delivery. Insert a power cable connected to your LAN into the LAN connector on the back.
How to find the 2N® SIP Mic IP address:
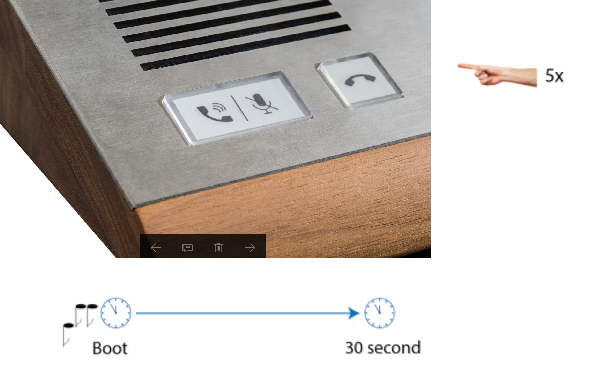
- Turn on the device switch.
- Wait until you can hear the sound signal
 .
. - Press the call hang-up button on the device five times.
- 2N® SIP Mic signals the DHCP server state with a blue/green colour and reads its IP address.
- If the button is green, the address is 0.0.0.0, which means that 2N® SIP Mic has not obtained the IP address from the DHCP server. Contact your network administrator or set DHCP OFF and use the fixed IP address. See below.
 |
Enter http://found_IP_address/ into the address row.
Confirm your selection. If 2N® SIP Mic is connected in the right network, its configuration web page opens up.
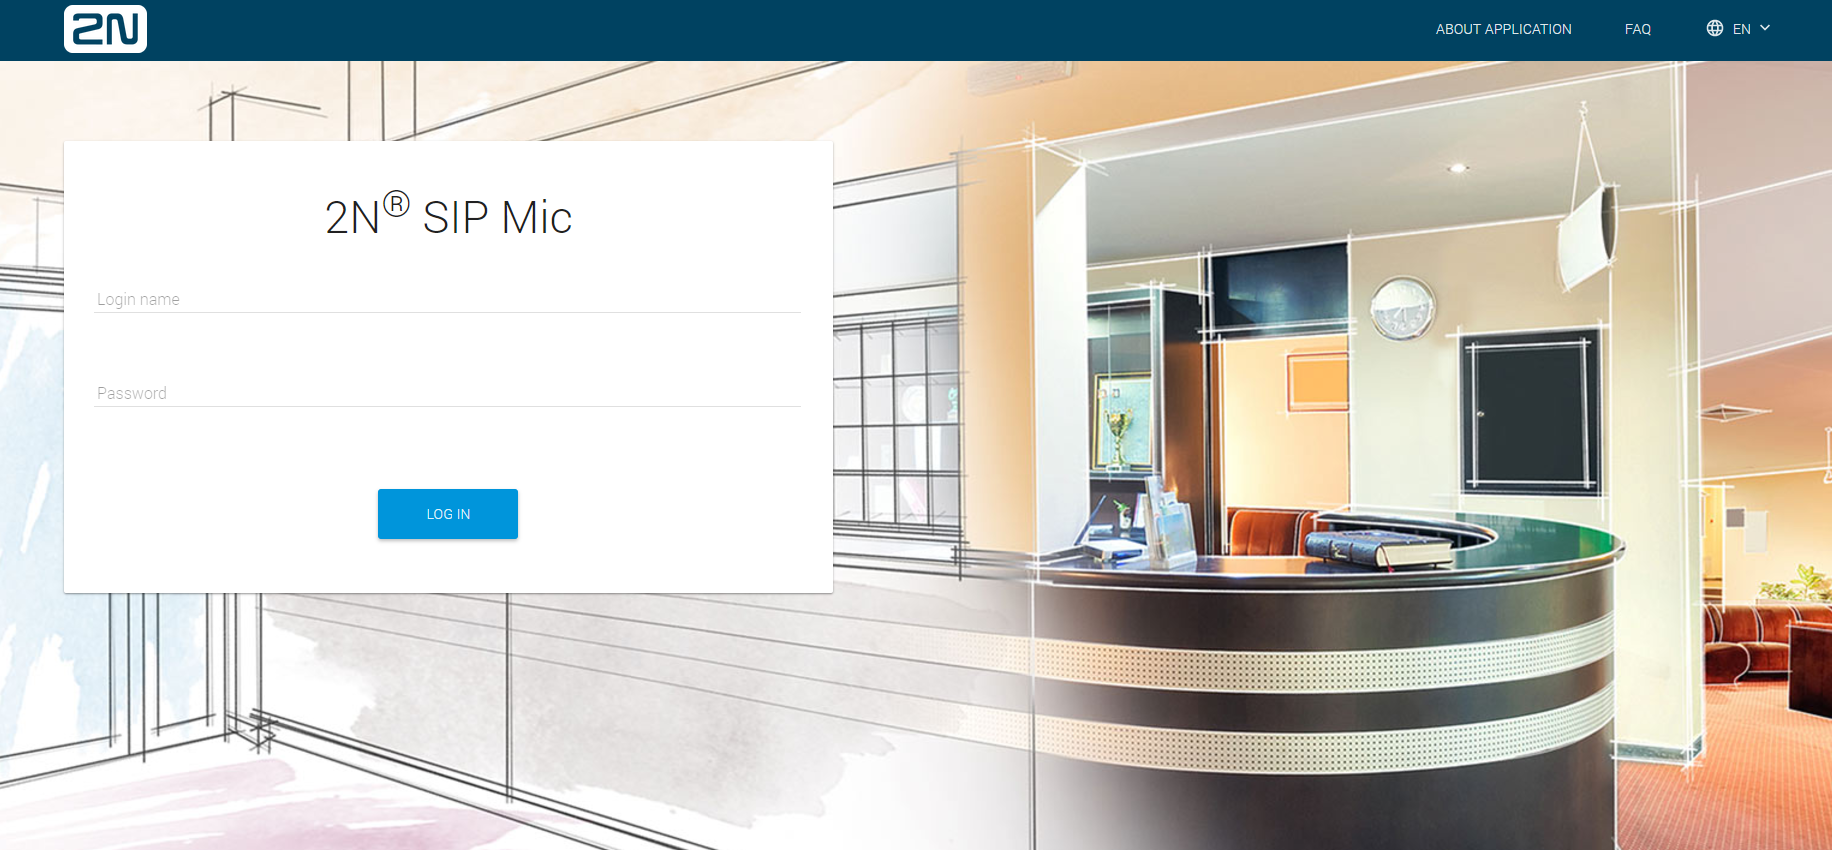 |
- Log in using the Admin user name and 2n password.
Upon login, the Status menu is displayed including a brief overview of basic settings. If the device is used with the Axis Audio Manager server, the server connection notification is displayed.
 |
Change DHCP server status
Upon the system start, press the Call hangup button to read the IP address or change the DHCP state.
- Press the button five times to read the set IP address.
- Press the button ten times to switch DHCP ON/OFF.
When you have pressed the button five times, the button turns blue/green to indicate the DCHP setting.
- Blue – DHCP OFF
- Green – DHCP ON
Step 2: Button Setting
Configure multicast announcing for a button. Go to the Buttons menu to display the button and logic input list. Choose one of the 12 system buttons, press the switch to activate it and click the pencil symbol. The following dialogue window opens up:
 |
Click Change to save the settings.
Step 3: Zone Setting
To execute the action via the set button, set the zone to be announced in the Zones menu. There is a list of 12 zones in the menu. Activate zone 1, which you selected while setting the button. Click Edit to open the following dialogue:
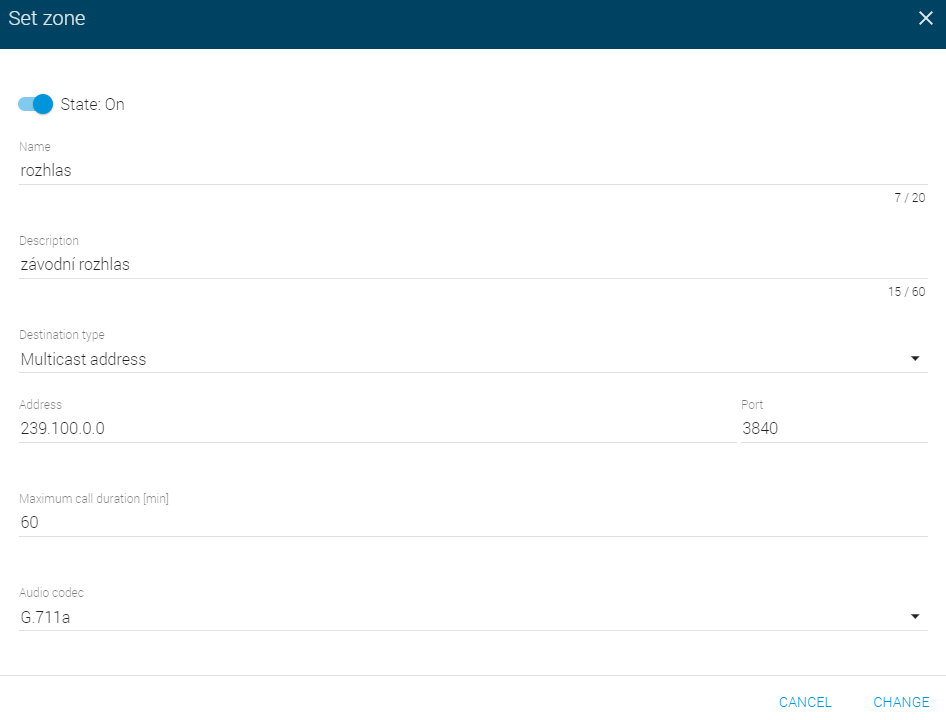 |
Step 4: Playing
Once the receivers are configured, you can test the announcing function. Press button 1 on the console. The button should be shining blue and the call hang-up button should be shining red. Now the announcement before voice message is being played to the zone. When the call pick-up button starts shining blue, you can send your own announcement to the zone via an attached microphone. You can mute the microphone during the announcement. To stop announcing, press the call hang-up button or button 1. If this happens when the microphone is inactive, the call is ended immediately. If the microphone is active, the announcement after voice message is played first. Or, you can also press the call hang-up button repeatedly to stop the transmission. When the maximum call duration is achieved, the call is terminated automatically. However, the same procedure applies to it like in the button hang-up case.