2N® NetStar SW Installation
Basic Information
The 2N® NetStar SW installation package consists of the 2N® NetStar SW Admin Tool application and an ISO file, which includes the 2N® NetStar SW installation software. The 2N® NetStar SW Admin Tool (hereinafter referred to as the Tool) is designed for the x86 platform with OS Window 7 and higher and communicates with 2N® NetStar SW via TCP port 6992 by default. Upon installation, the 2N® NetStar SW installation and upgrade software is located in the installation folder of the Software subtab as selected during installation.
Installation
The 2N® NetStar SW telecommunications system can be installed onto the following virtualisation platforms: VMware, Oracle VM VirtualBox or Microsoft Hyper-V.
Caution
- While installing 2N® NetStar SW keep the following virtualisation platform configuration requirements to avoid malfunction!
- minimum of 1 GB of RAM
- minimum of 20 GB hard drive free space (without recording)
Note
- Make sure before installing 2N® NetStar SW onto a virtualisation platform that VT-x or AMD-V or any other similar virtualisation function is enabled according to the hardware PC microcontroller type.
Example of Installation onto Virtualisation Platform
Insert the 2N® NetStar SW installation ISO file in the CD/DVD drive in your virtualisation platform that meets the minimum requirements above. Having set booting from the CD/DVD drive, start the virtual PC. Once the ISO file is loaded, you can see the following screen:
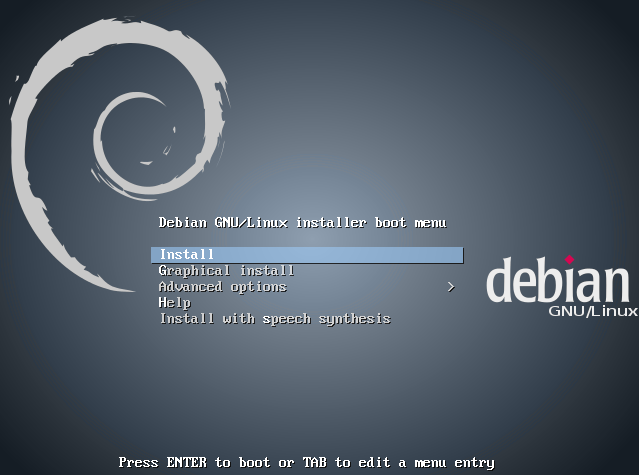 |
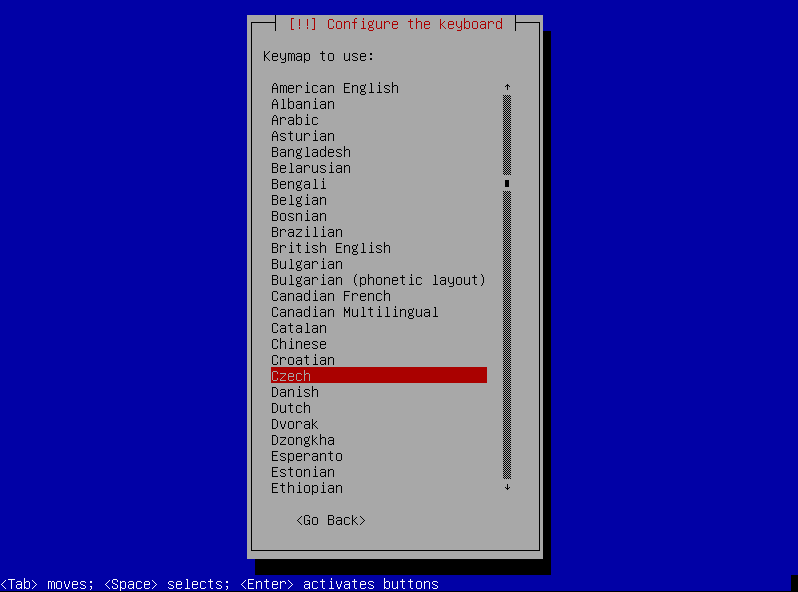
Select the first option and choose the keyboard language on the next screen. Then click Enter to continue.
 |
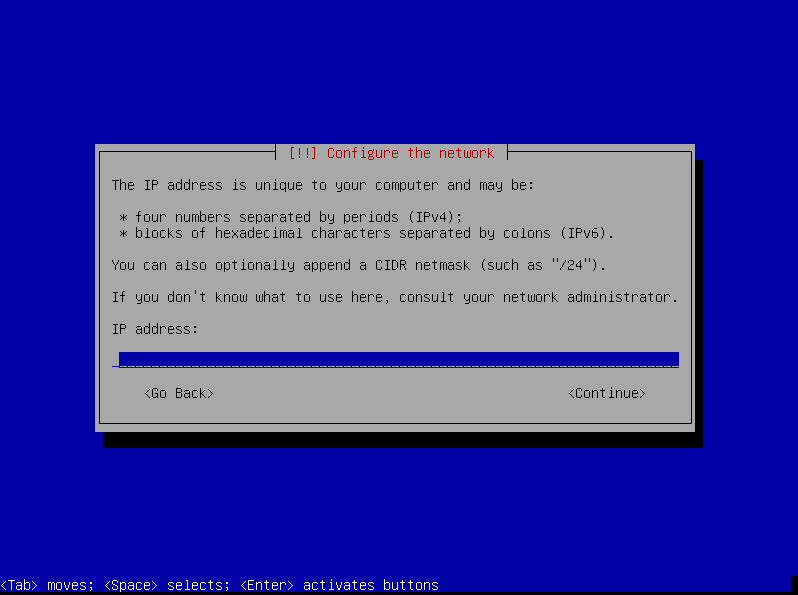 |
After hard drive loading, the following login window will be displayed:
 |