1.1 PBX Activation
What You Need
To activate and configure 2N® NetStar SW you need the 2N® NetStar system, a computer running the supported Windows version, a keyboard and a mouse.
Step 1: Localisation Setting
Localisation setting is another important step of the 2N® NetStar configuration. In this step you can define the parameters shown in figure below and described in detail in the 6.3 Localisation subsection. In addition, you can add a language package of your own including texts and progress tones. Two language packages – Czech and English – are available in the PBX by default.
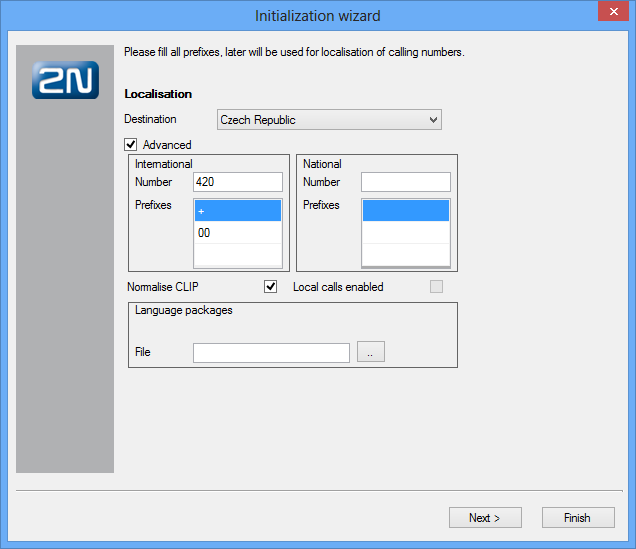 |
Figure: View of Wizard Localisation Setting Operations
Step 2: Time Setting
In this step, the wizard helps you set time, date and time zone. And also define the NTP server for automatic time synchronisation.
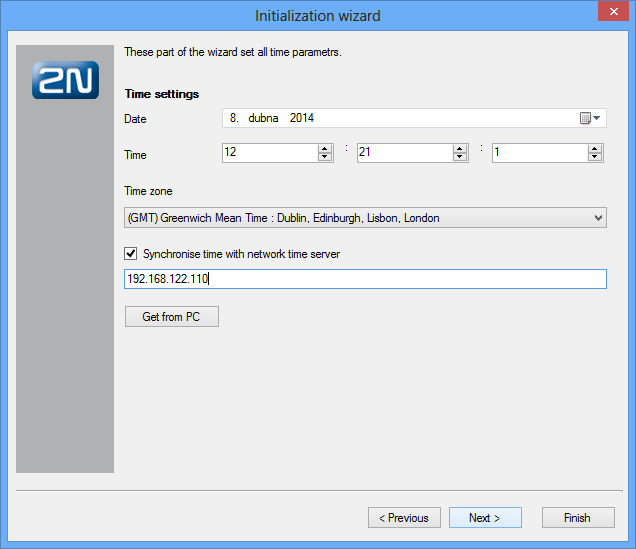 |
Figure: View of Configuration Wizard Time Setting
Step 3: Creation of Groups, Users and Extensions
In this step, the configuration wizard enables an automatic creation of a group and its users and extensions.
Generated stations are SIP stations for connection of SIP-supporting VoIP terminals. You can define the number of the first station created and the count of stations (each number is bigger by 1 than the preceding one).
If you do not want to create extensions automatically, you can import the company structure from a pre-prepared file in the xml or csv format. In this way you can create a relatively complex company structure including user logins and multiple user extensions.
Three functions are added to this section, the first two of which are used for re-launching of the wizard.
- Add new and remove deleted – compare the existing structure of extensions with the selected file. New extensions are added and those which are present in the PBX yet undefined in the file are removed.
- Add new only – compare the existing structure of extensions with the selected file and new extensions are added only. Undefined extensions are retained in the configuration.
- Assign ports randomly – enable random assignment of extensions to ports.
If you neither want to automatically create extensions nor intend to import the company structure, you can click Next and select Don't create anything to proceed to the next step.
Step 4: Settings for Assistant
This configuration step includes just two functions with the following meanings:
- Launch web server – launch the internal PBX web server, to which you can log in by entering the CPU IP address from your web browser.
- Generate default logins – generate logins for the users created in the preceding step. With them, you can log in to the web server as a user.
Step 5: SIP Domain Setting
This step helps you define a specific SIP domain. If this option is not selected, the NetStar SW IP address is used as the domain.
Step 6: Creation of Routers
The wizard's last step is creating PBX routers. Routers are used for call/SMS routing from one PBX port to another. The wizard offers several default sets of routers, which are sufficient for your basic call routing. For special routing demands, reconfigure the routers and add new ones. All new routers are automatically filled with services, extensions and users and linked with each other.
Click Add routers for VoiceMail to create the routers and DISA objects for user VoiceMail.
Step 11: Data Saving
Changes are not automatically stored into the PBX during the wizard process. To save the changes, click the Save button after completing the wizard. To cancel all new settings, push the Undo button.