5.3.9 Lift Control
 |
Relay Modules
 |
- Switch-On Duration – set the relay module activation time (range of 1 – 600 s).
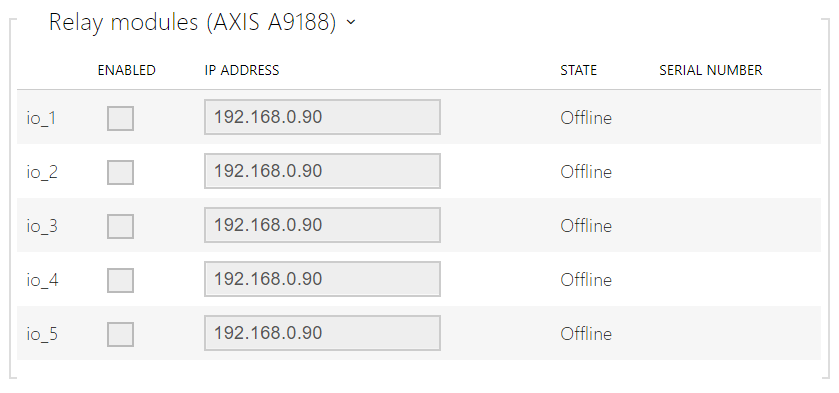 |
- Enabled – activate/deactivate the AXIS A9188 module used for lift control for up to 8 floors.
- IP address – AXIS A9188 IP address.
- State – display the state of the connected AXIS A9188 module (Error/Access denied/Ready/Offline).
- Serial number – AXIS A9188 serial number.
 |
- Username – external device authentication username. The parameter is only mandatory if the external device requests authentication.
- Password – external device (WEB relay, etc.) authentication password. The parameter is only mandatory if the external device requests authentication.
Caution
- You just need one authentication username and password for all the modules.
Floors
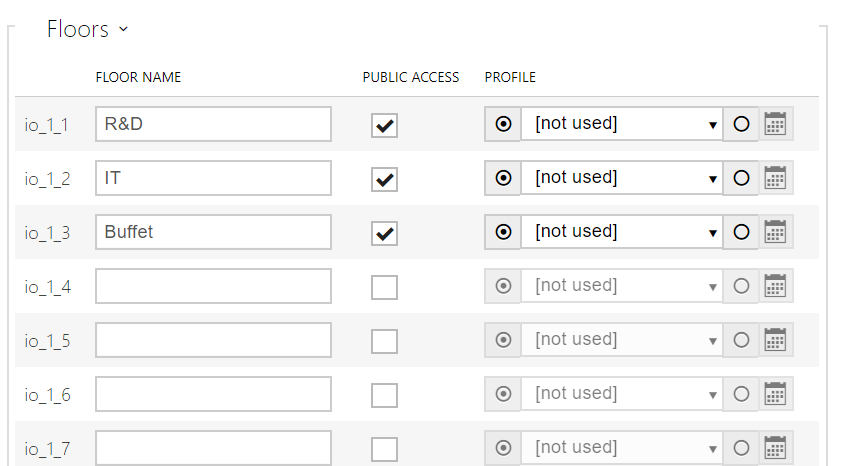 |
- Floor name – set the floor name.
- Public access – activate permanent floor access without any authentication.
- Profile – select one or more time profiles to be applied. Set the time profiles in the Directory / Time Profiles section.
 mark the selection from predefined profiles or manual setting of a time profile for the given element.
 set a time profile for the given element.
Tip
Certificate generation for AXIS A9188
- Retrieve the AXIS A9188 relay module in the LAN using AXIS IP Utility.
- Enter the root/root login.
- Select Preferences / Additional device configuration in the menu.
- A new device configuration window gets displayed.
- Select System Options / Security / Certificates.
- Click Create self-signed certificate to create a certificate.
- Complete all the required fields and click OK for confirmation.
- Go to System Options / Security / HTTPS.
- Select the certificate in a pop-up menu and press Save to save it.
- Move to the device web interface, Hardware / Lift Control. Enter the login data and the relay module IP address.
- READY gets displayed at the relay module if the connection has been successful.