Import of Access Commander database from an old instance to a new instance (the same versions)
To import the 2N Access Commander database from your current instance to a new one please follow these steps.
- The procedure below can be applied only for database transfer between the same 2N Access Commander versions.
- This feature is supported by a virtual machine (VirtualBox, VMWare, Hyper-V) and also by a BOX (mini PC) distribution.
- Virtual machine database can be imported to another virtual machine or to BOX distribution.
- BOX distribution database can be imported to virtual machine (typical scenario) or to another BOX distribution.
- If you would like to import to a virtualisation platform, install the new image of 2N Access Commander the same version.
*Video - Installation - How to install 2N® Access Commander
Import of 2N Access Commander database from an old instance to a new instance since the version 2.3
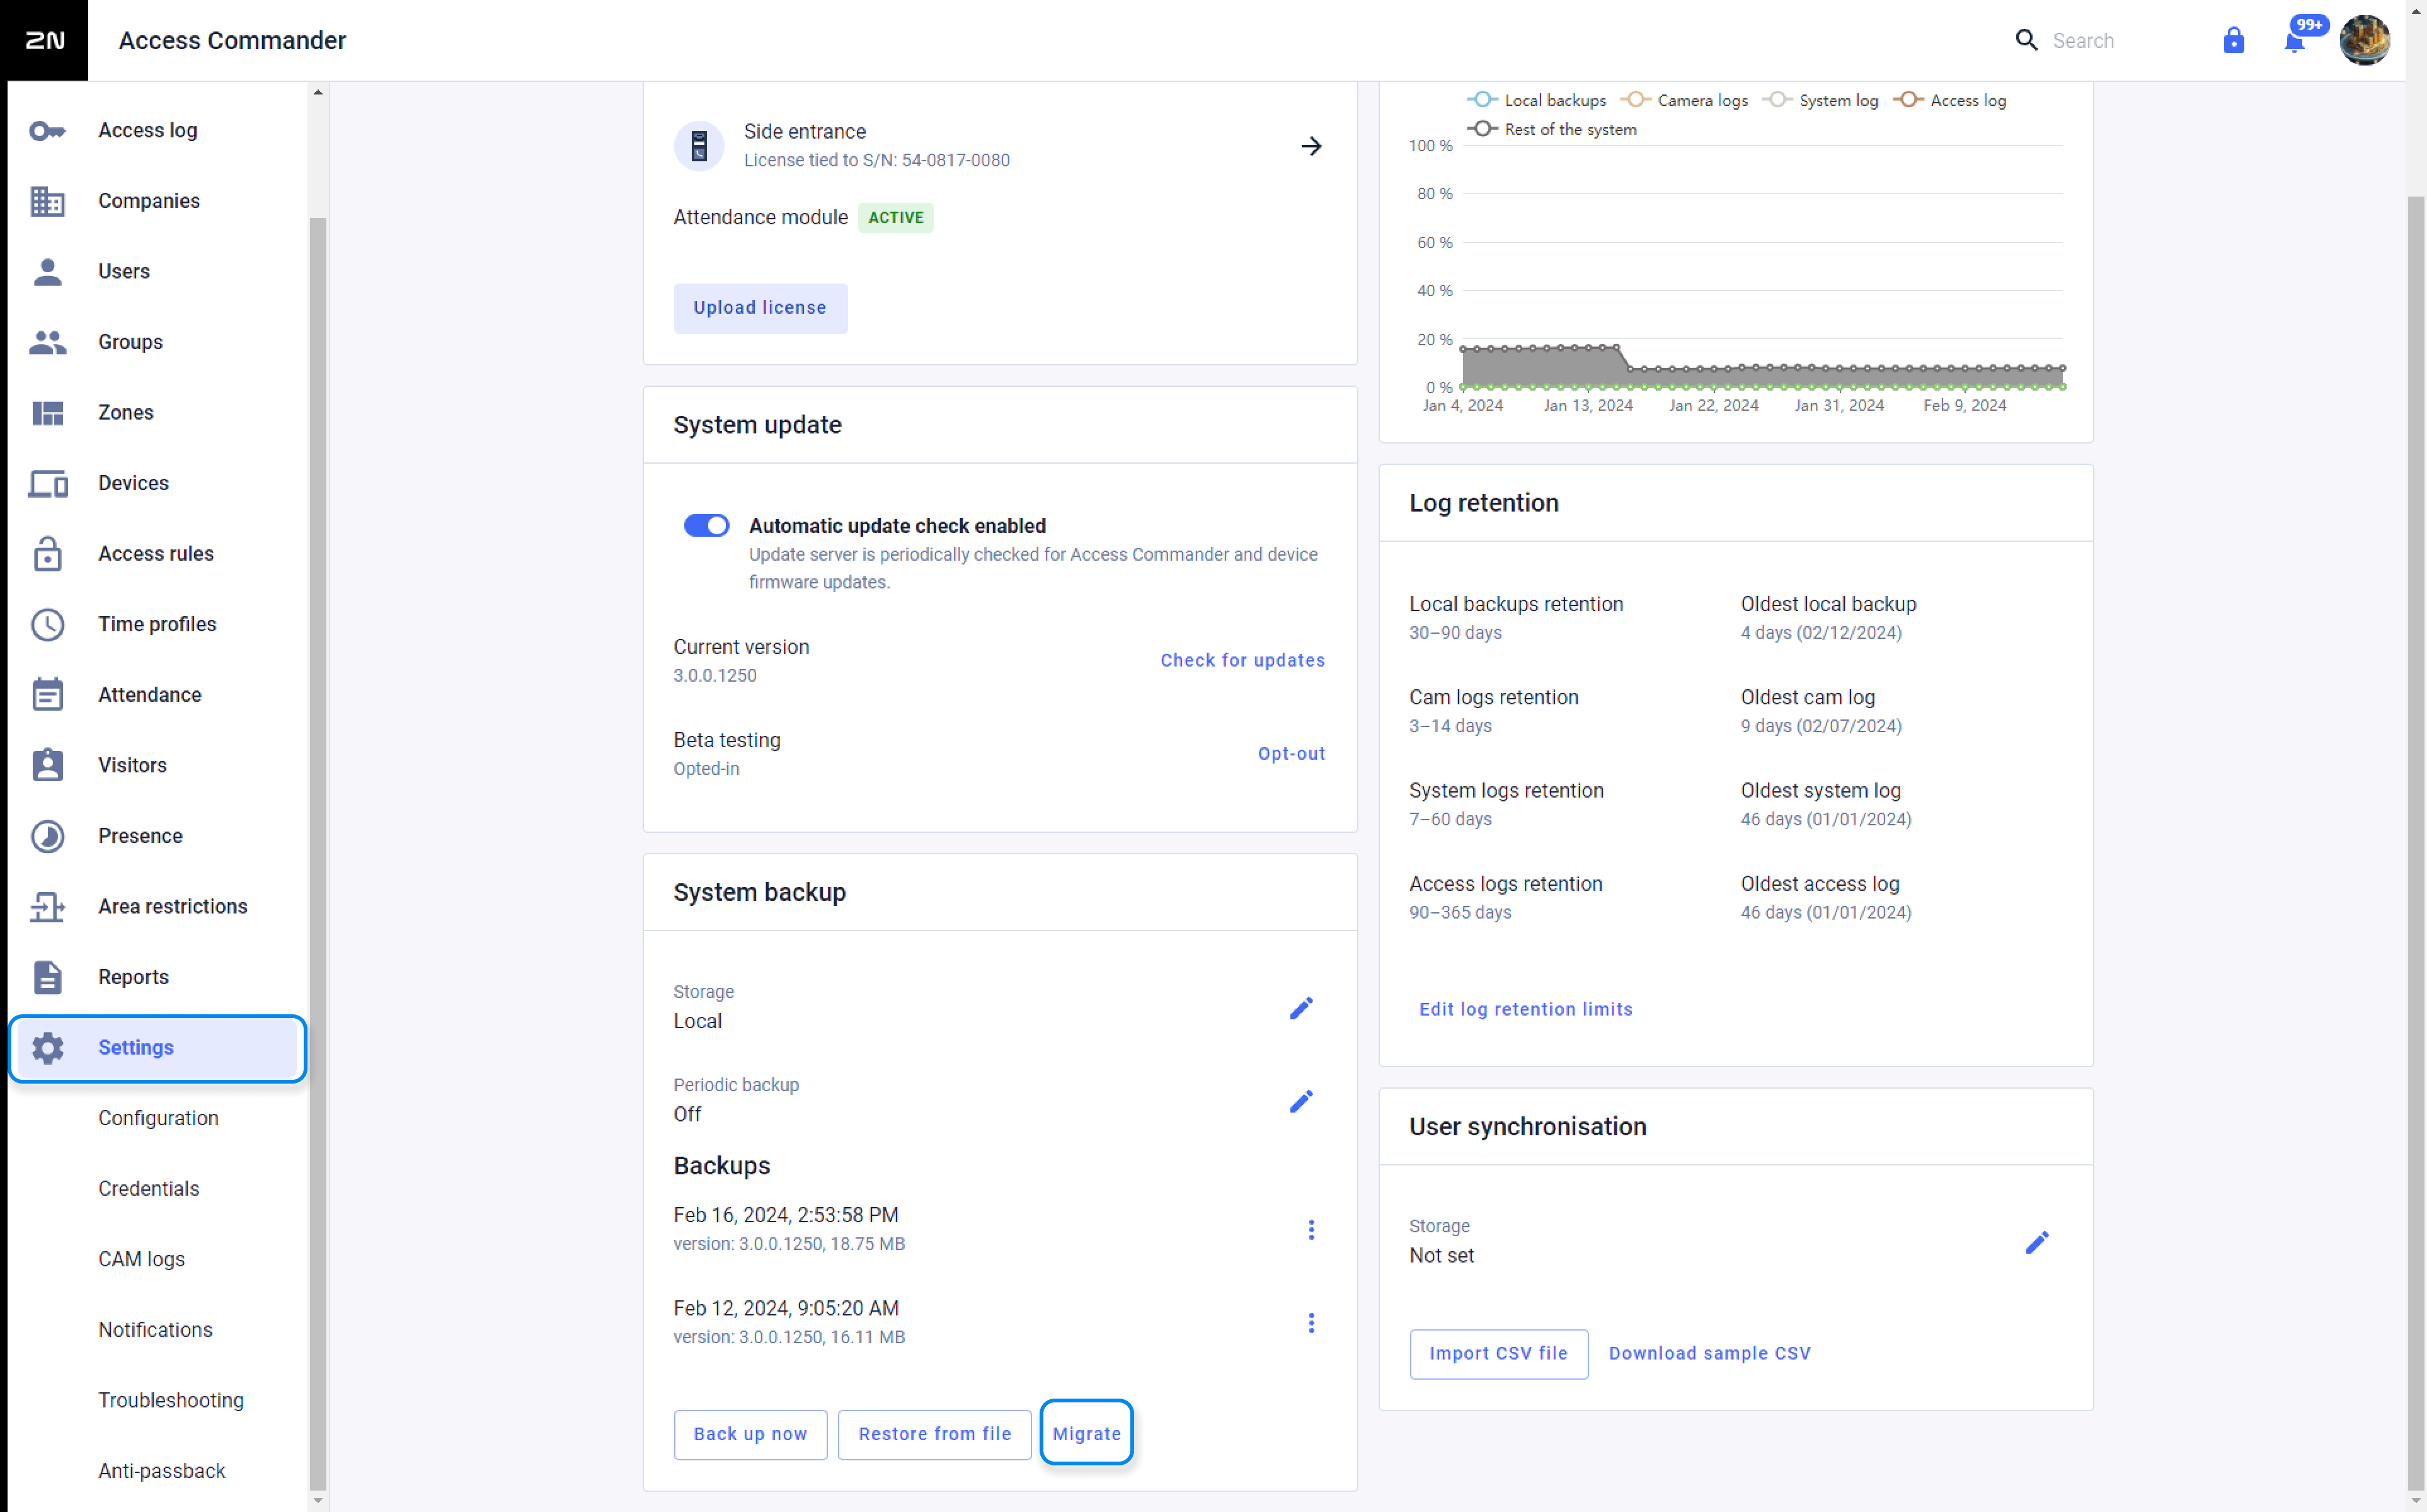
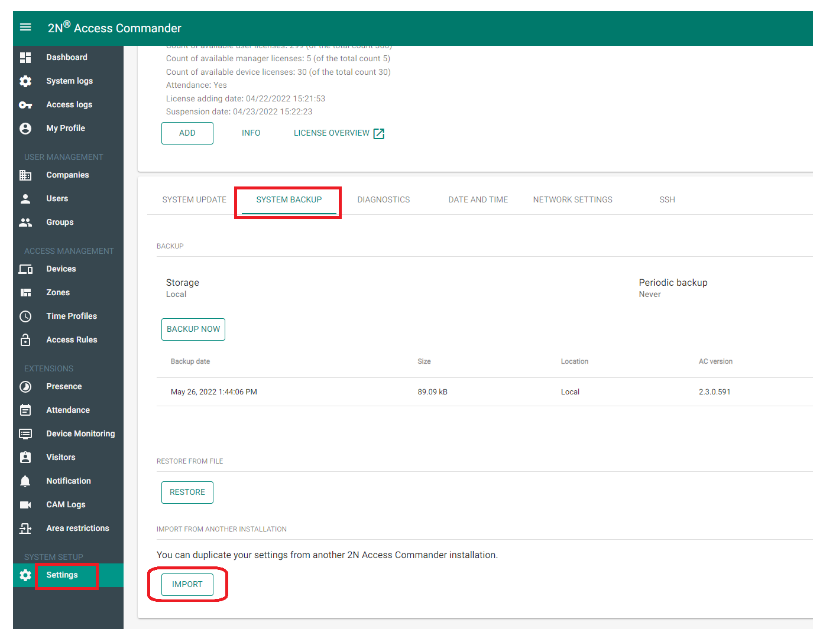
- Turn on current 2N Access Commander, log in to the web interface, go to Settings > SYSTEM BACKUP > click on IMPORT (MIGRATE):
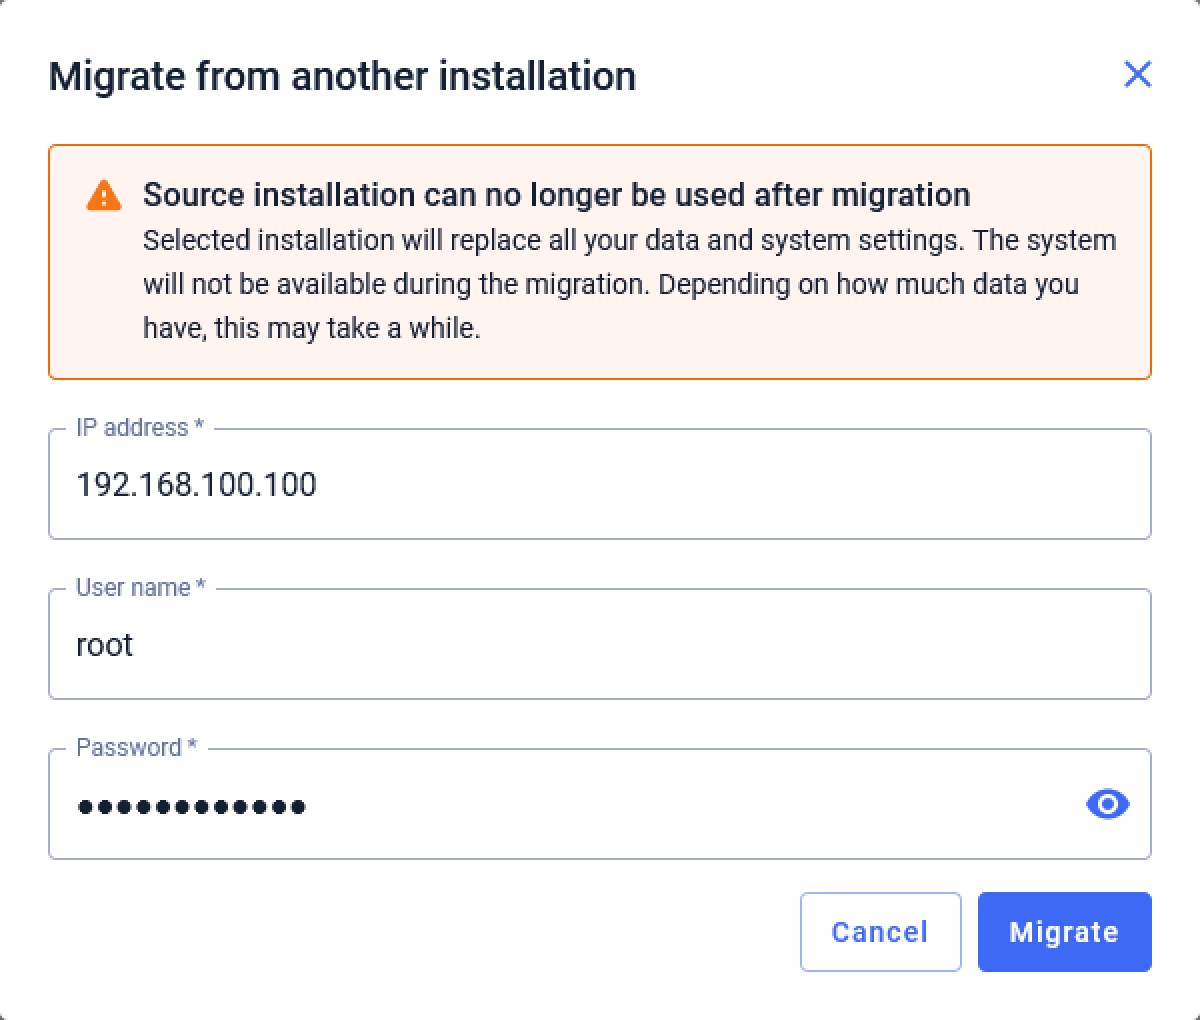
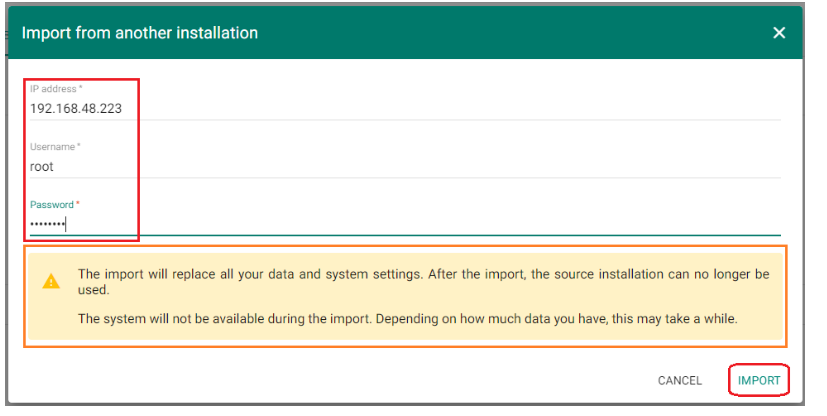
- Put IP address of the 2N Access Commander you want to import the database from, its root user and password and confirm by clicking on IMPORT:
Import of 2N Access Commander database from an old instance to a new instance until the version 2.3
- If you would like to import to a virtualization platform, install the new image of Access Commander the same version.
*Video - Installation - How to install 2N® Access Commander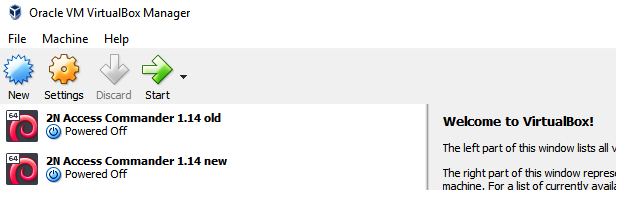
If you would like to import to a BOX distribution, connect a VGA or HDMI monitor and USB keyboard to the device with the same Access Commander version.
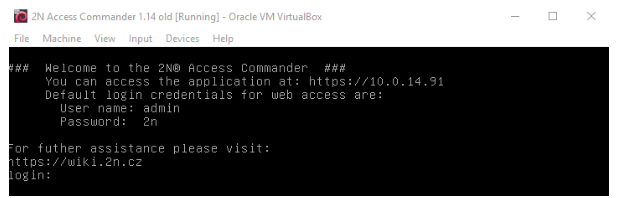
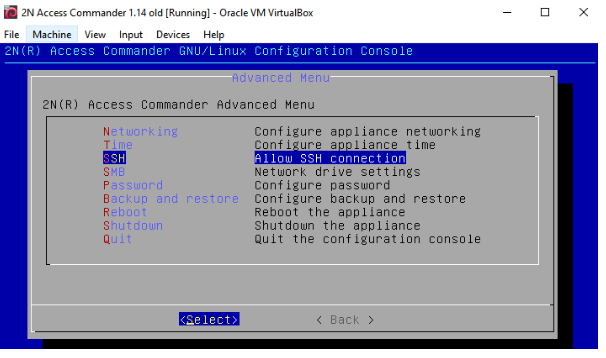
Turn on current Access Commander, login to the linux console as root, note IP address of this appliance, enable SSH connection.


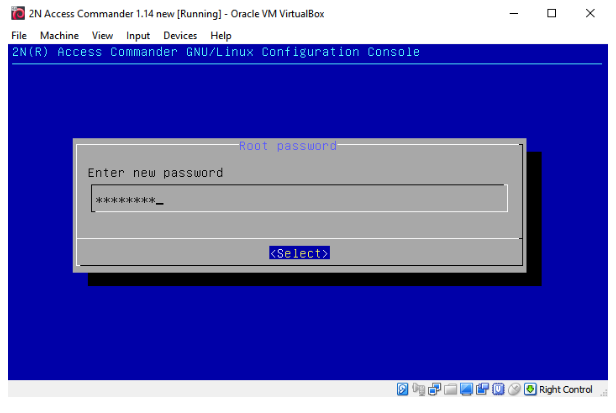
3. Turn on the new Access Commander, login to the linux console as root (factory password is 2n) and set new strong password (at first input old password, then enter a new password and confirm it a second time).
Please do not turn off current Access Commander, both appliances must now be running.

4. Check the new Access Commander network settings.
IP address must be unique, not the same as used for the current Access Commander.


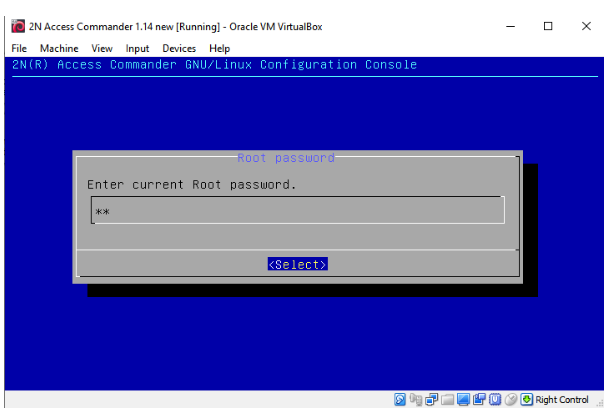
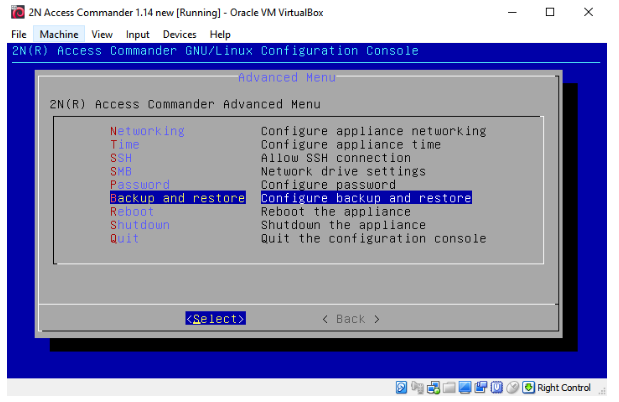
5. Go to the new Access Commander´s linux console - section called "Backup and Restore" - subsection "Import"
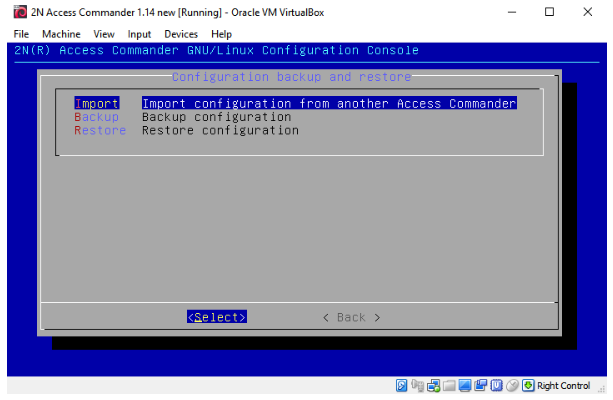
fill in the IP address of the current Access Commander and continue by Apply

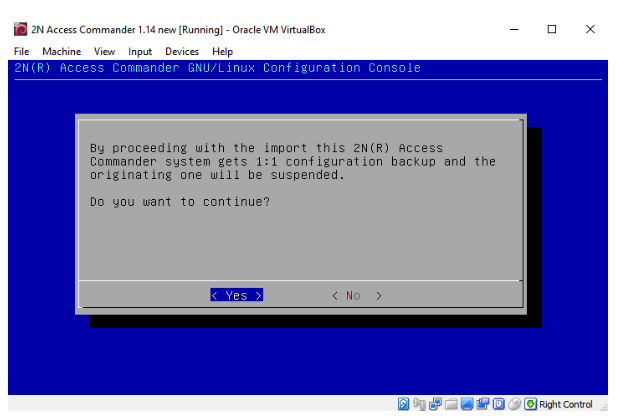
and input current Access Commander root password.


6. The new Access Commander now contains all data from the old Access Commander, please check if everything works properly on web.
After a successful upgrade process the old appliance is turned off automatically and its web server is deactivated (you can´t access its web management more).
Your system will be synchronized only with new Access Commander now.
The Old appliance is prepared for deleting after checking of the new appliance.