2N® IP Eye - How to set it up
- This FAQ was made with 2N® IP Eye v1.4.0.19 and 2N OS v2.37.
- Download 2N® IP Eye software (further just "Eye") and install it to your computer. You can find 2N® IP Eye on the 2N webpage — here.
- Installation 2N® IP Eye will listen on UDP port 8003. Before the installation, please, enable UDP port 8003 in your firewall to accept incoming connection.
- Once you go through the installation, you can find the Eye icon on the desktop of your computer. Run it and the tray icon will show as well.

This manual describes in detail how to set IP Eye on a single computer. At the end of this manual you will find what needs to be done differently in order to display a single call from 2N intercom on several computers at once.
How to configure 2N IP Intercom
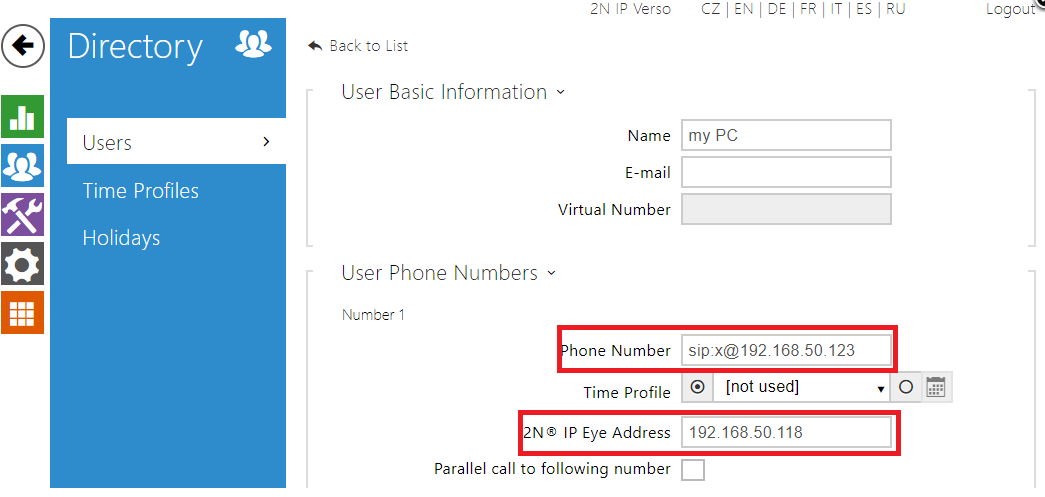
- You can set a pop-up feature from the side of 2N IP Intercom. The pop-up feature means that when a call from 2N IP Intercom is made, Eye will automatically pop-up on the computer with the IP address set under the given user. You can see an example in the picture below. Navigate to Directory -> Users and fill in 2N® IP Eye address.
Note
On MS windows tablets Pop-up function is not available.

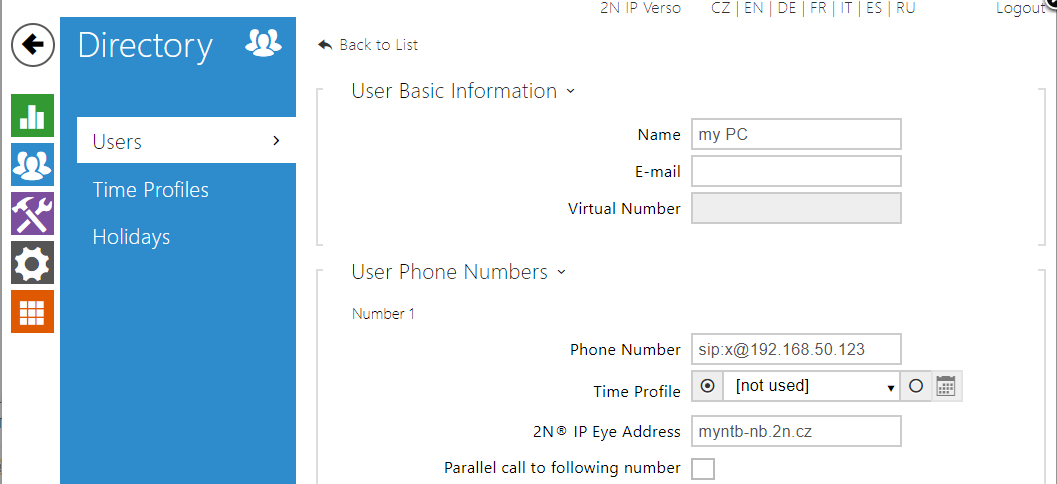
- If your PC is registered to the domain and a domain server is running in your network you can call directly to domain name of the PC instead of IP address. Your IP address can change in the same network, but your domain name will be still be the same.
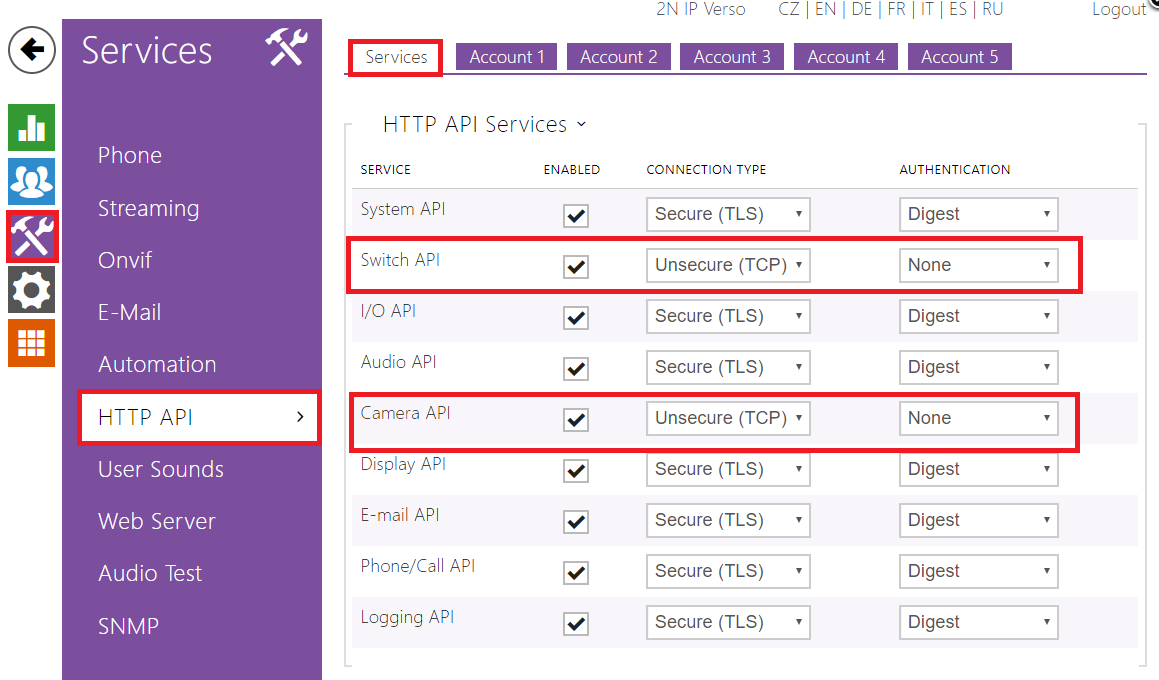
You can set up unsecured access to your 2N IP Intercom via 2N® IP Eye with the settings below.
Then all users can see the video from 2N IP Intercom. In Services -> HTTP API, Switch API and Camera API set to Unsecure / NoneHTTP API – license info
Switch API is only available if you have the Enhanced Integration (or GOLD) license in your Intercom. Switch API will allow you to activate switches even outside of calls.
- There is also an option to create secured access 2N IP intercom and define access. Go to Services -> HTTP API -> Account 1 and define what the user can monitor and control.

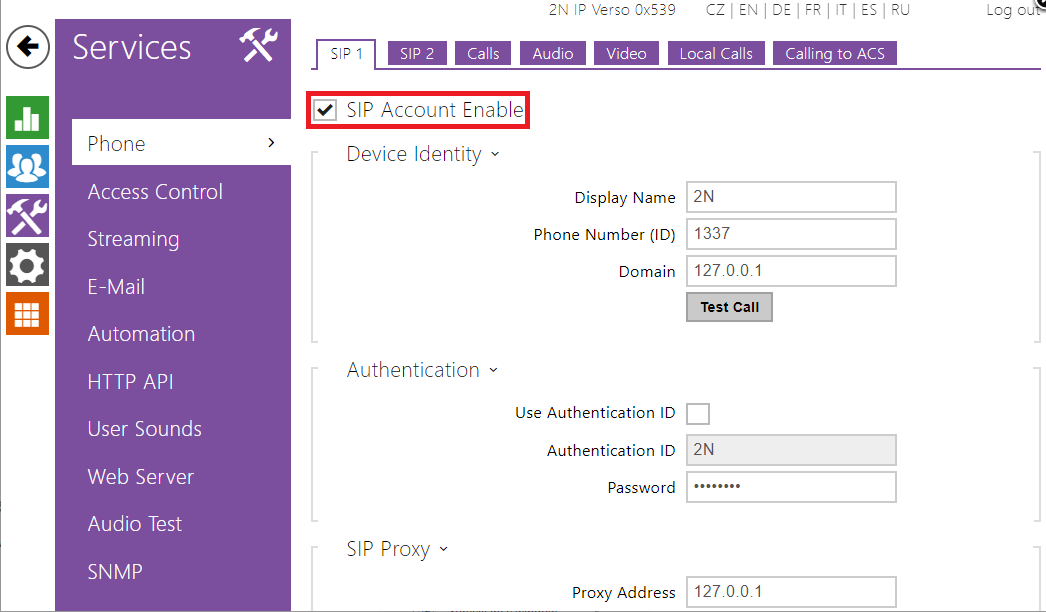
- Also please make sure that you have a SIP account (1 or 2) enabled even if you don't use it.
Settings of 2N® IP Eye:
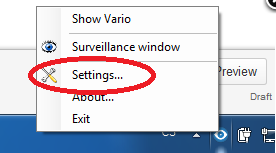
- Now we can go through the settings of 2N® IP Eye.
- On the "Intercoms" tab you can add up to 100 2N IP intercom cameras.
You can type the IP address of the intercom or alternatively search for all connected 2N IP Intercoms in your local network.
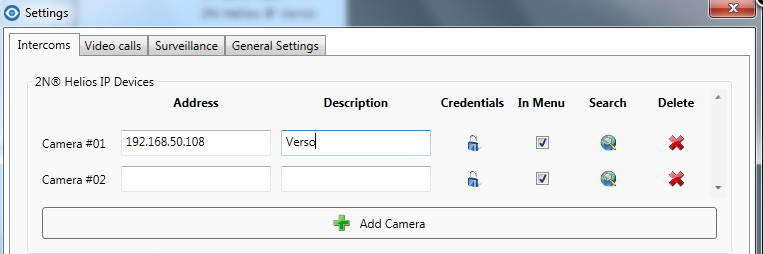
- If you set up secured access in HTTP API, you have to fill login parameters in the Credentials form.

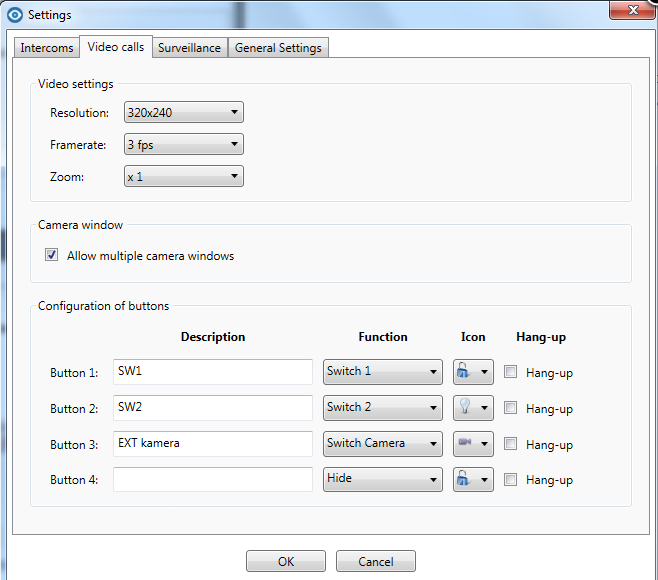
- In the tab "Video calls" you are able to set an icon for opening any of four locks which you have got connected to 2N IP Intercom. You can also define a button for switching between internal and external cameras. You can find how to set an external camera in this FAQ: External IP camera - How to set it in 2N IP Intercom (Axis IP cameras guide included)
- In the "Surveillance" tab you can set up to 10x10 tiles big monitoring window.
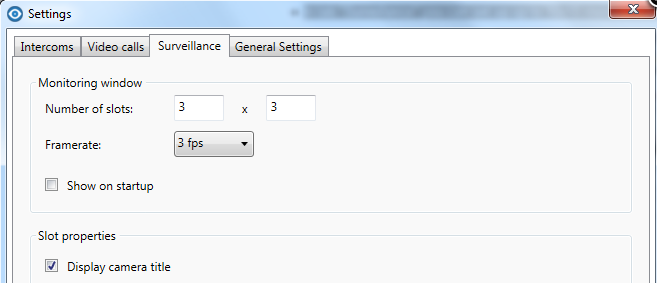
- In the "General Settings" tab you are able to enable stay on top/run on startup.

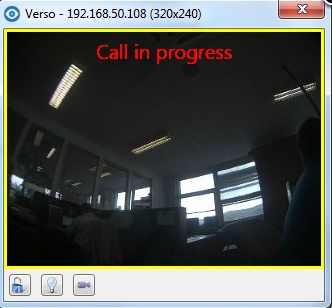
- In the picture below you can see what it looks like if a call is in progress. And with buttons you can open lock, control switch or use picture from external camera.
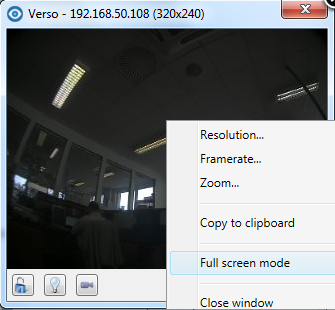
You can watch your camera also in full screen mode use double click on the pop-up window or click right mouse button and choose full screen mode
- In the picture below you can see surveillance cameras.

Setting the Eye on more than one computer
When a call is made from a 2N Intercom, it is also possible to display its video on more than one computer. In order to do it, intercom needs a call destination for each Eye appliance. It can be either any IP phone or any software phone. In this manual, we will show how to set it up with software called MicroSIP installed on a computer.
In this example, we want to achieve Eye displaying on two computers whenever a call is made from the intercom.
Intercom settings
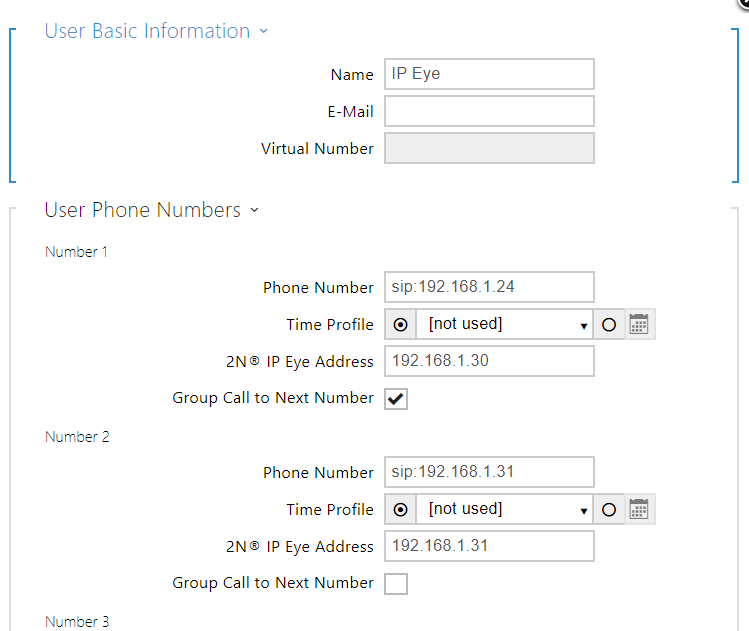
You need to define two call destinations. In this case, first destination will be an IP phone with IP address (192.168.1.24) different from intercom and both computers. This destination will have first computer's IP address (192.168.1.30) defined as IP Eye address.
Second call destination will be the IP address of second computer (192.168.1.31) as we will set it to call the MicroSIP program installed on this computer. Eye address will also be the address of the second computer (192.168.1.31). Also, group calling between these two destinations must be enabled:
IP Eye settings
IP Eye settings are identical to settings to the scenario with a single computer setup.
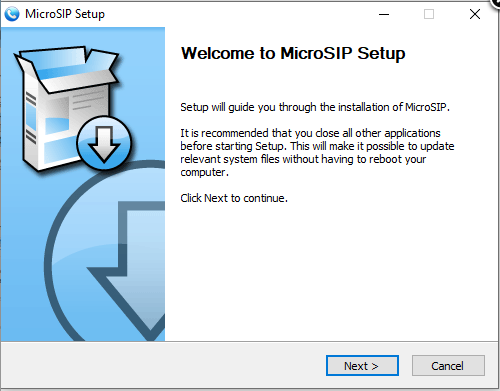
MicroSIP setup
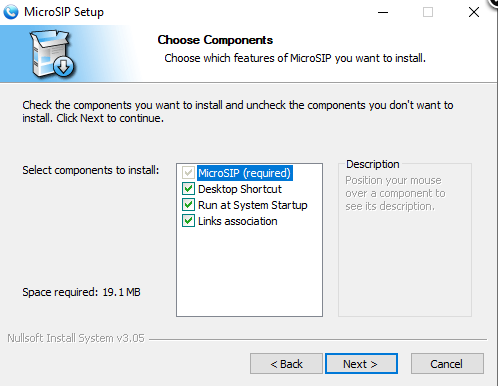
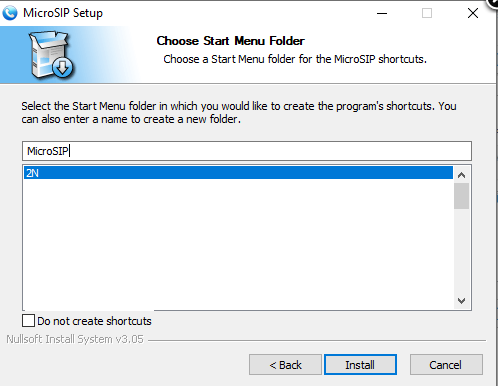
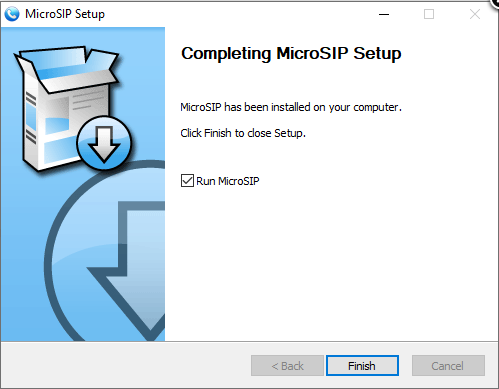
You can download MicroSIP here. Installation is a standard procedure:


Now you can view camera image in the same way as is described in the first part of the manual.