Auto Provisioning via TFTP

Requirements

  • Firmware 2.30 and above
  • Enhanced Integration license or Gold. Up to version 2.34 (inclusive) you need the license/feature or Gold (if it includes it), and from version 2.35 onwards they are part of the Gold license.
  • TFTP server (e.g. SolarWinds TFTP)

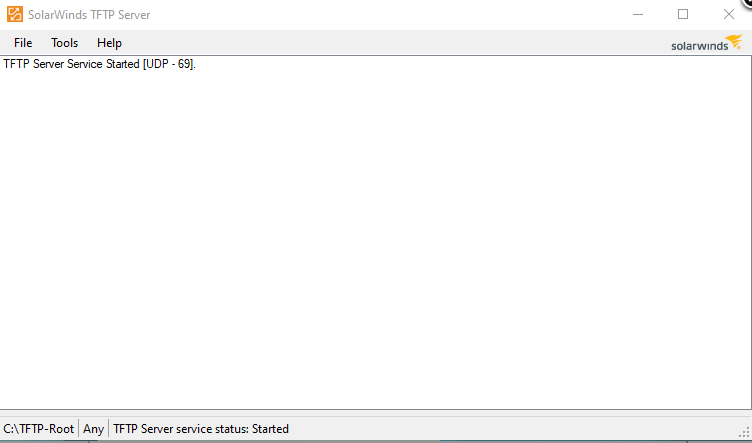
In this document, we will show how to set & schedule firmware and configuration uploading to your intercom via TFTP. In our scenario, we will use the FREE software SolarWinds, but you can choose any TFTP server you like.


The configuration of the SolarWinds TFTP is pretty straightforward, you don't even need to do any special configuration and it will work right away.


But you can still make some further configuration:

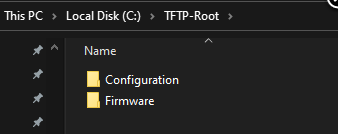
  1. You can change the location of the root directory (from where the configuration and firmware will be uploaded)
  2. In the root directory, you can create folders for better organisation
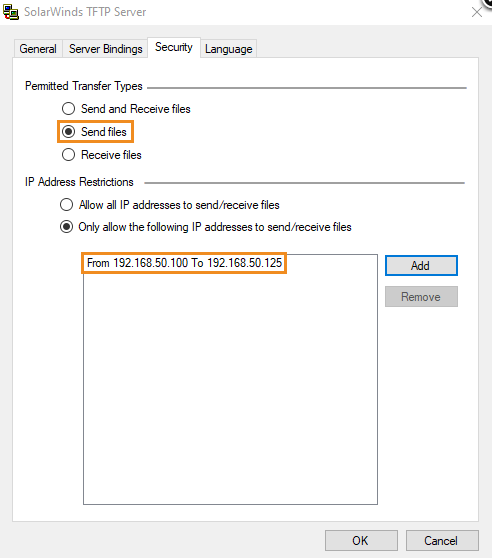
  3. You can also improve the security with changing the transfer mode to send only and allow a specific IP range


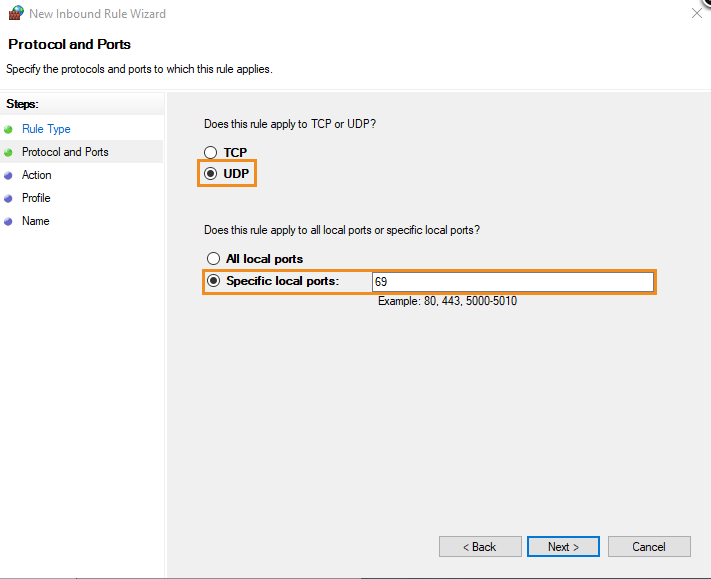
For everything to work properly, you need to create a new inbound rule in your firewall:


Select a rule type "Port"


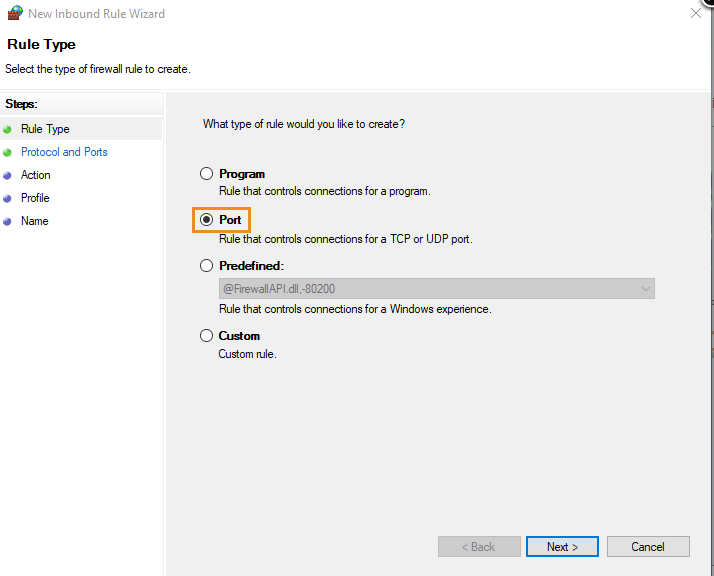
Select UDP protocol and specify a port 69

Once you create a rule, the TFTP server should be ready and the intercom should be able to connect successfully.


  1. First of all, you need to find the IP address of your PC, you can use a command line and type "ipconfig":
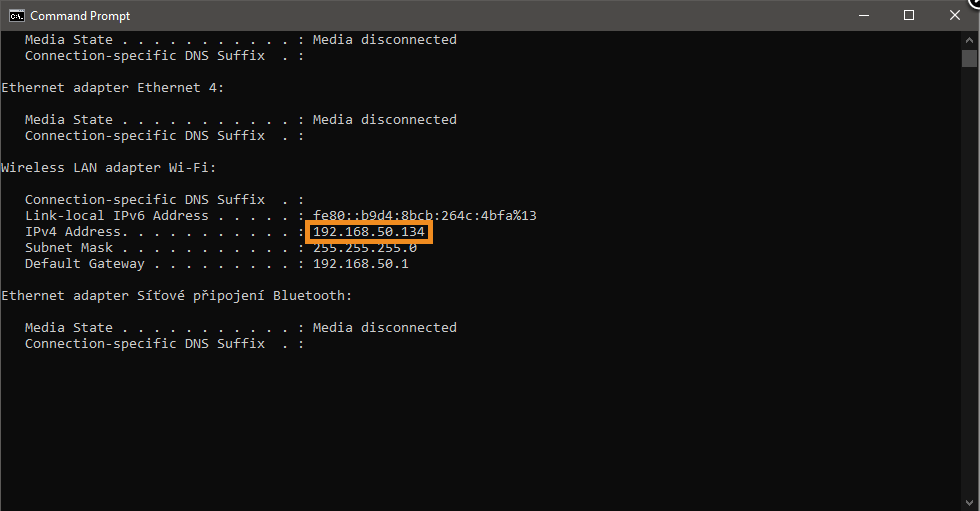
  2. After you successfully found out your IP address you have to fill it into the IP Intercom in this format: tftp://ip_address:69
    If you've made folders in your root directory, you need to specify the correct location, otherwise, leave the "/" by default.
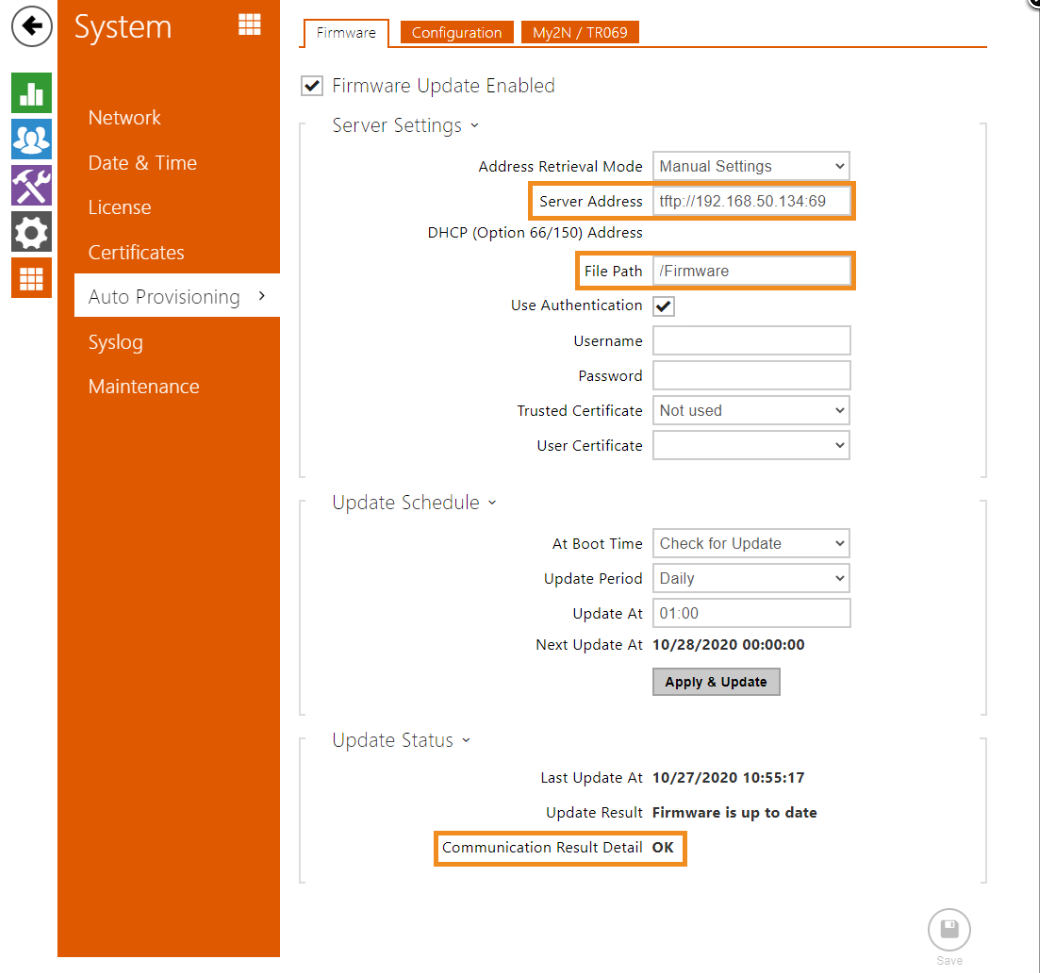
  3. At this stage, you can also schedule, how often the intercom will check for any updates.

    The intercom can check for updates:

    • Manually
    • Daily
    • Weekly
    • Monthly


You cannot downgrade via TFTP, the update always results with a note "Firmware is up to date"

To upload the firmware to the units, the file name needs to be in the correct format (check the formats below).

After you correctly re-name the file you need to save it to the correct directory (in our case C:\TFTP-Root\Firmware).

The latest firmware can be found on our site: https://www.2n.cz/en_GB/support/documents/firmware


MODELIDEXAMPLE
2N® IP Variohipv

hipv-firmware.bin

2N® IP / LTE Versohipvehipve-firmware.bin
2N® IP Solohipsohipso-firmware.bin
2N® IP Basehipbahipba-firmware.bin
2N® IP Forcehipfhipf-firmware.bin
2N® IP Safetyhipsfhipsf-firmware.bin
2N® IP Video Kithipvkhipvk-firmware.bin
2N® IP Audio Kithipakhipak-firmware.bin
2N® SIP Speaker Hornsasshsassh-firmware.bin
2N® SIP Speakerssss-firmware.bin
2N® SIP Audio Convertersacsac-firmware.bin


To upload the configuration to the units, the file name needs to be in the correct format (check the formats below).

After you correctly re-name the file you need to save it to the correct directory (in our case C:\TFTP-Root\Configuration).

The backup configuration file must be sourced from the device itself, here is how to make a back-up: Základy řešení potíží - Záloha konfigurace, síťový trace, syslog a ping u 2N IP Interkomů

If you want to have a specific configuration for one intercom you will have to substitute the "common" with a MAC address in this format: MODEL-XX-XX-XX-XX-XX-XX.xml


MODELIDEXAMPLE
2N® IP Variohipv

hipv-common.xml

2N® IP / LTE Versohipvehipve-common.xml
2N® IP Solohipsohipso-common.xml
2N® IP Basehipbahipba-common.xml
2N® IP Forcehipfhipf-common.xml
2N® IP Safetyhipsfhipsf-common.xml
2N® IP Video Kithipvkhipvk-common.xml
2N® IP Audio Kithipakhipak-common.xml
2N® SIP Speaker Hornsasshsassh-common.xml
2N® SIP Speakerssss-common.xml
2N® SIP Audio Convertersacsac-common.xml