To Connect and configure a 2N Door Station do the following: Find IP Address of the Door Station. Either use a any network scanning software or the 2N Network
Scanner. Open a web browser. Enter the Door Stations IP Address in the web browsers address bar. Enter Username and Password for the Door Station. The defaut username / password of 2N units is: Username: admin, Password: 2n.
In a web browser log in to the Door Station to be configured. Select Services.
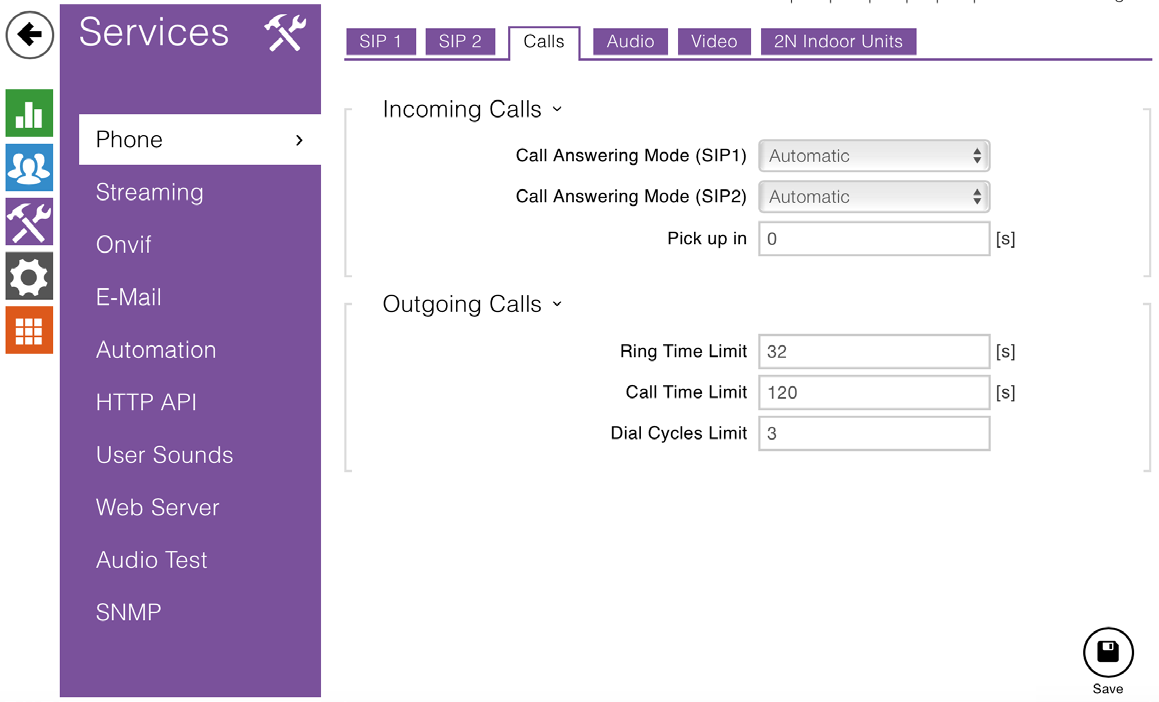
Select Phone > Calls. Set Incoming Calls to Automatic for both SIP1 and SIP2.
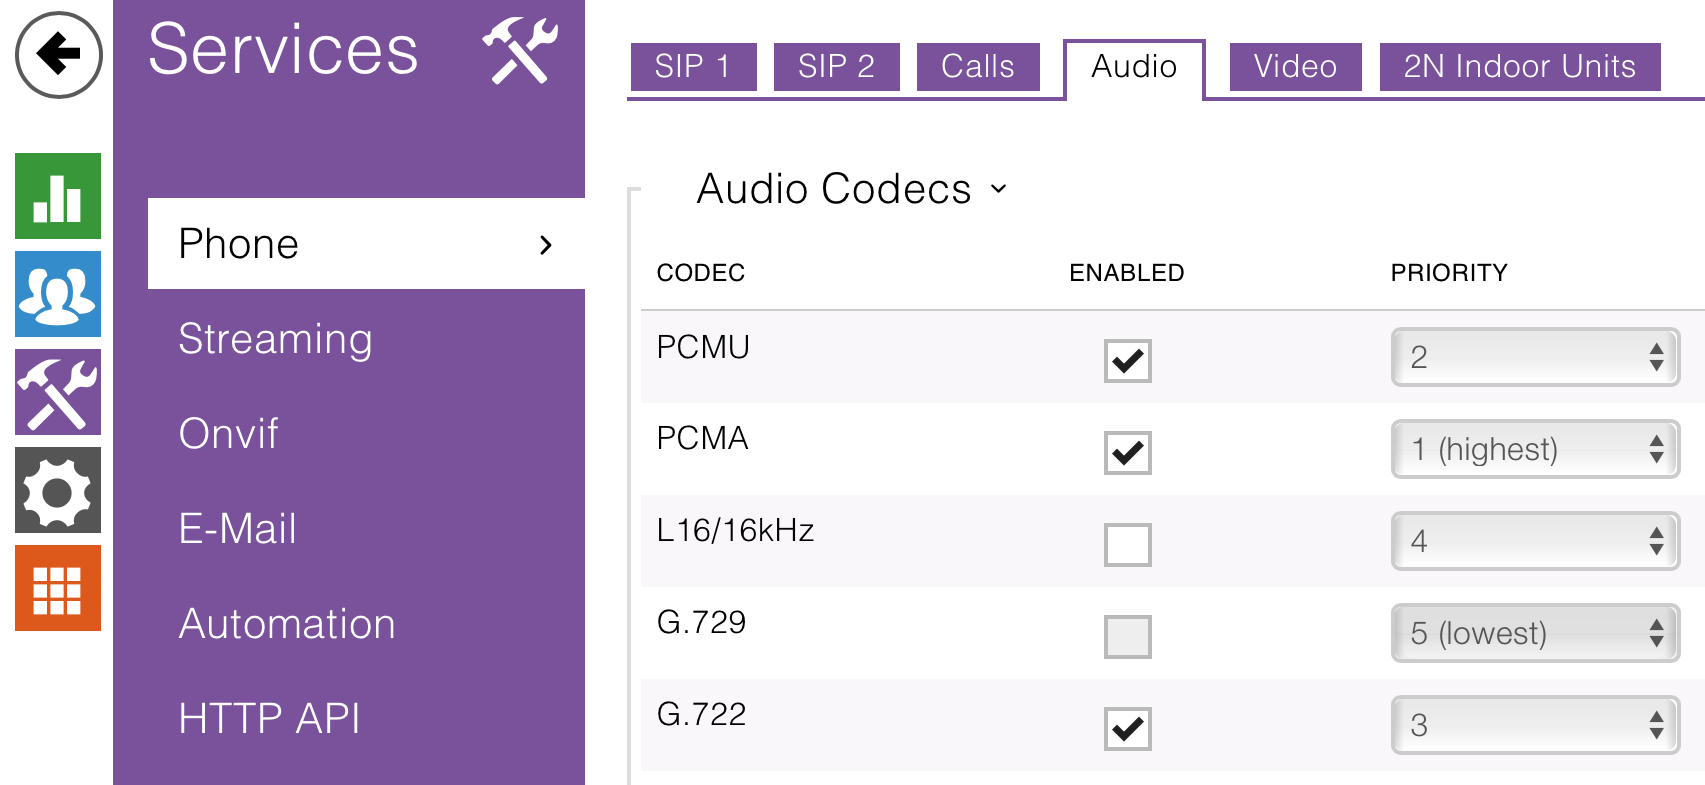
Set Call Time Limit. This is a max duration of the call before the intercom terminates the call. Click Save. Select Phone > Audio. Enable PCMA, PCMU and G.722.
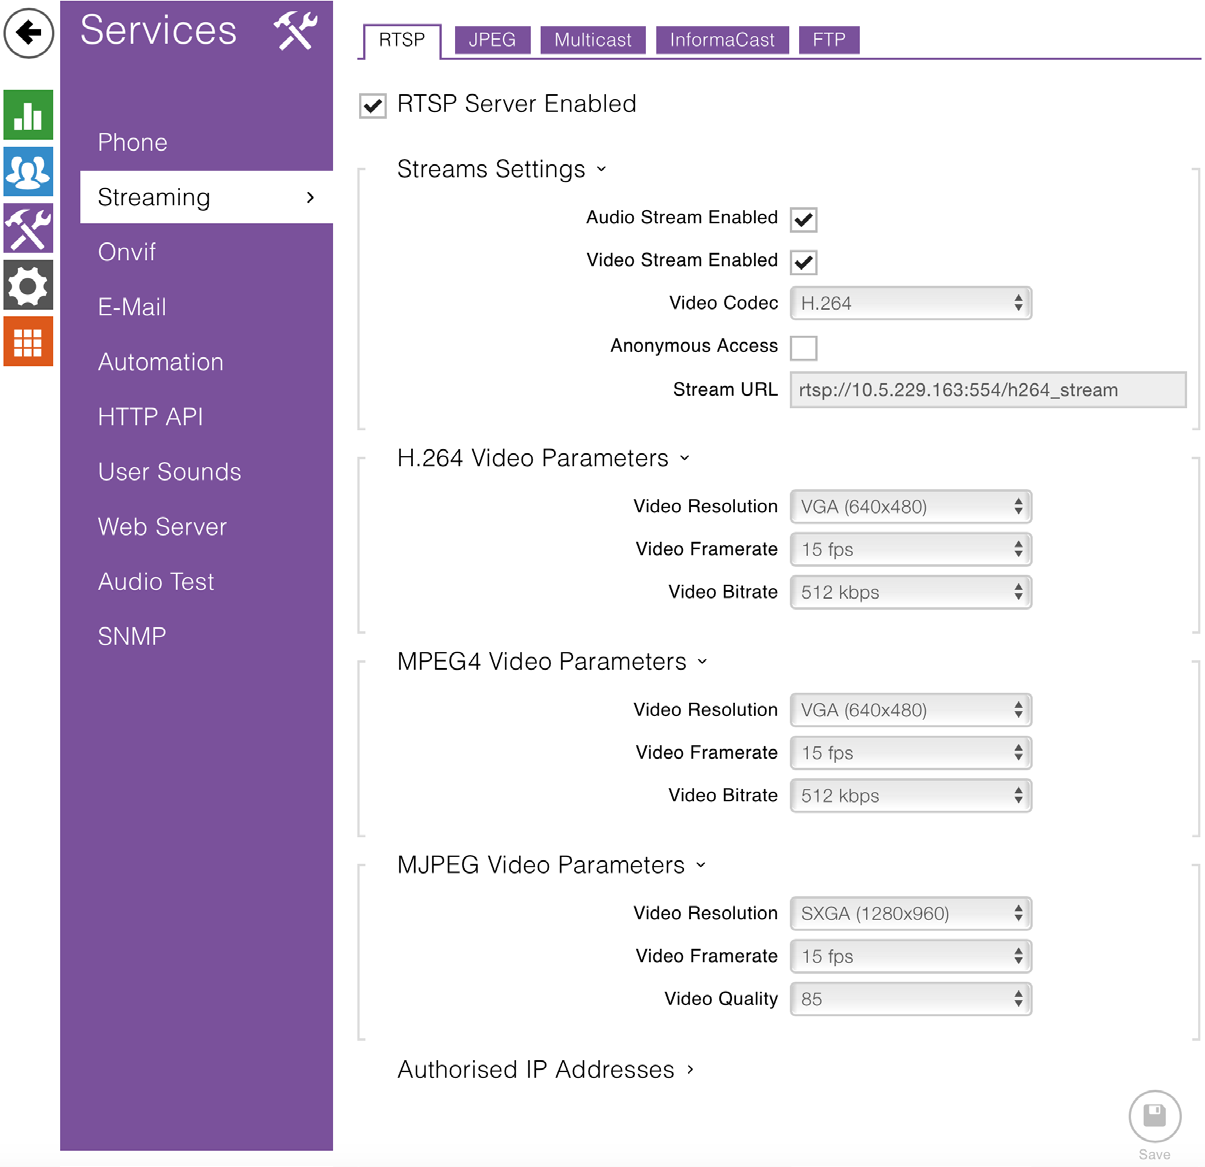
Set Priority: PCMA - 1 Highest, PCMU - 2, G.722 - 3, 9. Click Save. Select Streaming > RTSP. Click the check box RTSP Server Enabled.
Make the changes necessary based on the table below. Click Save. Select HTTP API > Services. Set Camera API to the following:
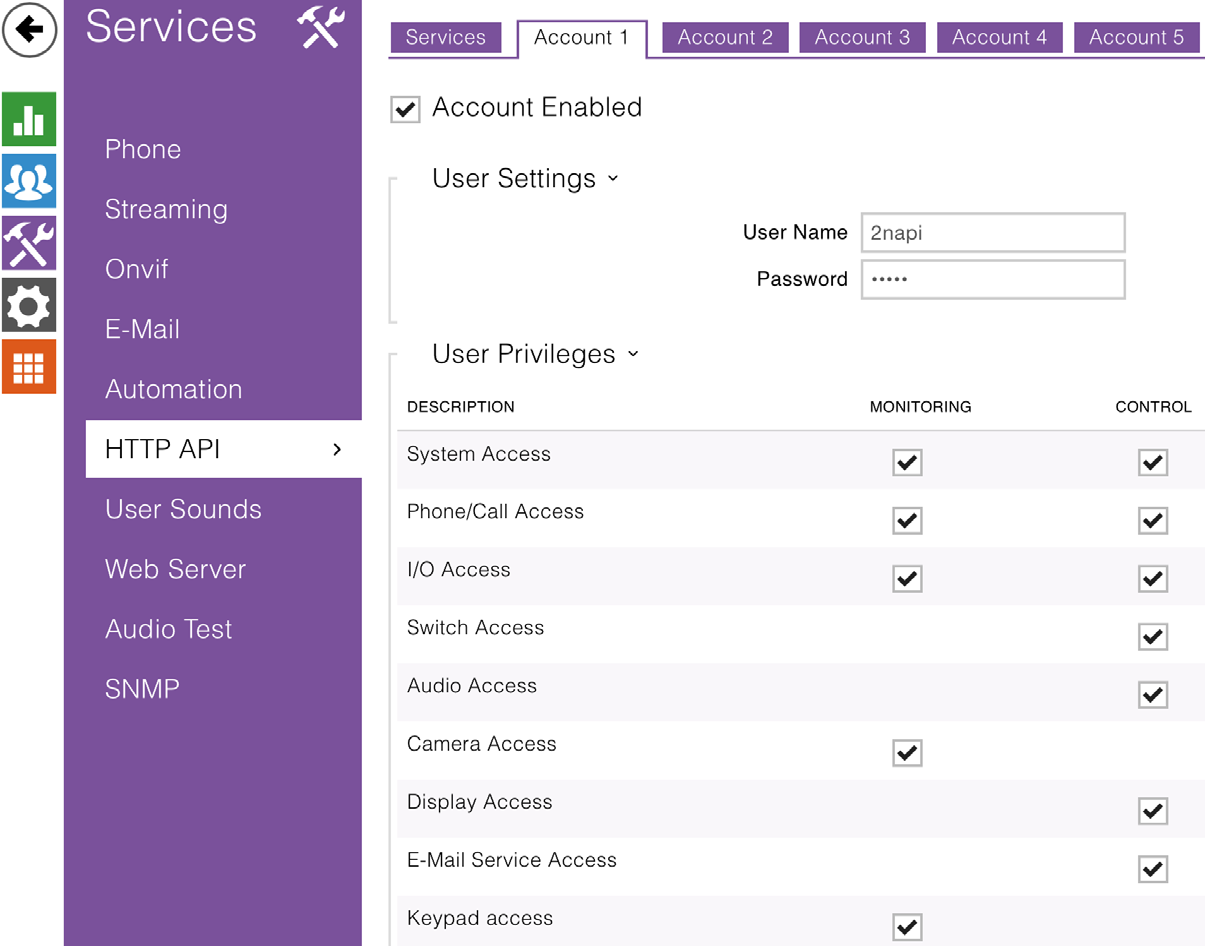
Connetion Type: Unsecure (TCP), Authentication: Basic. Click Save. Select HTTP API > Account 1. Check Account Enabled.
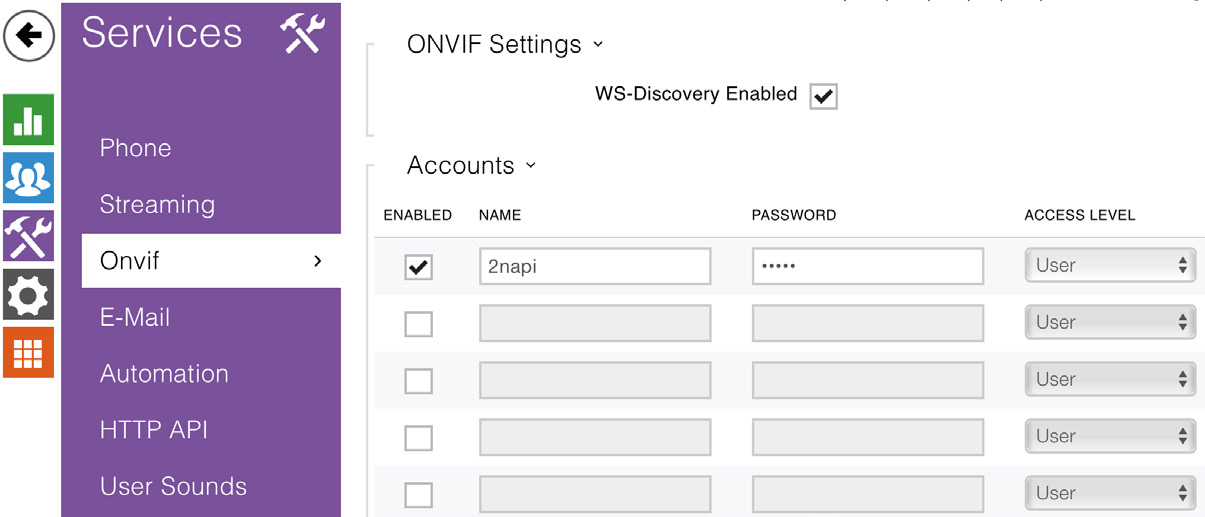
Create an User Name and Password. Enable all User Privileges. Click Save. Select Onvif. Enable the first Account.
Enter the NAME, and PASSWORD. Click Save. In a web browser log in to the Door Station to be configured. Select Hardware.
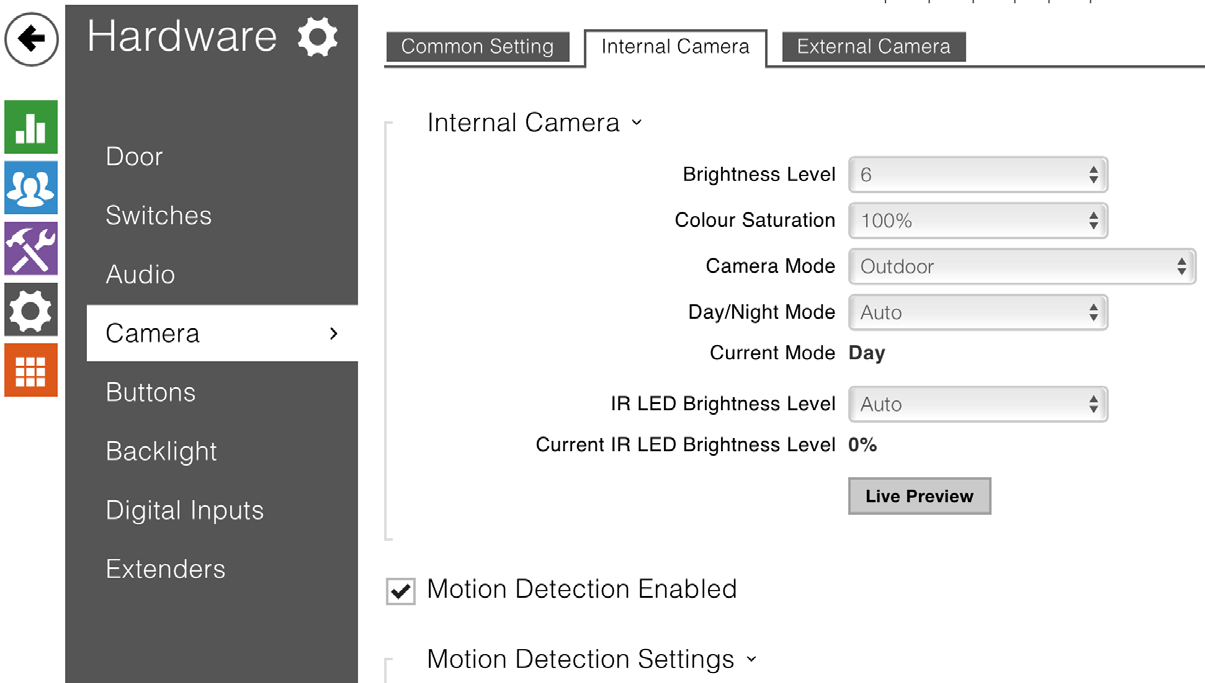
Select Camera > Internal Camera. Select Motion Detection Enabled.
Make any adjustments to sensitivity settings. Click Save. Select Audio Select Noise Detection Enabled.
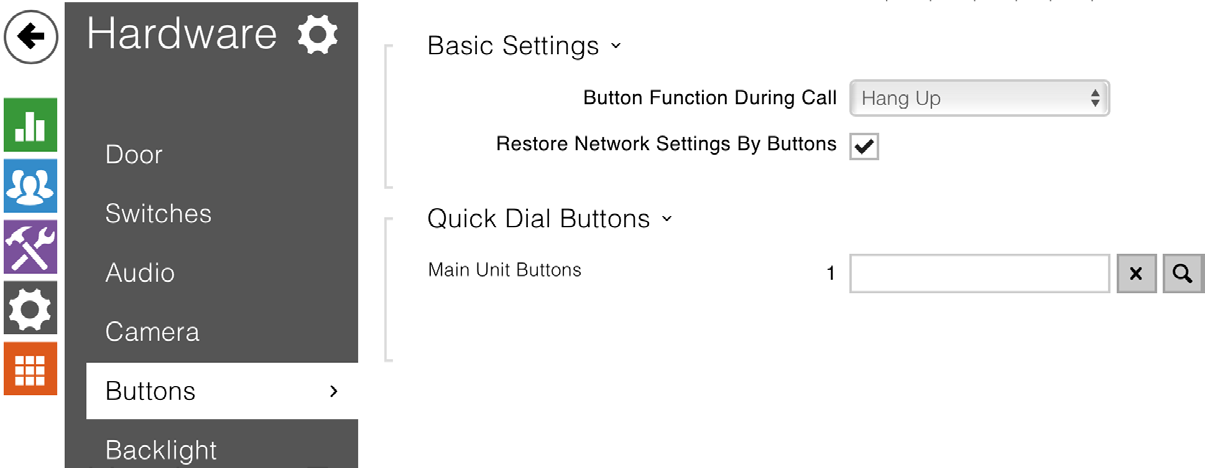
Make any adjustments to sensitivity settings. Click Save. Select Buttons. Disable the Quick Dial Buttons by clicking the x. Click Save.