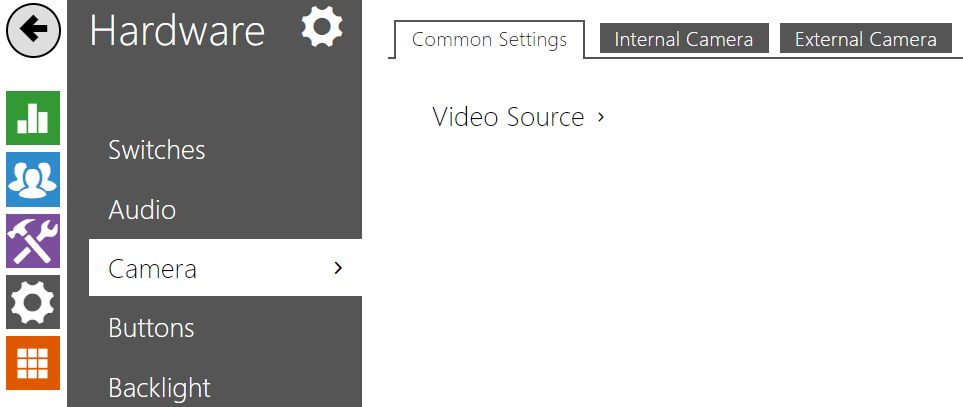
5.5.3 Camera
 |
This menu is only available in the 2N LTE intercom models that are equipped with an internal camera or can be connected to an external camera. The camera signal can be streamed directly into the call via a videophone, sent by E-mail, streamed via ONVIF/RTSP to another device (a video surveillance device, e.g.), or simply HTTP downloaded from the intercom in the JPEG format.
The following video signal sources can be used:
- a standard external IP camera supporting RTSP stream with codecs MJPEG (640 x 480 max resolution) or H.264 3.0 (640 x 480 Base Line Profile max resolution). The recommended framerate is 15 frames per second in either case. Higher frame rates may result in undesired effects (less smooth playing).
The Camera menu helps you set such camera parameters as brightness, colour saturation and external IP camera login data if necessary. Refer to the Services / Phone, Services / Streaming and Services / E-Mail menus for the video call/streaming parameters.
List of Parameters
Common Settings
 |
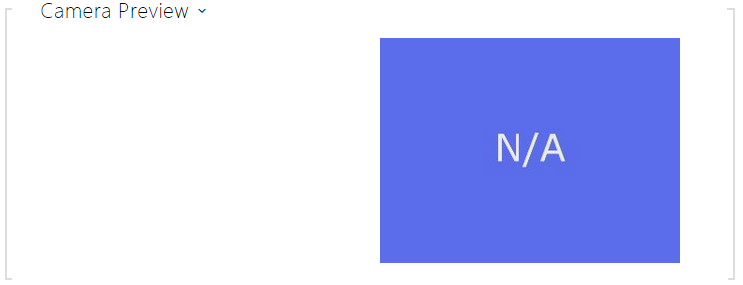
Default video source – set default camera source. Choose between the internal camera (or an analog camera connected to the intercom) or an external camera. The change of the default video signal source is applied to the RTSP stream and HTTP API. In 2N IP Eye it is required to enable the external camera manually, even when there is no internal camera present in the device. If no internal camera is connected to the intercom, External IP camera can only be selected. If the external camera is not connected or configured properly, N/A is displayed on a blue background.
- Live Preview – display a live preview from a 2N IP intercom camera.
Internal Camera
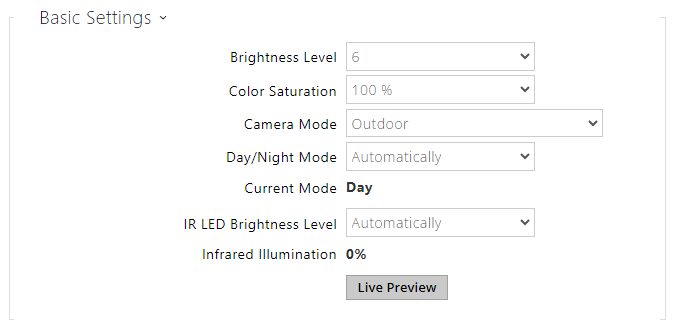 |
- Brightness Level – set the camera image brightness. This setting allows brightening or darkening the entire image.
- Color Saturation – set the camera image color saturation.
- Camera Mode – set the appropriate combination of exposure mode and power line frequency if flicker is visible in the camera image. Choose variable image flicker cancellation modes for indoor sites illuminated by artificial light. Or, set direct sunshine suppression for outdoor applications.
- Day/Night Mode – set to Always Day to enable the IR suppression filter and disable IR illumination. Set to Always Night to do the opposite and turn the image black and white. Automatic mode switches between the two based on ambient light levels.
- Current mode – display the currently selected camera mode (day/night). in the day mode, the camera uses an IR suppressing filter and infrared illumination is disabled. In the night mode, the IR suppressing filter is disabled and infrared illumination is on.
- IR LED brightness level – set the IR LED brightness level. IR illumination is only used in Night Mode, which is automatically activated in low ambient light conditions by default.
- IR Illumination – display the current IR LED brightness level percentage. The level can automatically be decreased below the set value so that the maximum power consumption cannot be exceeded (typically, when multiple extenders are connected and PoE supply is used).
- Live Preview – display a live preview from a 2N IP intercom camera.
 |
- Motion detection enabled – enable automatic motion detection via an internal camera. Motion is detected by monitoring of a brightness change in the selected image section in time. When objects move within the camera range, the selected part of the image detects an activity, which can be expressed in percentage. If the activity exceeds the upper limit, motion is detected and indicated as long as the activity drops below the lower limit. Select the sensitivity thresholds and detection area according to the requirements and installation site conditions.
 |
- Sensitivity threshold– set the lower and upper sensitivity and hysteresis limits for the motion detecting algorithm.
- Detection area – set the rectangular detection area in the image.
- Activity graph – display the activity history (image brightness changes) including the upper/lower sensitivity thresholds.
External Camera
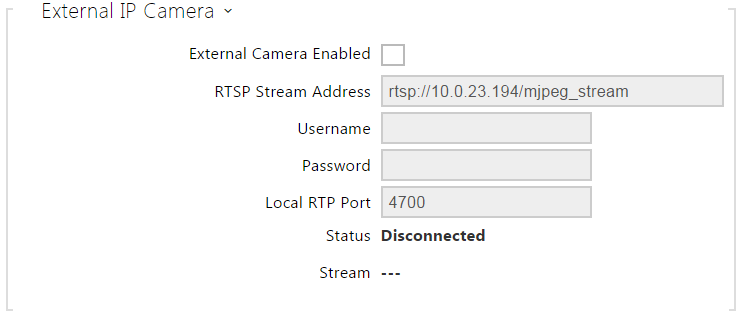 |
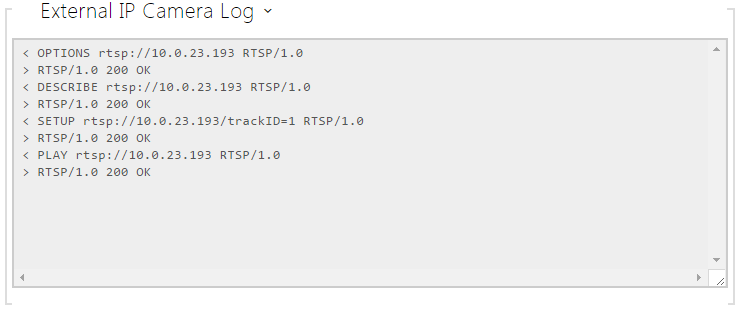
- External camera enabled – enable RTSP stream download from the external IP camera. Complete the valid RTSP stream address or the username and password to make the function work properly.
RTSP stream address – enter the IP camera RTSP stream address: rtsp://camera_ip_address/parameters, refer to the parameter table below. The parameters are specific for the selected IP camera model. If you choose another 2N LTE intercom for the external camera, enter http://ip_address/mjpeg_stream or http://ip_address/h264_stream.
Parameter Description Values / Example vcodec Video Codec
vcodec=h264 for codec H.264
vcodec=mjpeg for codec MJPEGvres Video Resolution vres=640x480 for VGA
fps Video Framerate fps=15
(1 to 30 fps, MJPEG video codec limit is 15 fps).
vbr Bitrate vbr=768 for 768 kbps audio Audio - audio=1 (enabled)
- audio=0 (disabled)
zipstream Zipstream - zipstream=off (disabled)
- zipstream=low
- zipstream=medium
- zipstream=high
- zipstream=higher
- Username – enter the username for the external IP camera authentication. The parameter is obligatory only if the external IP camera requires authentication.
- Password – enter the external IP camera authentication password. The parameter is obligatory only if the external IP camera requires authentication.
- Local RTP port – set the local UTP port for RTP stream receiving.
 |
 |