2.3 Mounting
External Antenna Connection
Mount the enclosed antenna into the SMA antenna connector. If equipped with the ZigBee modules, the device may include a reverse RP-SMA connector. In that case, use an antenna with the appropriate RP-SMA plug.
 |
Antenna Connection
Caution
- Tighten the antenna connector gently with your hand; never use a tool!
Note
- The antenna should be located in one and the same building with
2N® SmartCom PRO. for safety reasons.
SIM Card Installation
If your terminal is equipped with a WWAN module, insert a SIM card to make it work properly. 2N® SmartCom PRO is equipped with a standard Mini SIM card holder on the top of 2N® SmartCom PRO.
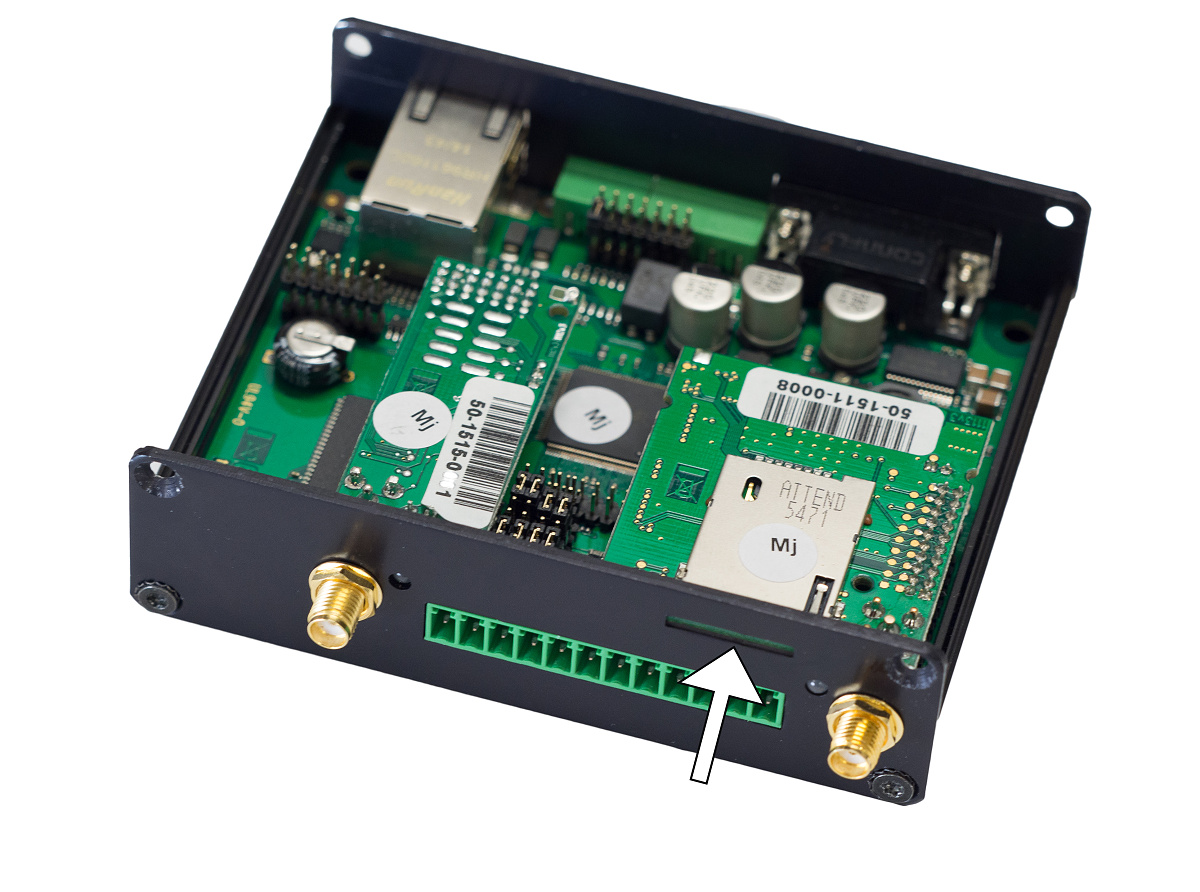 |
SIM Card Installation
- Insert the SIM card in the holder (making sure that the card chip heads towards the connector).
- Push the card in until it clicks into position.
Caution
- Make sure that the Mobile provider's SIM card is intended for the GSM/UMTS/LTE network supported by your 2N® SmartCom PRO version and that Mobile data transmission is activated.
- Make sure that the SIM card does not request the PIN or that the PIN is identical with the PIN set in the 2N® SmartCom PRO configuration.
- Remember to set the relevant SIM and provider's services (call forwarding, call barring, preferred networks, SMS centre, etc.) via your mobile phone before inserting the SIM card in 2N® SmartCom PRO.
Power Supply
2N® SmartCom PRO is 6–24 V DC supplied. Make sure that the voltage value and polarity comply with the data specified at the 2N® SmartCom PRO power connector before connecting your device to an adapter other than that included in the delivery. Connect the supply voltage to the 4–pin connector next to the RS 232 connector.
Warning
- Do not connect the power supply before connecting an antenna to
2N® SmartCom PRO to avoid the WWAN module damage. - Do not connect any incompliant power supply to avoid electric accident or system damage.