3.1 Configuration
2N® SIP Speaker, Wall Mounted is configured through an integrated administration web server. Connect 2N® SIP Speaker, Wall Mounted to the IP network and make sure that 2N® SIP Speaker, Wall Mounted is powered.
Description of 2N® IP Network Scanner
The purpose of this application is to find the dynamic IP address of 2N® SIP Speaker, Wall Mounted in the local IP network. The application can be downloaded from the 2N web sites www.2n.cz.
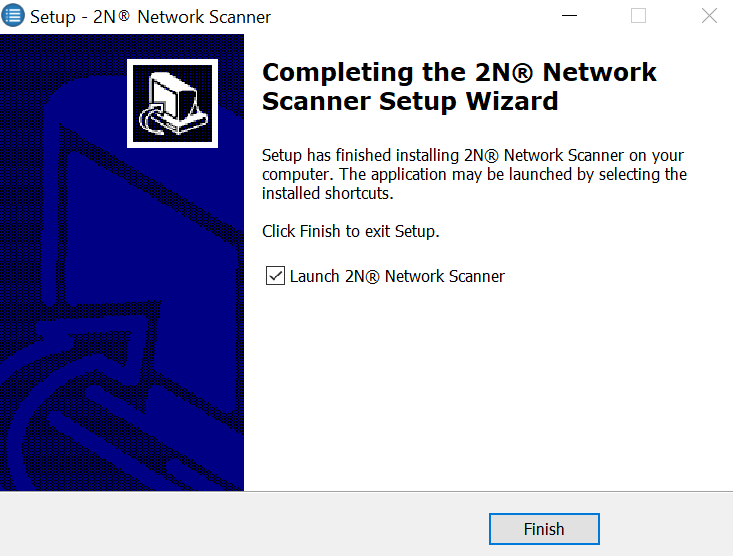
- Run the 2N® IP Network Scanner installer.
The installation wizard will guide you through the installation.
2N® IP Network Scanner Installation Wizard
- After installing the 2N® IP Network Scanner application, run the application using the Start menu of the Microsoft Windows operating system.
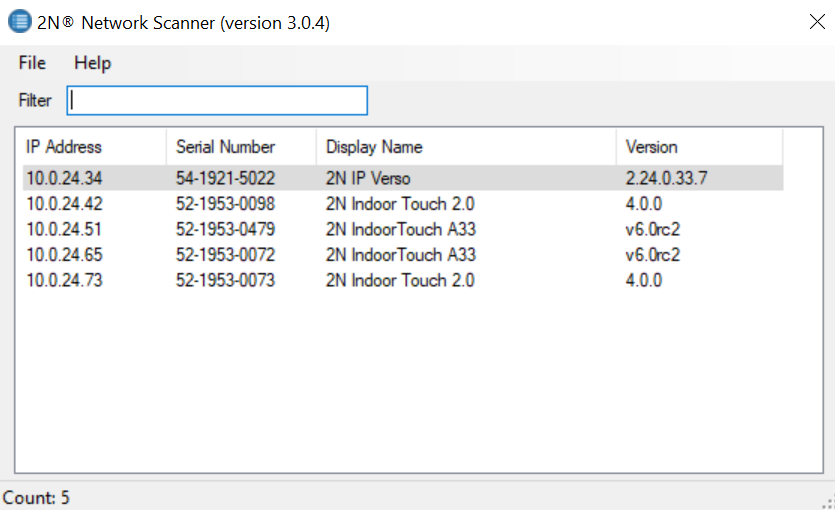
Upon launch, the application starts searching the LAN automatically for all
2N® SIP Speaker, Wall Mounted with an assigned or statically set IP address. The devices are then listed in a table.2N® IP Network Scanner Window
- Select the 2N® SIP Speaker, Wall Mounted to be configured. Click on it with the right-hand mouse button and select Browse... to open the web browser window, log in to 2N® SIP Speaker, Wall Mounted and start configuring as described in the Login subsection below.
Login
In the web browser enter the IP address of 2N® SIP Speaker, Wall Mounted . Subsequently, a login screen will be displayed. The default login username and password are as follows:
- Username: Admin
- Password: 2n
If the login screen does not appear, an incorrect IP address was entered into the web browser or the 2N® SIP Speaker, Wall Mounted administration web server was turned off. If you are not sure of the IP address of 2N® SIP Speaker, Wall Mounted, use the
2N® IP Network Scanner application as described in the Description of
2N® IP Network Scanner subsection.
Language Selection
You can select the language using the tag menu in the right-hand upper corner as shown in Figure below.
Language Selection


