3.2.5.1 Network
 |
Tip
- To loop up the 2N® Indoor Talk IP address, apply the 2N®Network Scanner, which can be downloaded freely from www.2n.com, and use the mechanism described in 2.4 2N® Indoor Talk LAN Location via 2N® Network Scanner.
Parameter List
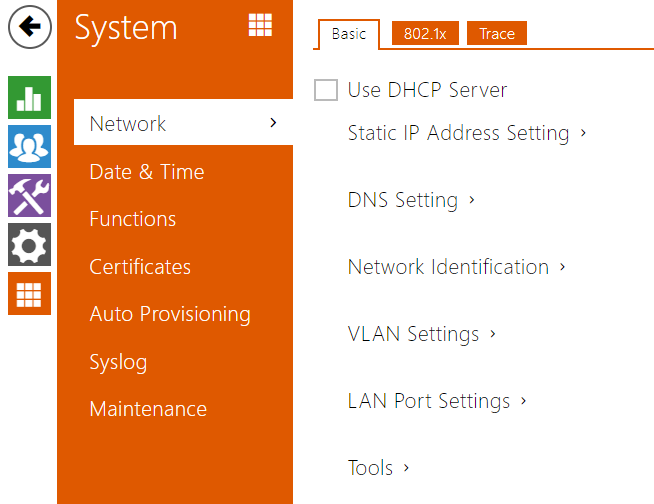
Basic
 |
- Use DHCP server – enable automatic obtaining of the IP address from the LAN DHCP server. If there is no DHCP server or the DHCP cannot be used in your network, use the manual network setting.
 |
- Static IP address – static IP address of the device. The address is used together with the parameters below unless Use DHCP server is enabled.
- Network Mask – network mask setting.
- Default Gateway – default gateway address for off-LAN communication.
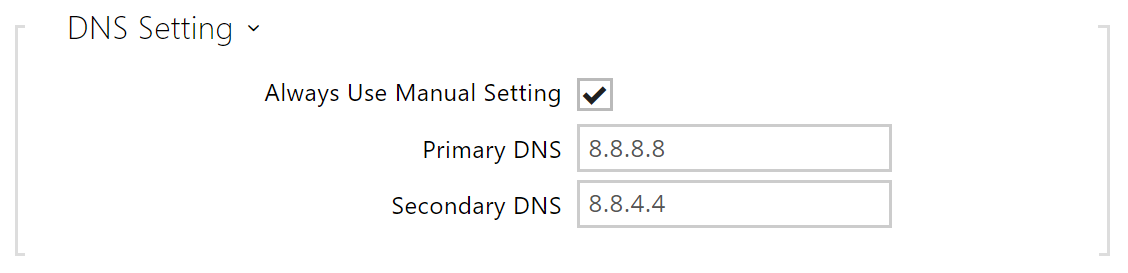 |
- Primary DNS – primary DNS address for domain name-to- IP address translation.
- Secondary DNS – secondary DNS address where the primary DNS is unavailable.
 |
- Hostname – set the device LAN identification.
- Vendor Class Identifier – set the Vendor Calss Indentifier – character string to be passed in the DHCP Option 60.
 |
- VLAN Enabled – enable the virtual network support (VLAN according to 802.1q). Remember to set the VLAN ID too.
- VLAN ID – choose a VLAN ID from the range of 1–4094. The device shall only receive packets with the set ID. An incorrect setting may result in a connection loss and subsequent factory reset.
 |
- Required Port Mode – set the LAN port mode to be preferred: Automatic or Half Duplex – 10 Mbps, which reduces the bit rate to 10 Mbps in case the available LAN cabling is unreliable for a 100 Mbps traffic.
- Current Port State – current LAN port state: Half or Full Duplex – 10 Mbps or 100 Mbps.
802.1x
Caution
- The authentication setting changes will not apply until the device is restarted.
 |
- Device Identity – username (identity) for authentication via EAP-MD5 and EAP-TLS.
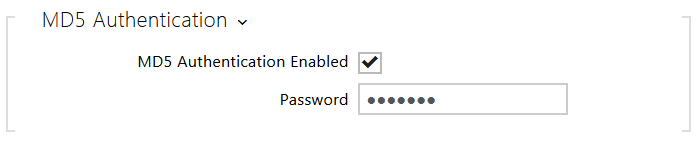 |
- MD5 Authentication Enabled – enable authentication of network devices via the 802.1x EAP-MD5 protocol. Do not enable this function if your LAN does not support 802.1x. If you do so, the intercom will become inaccessible.
- Password – enter the access password for EAP-MD5 authentication.
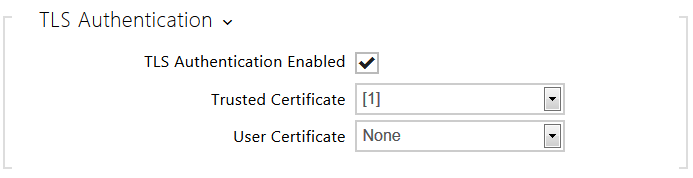 |
- TLS Authentication Enabled – enable authentication of network devices via the 802.1x EAP-TLS protocol. Do not enable this function if your LAN does not support 802.1x. If you do so, the intercom will become inaccessible.
- Trusted Certificate – specify the set of trusted certificates for verification of the RADIUS server public certificate validity. Choose one of three sets of certificates; refer to the Certificates subsection. If no trusted certificate is included, the RADIUS public certificate is not verified.
- User Certificate – specify the user certificate and private key for verification of the intercom authorisation to communicate via the 802.1x-secured network element port in the LAN. Choose one of three sets of user certificates and private keys; refer to the Certificates subsection.
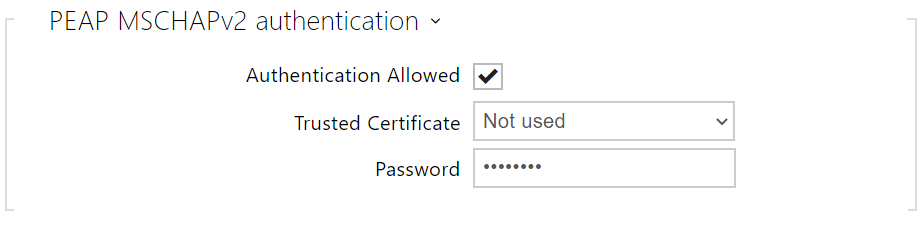 |
- Authentication Allowed – enable authentication of network devices via the 802.1x PEAP MSCHAPv2 protocol. Do not enable this function if your LAN does not support 802.1x. If you do so, the device will become inaccessible.
- Trusted Certificate – specify the set of trusted certificates for verification of the RADUIS server public certificate validity. Choose one of three certificate sets, see the Certificates subsection. If no trusted certificate is included, the RADIUS public certificate is not verified.
- Password – enter the access password for PEAP-MSCHAPv2 authentication.