4.4 Devices
Overview
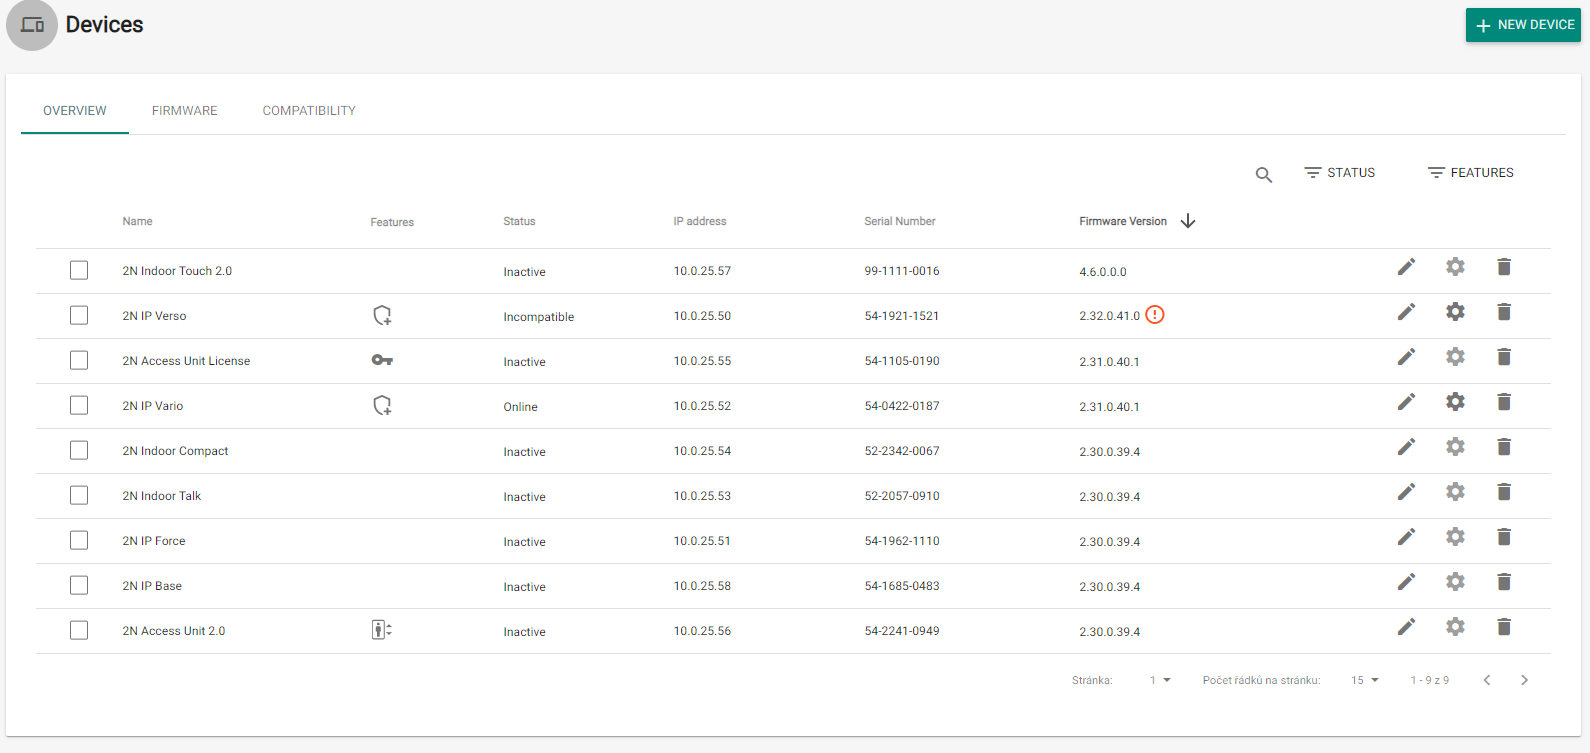
Overview provides a list of all devices added to 2N® Access Commander. The devices can be filtered by their states or a specific device can be searched.
- Activate selected devices – click the arow icon
- Deactivate selected devices – click the crossed arrow icon
- Back up selected devices – click the cloud icon
- Add selected devices to zones
The devices can be managed individually too. Click the selected row or the pencil icon to open the device management (refer to Device Management).
Add device to 2N® Access Commander
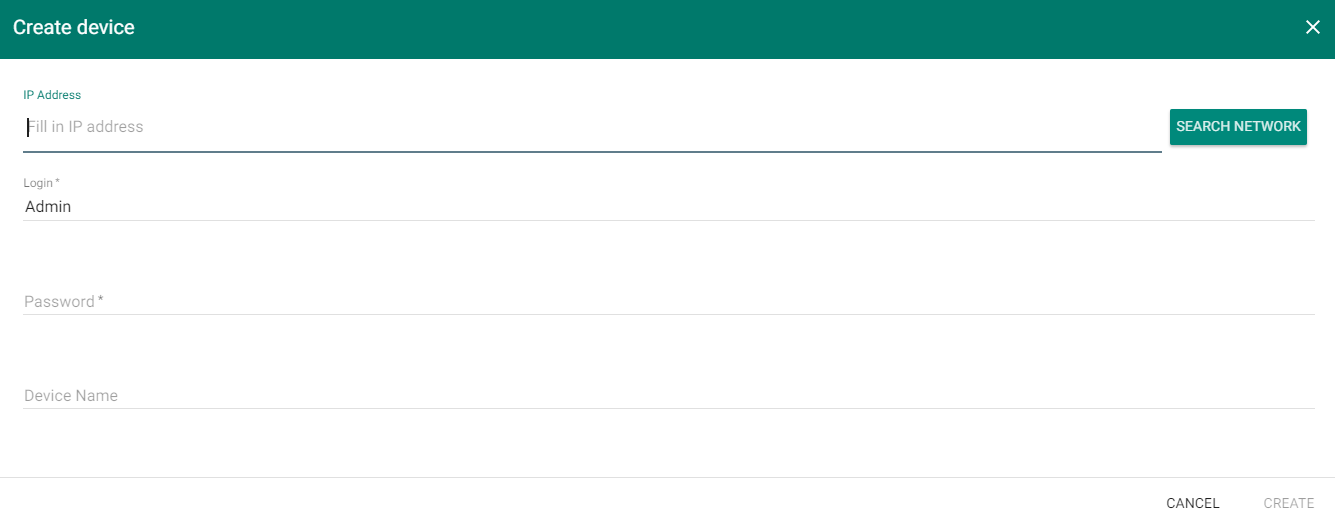
Click Add device to create a device.
Firmware
Firmware provides a bulk firmware upgrade for all the types of connected devices to maintain them in the optimum condition.
Upload the current firmware version online via 2N Update Server or manually. Every new version is subject to the administrator's approval for full control of the upgrading process. You can install a new version in one or more selected devices for test purposes and only then allow the other devices to be upgraded.
Optionally, a device can be excluded from the bulk firmware administration and thus the function can be deactivated for the selected device
- Automated firmware management – enable/disable bulk firmware management.
- Firmware versions – display the list of types of the connected 2N IP intercoms, answering units and 2N Access Units.
- Device Type (count) – display the type and count of connected devices.
- Distributed version – display the required version for all the devices of one type. Every new device will be upgraded to this version too.
- New Version button – notifies that a new version is available.
- Version Info – show the release notes for the new FW version.
- Distribute – start distributing the new FW version to all the devices of the given type.
- Test on device – upload the new version to a selected device. When the test is successful, upload the version to the other devices too.
- – click this paper clip icon to manually select and upload the firmware file and start distributing the new version to all devices of the same type.
- – click the trash bin icon to stop distributing the FW to the connected devices.
Info
- If the distribution to the connected devices is stopped, the version will not be removed from the device.
Caution
- If the firmware is not supported by the current 2N® Access Commander version, enable this version on the Compatibility tab. Make sure that you have chosen a device whose temporary idleness shall not affect the building's operation and security.
- Excluded devices – optionally, a device can be excluded from the bulk firmware administration and thus the function can be deactivated for the selected device.
- – click this paper clip icon to manually select and upload the firmware file and start distributing the new version to all devices of the same type.
- – remove a device from the list of excluded devices. After exclusion, the FW distributed for the given type of device is uploaded automatically to the device.
- – go to the device detail.
Compatibility
These settings inform the administrator via an e-mail and notification that a device with unsupported firmware is connected. Enable this firmware version to activate the device.
Caution
- Incompatible means that no new users are created on the device but events are downloaded from the device and the device configuration or backup can be used.
- Incompatible firmware cannot guarantee the correct performance of all features and is thus not recommended by the manufacturer.
The user is warned about the use of incompatible firmware in the device overview.
- The so-marked devices use disapproved incompatible firmware.
- Incompatible firmware cannot guarantee the correct performance of all features and is thus not recommended by the manufacturer. The so-marked devices use approved incompatible firmware.
Security
For security reasons, the device certificates must be signed by a cerification authority (CA) and contain the device IP address/domain name. The CA certificate must be trustworthy on the server on which 2N® Access Commander is running. The device certificates must be upoaded via the device web interface (System/Certificates/User Certificates) and set as HTTPS server certificates in the Services/Web Server/Extended Settings menu.
Validate SSL Certificates – by enabling certificate validation you disable synchronization of all devices without the SSL certificate signed by a trustworthy certification authority.
Caution
- It is not possible to upload certificates to 2N® Indoor Touch as the connection to them will be lost when certificate validation is turned on.
Device Management
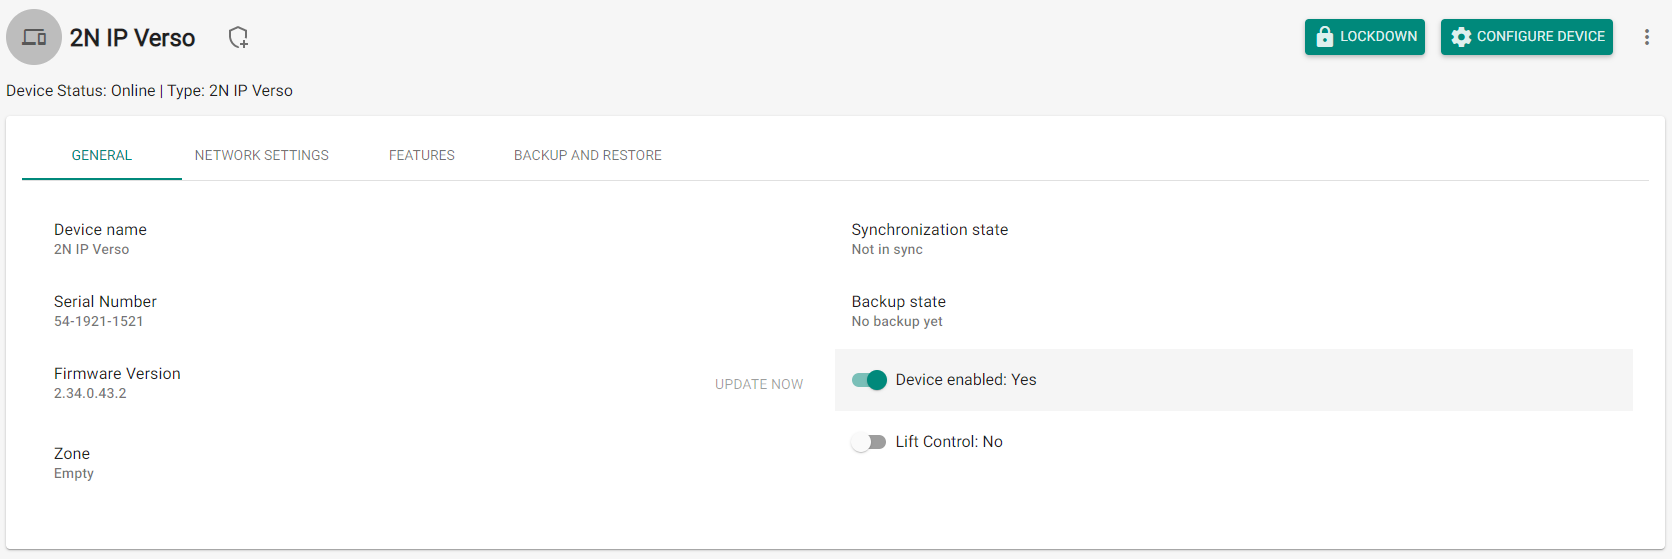
- Lockdown – activate emergency lockdown for a selected device. During lockdown, it is impossible for the user to unlock a door even if the user uses a valid access with a valid time profile.
- Configure device – display the user interface for user configuration.
- – further options:
- New device – add a device to the 2N® Access Commander device list.
- Open door – unlock a device-controlled door lock remotely.
- Hold unlocked – hold a device-controlled door lock open (unlocked) for 1 minute to 12 hours without authentication as preset.
- Delete device – remove a device from the 2N® Access Commander device list.
- General
- Device name – set the device name.
- Serial number – display the device S/N.
- Firmware version – display the device firmware version.
- Upgrade now – start upgrade for a selected device only.
- Zone – display and edit the zone where the device is located.
- Backup state – display the backup state. The last backup date and time are displayed if existing.
- Active device – activate/deactivate a device. An inactive device disables synchronisation event downloading.
- Lift Control – enable/disable the lift control function.
- Change password – change the device password. The change is made both in 2N® Access Commander and the connected device.
- Configure device – open the device configuration web in the 2N® Access Commander environment. Refer to 4.4.3 Device Configuration via 2N® Access Commander for more details.
- Network Settings
- Set all parameters necessary for intercom connection.
- Features
- Display the supported features.
- Backup and Restore
- Use the device configuration backup xml file. Refer to 4.4.5 Device Backup and Restore for more details.
- Display button configuration
- Configure the buttons to be displayed as name tags (2N® IP Vario).
- Display configuration
- Set the 2N® IP Vario or 2N® IP Verso display. For details refer to 4.4.2 Display Configuration.
- Call via virtual number
- Add the user(s) with a virtual number. Unnecessary if the user is synchronised otherwise, via an access rule, for example.
- Quick dial buttons
- Assign a 2N® Access Commander user to the buttons of the connected device.
- 4.4.1 Display Configuration
- 4.4.2 Device Configuration via 2N® Access Commander
- 4.4.3 Automatic Synchronisation
- 4.4.4 Device Backup and Restore
- 4.4.5 Lift Control


