Static IP address - How to set up static IP address on 2N® Lift8
Info
This FAQ describe how to set up DHCP or static IP address on the 2N® Lift8 system. the must is to have 2N® Lift8 VoIP module installed in the central unit. For setting you will need service tool 2N® Lift8 Service Tool. This tool provides all setting of the system, enabling/disabling DHCP. As factory default DHCP client is ON.
How to get IP address
If 2N® Lift8 is connected to a network with DHCP server, then IP address will be assigned automatically. IP address can be find out by the service tool or via voice menu. Option with voice menu works only if the device is already configured and you know the number, where you can call to get to the voice menu. Also it is possible to use 2N® Lift8 Audio Unit - Machine Room to enter the voice menu.
1) Voice menu: after establishing connection with the central unit press 9 (servis menu) and then press 3. Then all the service data including IP address will be read.
2) 2N® Lift8 Tool: after interconnection with the central unit via USB cabel and establishing connection with the device, you can see the status of the device and its IP address on the right side of the service tool.
Switching between DHCP and static IP address and IP address setting with service tool
As first is necessary to connect device with USB cable to your PC. Open service tool 2N® Lift8 Servce Tool and select Device-Connect device.
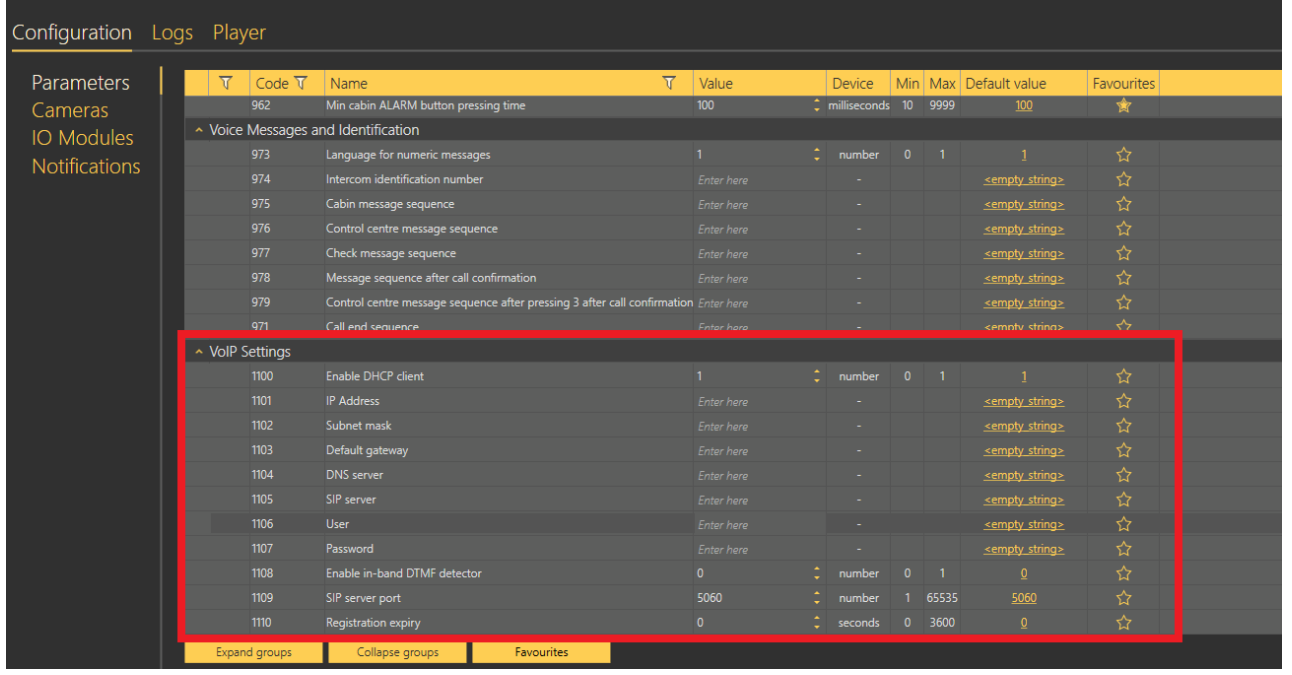
Then go to VoIP setting:
a) 1100 - Enable DHCP client -> enable/disable DHCP assignment of IP address
b) 1101 - 1104 IP address setting, subnet mask, default gateway and DNS server setting, in case that DHCP client is disabled.
c) rest of parameters in this section are for SIP registration when existing account is availablee (VoIP provider, IP PBX...)
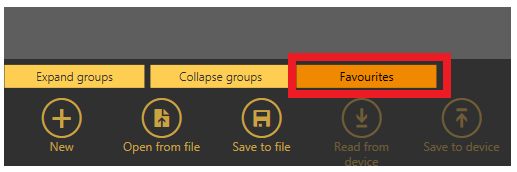
I can't see VoIP setting
In case you cannot see VoIP setting, check that filter "Favourites" is disabled: