Wildix VoIP PBX - How to configure with 2N® IP Intercom
The 2N® Helios IP can be integrated into a Wildix VoIP PBX which is a SIP Protocol based IP PBX. 2N® Helios IP operates as an SIP subscriber and can stream its video to the IP telephone. No additional equipment is needed for full integration of the door intercom in the telecom system .
Tested models:
PBX
WGW08 - WGW16 - WGW40 - WGW90 - WGW250 - WGW500 - WGW1000 - WGW5000
Hotel PBX
WGWH20 - WGWH50 - WGWH100 - WGWH250 - WGWH500 - WGWH1000
Tested versions:
- WMS 2.0
- WMS 3.0
Compatibility test:
- Audio call
- Video call
- DTMF transfer
1. As a very first step configure new user in Wildix PBX. Select the PBX IP address from your WEB browser and go to section "User" (Utenti) and add a new user.

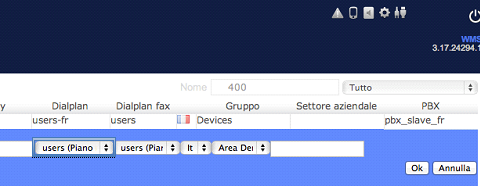
2. Click “+” and fill the extension number (Interno) and description (Nome).

3. Select the dialplan > TAB Dialplan.
At the end of this procedure and after the configuration of 2N® Helios IP (step n. 4) you can see the status of this new user as showed in the picture below:

The green led shows that 2N® Helios IP is registered on PBX. If you place a mouse on the "user", you will see the information about it: name, IP address and transport type.
4.From 2N® Helios IP side go to the section "Advanced Settings" and tab "SIP Settings". Fill in "User ID" and "Password" which matches to the "ID" and "Password" set in the Wildix side, and “Domain”, “Proxy Address” and “Registrar Address”. See below:

To verify that you have successfully registered 2N® Helios IP terminal into Wildix PBX side, go to the section "Information” in the 2N® Helios IP.