Genetec Sipelia
Content
About
Sipelia™ Communications Management is the module of Security Center that enables SIP-based communications between operators and intercom devices deployed throughout your organization. When unified in Security Center, intercom communications become tightly linked with your security applications, greatly improving your security team’s awareness and facilitating collaboration.
https://www.genetec.com/solutions/all-products/security-center/sipelia-communications-management
Version 2
Tested with
| Genetec Sipelia (Security Center) | 2N IP Intercom Version | Registration | Calls |
|---|---|---|---|
| 2.14.525 | 2.47.0.71.0 |
|
|
| 2.1 GA (5.9.4.0) | 2.32.0.41.2 |
|
|
| 2.1 GA (5.6.977.19) | 2.16.0.25.4 |
|
|
Settings
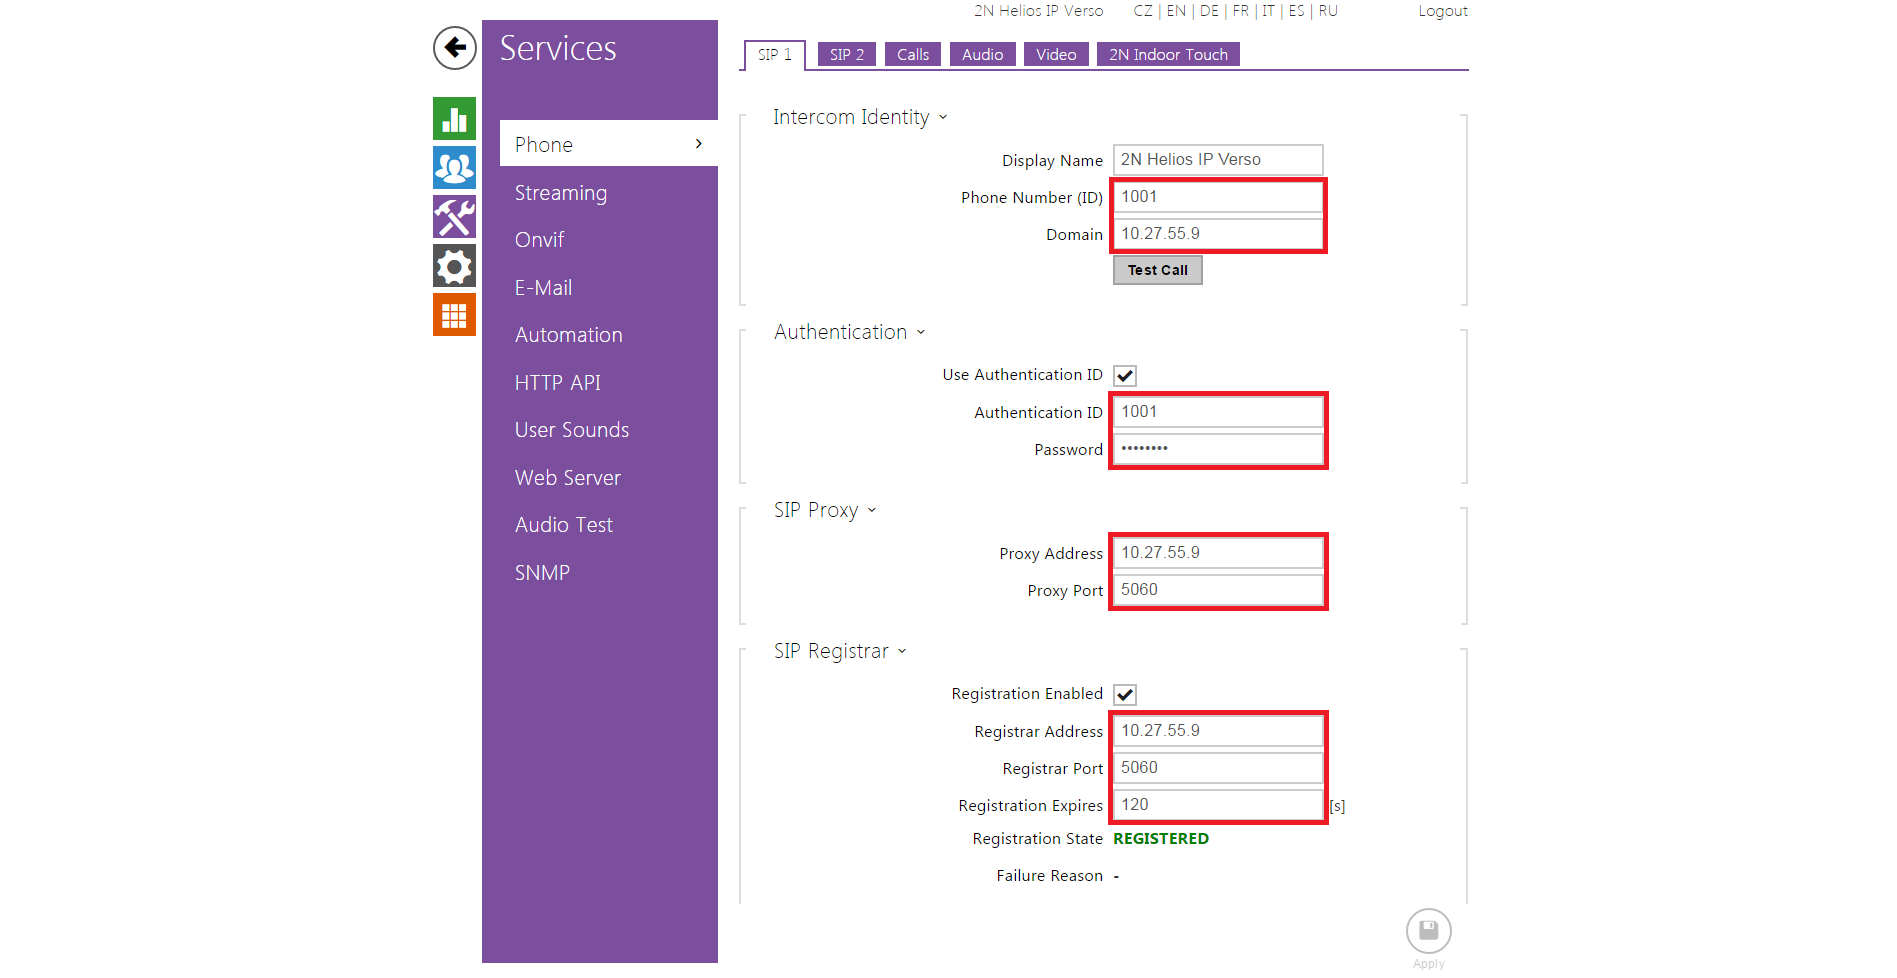
Go to Service – Phone – SIP 1 and fill Intercom Identity – Authentication – SIP Proxy – SIP Registrar and save settings
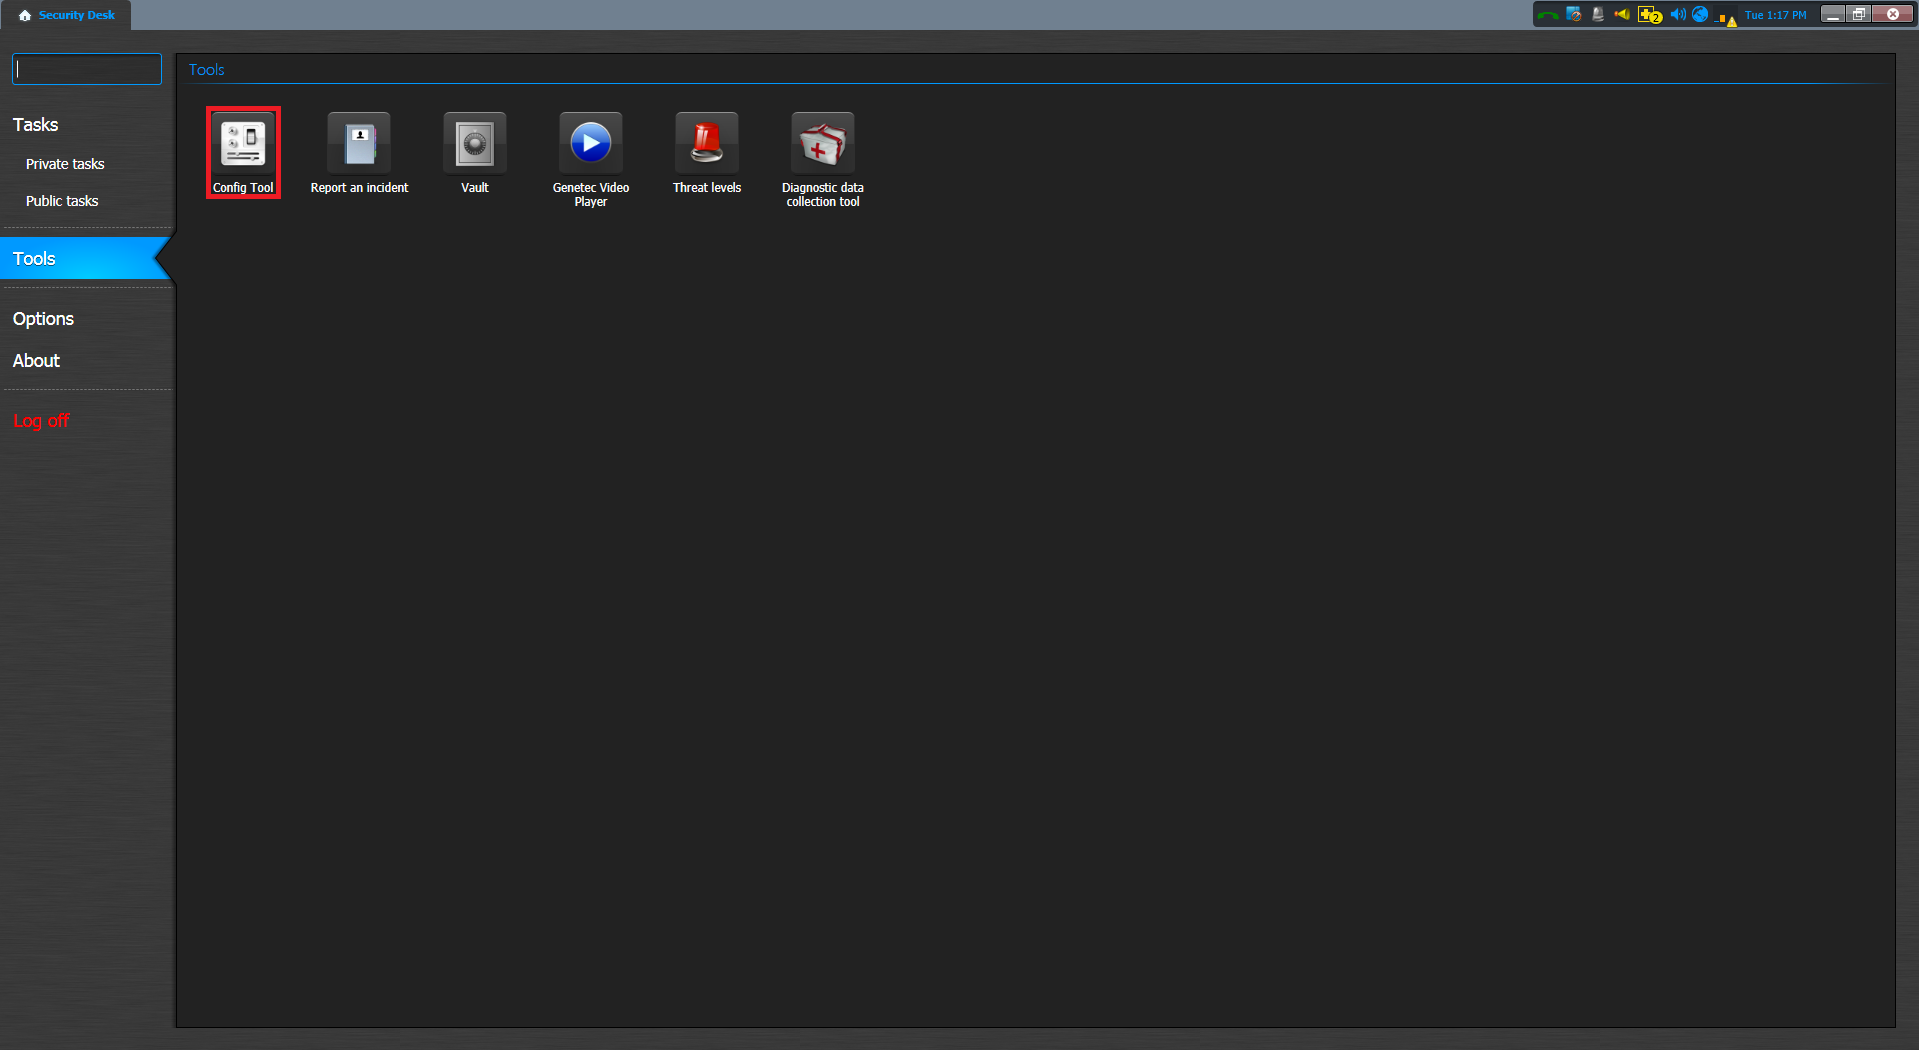
Open Genetec Security Desk: Click Start > All Programs > Genetec Security Center 5.1 > Security Desk. All Security Center client applications require you to provide a username, password, and the name of the Directory you want to connect to. Enter your Security Center username, password, and the server name (or IP address) of your main server. Click the Tools on the mode bar. Choose the Config Tool and this opens the Config Tool menu.
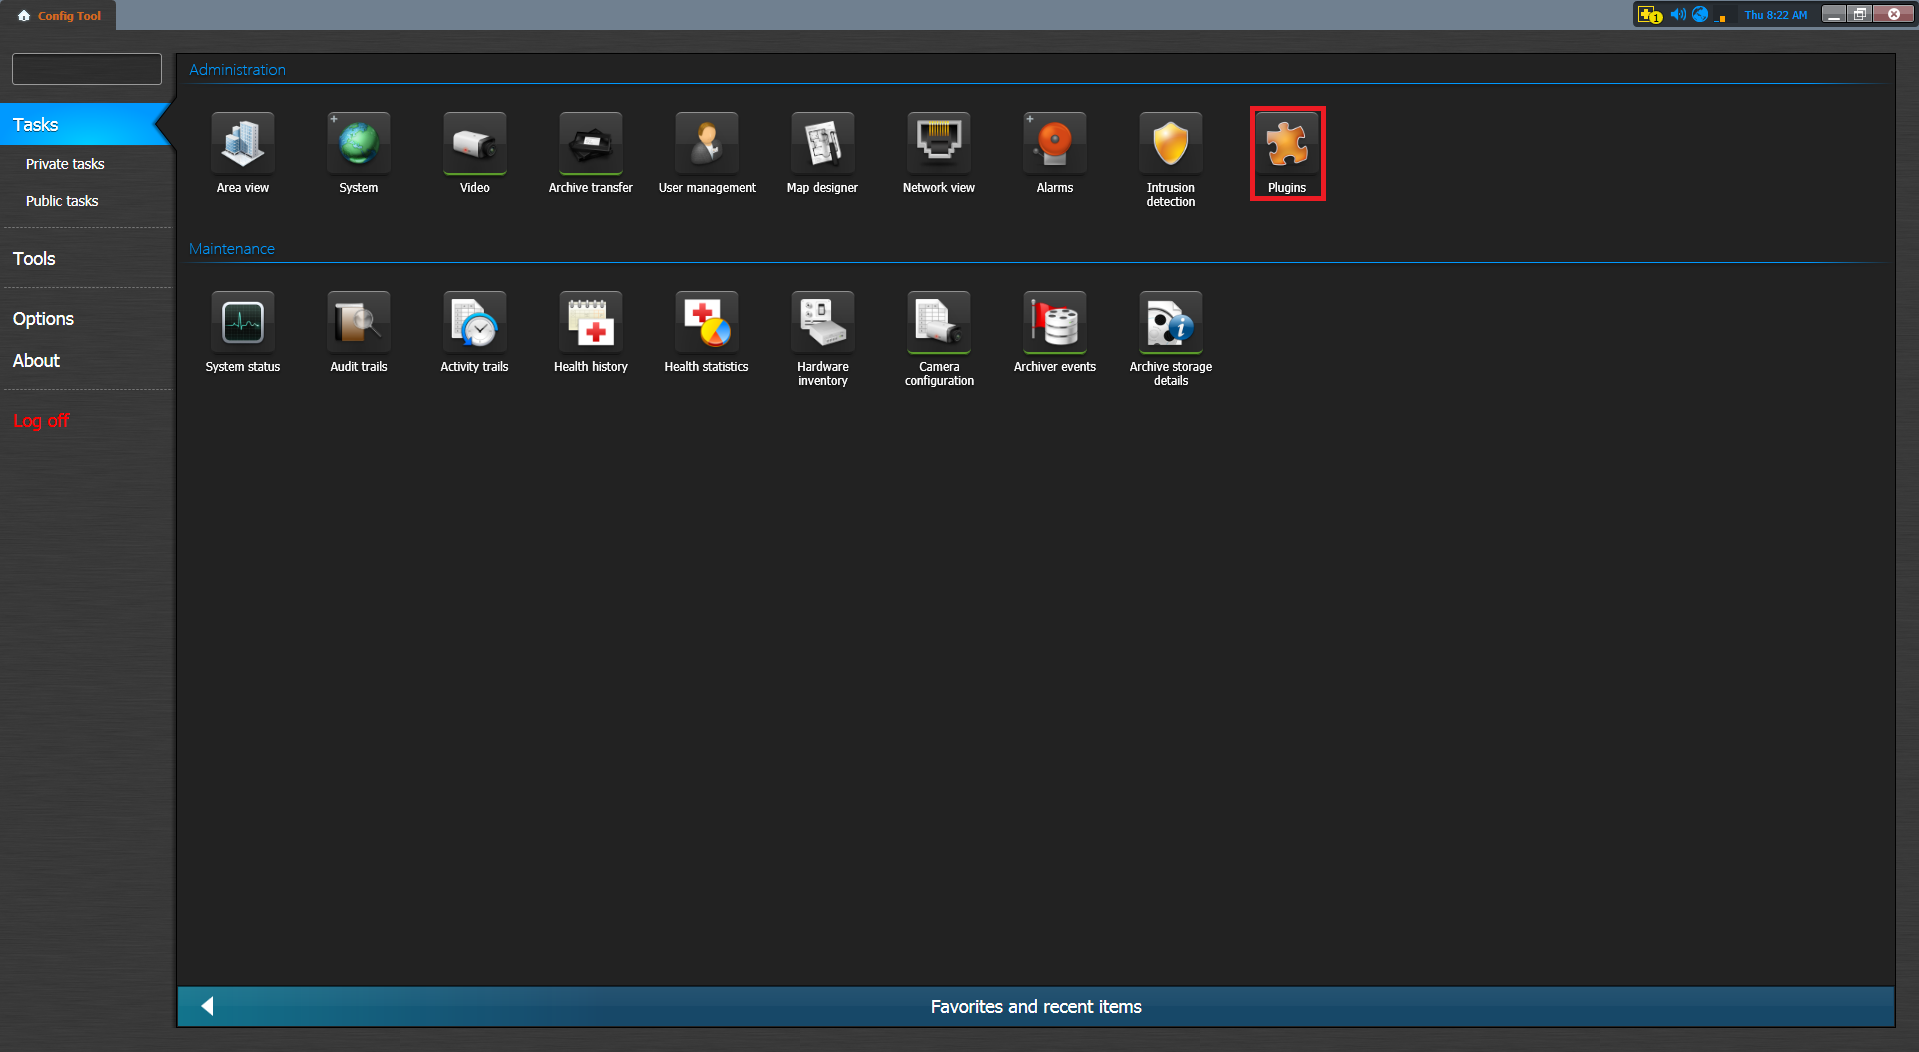
Open the Plugins task.
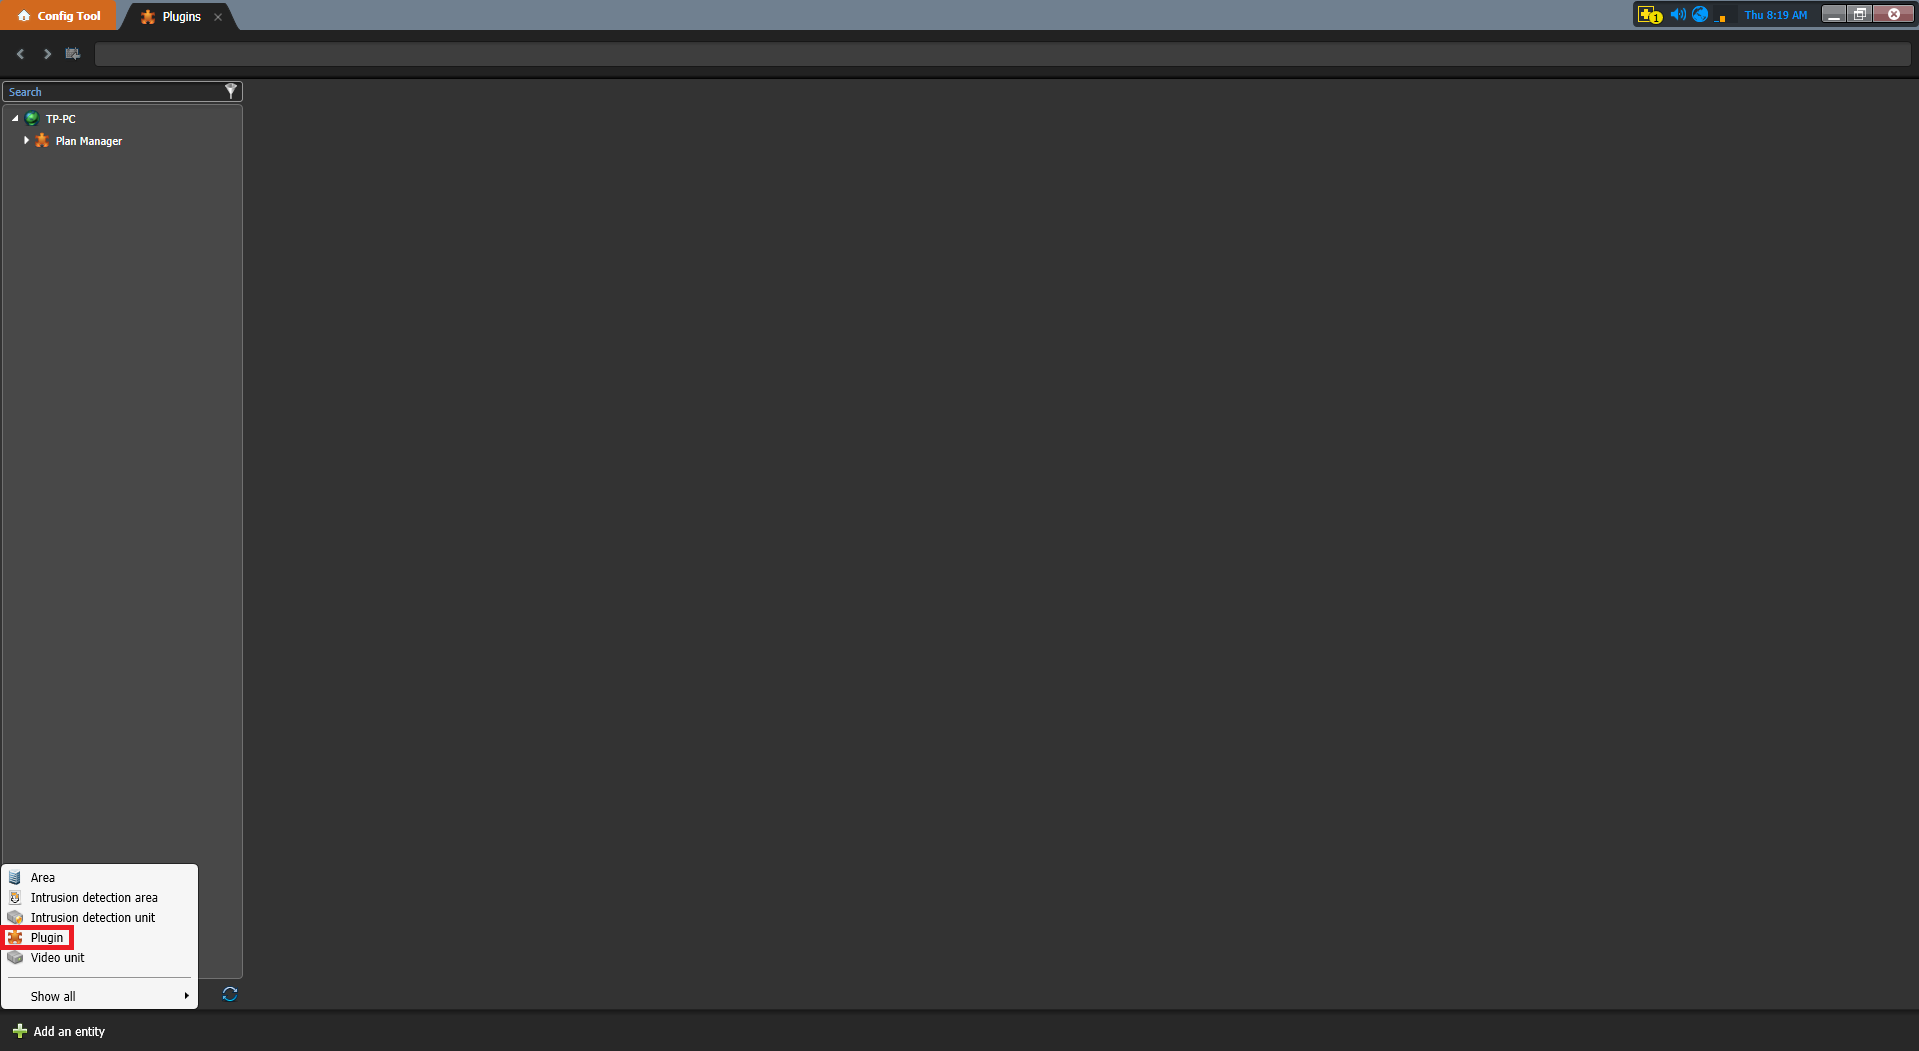
Then click Plugin ![]() .
.
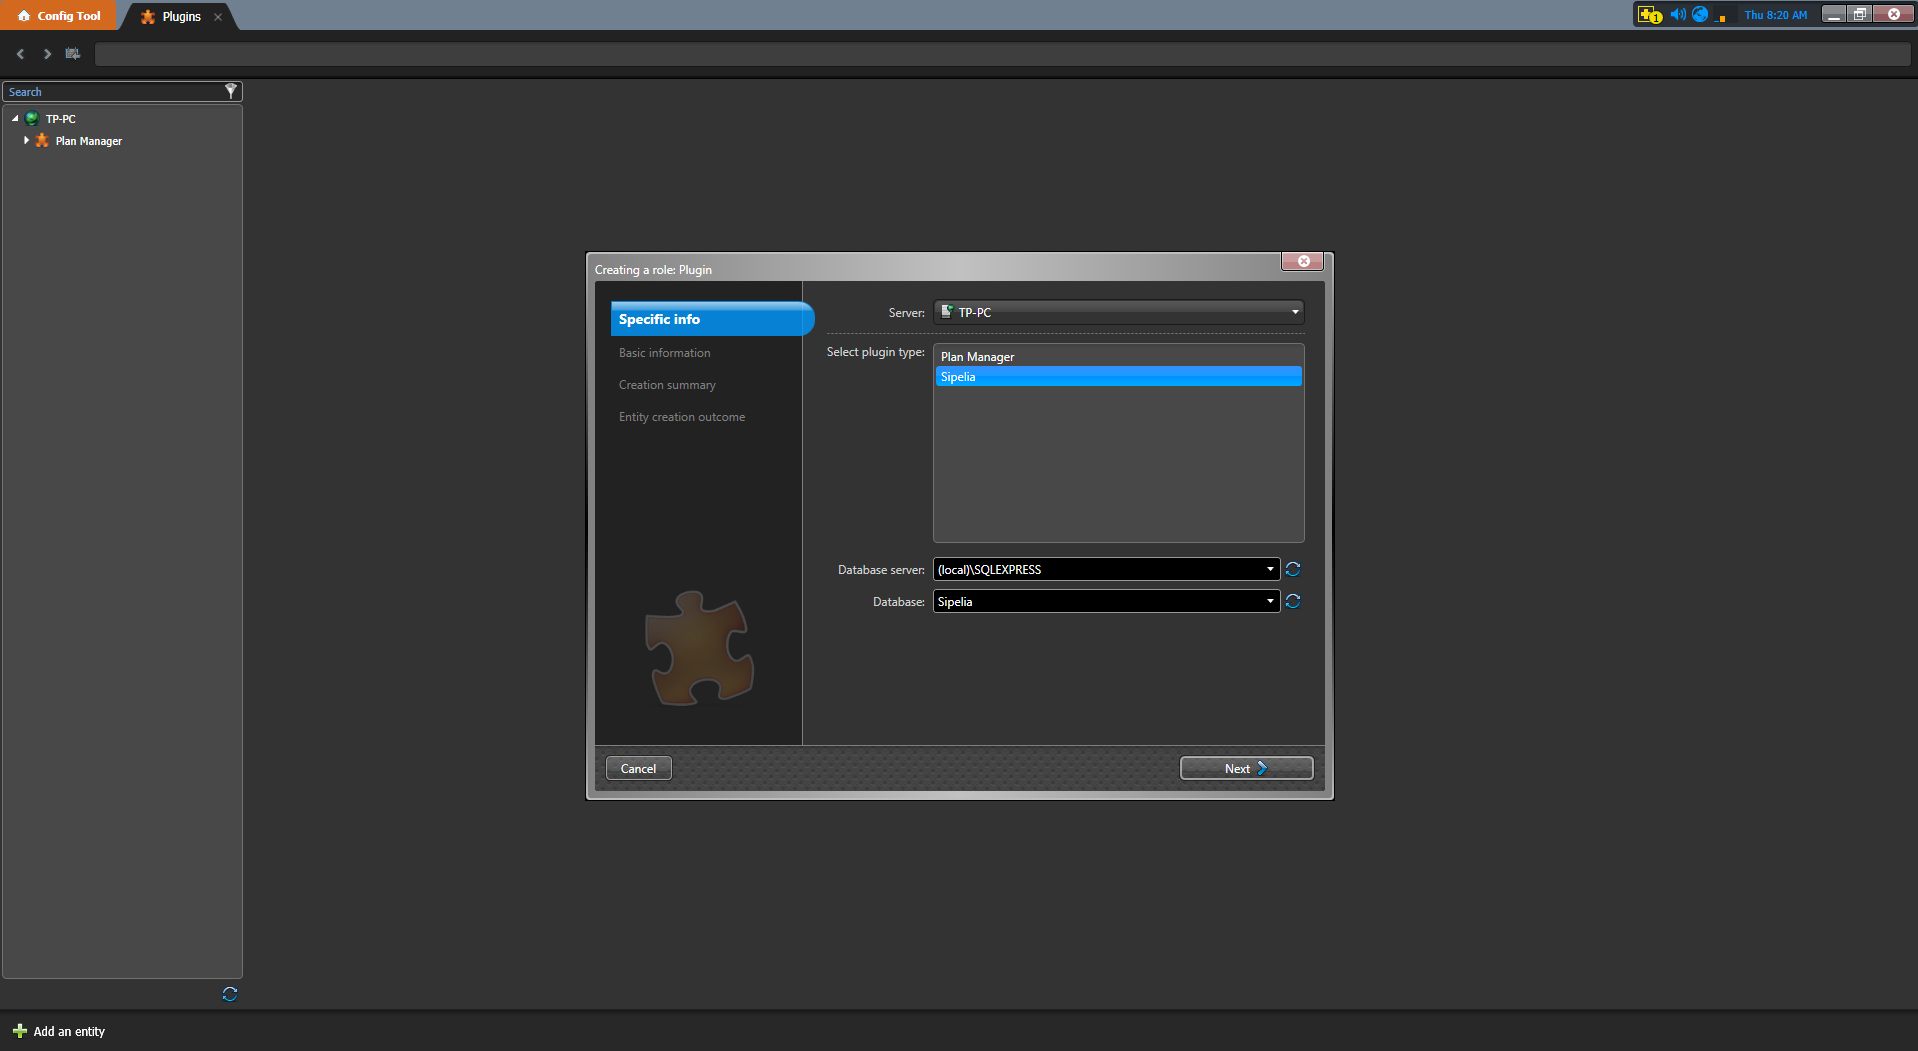
The Creating a role: Plugin wizard appears. In the Server drop-down list, select the server that is going to host the Sipelia Server role. In the Select plugin type field, select Sipelia. Enter the values for Database server and Database for the Sipelia database, or use the default values which are already provided. Click Next, enter the entity name and description, and then select the desired partition for this role. Click Next and check that the information that you have entered is correct. Click Create, and then click Close. Sipelia appears in the list of Plugin roles. It might take a few minutes for the role to create its database.
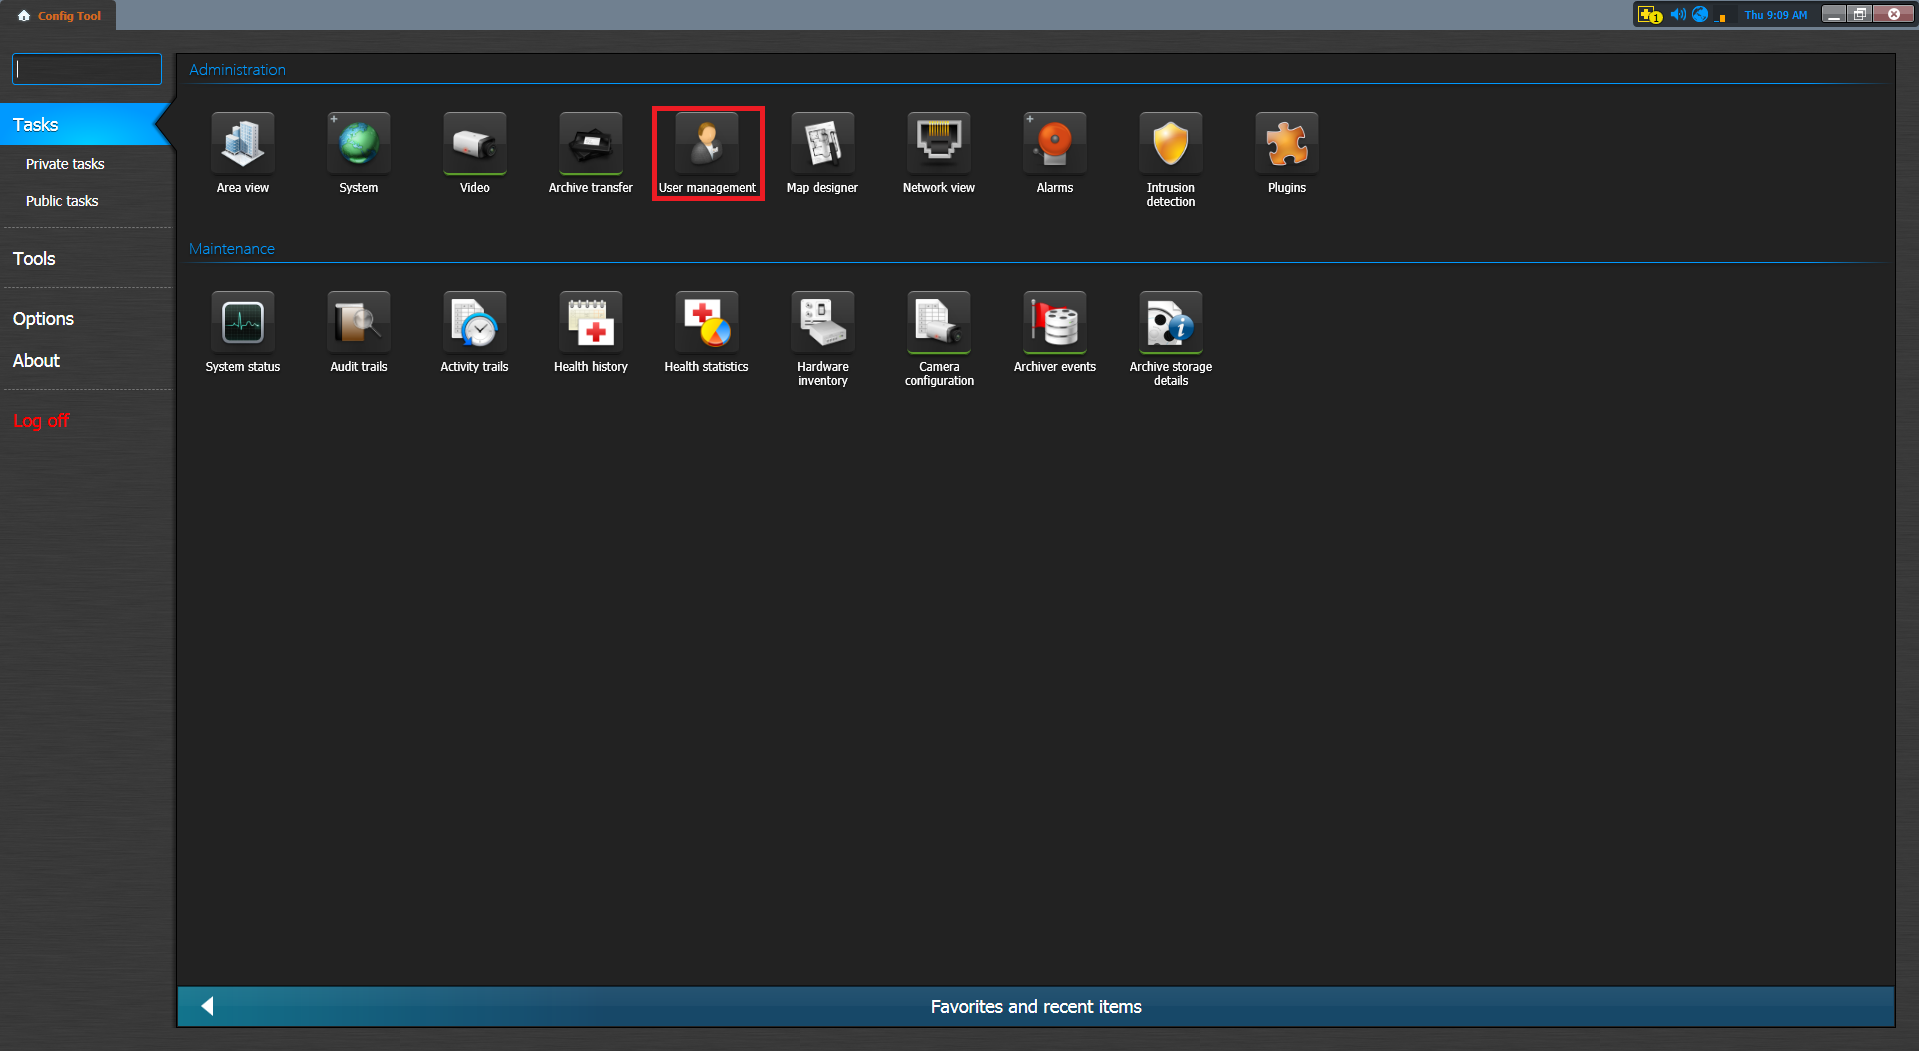
To allow Security Center users to communicate with one another using the SIP-related controls in Security Desk, you must configure a SIP account for each of your users and assign the appropriate privileges. Open the User Management task.
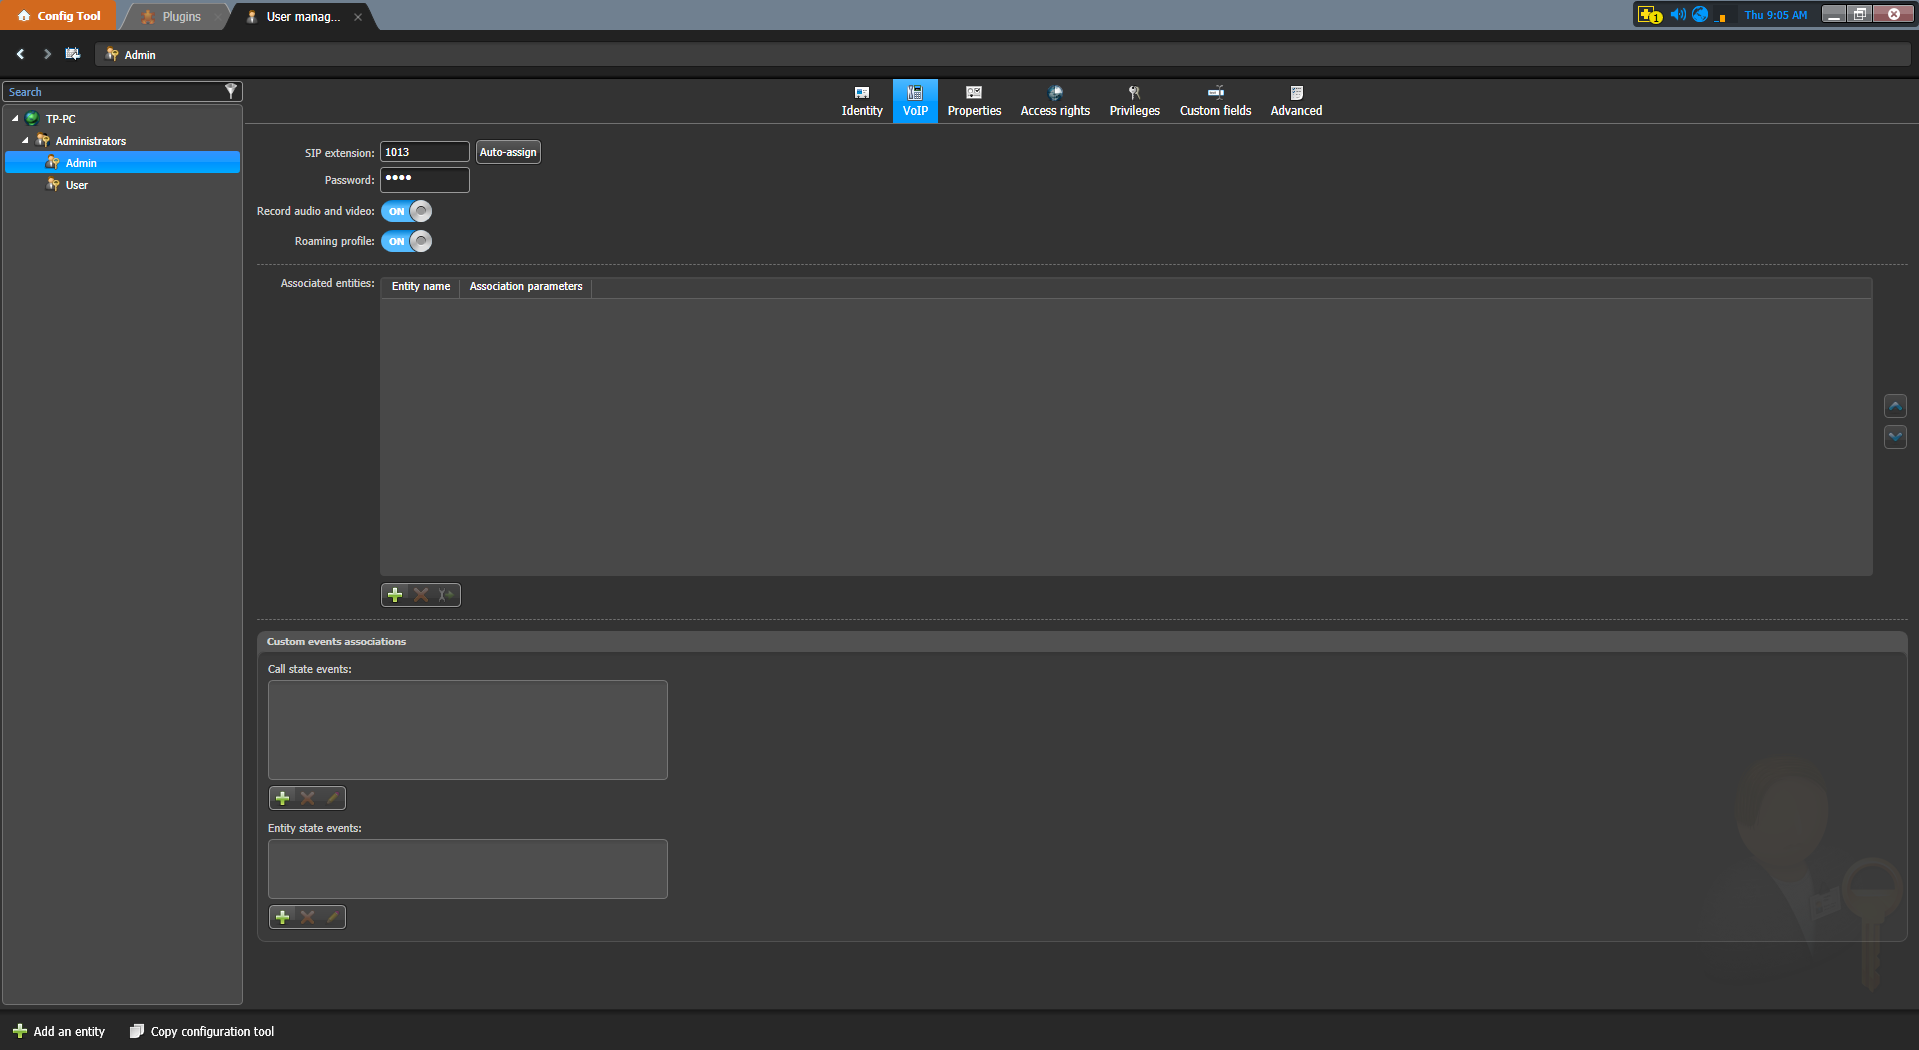
Select a user from the list. Click the VoIP tab to set up this SIP entity as a SIP endpoint. Assign a SIP extension to your SIP entity in one of the following ways: Click Auto-assign. Auto-assign automatically assigns the SIP entity the next available phone extension in a given range. As a result, it is the recommended way of assigning a SIP extension to users, ring groups, and SIP intercoms. Simply click this button, choose an existing range, and then click Apply. Set the following: Record audio and video: Allows you to record the call sessions that the SIP entity participates in (either caller or recipient of a call). Once recorded, sessions can later be reviewed and exported through the Call report task. The default value is inherited from the global recording settings which are found on the Recording page of the Sipelia Plugin role. Changing this setting at the entity level forces the entity to no longer inherit the value from the global setting, thus allowing you to turn recording on or off for only specific entities, without affecting all of them. Click Apply.
To add a SIP intercom: Open the Plugins task. Select the Sipelia Plugin role. At the bottom of the page, click Add intercom.
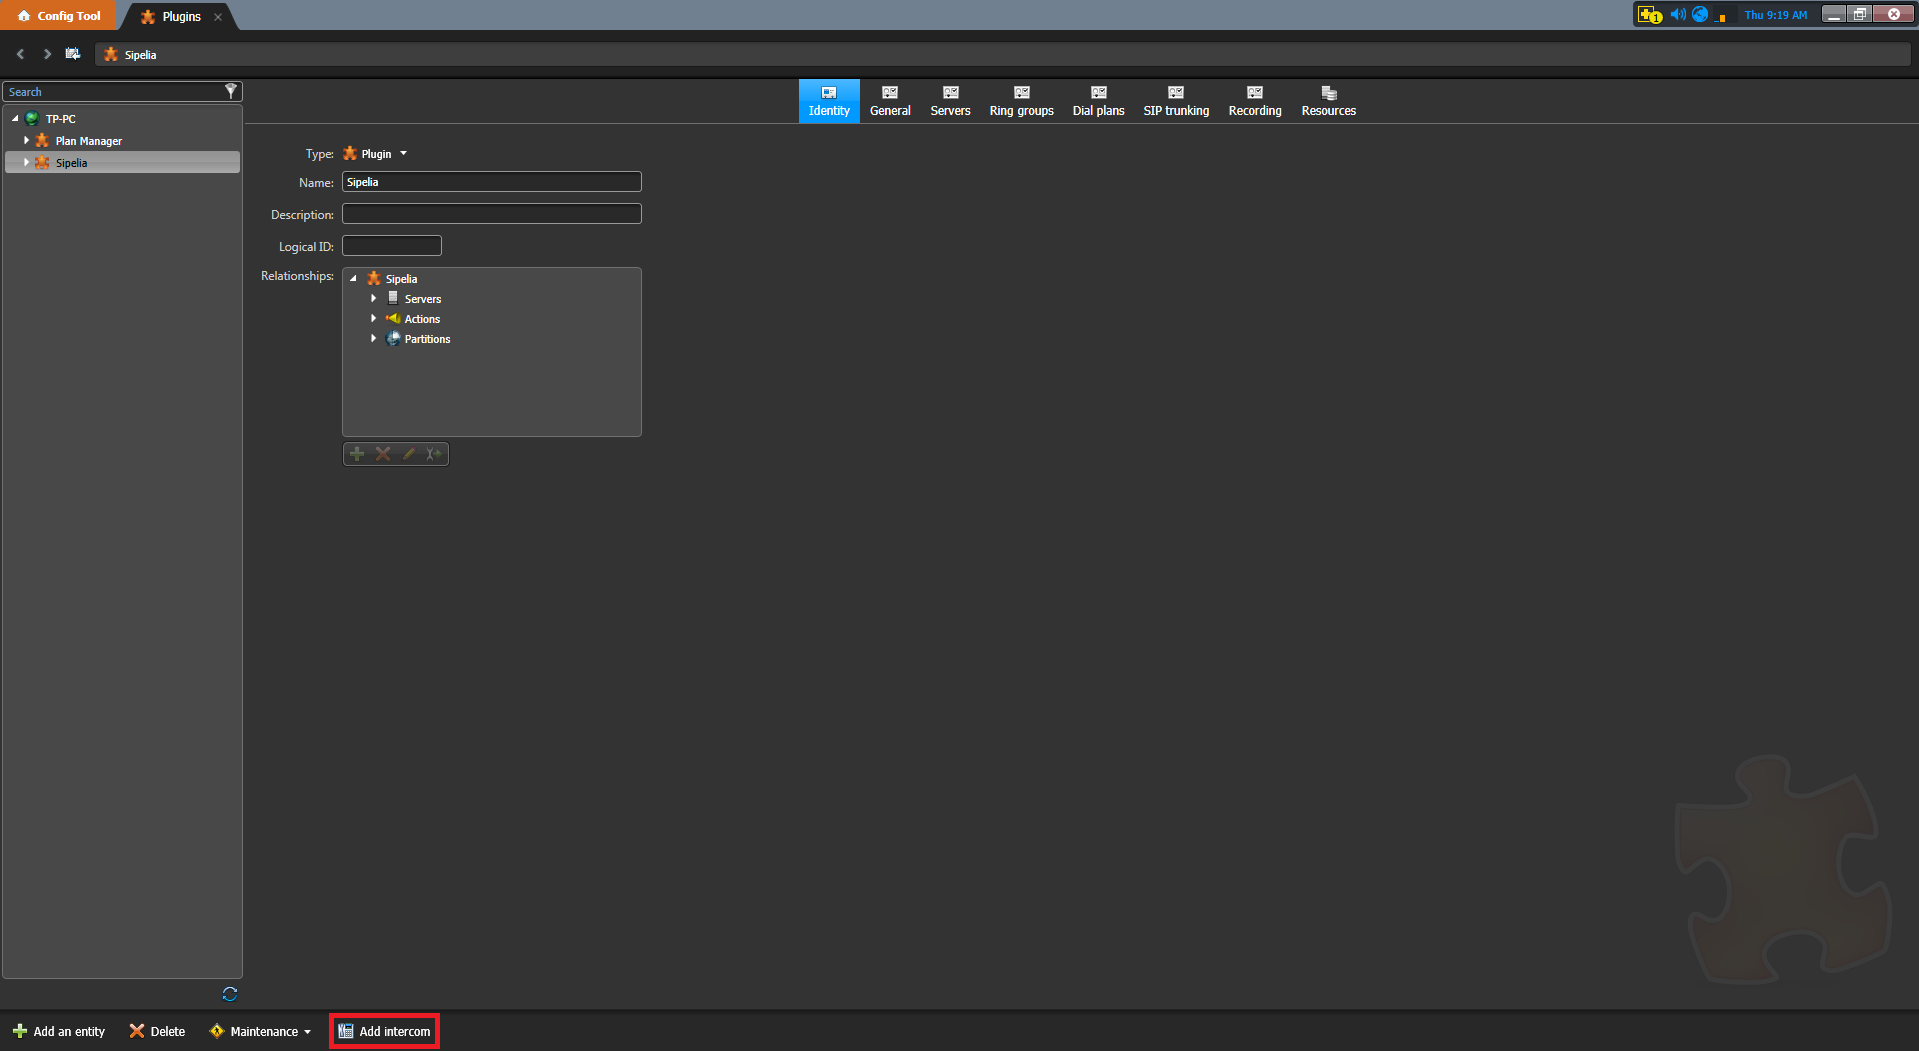
Enter a descriptive name for your SIP intercom, and then click Add. The Logical view task opens, and the intercom you added appears in the list of entities. Click the VoIP tab to set up this SIP entity as a SIP endpoint. Assign a SIP extension to your SIP entity in one of the following ways: Click Auto-assign. Auto-assign automatically assigns the SIP entity the next available phone extension in a given range. As a result, it is the recommended way of assigning a SIP extension to users, ring groups, and SIP intercoms. Simply click this button, choose an existing range, and then click Apply. Set the following: Record audio and video: Allows you to record the call sessions that the SIP entity participates in (either caller or recipient of a call). Once recorded, sessions can later be reviewed and exported through the Call report task. The default value is inherited from the global recording settings which are found on the Recording page of the Sipelia Plugin role. Changing this setting at the entity level forces the entity to no longer inherit the value from the global setting, thus allowing you to turn recording on or off for only specific entities, without affecting all of them. Click Apply. Add additional SIP intercoms by repeating the steps above.

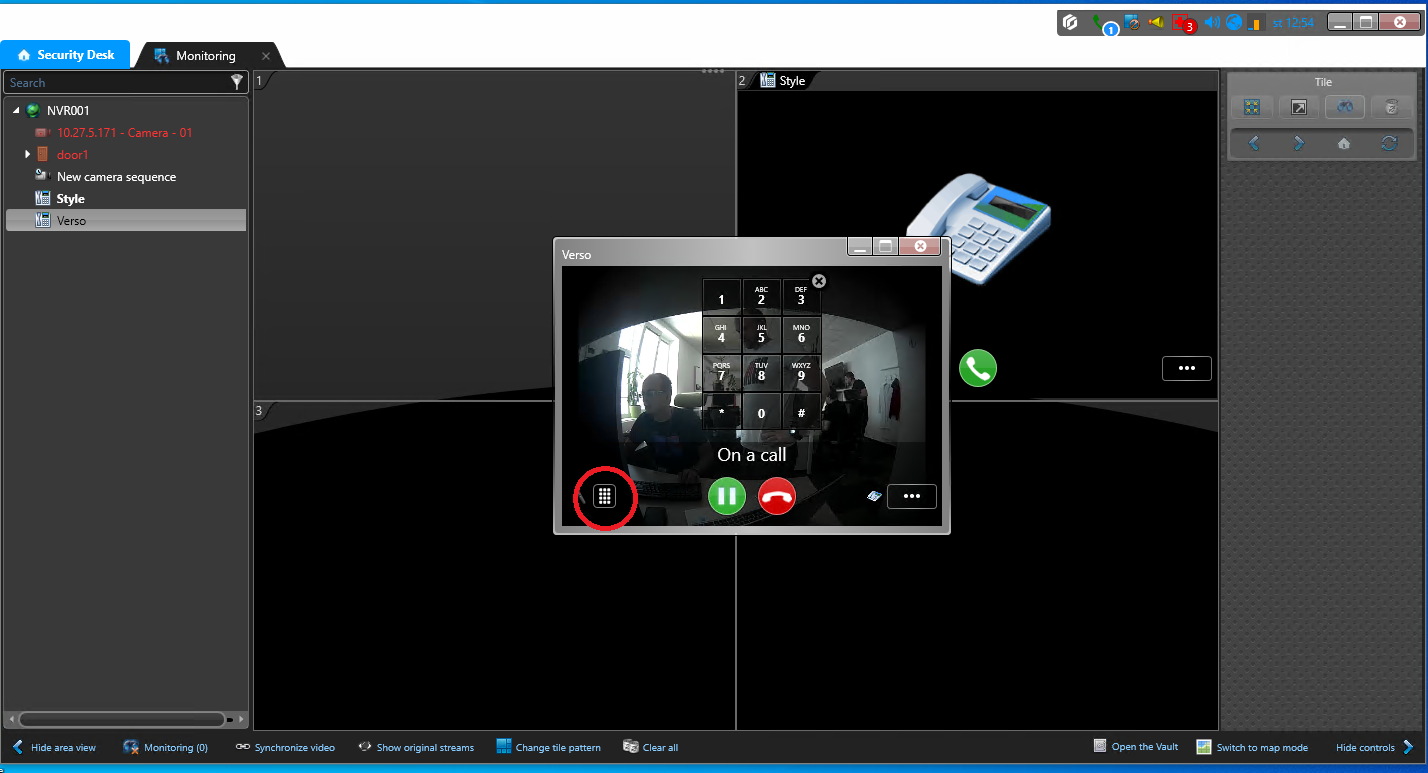
During the call, the DTMF signs for opening can be entered on a numeric keypad. To open it, click on the keypad pictogram.
Used Symbols
 - Verified with video
 - Verified with audio only
 - Work with limitation
 - Incompatible