Avigilon Control Center
Content
About
The Avigilon Control Center Server software is the application that captures and records surveillance data from network cameras and encoders. The captured data is then sent to the Avigilon Control Center Client software for you to review. The Avigilon Control Center Server software contains two key parts — the Windows service and the Admin Tool. The Windows service directs video to where it needs to be stored or streamed in the network. The Admin Tool is allows you to configure the system administrative settings. There are three editions of the Server software available: Core, Standard and Enterprise. The edition of the Server software determines how many cameras can be connected to the system and the number of simultaneous client connections. The edition of the Server software also determines what features are available in the Avigilon Control Center Client software.
Version 7
Tested Functions
| 2N IP Intercom Version | Scan device | Video from 2N IP Intercom | Audio from 2N IP Intercom | Audio to 2N IP Intercom | Switch control | Events from 2N IP Intercom | |
|---|---|---|---|---|---|---|---|
| 7.10.2.16 | 2.31.0.40.4 | ||||||
7.4.2.2 | 2.28.0.37.5 |
2N IP Intercom Settings
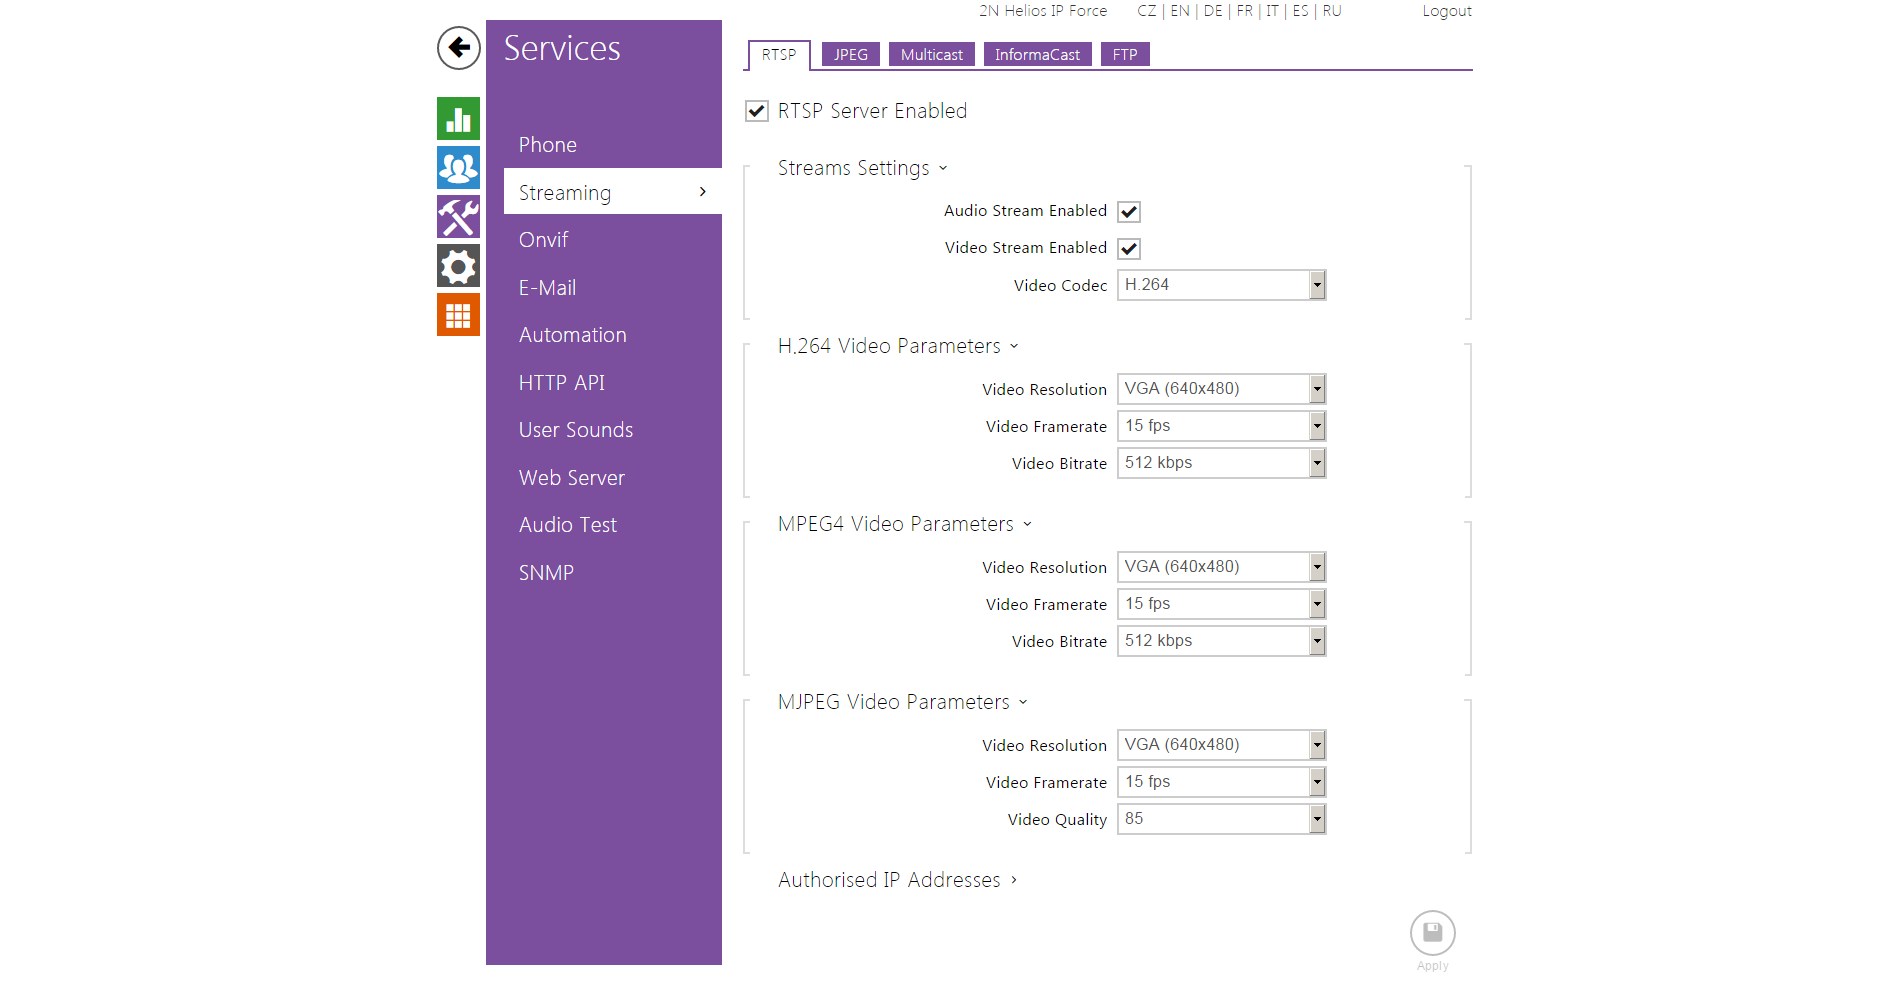
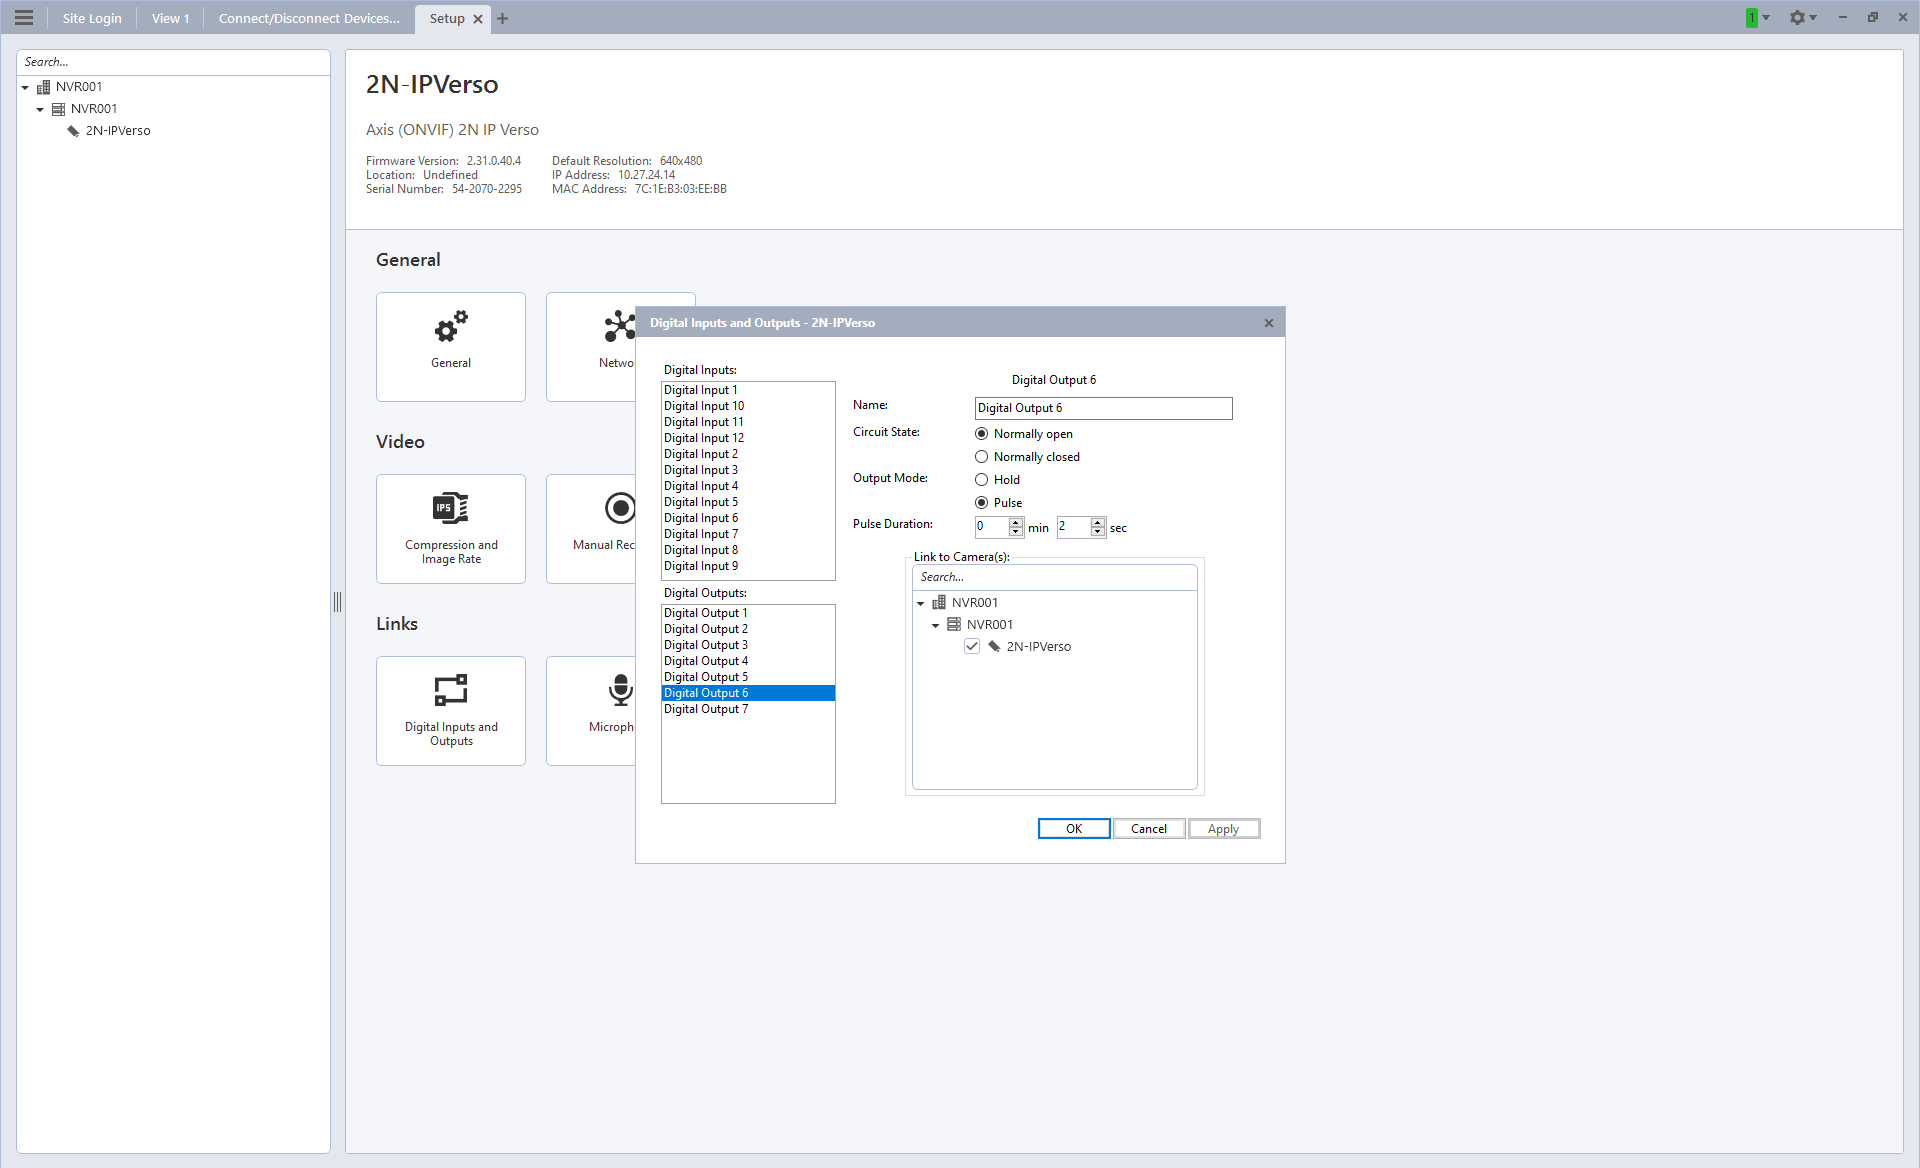
Enable parameter RTSP Server Enabled in menu Services / Streaming.
 |
 |
Tested Features
The Avigilon Control Center Client software can be started or shut down at anytime — video recording is not affected because it is controlled separately by the Server software. Open the Site Login tab. The Site Login tab is automatically displayed if you are launching the Client software for the first time. Click Find Site, enter your IP address of server nad click OK. This opens the Site Login. Enter your username and password for the selected sites, click Log In.
 |
 |
 |
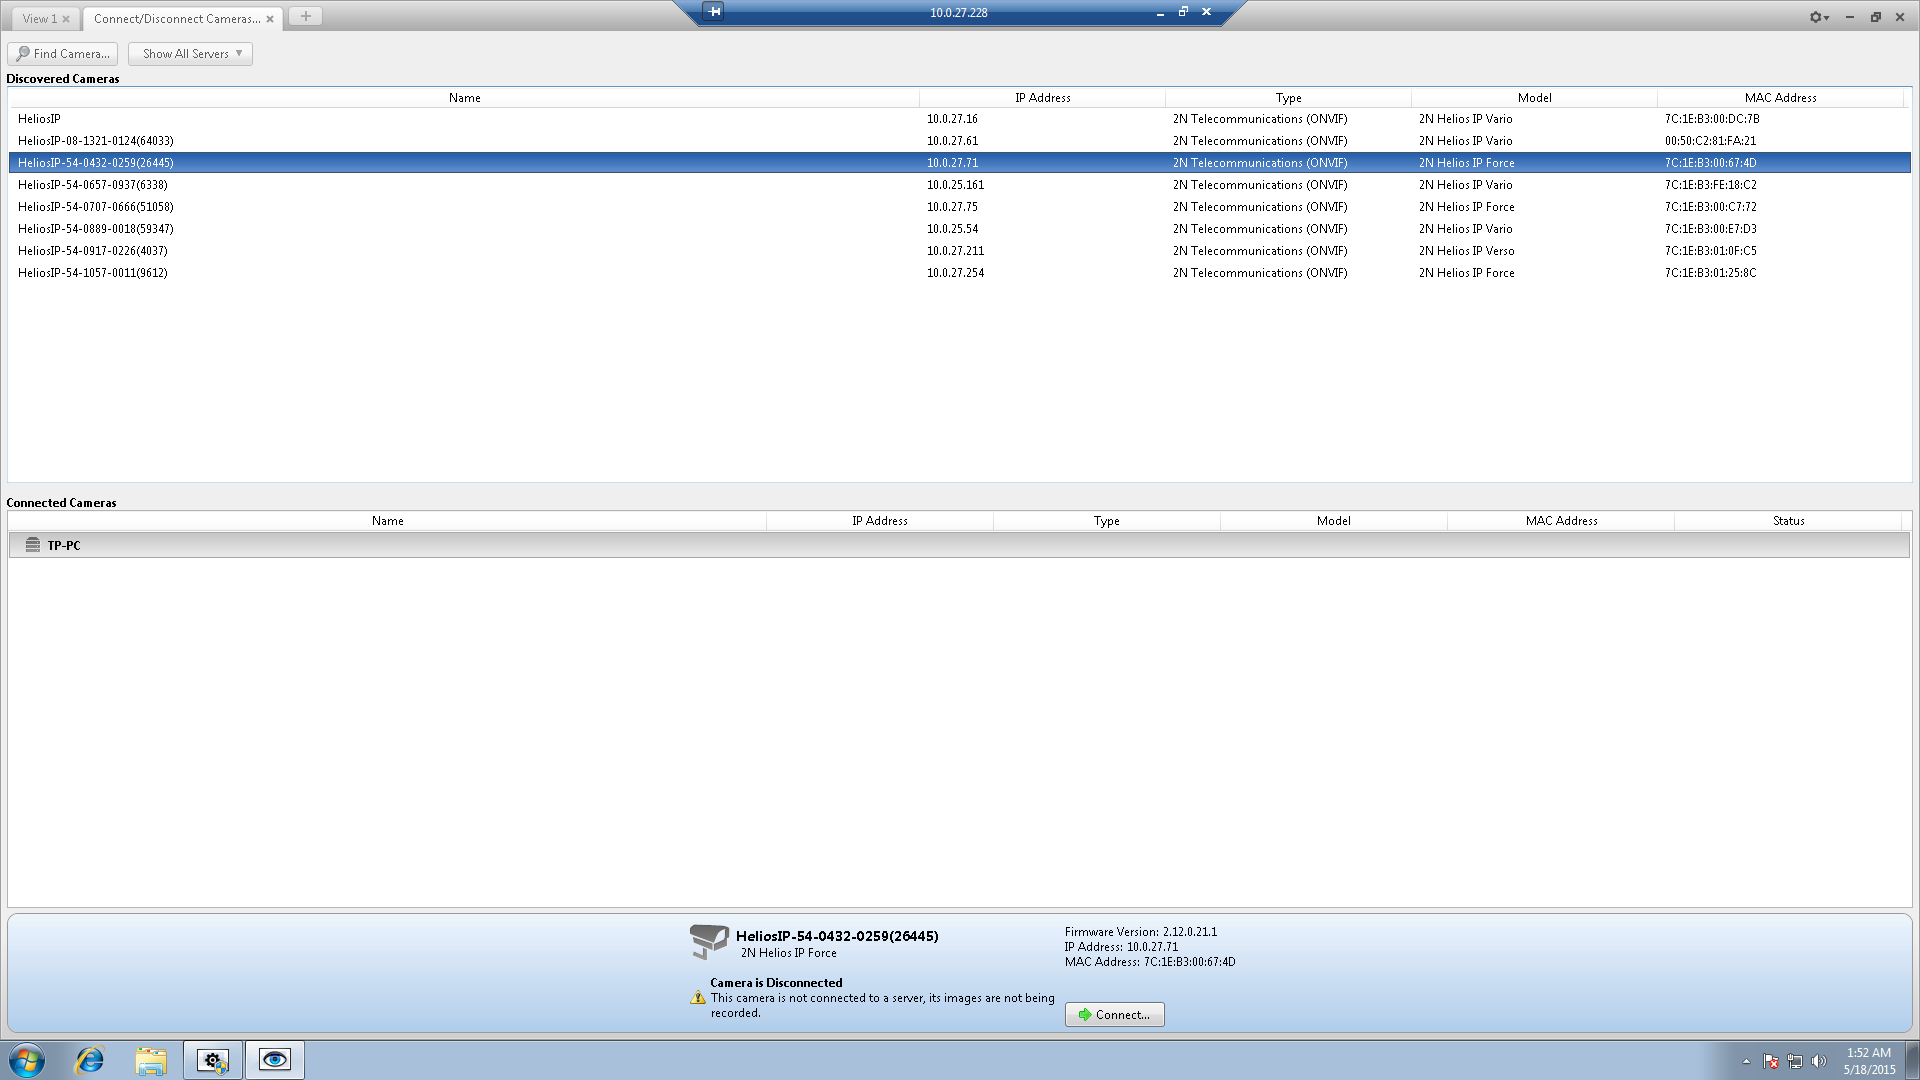
- Search From Server - select the server that you want the device to connect to
- Search Type - select a search type:
- IP Address - select this option to discover a device by its IP address or hostname. The device and server’s gateway IP address must be set correctly for the device to be found.
- IP Address Range - select this option to discover a device by IP address range. Only devices with IP addresses in that range will be discovered.
- Camera Type: select the device's brand name.
- Enter the device's User Name: and Password
- Click OK
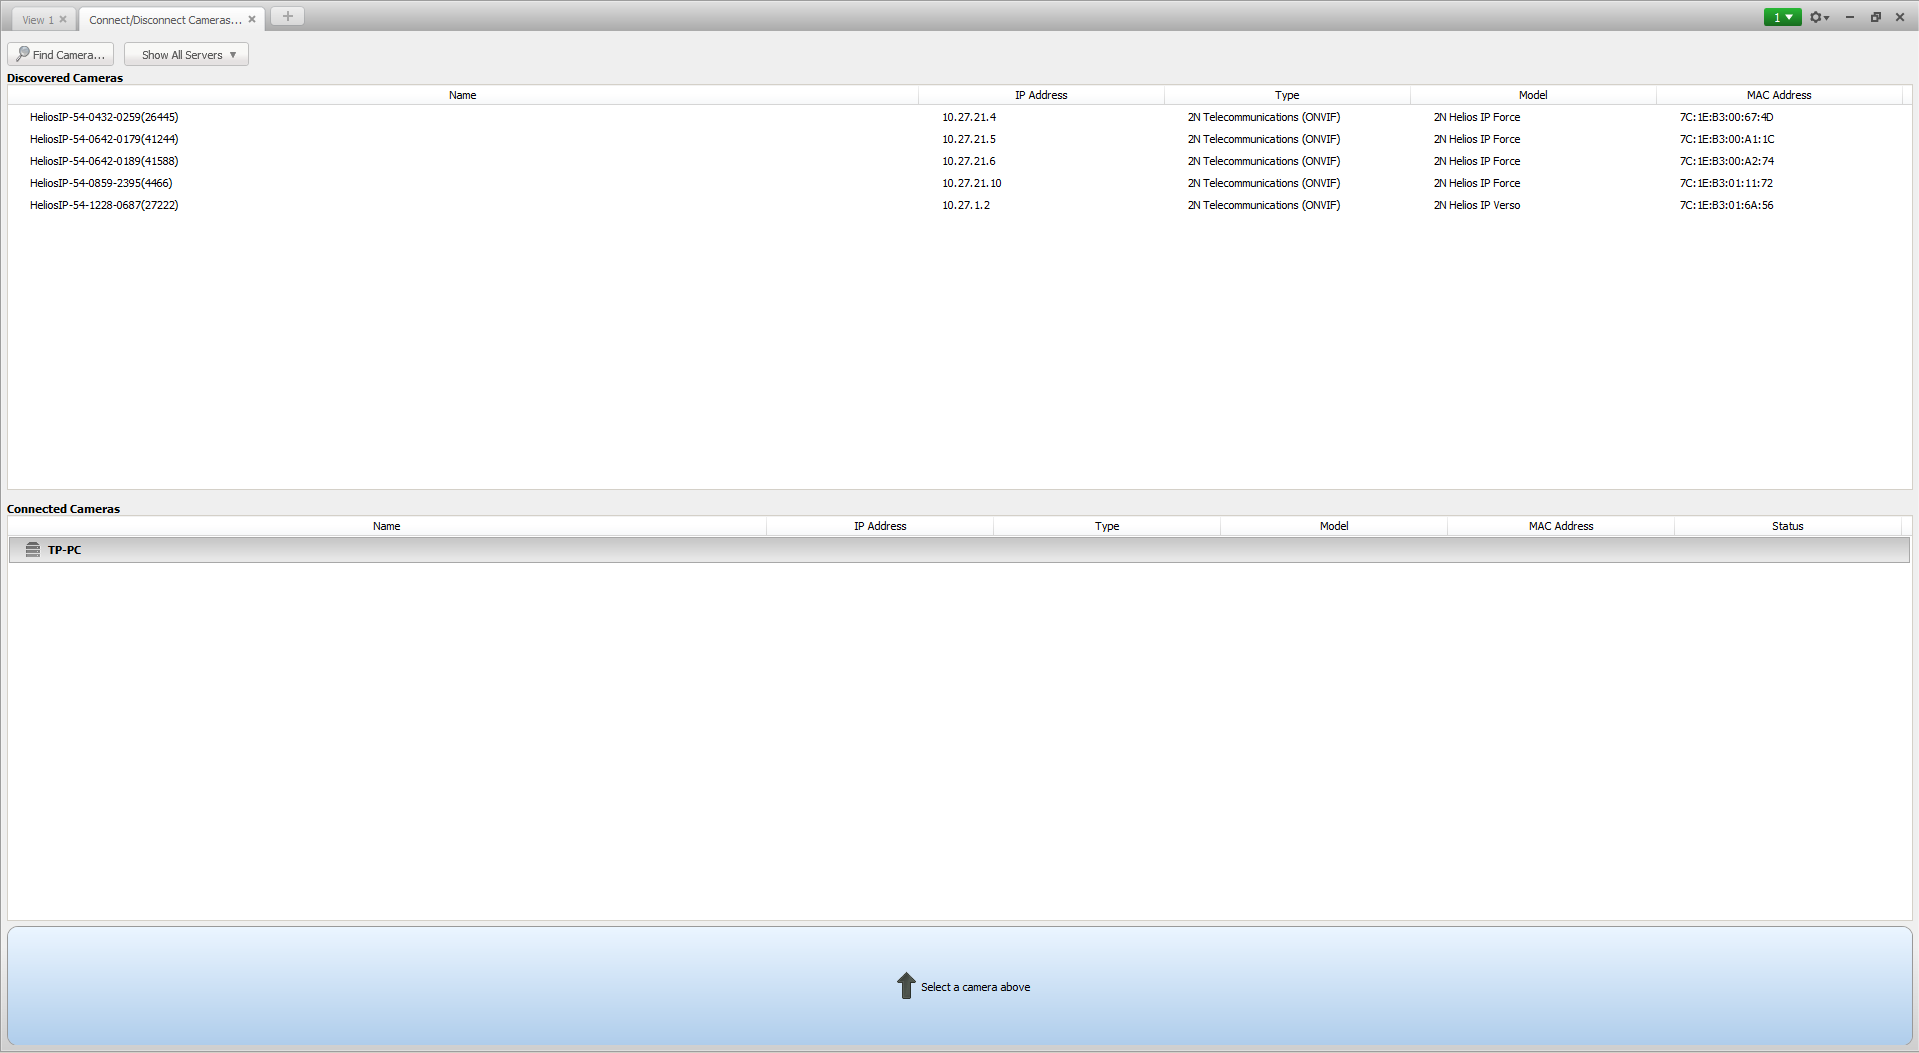
In the Discovered Cameras area, select one or more devices then click Connect.... In the Connect Camera dialog box, select the server you want the device to connect to.
 |
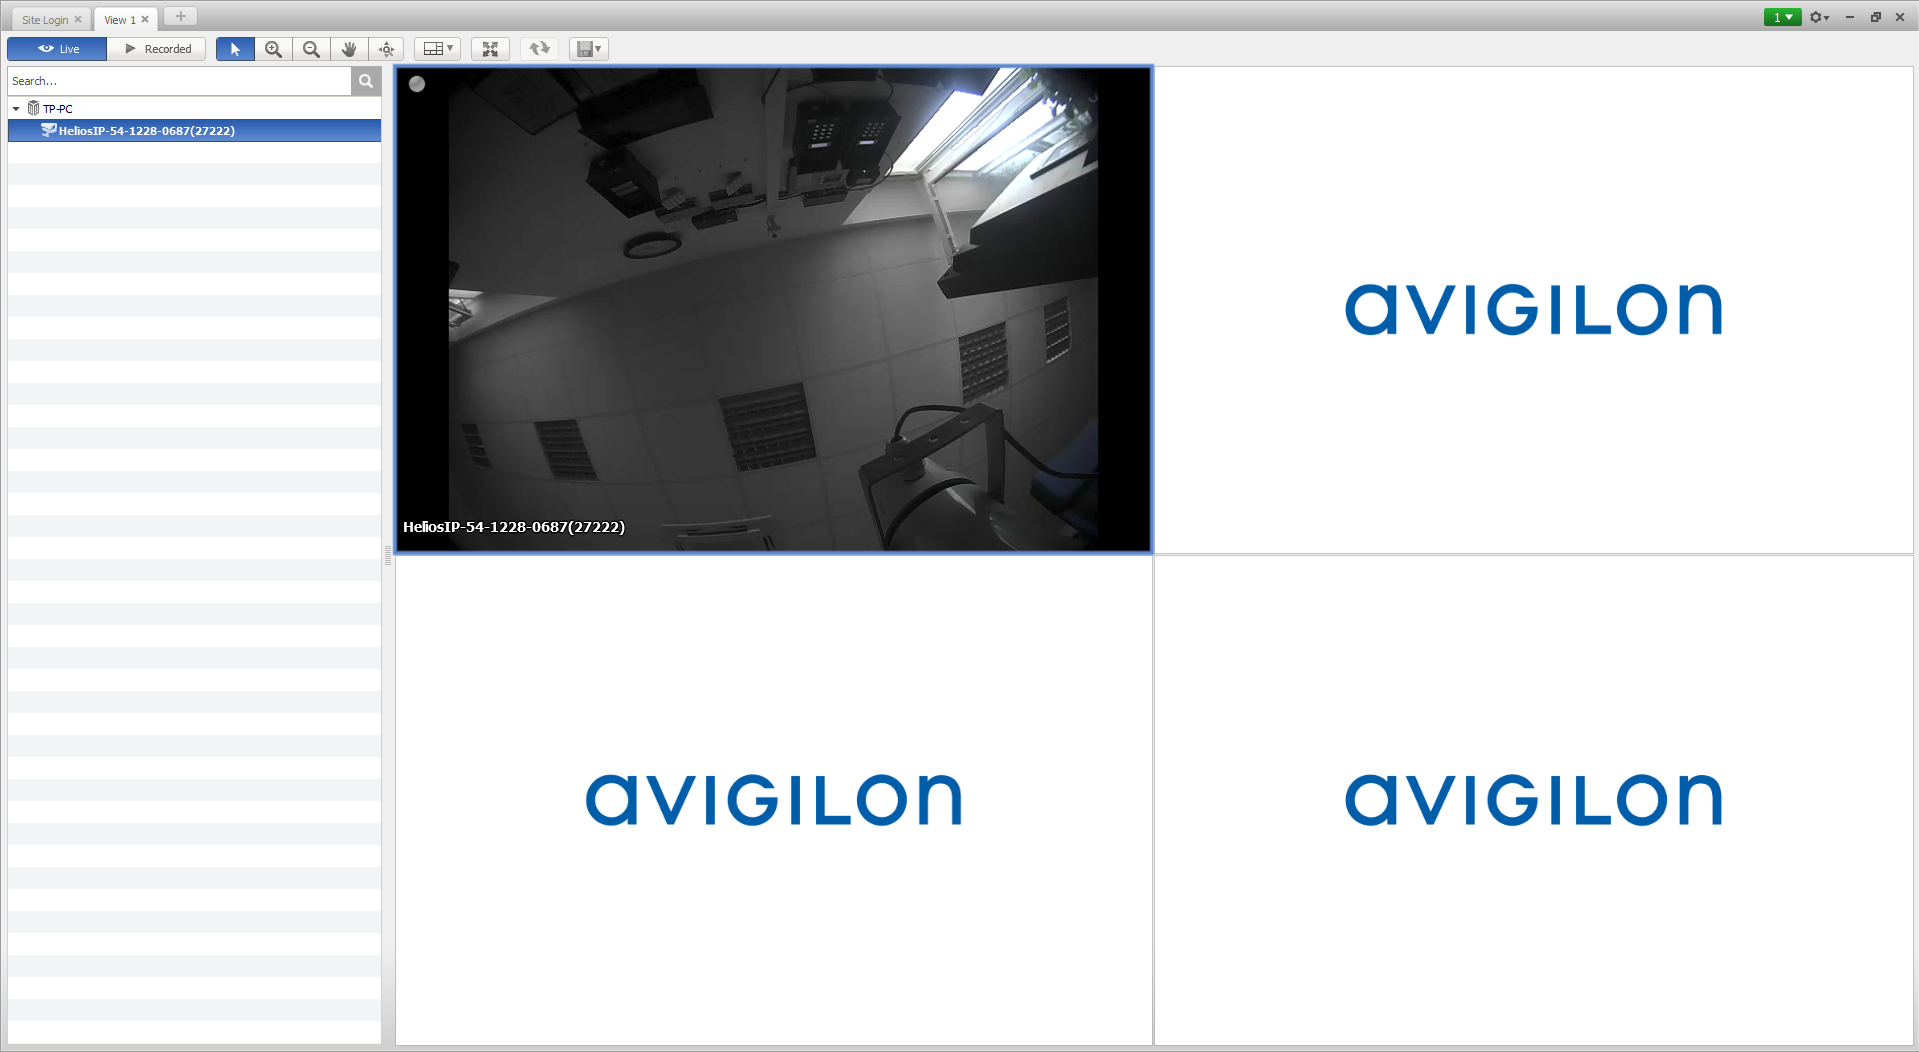
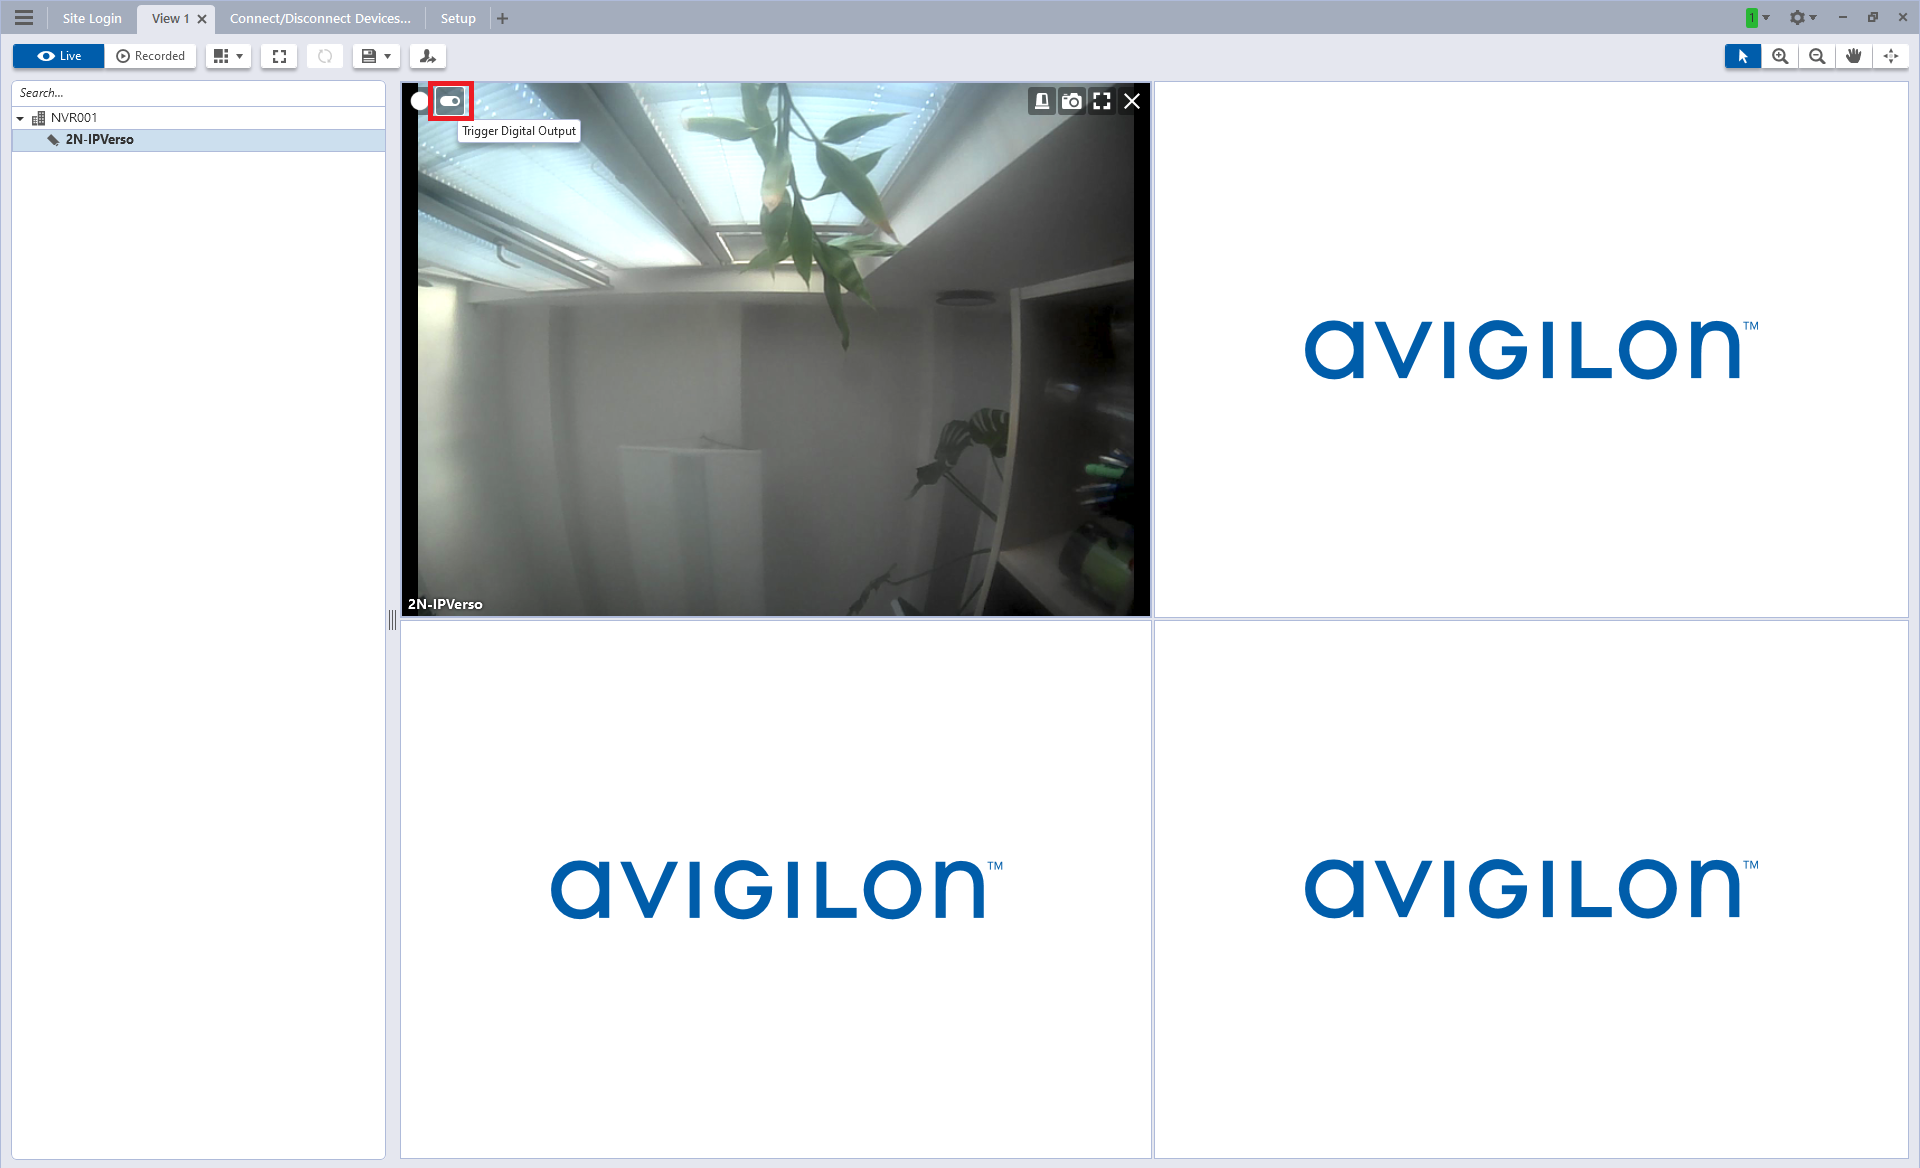
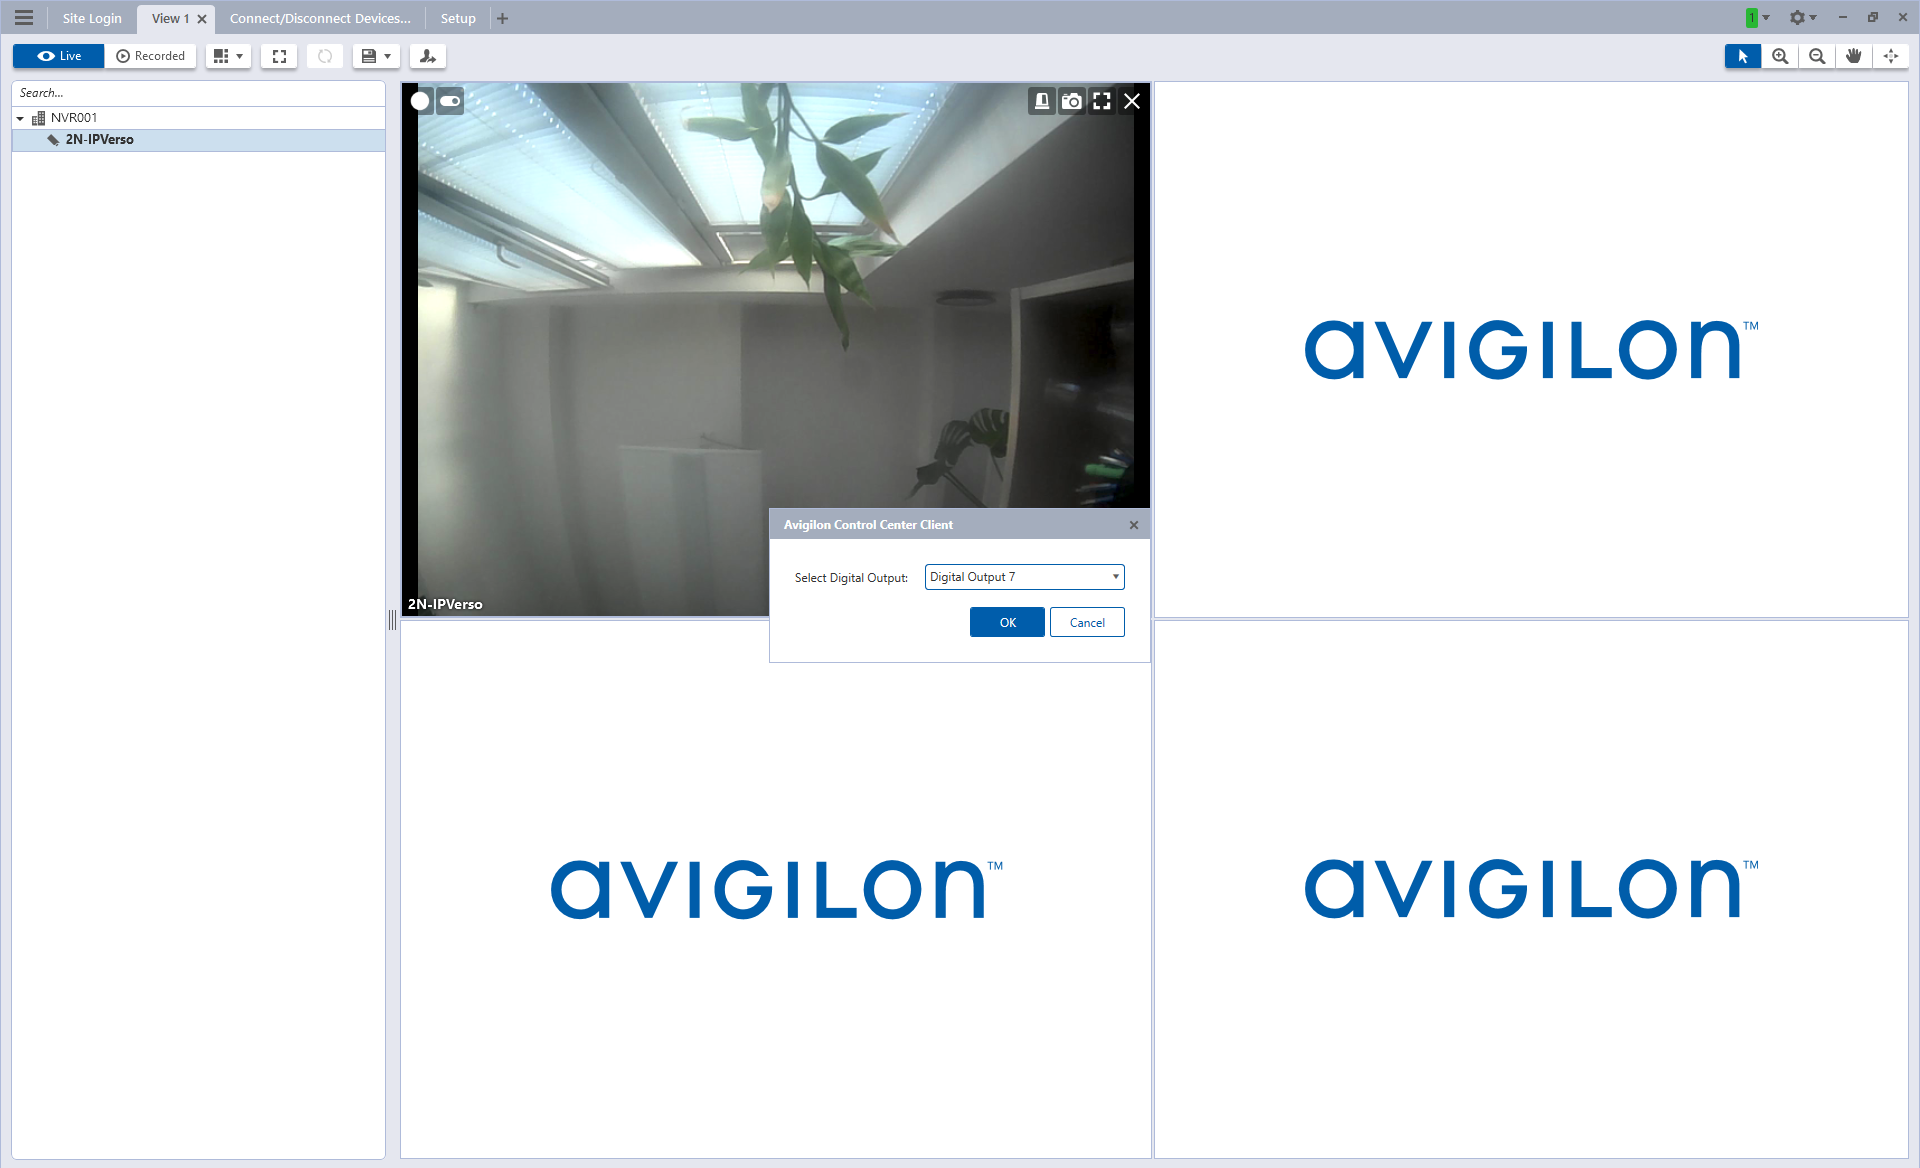
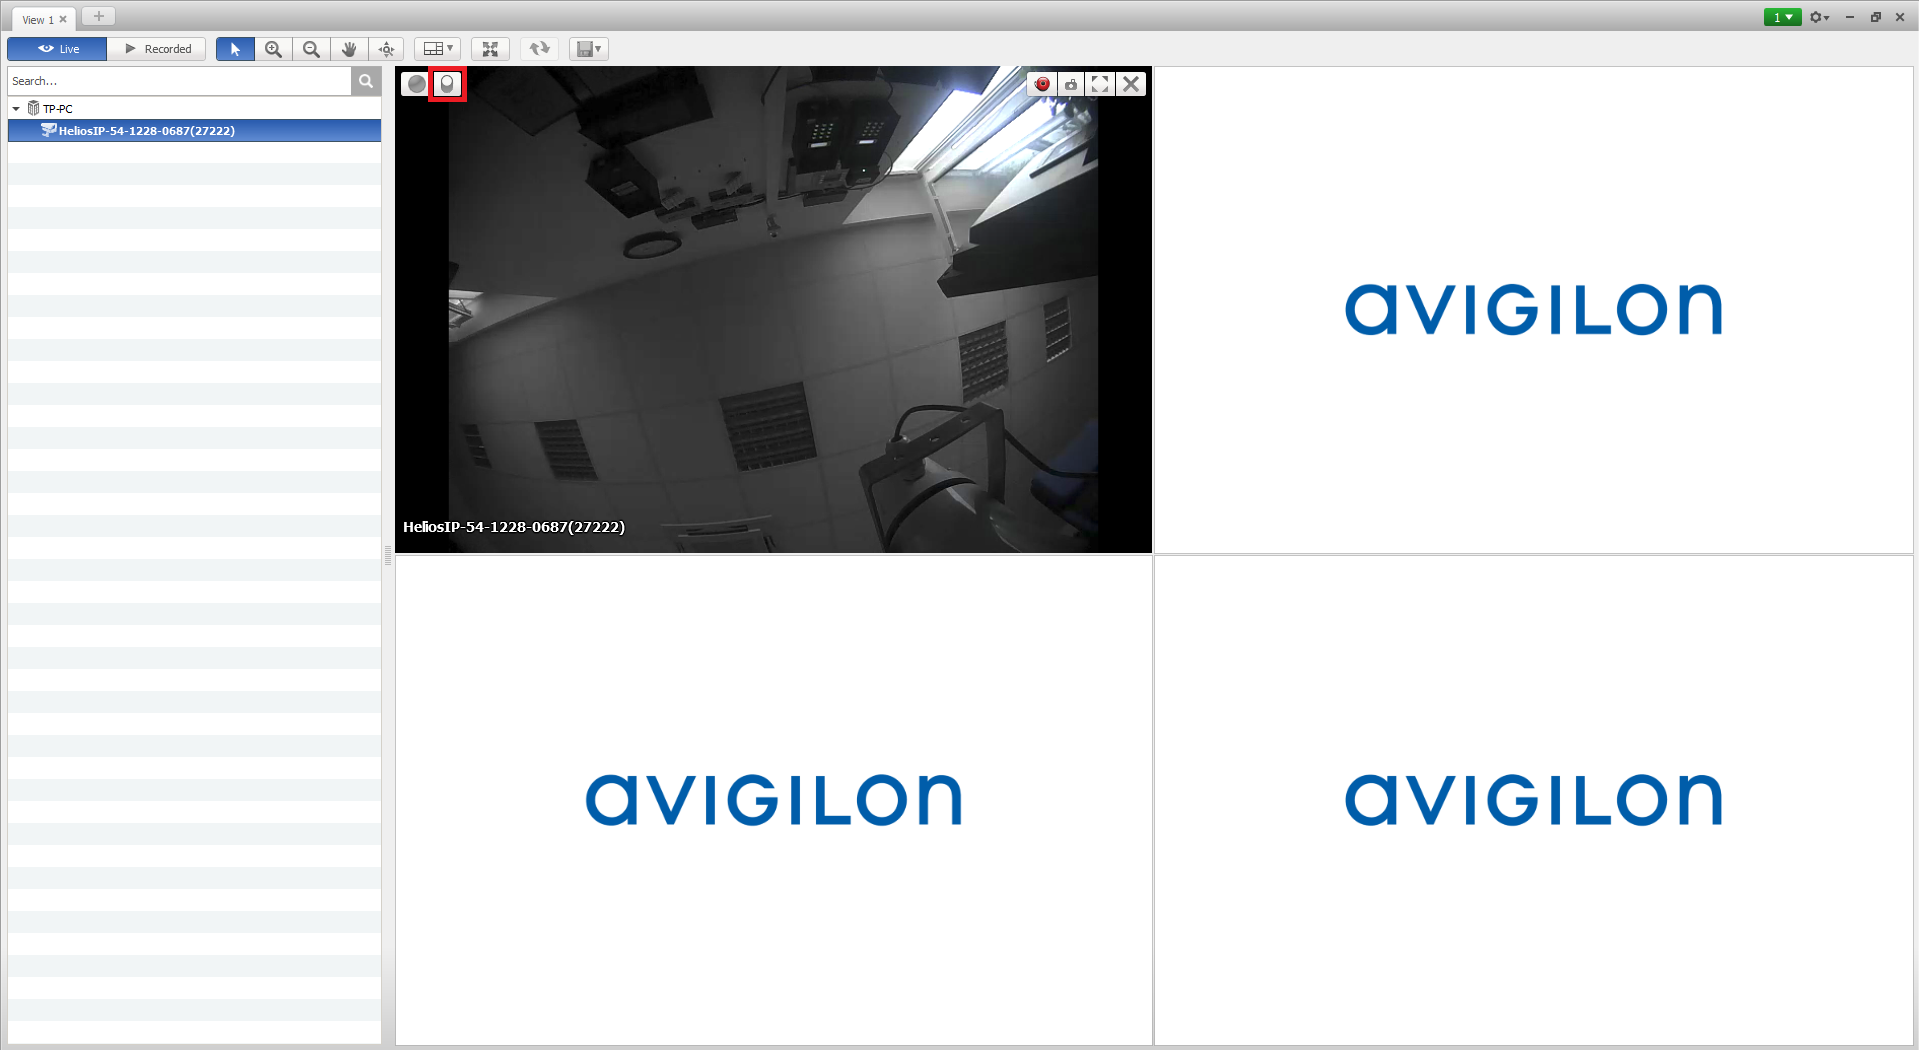
Adding a Camera to a View: Double-click a camera in the System Explorer. The camera is added to the next empty image panel in the View layout.
 |
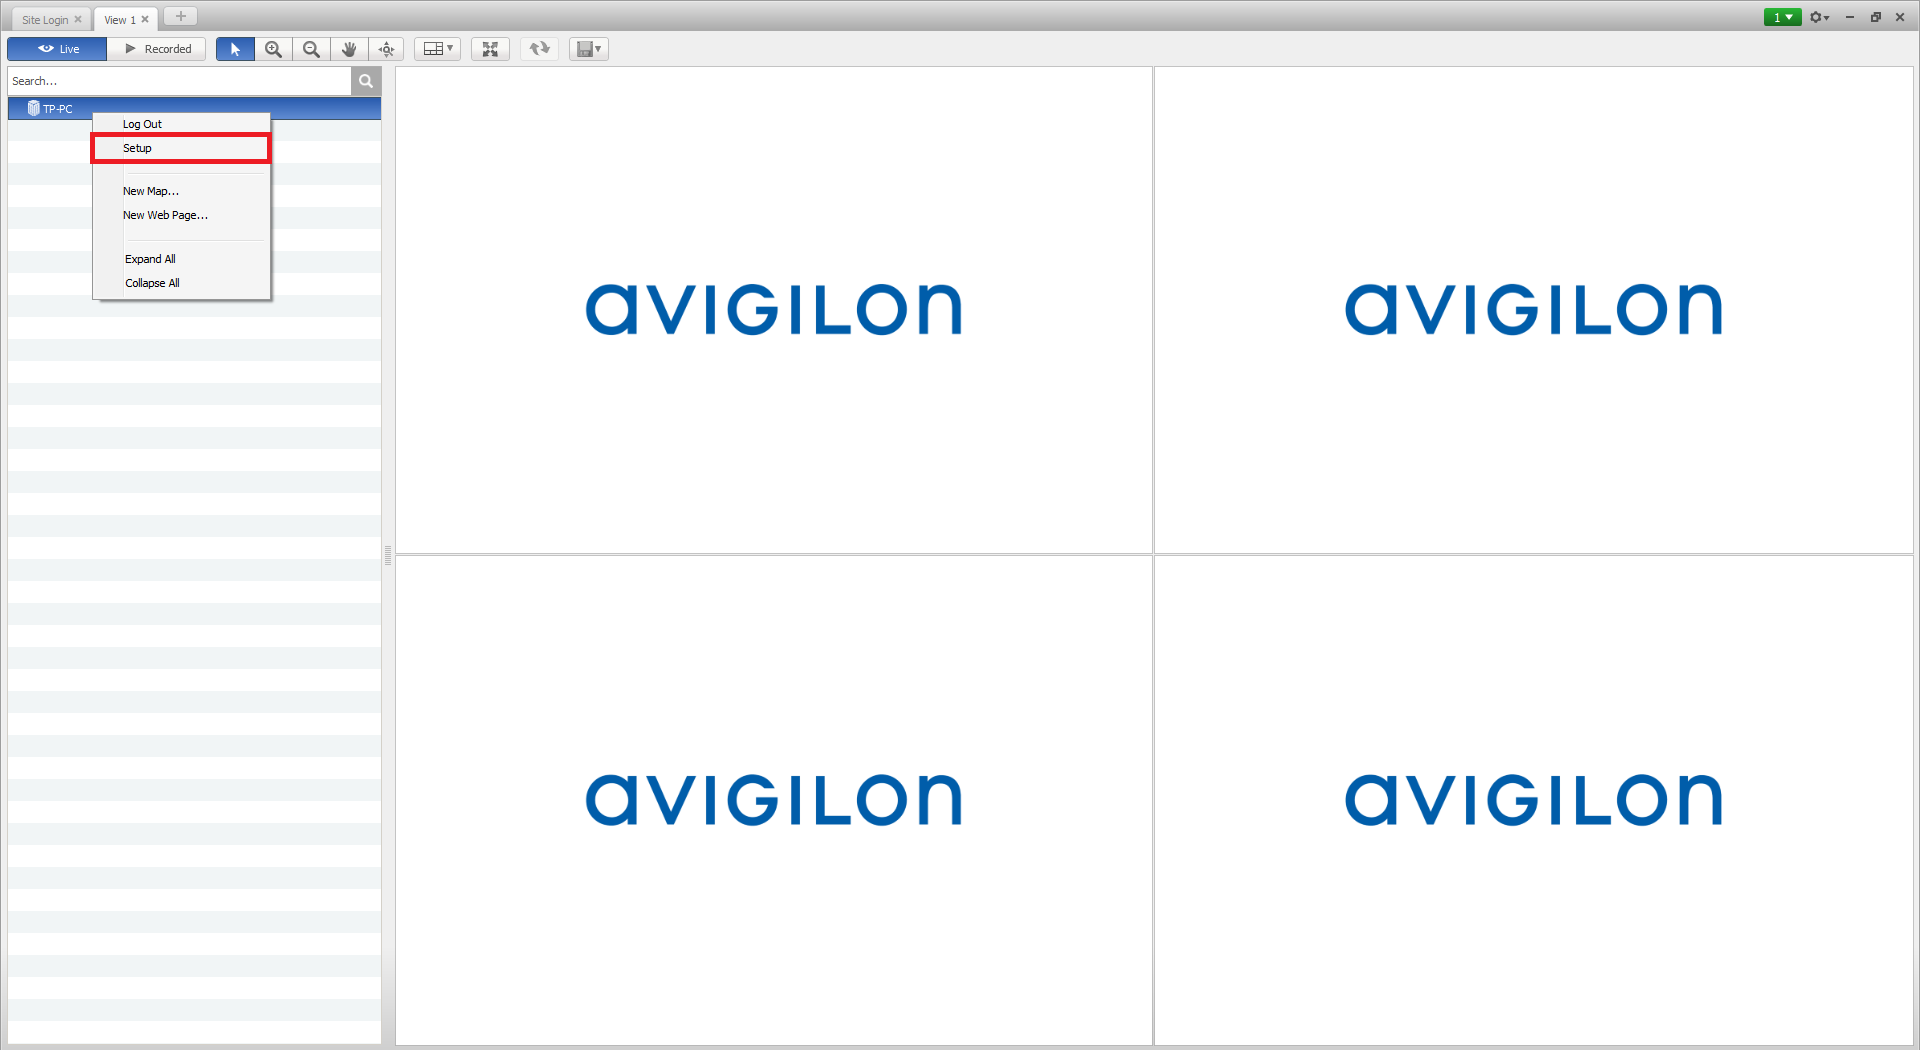
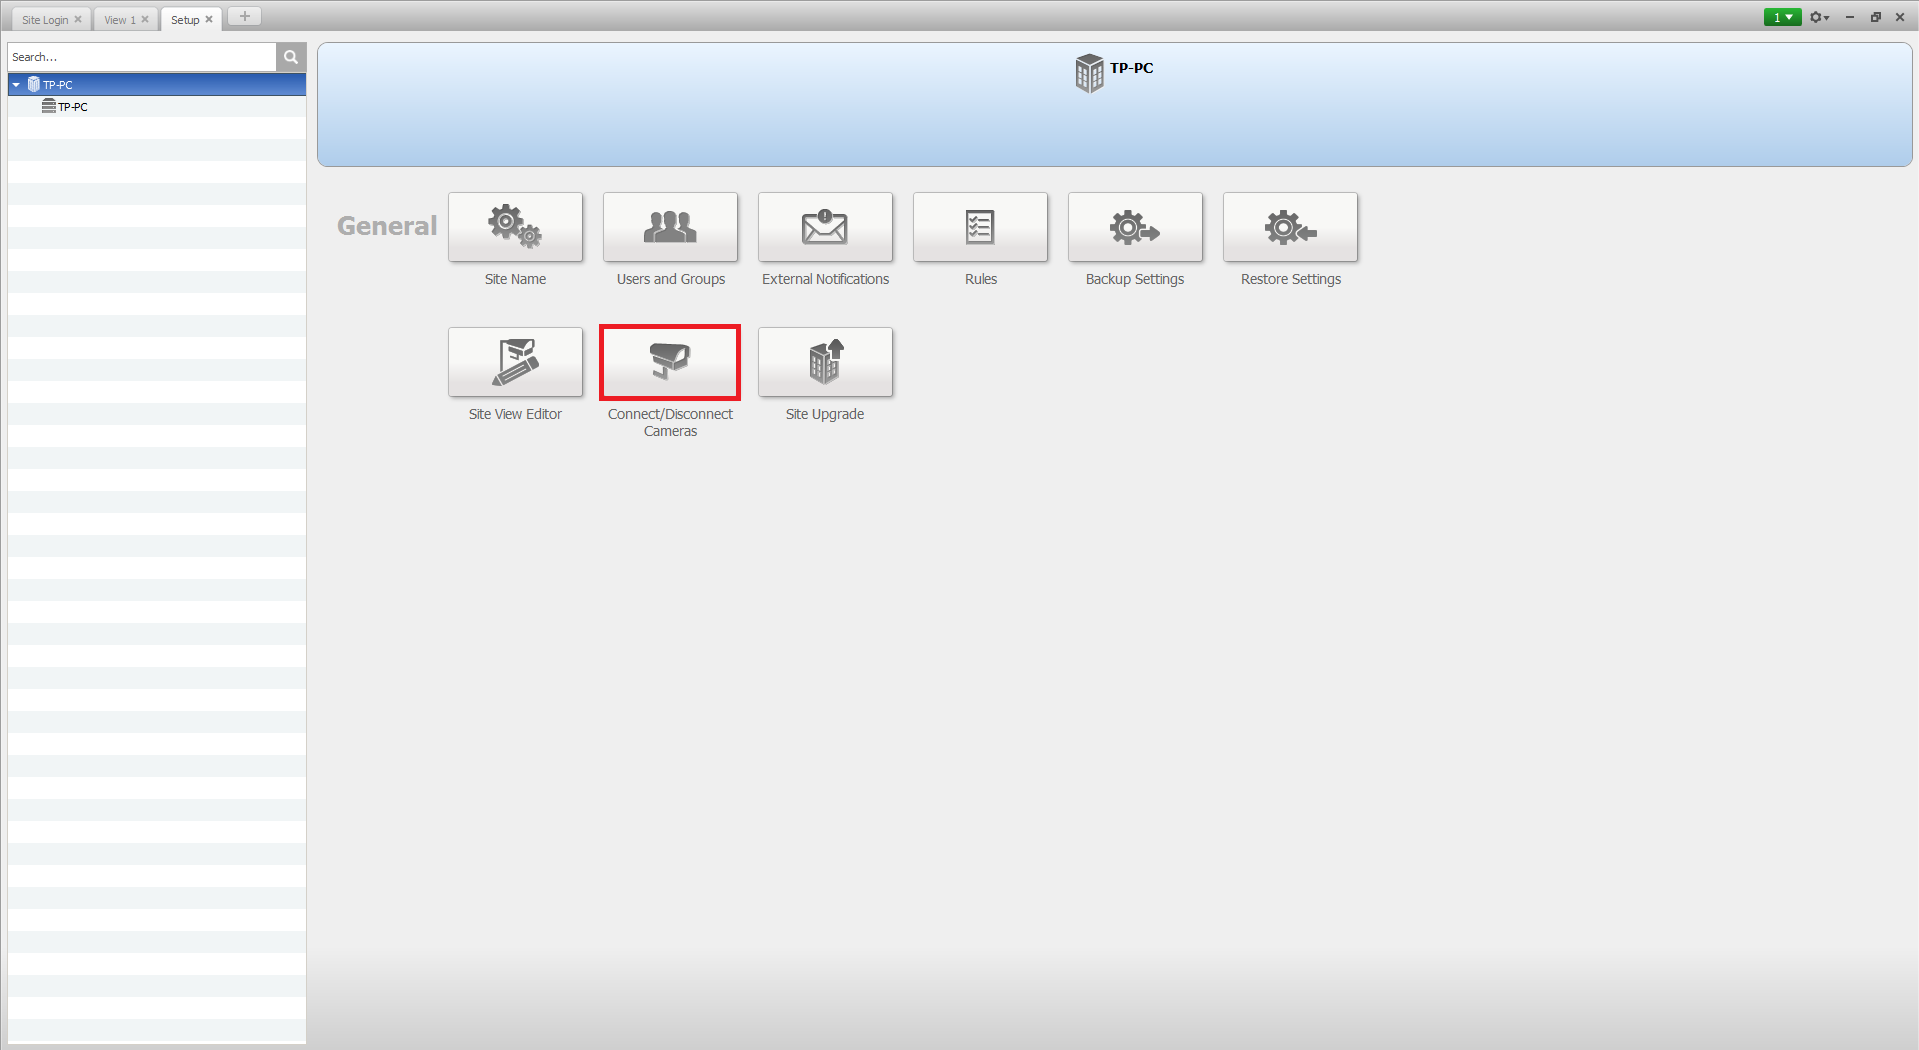
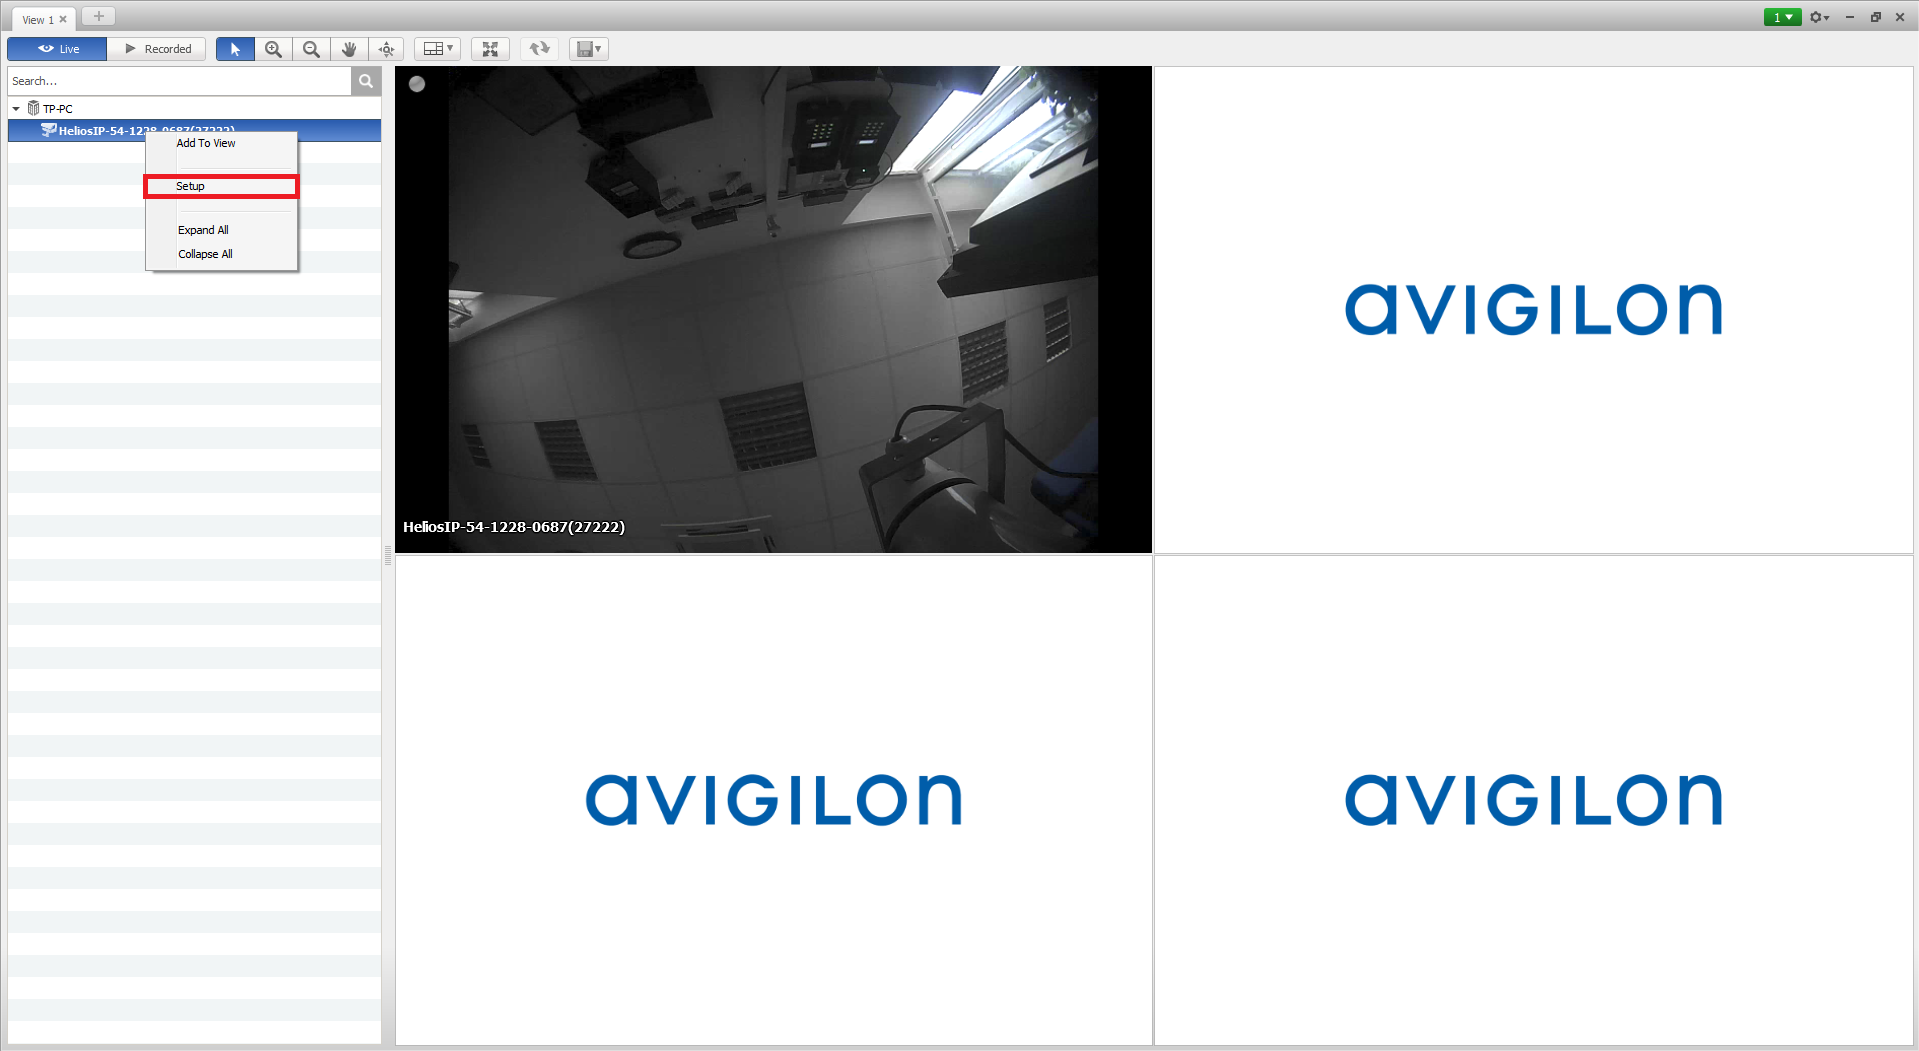
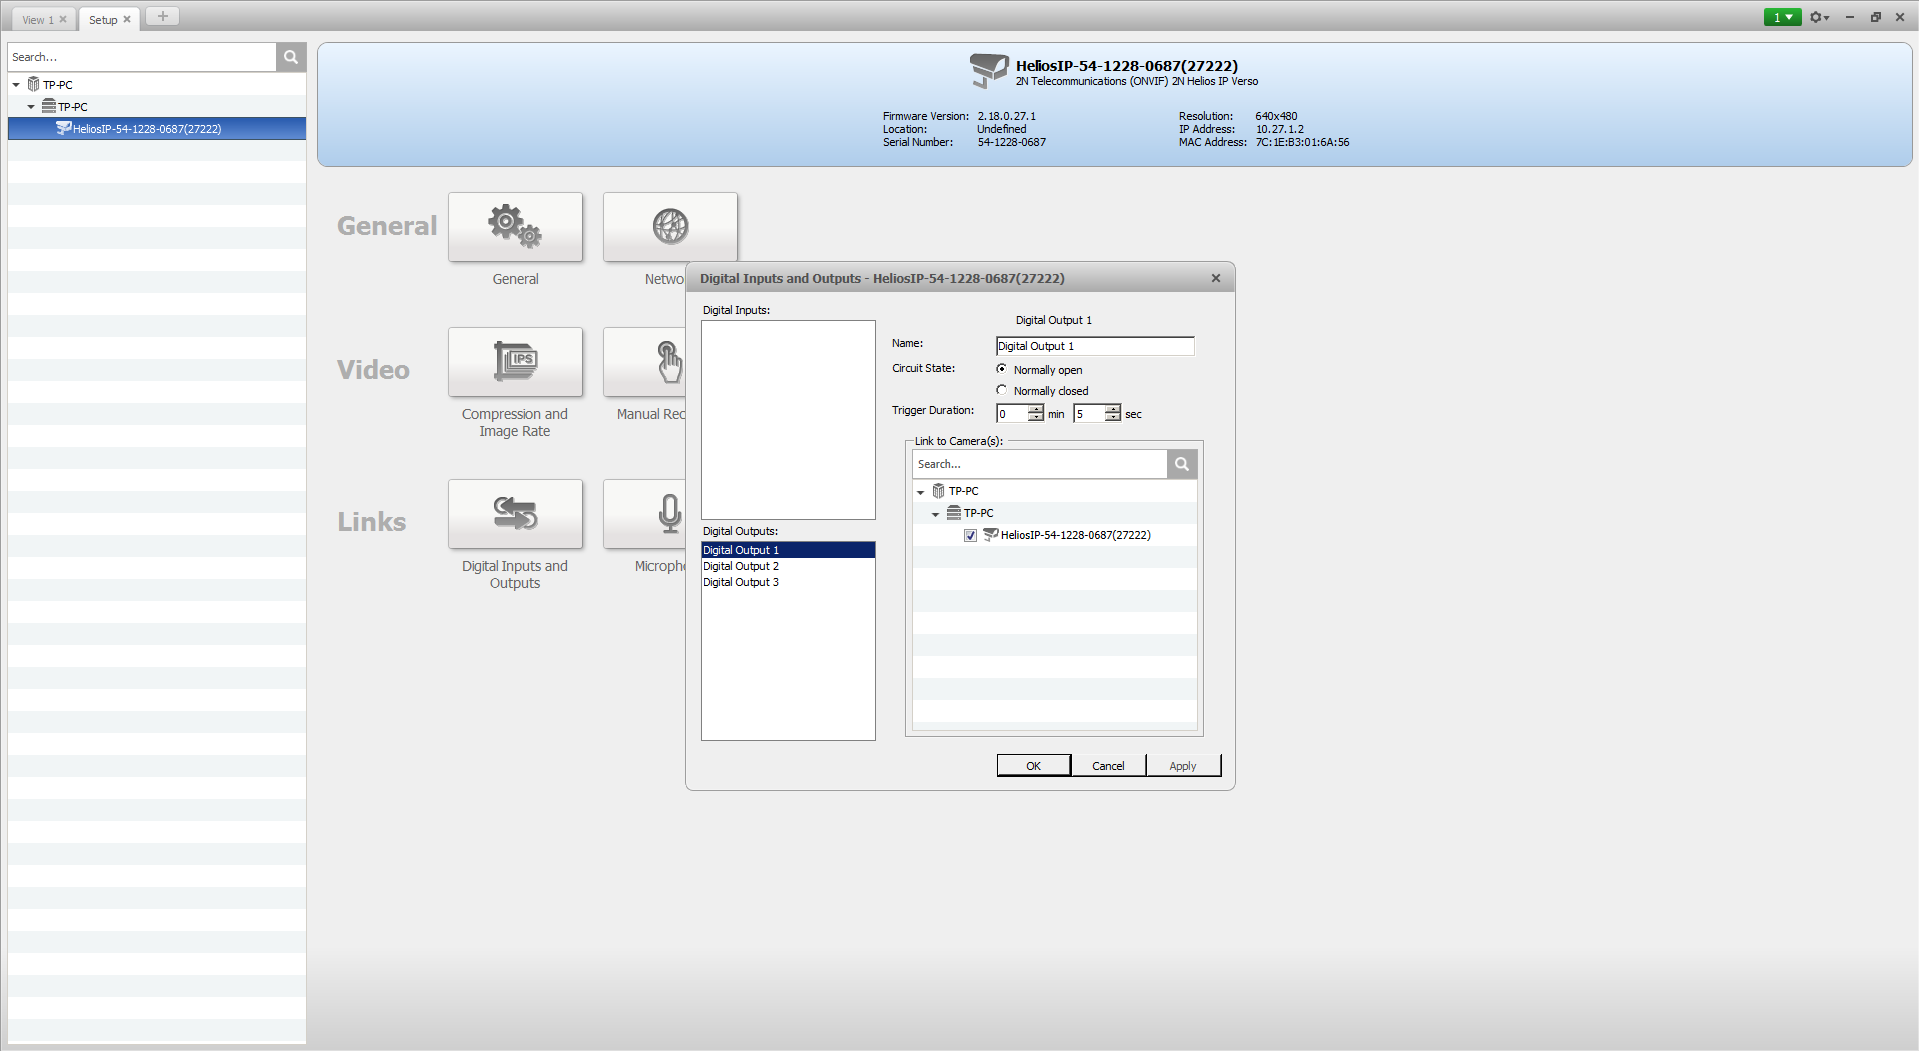
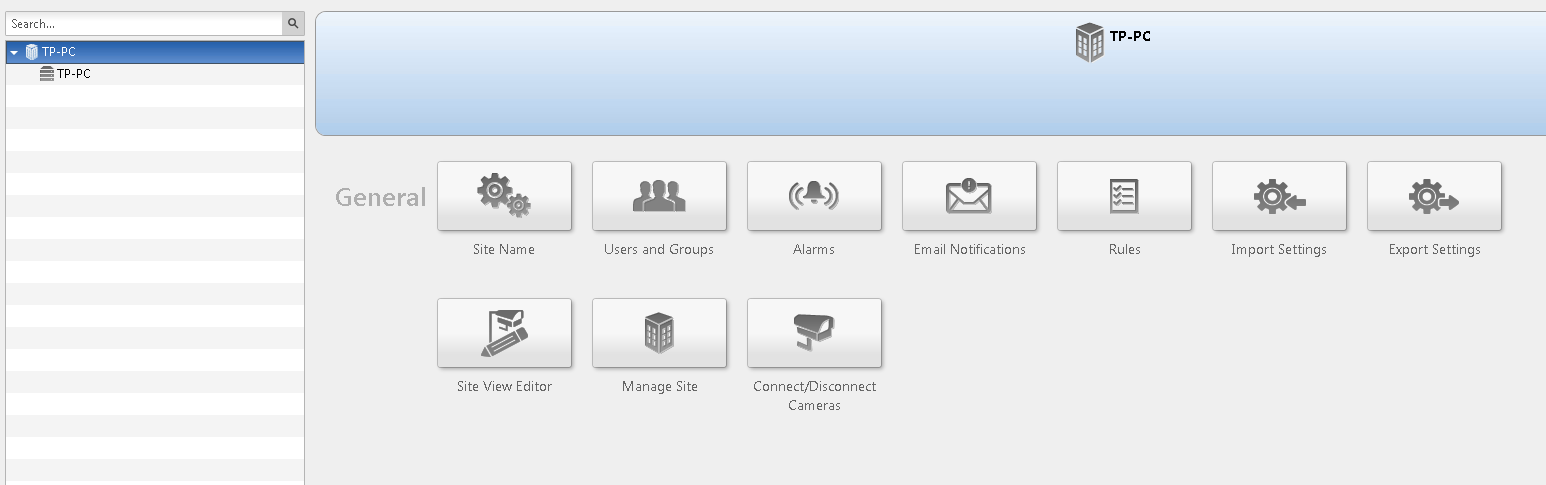
Right click on the selected camera and choose Setup.
 |
 |
 |
 |
 |
Version 6
Tested Functions
| 2N IP Intercom Version | Scan device | Video from 2N IP Intercom | Audio from 2N IP Intercom | Audio to 2N IP Intercom | Switch control | Events from 2N IP Intercom | |
|---|---|---|---|---|---|---|---|
6.0.0.24 | 2.19.0.28.5 | ||||||
2.17.0.26.1 |
2N IP Intercom Settings
Enable parameter RTSP Server Enabled in menu Services / Streaming.
|
|
Tested Features
The Avigilon Control Center Client software can be started or shut down at anytime — video recording is not affected because it is controlled separately by the Server software. Open the Site Login tab. The Site Login tab is automatically displayed if you are launching the Client software for the first time. Click Find Site, enter your IP address of server nad click OK. This opens the Site Login. Enter your username and password for the selected sites, click Log In.
|
|
|
- Search From Server - select the server that you want the device to connect to
- Search Type - select a search type:
- IP Address - select this option to discover a device by its IP address or hostname. The device and server’s gateway IP address must be set correctly for the device to be found.
- IP Address Range - select this option to discover a device by IP address range. Only devices with IP addresses in that range will be discovered.
- Camera Type: select the device's brand name.
- Enter the device's User Name: and Password
- Click OK
In the Discovered Cameras area, select one or more devices then click Connect.... In the Connect Camera dialog box, select the server you want the device to connect to.
|
Adding a Camera to a View: Double-click a camera in the System Explorer. The camera is added to the next empty image panel in the View layout.
|
Right click on the selected camera and choose Setup.
 |
 |
 |
 |
 |
Version 5
Tested Functions
| Avigilon Control Center | 2N IP Intercom Version | Scan device | Video from 2N IP Intercom | Audio from 2N IP Intercom | Audio to 2N IP Intercom | Switch control | Events from 2N IP Intercom |
|---|---|---|---|---|---|---|---|
5.10.0.16, 5.8.4.22, 5.4.2.16 | 2.12.0.21.1 |
2N IP Intercom Settings
Enable parameter RTSP Server Enabled in menu Services / Streaming.
|
|
Tested Features
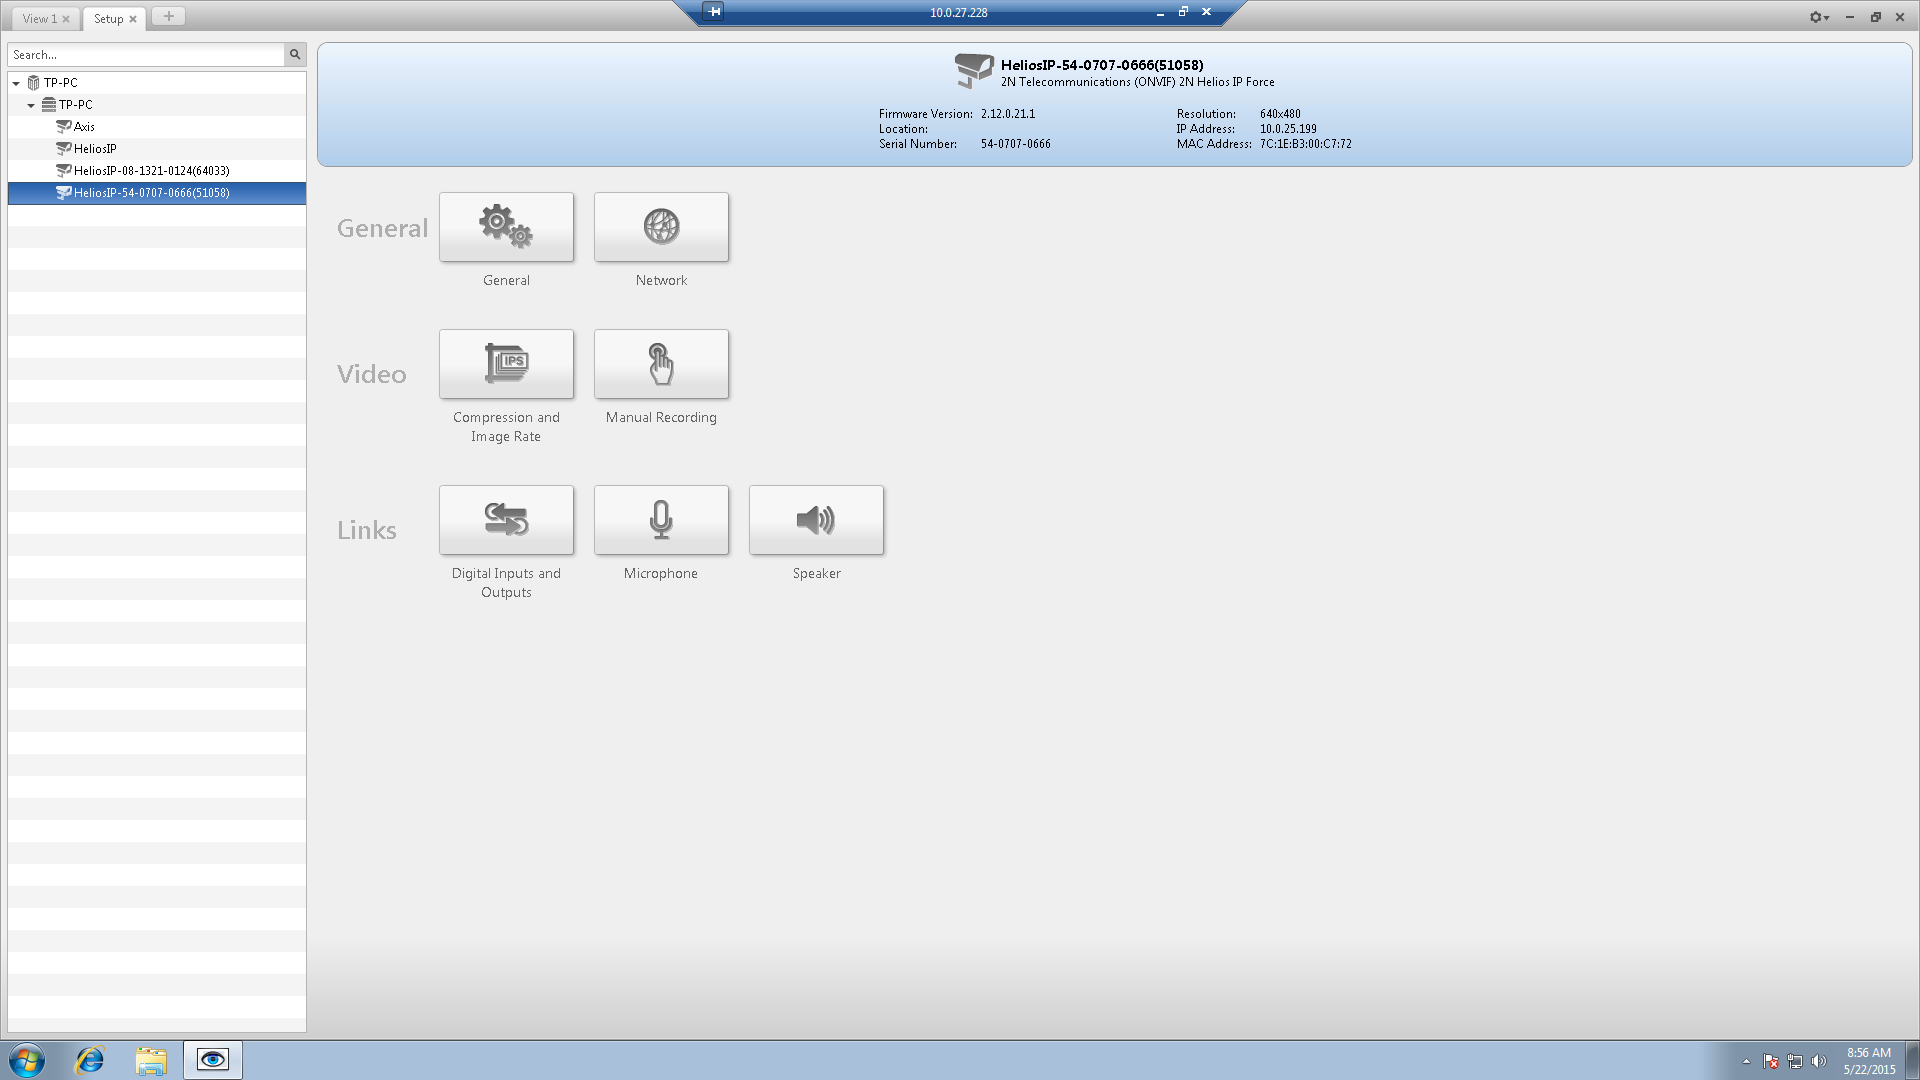
After launch of Control Centre Client it is needed to log in to the Control Center Server. After successful login, server should appear in left column of Control Centre Client. To search cameras right click on the server a select Setup.
 |
 |
 |
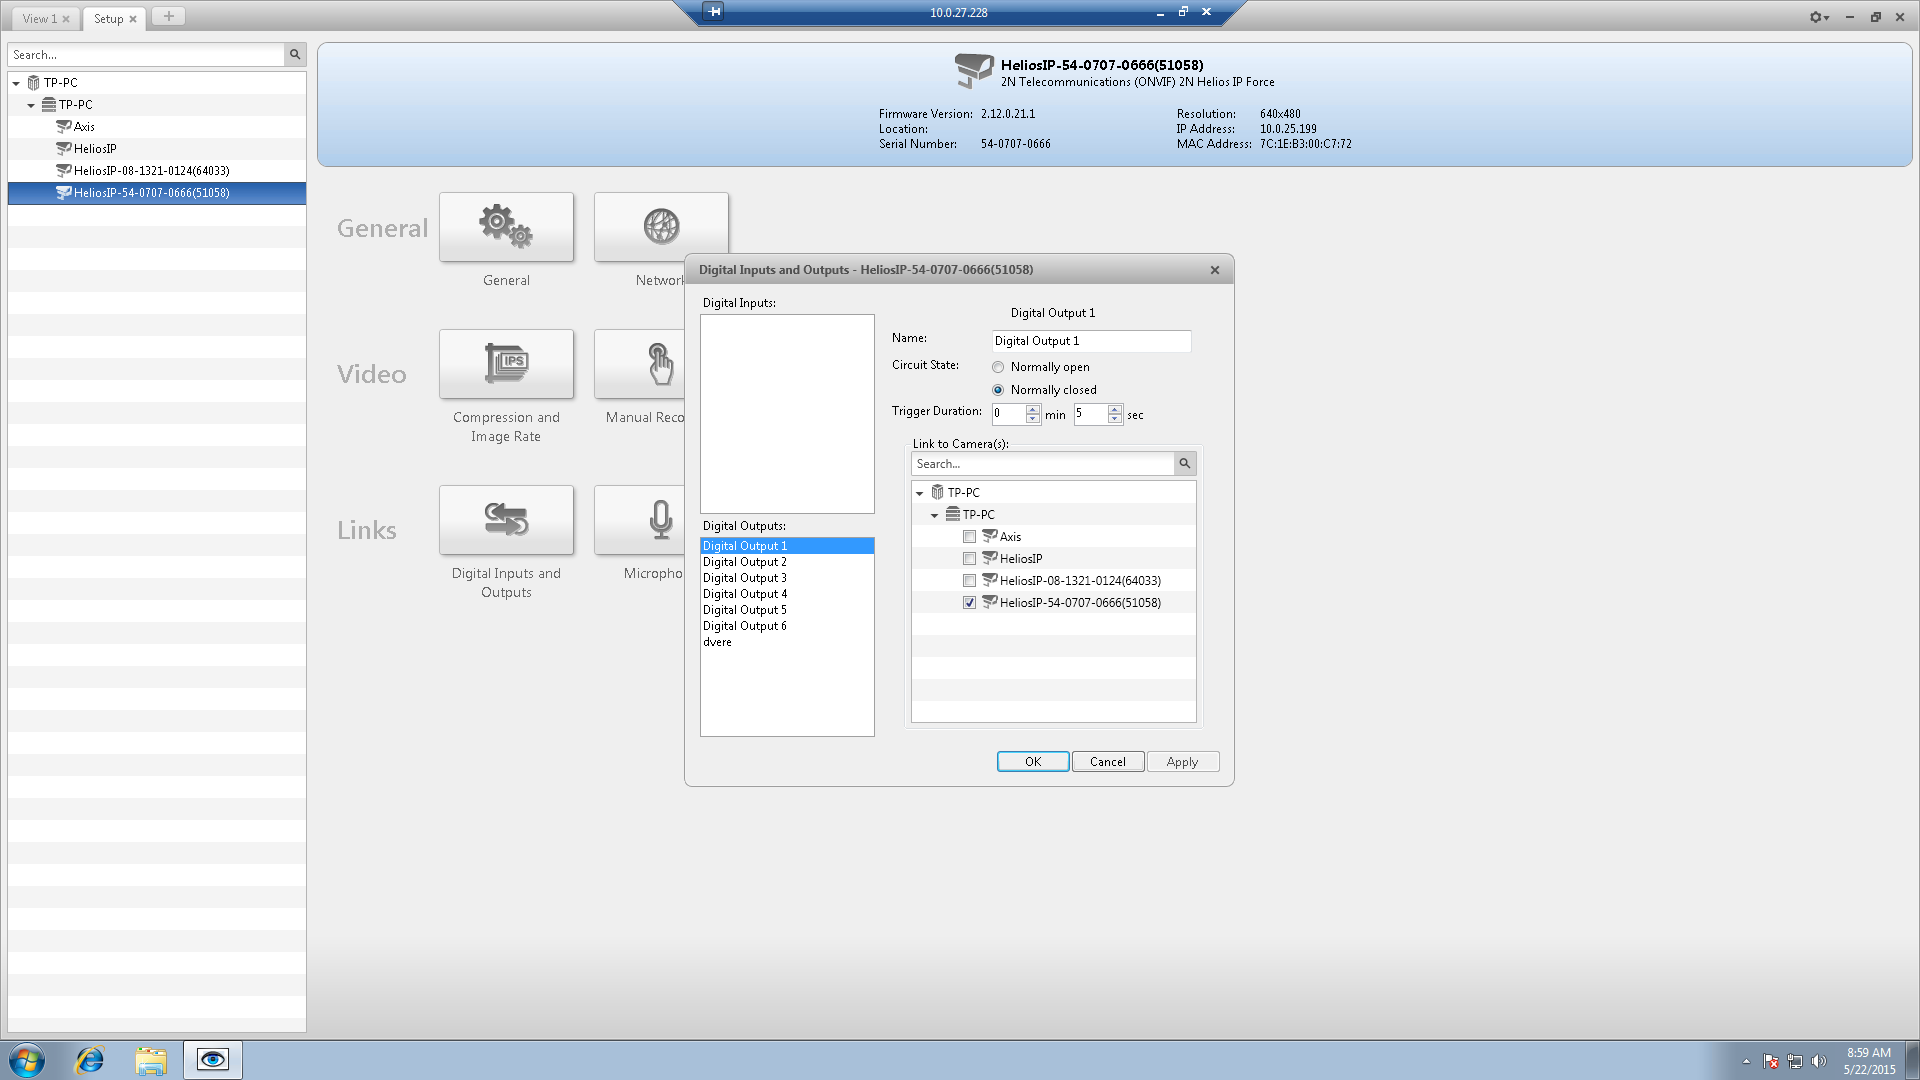
Right click on the selected camera and choose Setup.
 |
 |
Used Symbols
![]() - Compatible
- Compatible
![]() - Work with limitation
- Work with limitation
![]() - Incompatible
- Incompatible