Axxon Next
Content
About
Meet Axxon Next, a next-generation open-platform video management software (VMS). Thanks to exciting innovations from AxxonSoft, the Axxon Next platform has reached a whole new level of performance, reliability, efficiency, functionality and accessibility.
Video surveillance systems based on Axxon Next can scale infinitely: there are no restrictions on the number of video servers, workstations or video cameras. Axxon Next also plays well with other devices and systems. Support for over 1500 models of IP cameras is included, as well as remote access from mobile devices and a web interface. The software’s intuitive interface makes navigation a breeze and increases workflow efficiency.
Security needs of all sizes – from those of large-scale distributed facilities to the smallest sites – can be efficiently met with Axxon Next video management software. Every license includes full, unrestricted VMS functionality, even on systems of just one camera. Users on tight budgets will appreciate the free version of the program, which supports up to 16 camera channels.
http://www.axxonsoft.com/products/axxon_next/
Version 4
Tested Functions
| Axxon Next | 2N IP Intercom Version | Scan device | Video from 2N IP Intercom | Audio from 2N IP Intercom | Audio to 2N IP Intercom | Switch control | Events from 2N IP Intercom |
|---|---|---|---|---|---|---|---|
| 4.3.2.74 | 2.28.0.37.5 | ||||||
4.0.0.4316 | 2.19.0.28.5 | ||||||
2.17.0.26.1 |
2N IP Intercom Settings
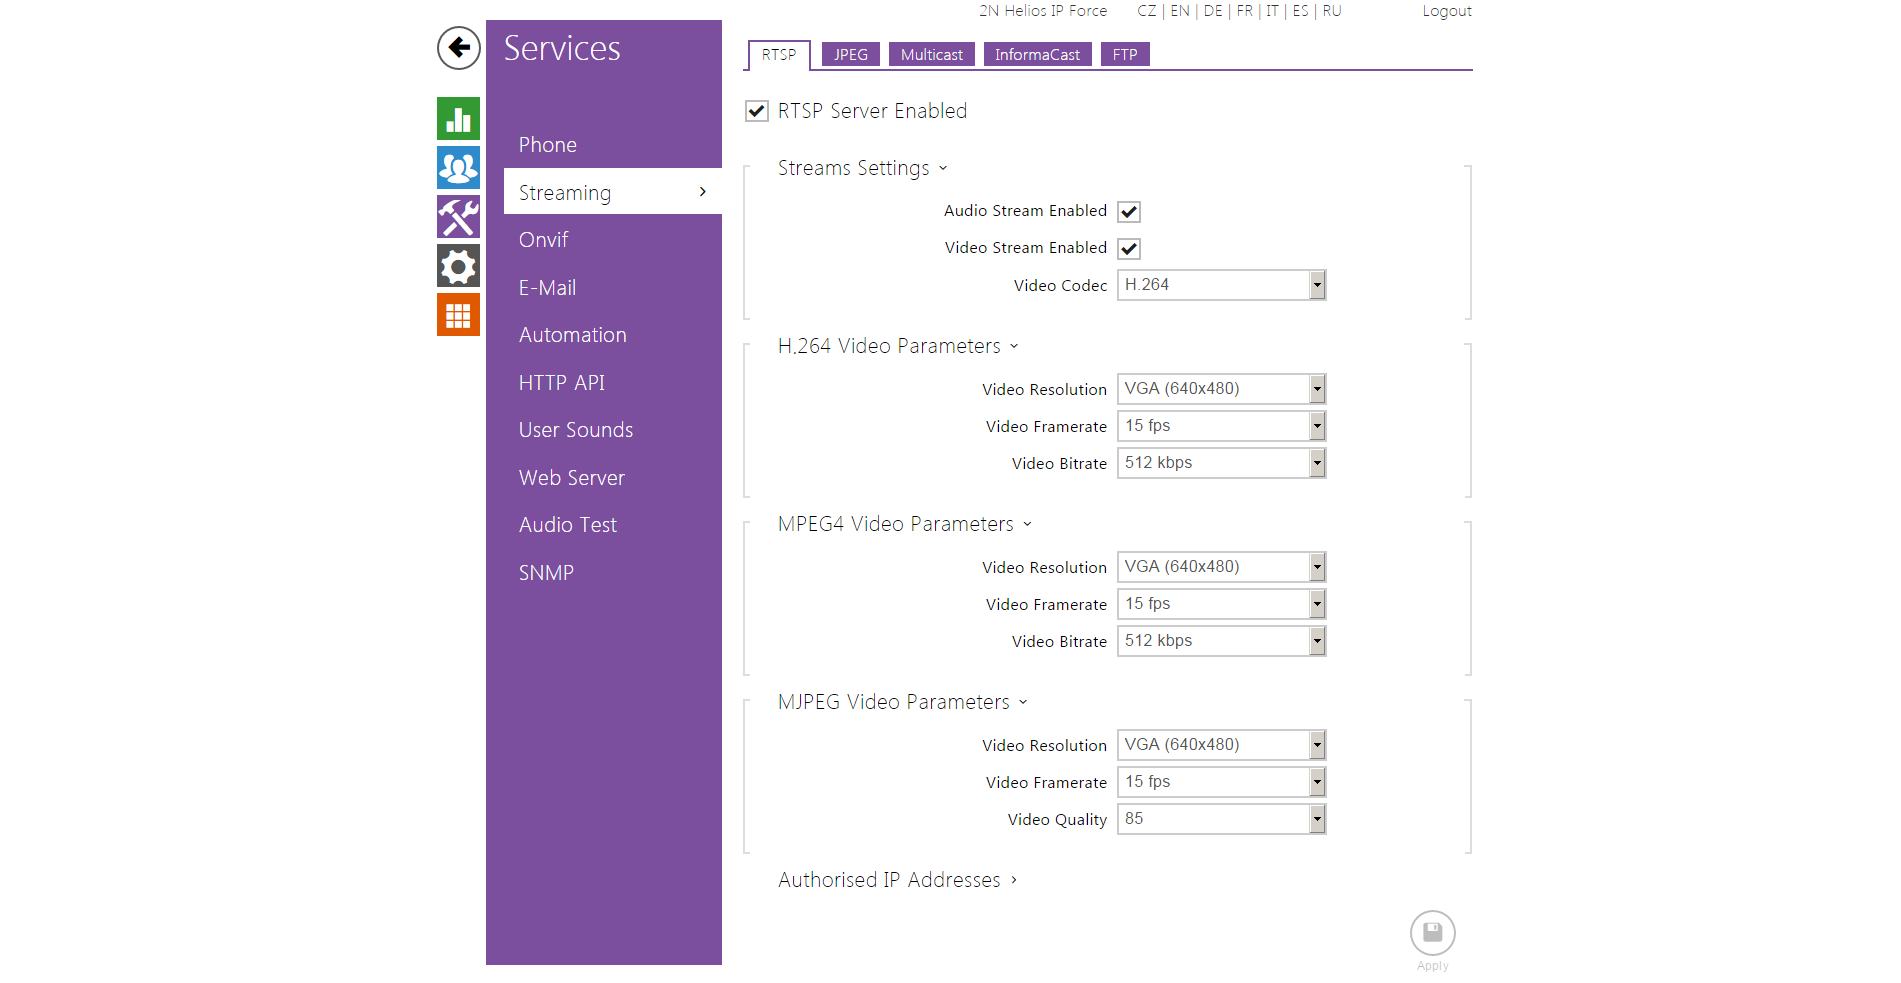
Open web browser and enter IP address of intercom. Go to Services – Streaming – RTSP and enable parameter RTSP Server Enabled.
 |
 |
Tested Features
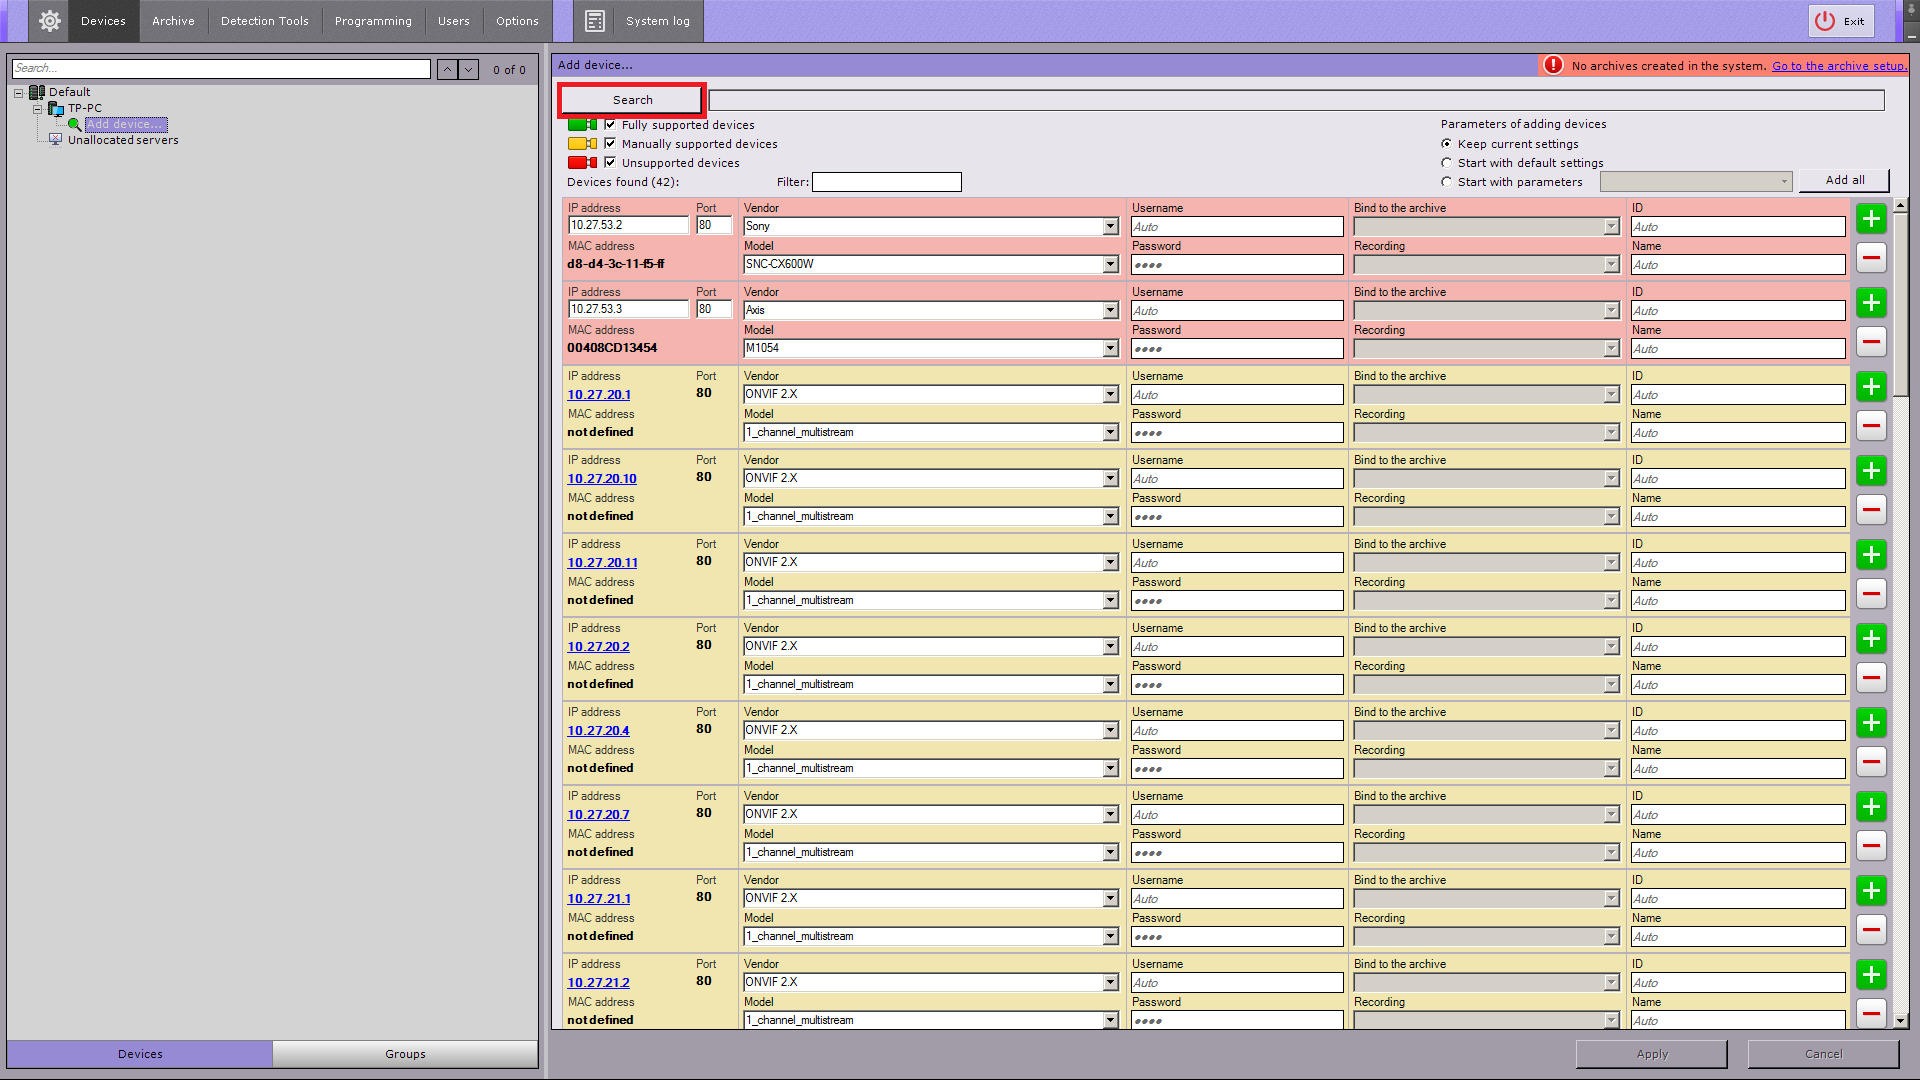
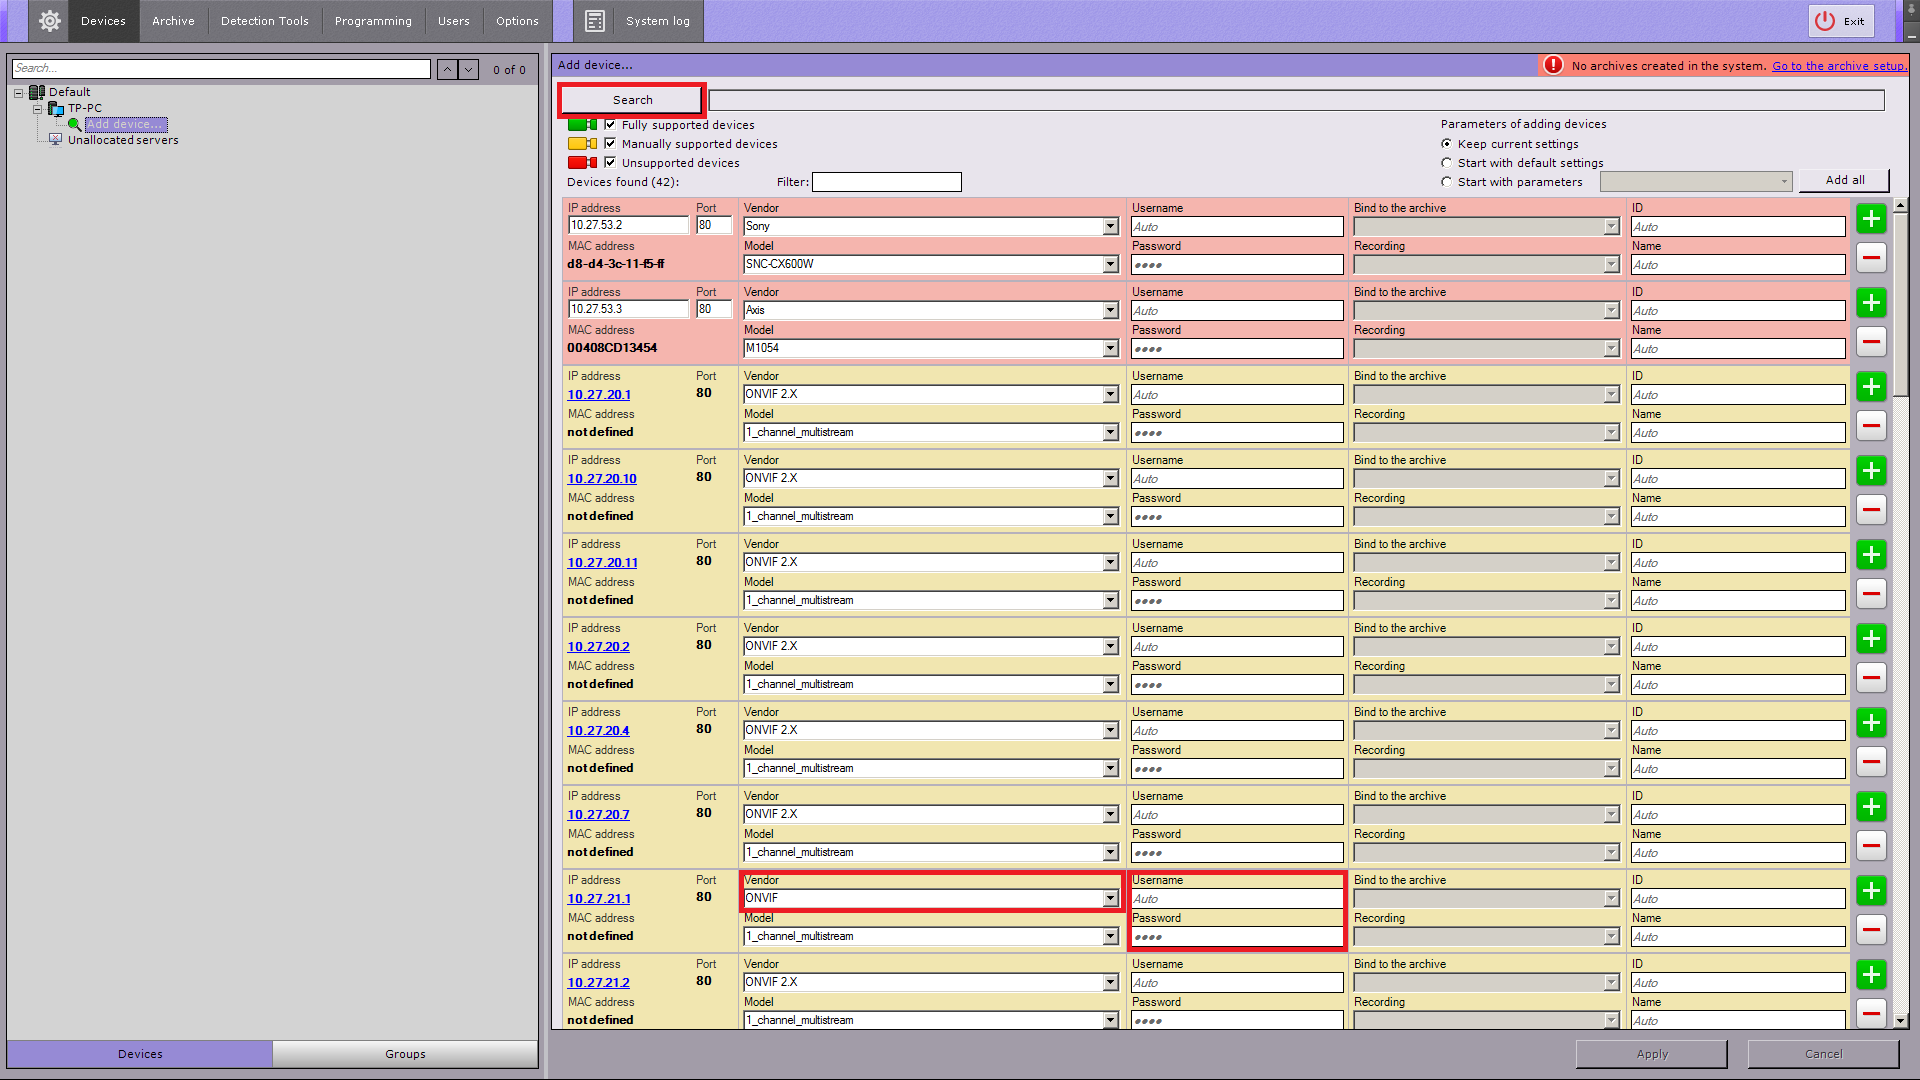
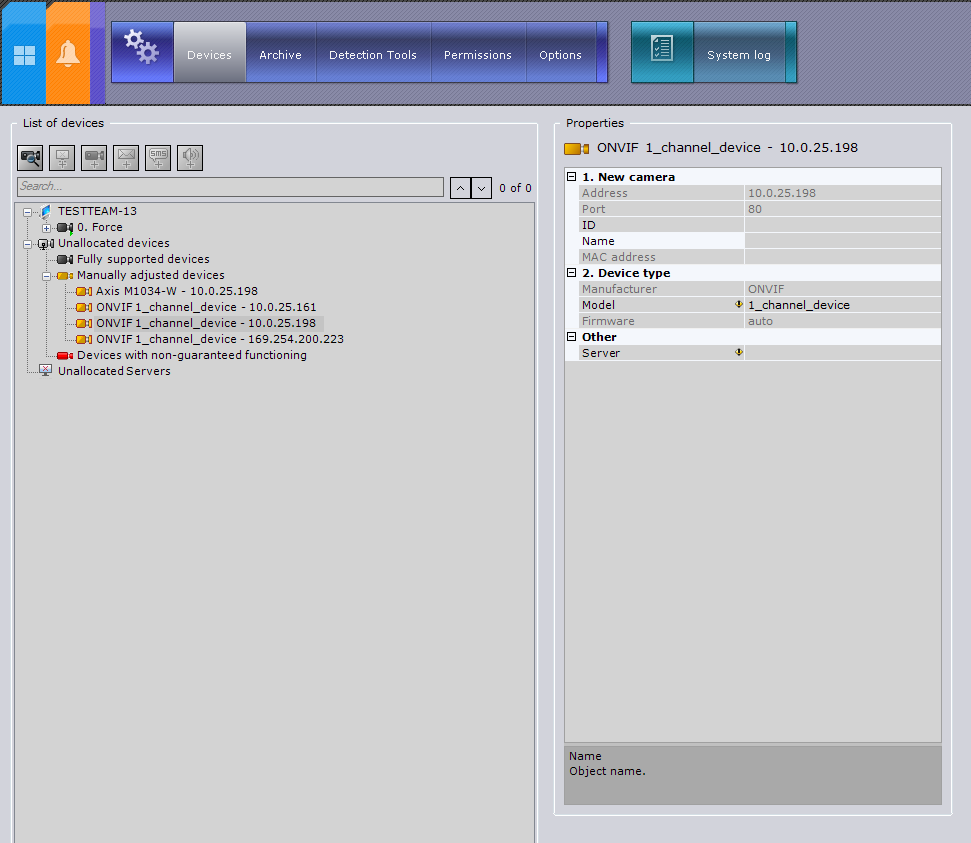
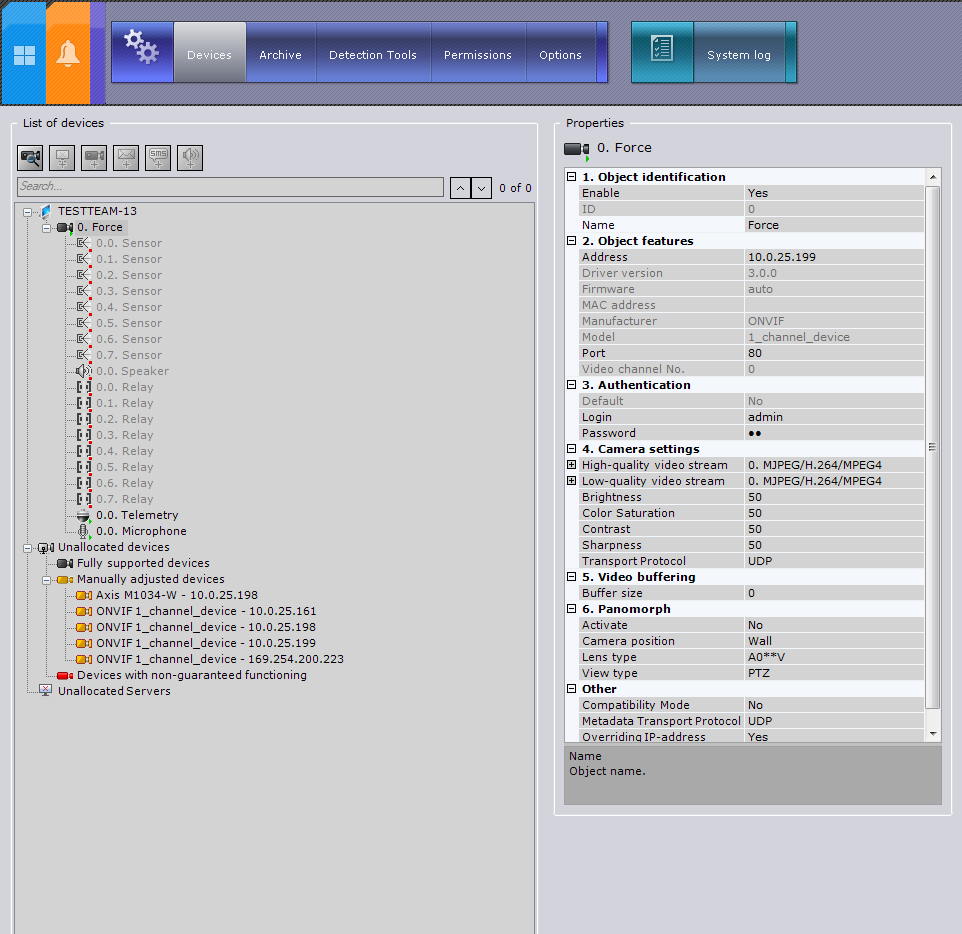
The Axxon Next client can be started manually using the Start menu, which is intended for launching user programs in Windows. To start working with the software, perform the following steps: Select Start - All Programs - Axxon Next - Axxon Next. The Axxon Next client will then launch and an authorization window will appear. Enter the user name and password and click Connect. System objects form the basis for configuring the Axxon Next software package; you can set them up in the Devices section of the Settings tab. In the Devices section 2N IP intercom should detected automatically.
 |
 |
Select added camera in the device list on the left hand side.
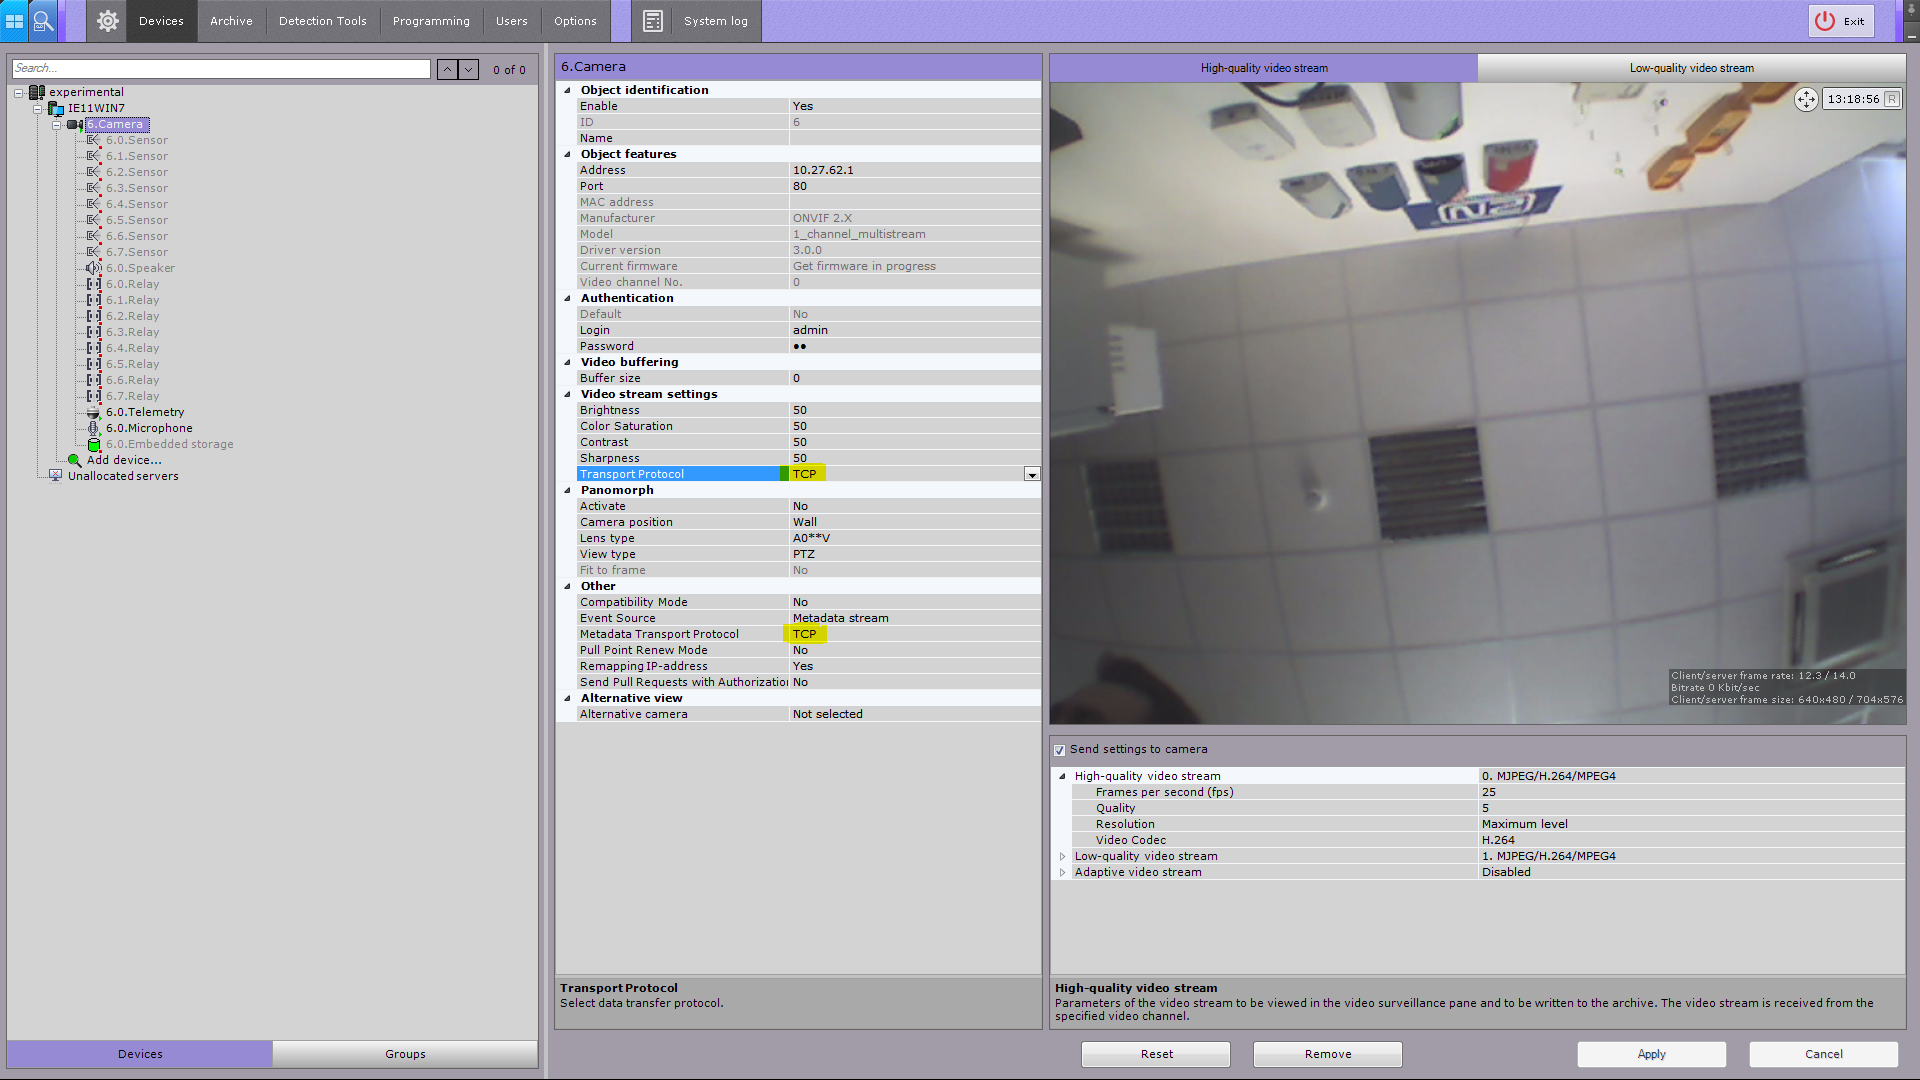 |
Select the camera's microphone from the device list. Again set TCP as the transport protocol.
 |
|
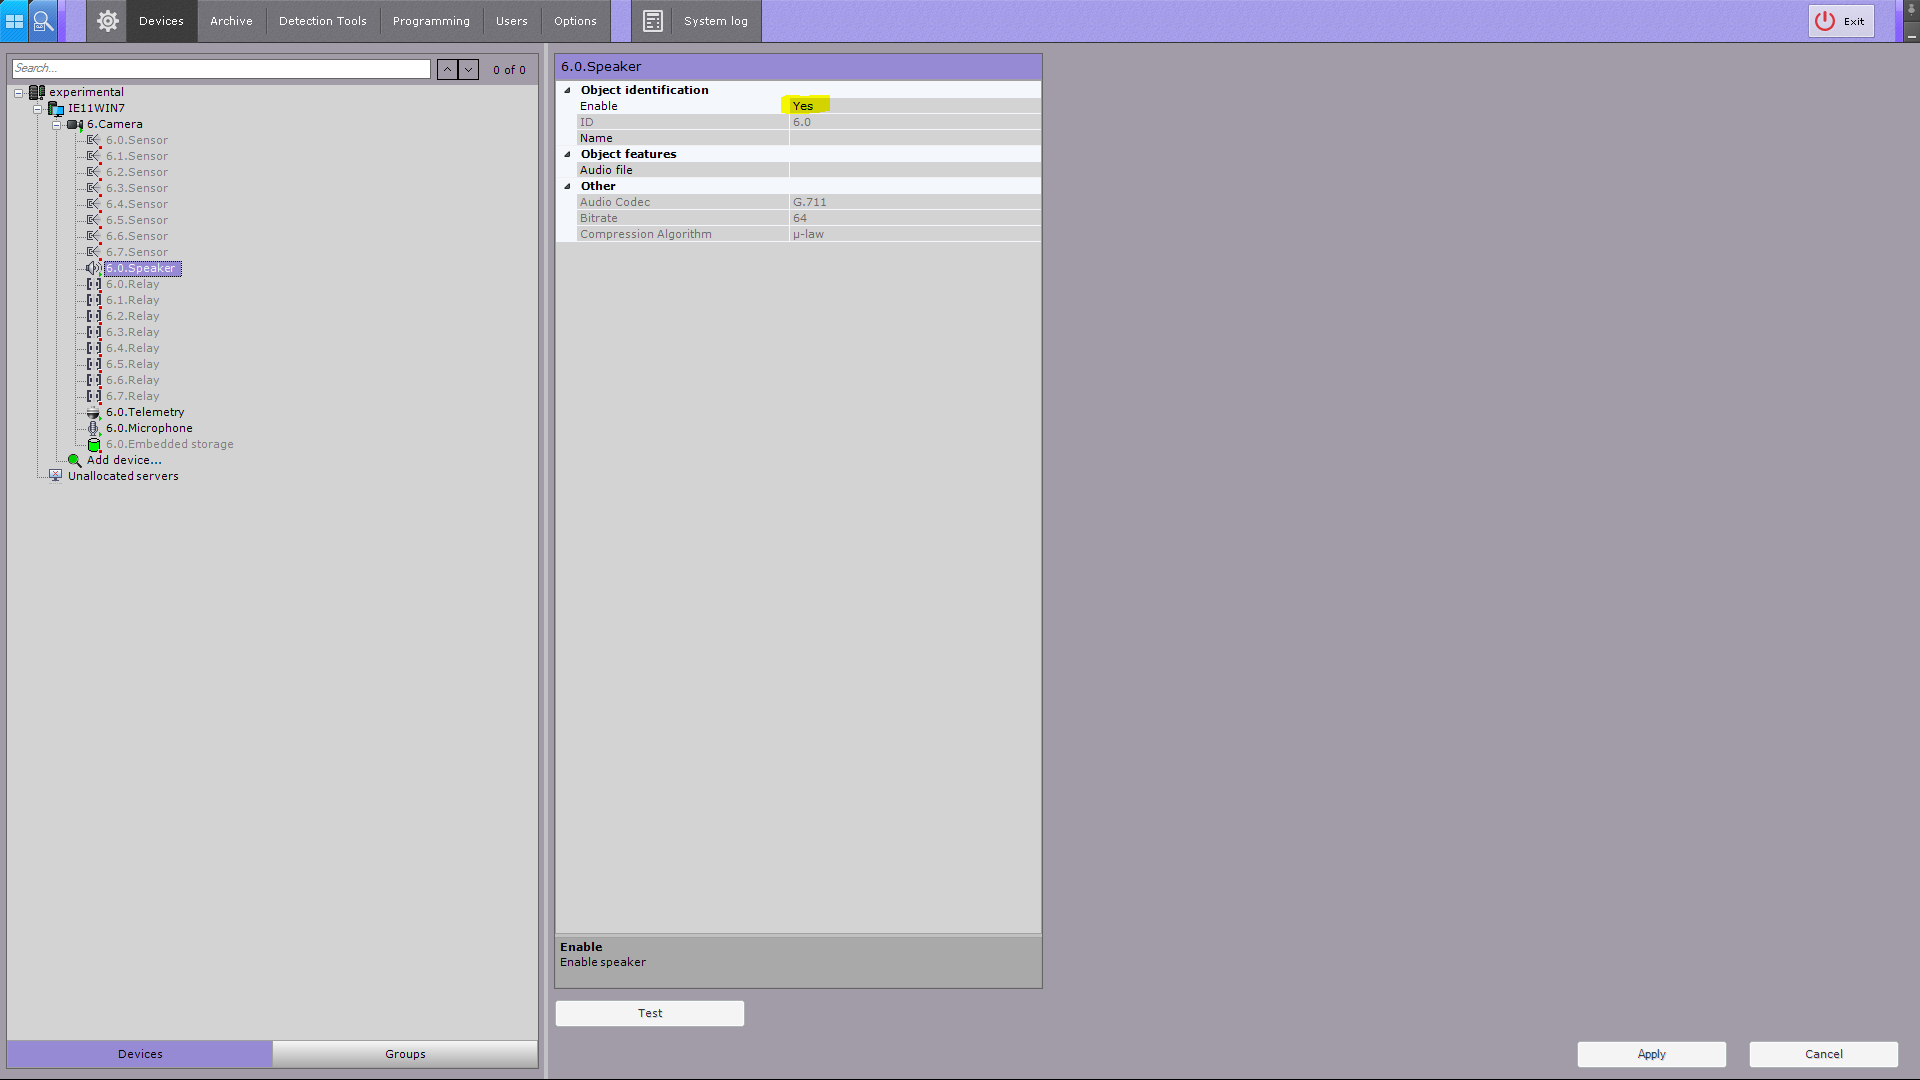
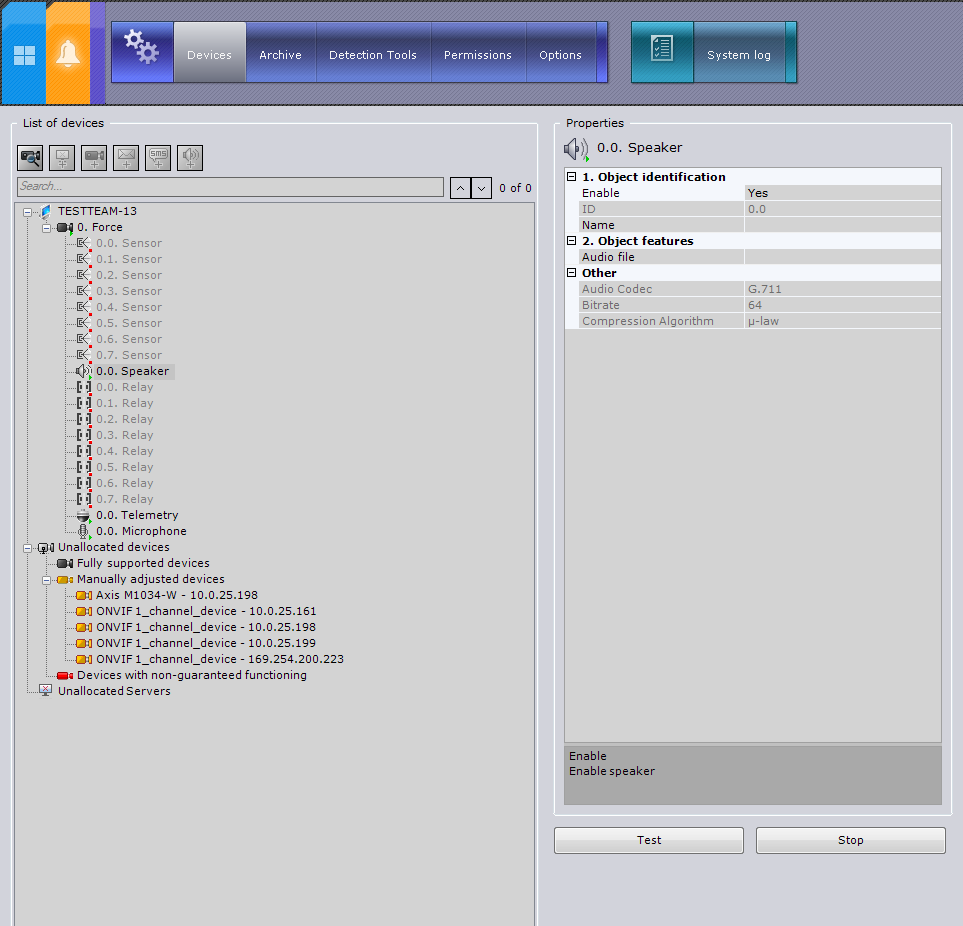
Select the camera's speaker from the device list and enable it.
 |
|

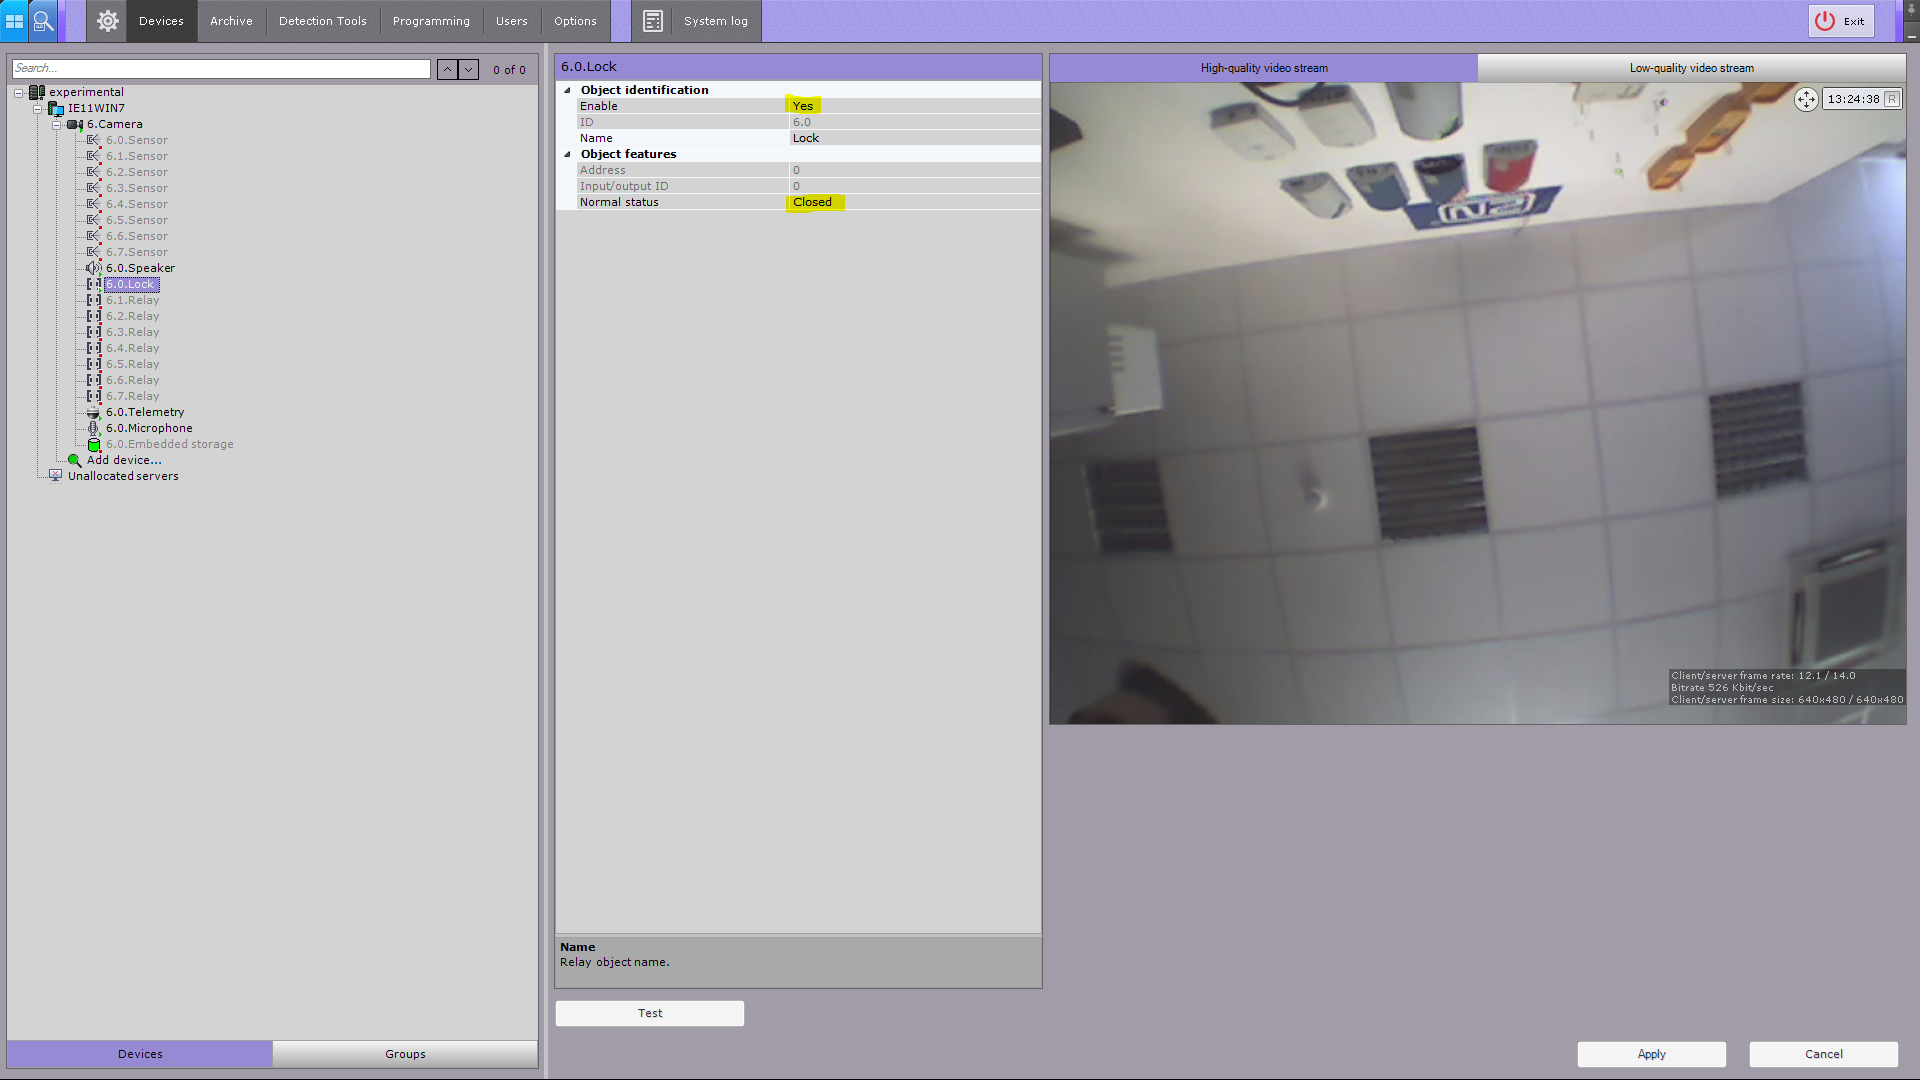
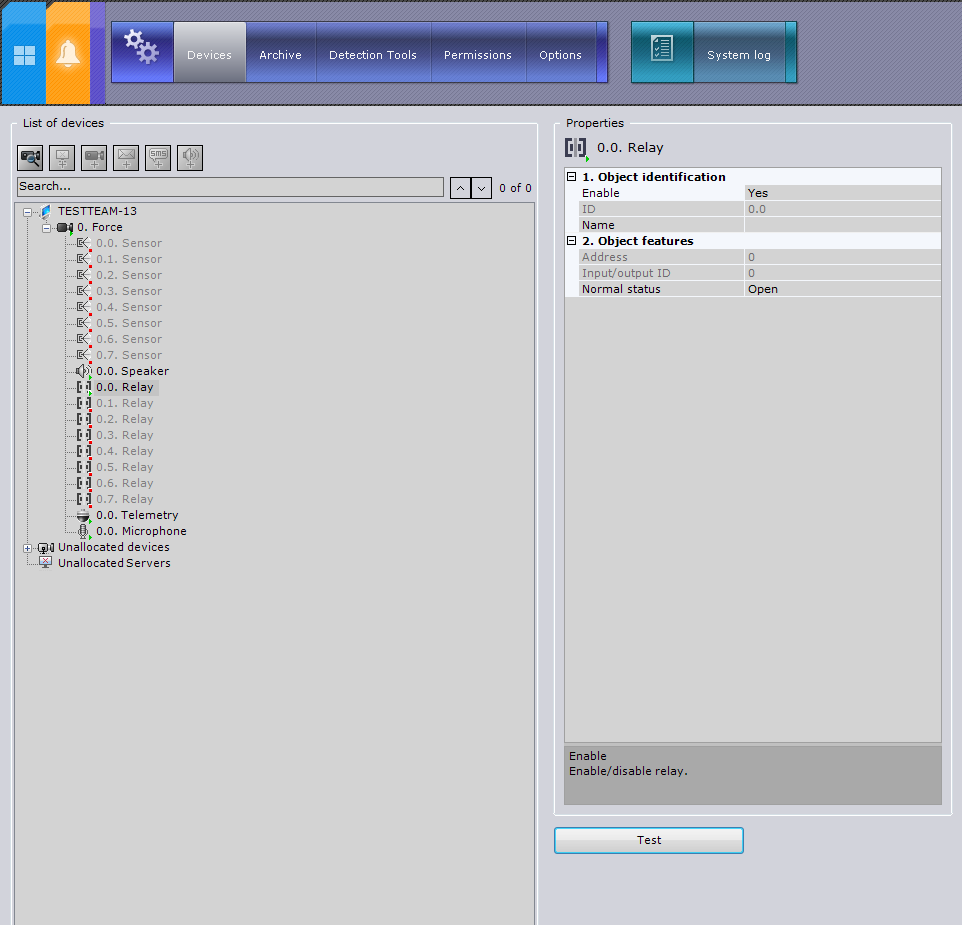
Select the camera's relay from the device list and enable it. You can also choose whether the relay's default position.
|
|
Required licenses
- Enhanced Video for RTSP streaming and ONVIF
Version 3
Tested Functions
| Axxon Next | 2N IP Intercom Version | Scan device | Video from 2N IP Intercom | Audio from 2N IP Intercom | Audio to 2N IP Intercom | Switch control | Events from 2N IP Intercom |
|---|---|---|---|---|---|---|---|
3.6.3.302 | 2.12.0.21.1 |
2N IP Intercom Settings
Enable parameter RTSP Server Enabled in menu Services / Streaming.
|
|
Tested Features
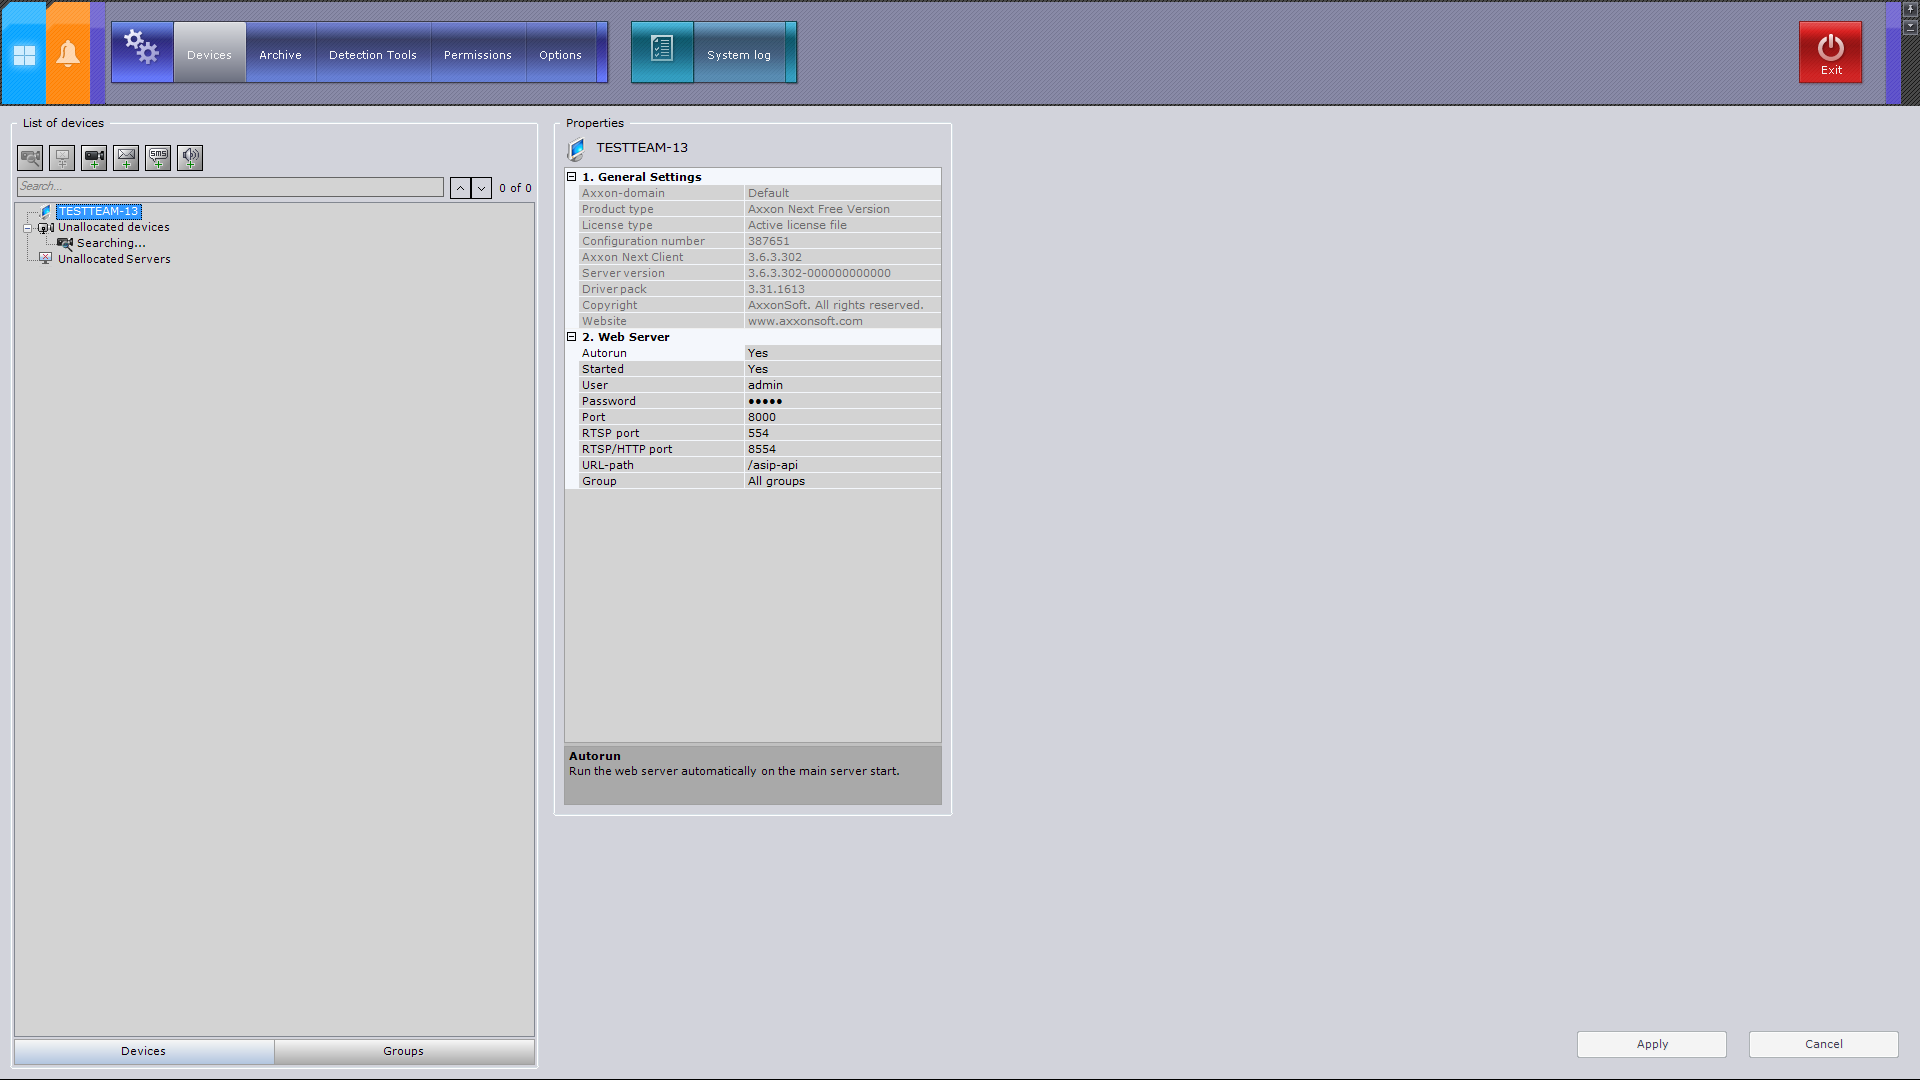
The Axxon Next client can be started manually using the Start menu, which is intended for launching user programs in Windows. To start working with the software, perform the following steps: Select Start - All Programs - Axxon Next - Axxon Next. The Axxon Next client will then launch and an authorization window will appear. Enter the user name and password and click Connect. System objects form the basis for configuring the Axxon Next software package; you can set them up in the Devices section of the Settings tab.
 |
 |
 |
 |
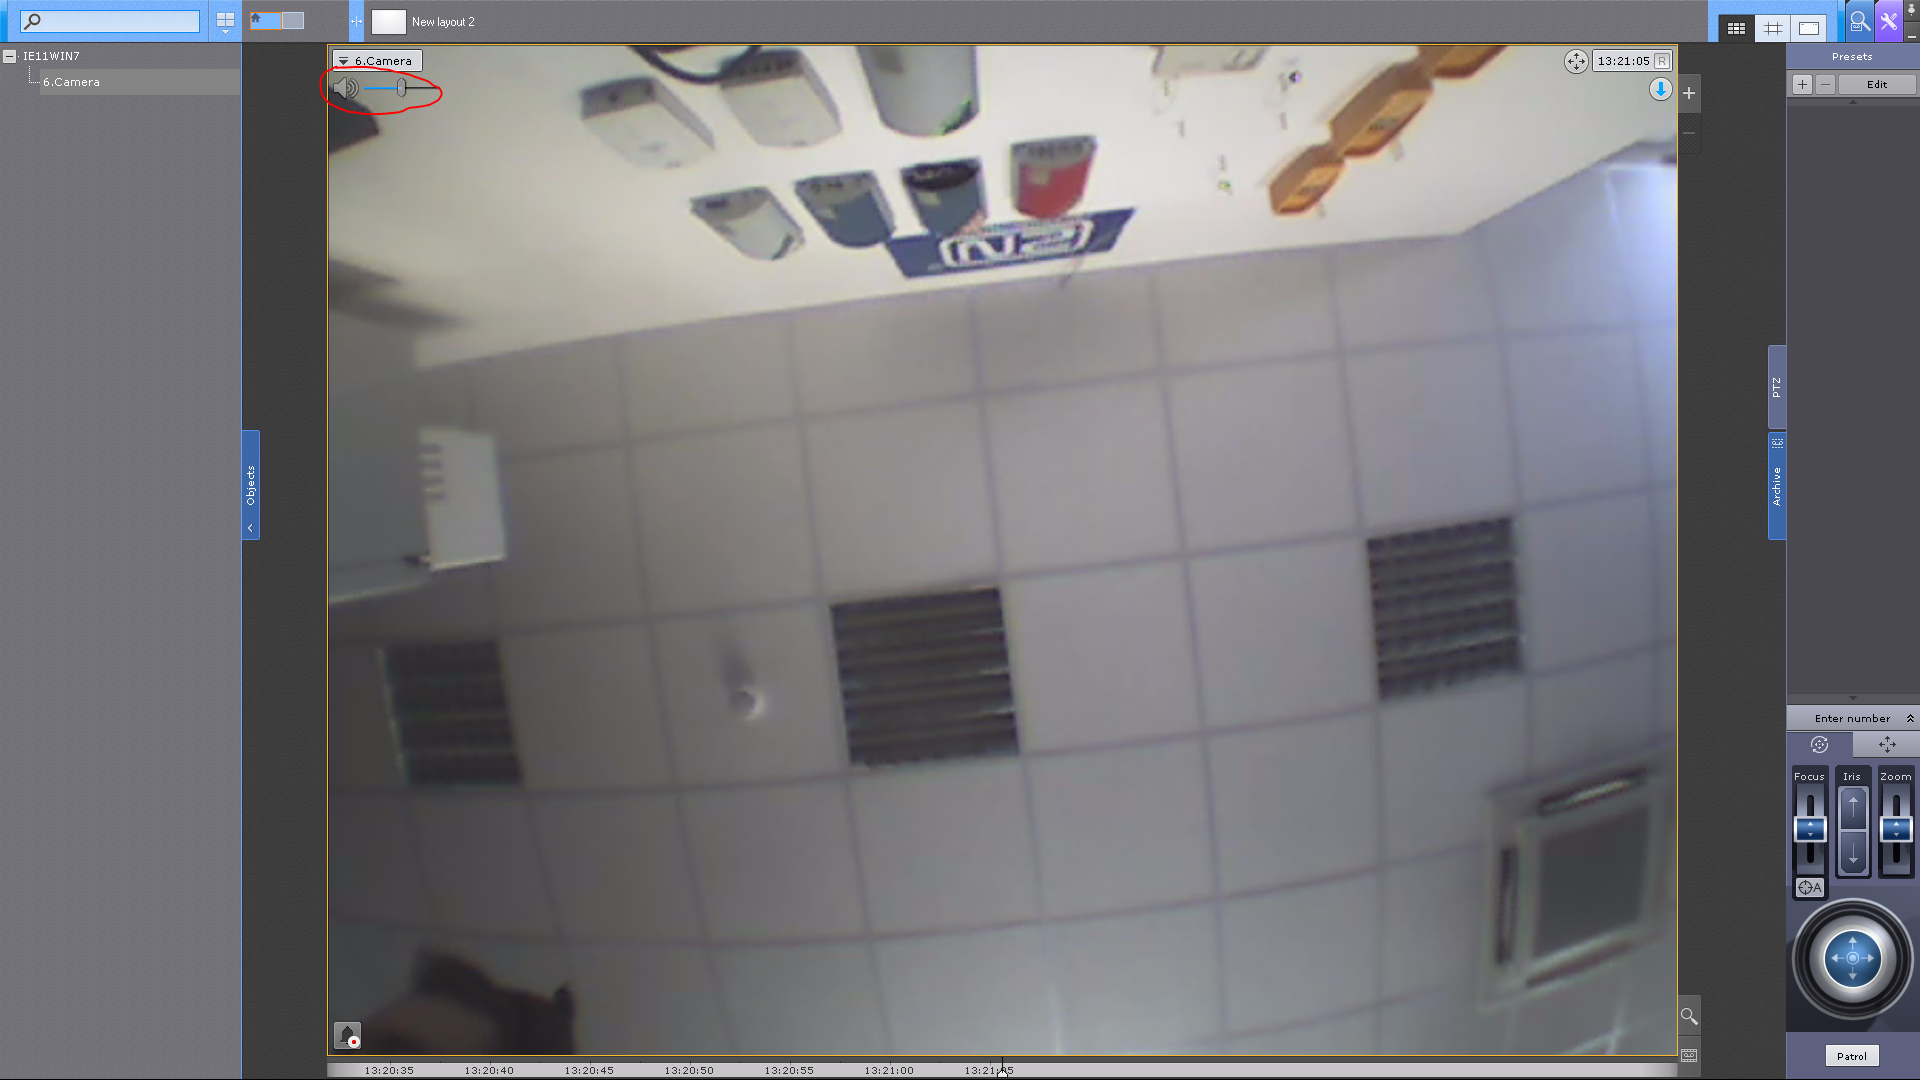
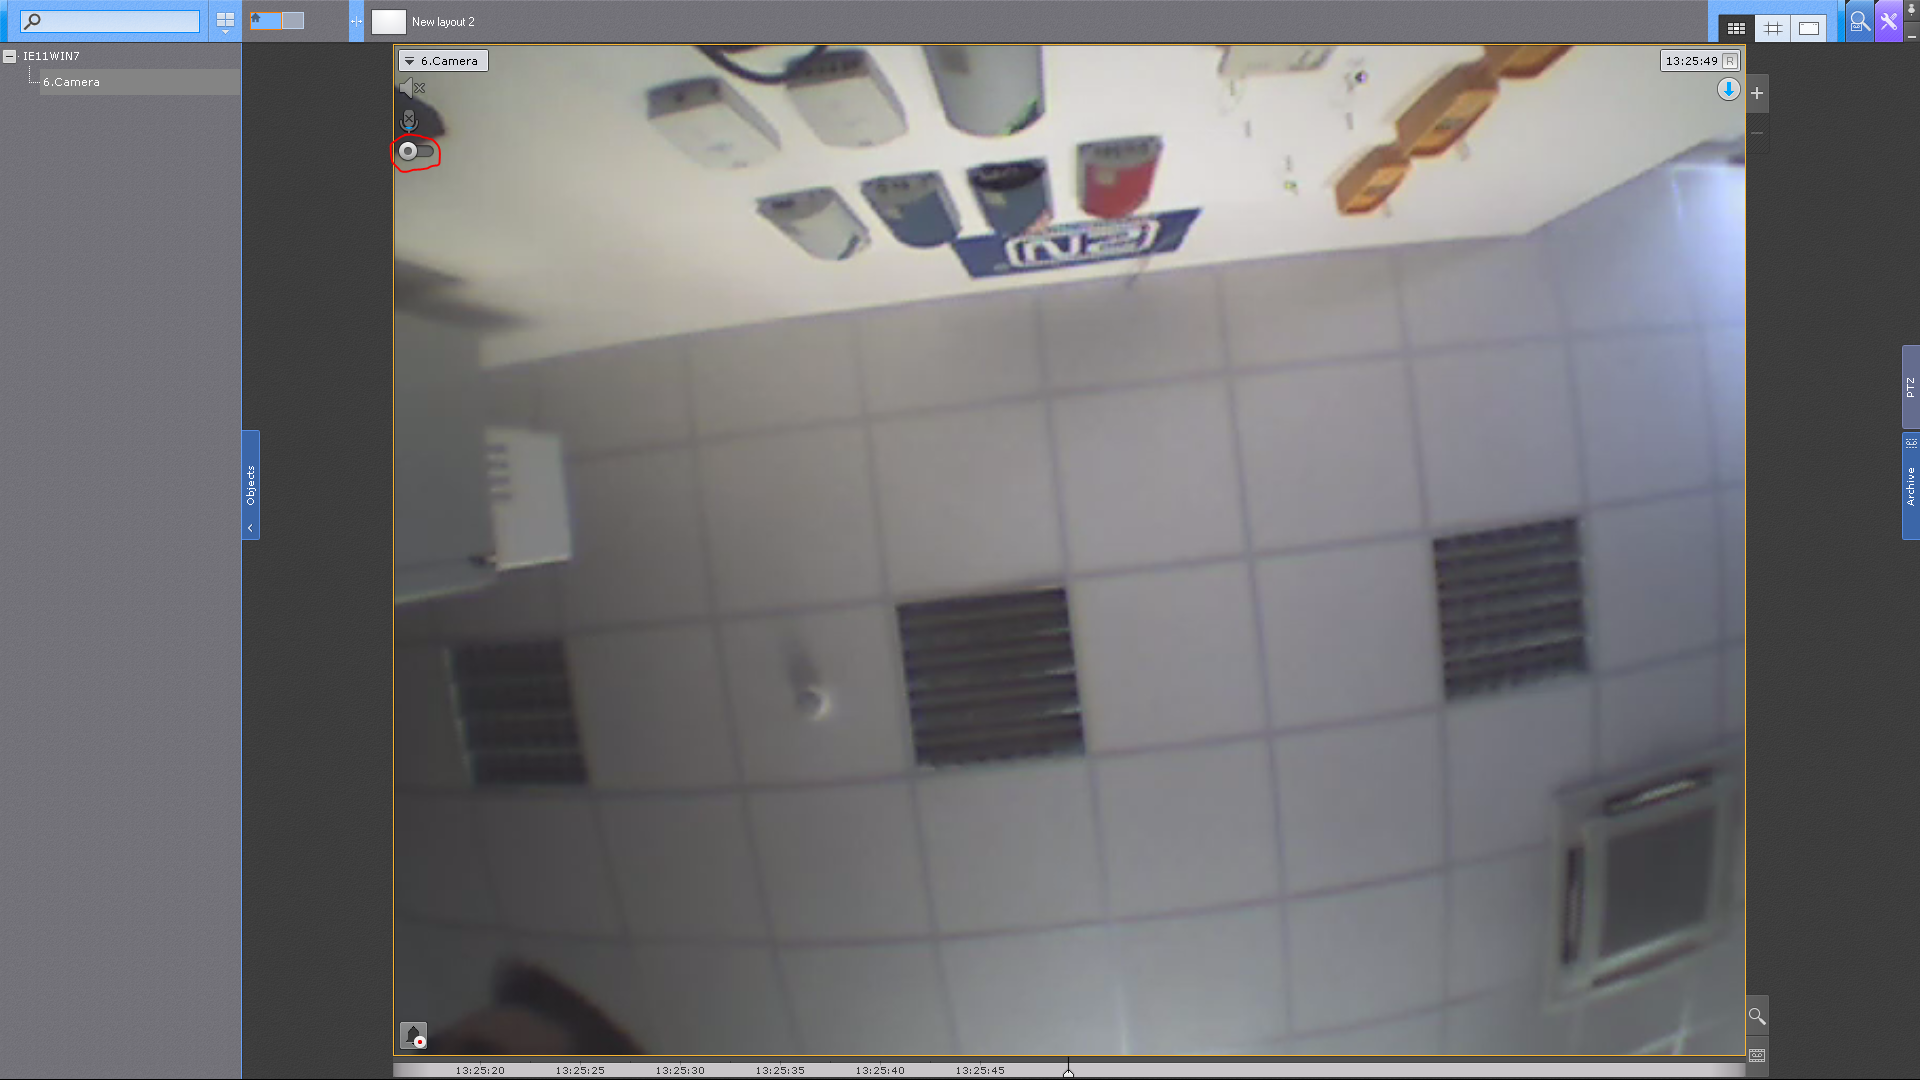
Select the camera's speaker from the device list and enable it. In the viewing section of the client you can then toggle Audio Back Stream to the intercom.
 |
Select the camera's relay from the device list and enable it. You can also choose whether the relay's default position. You can then switch the relay states from the Viewing Mode of the client.
 |
Used Symbols
![]() - Compatible
- Compatible
![]() - Work with limitation
- Work with limitation
![]() - Incompatible
- Incompatible