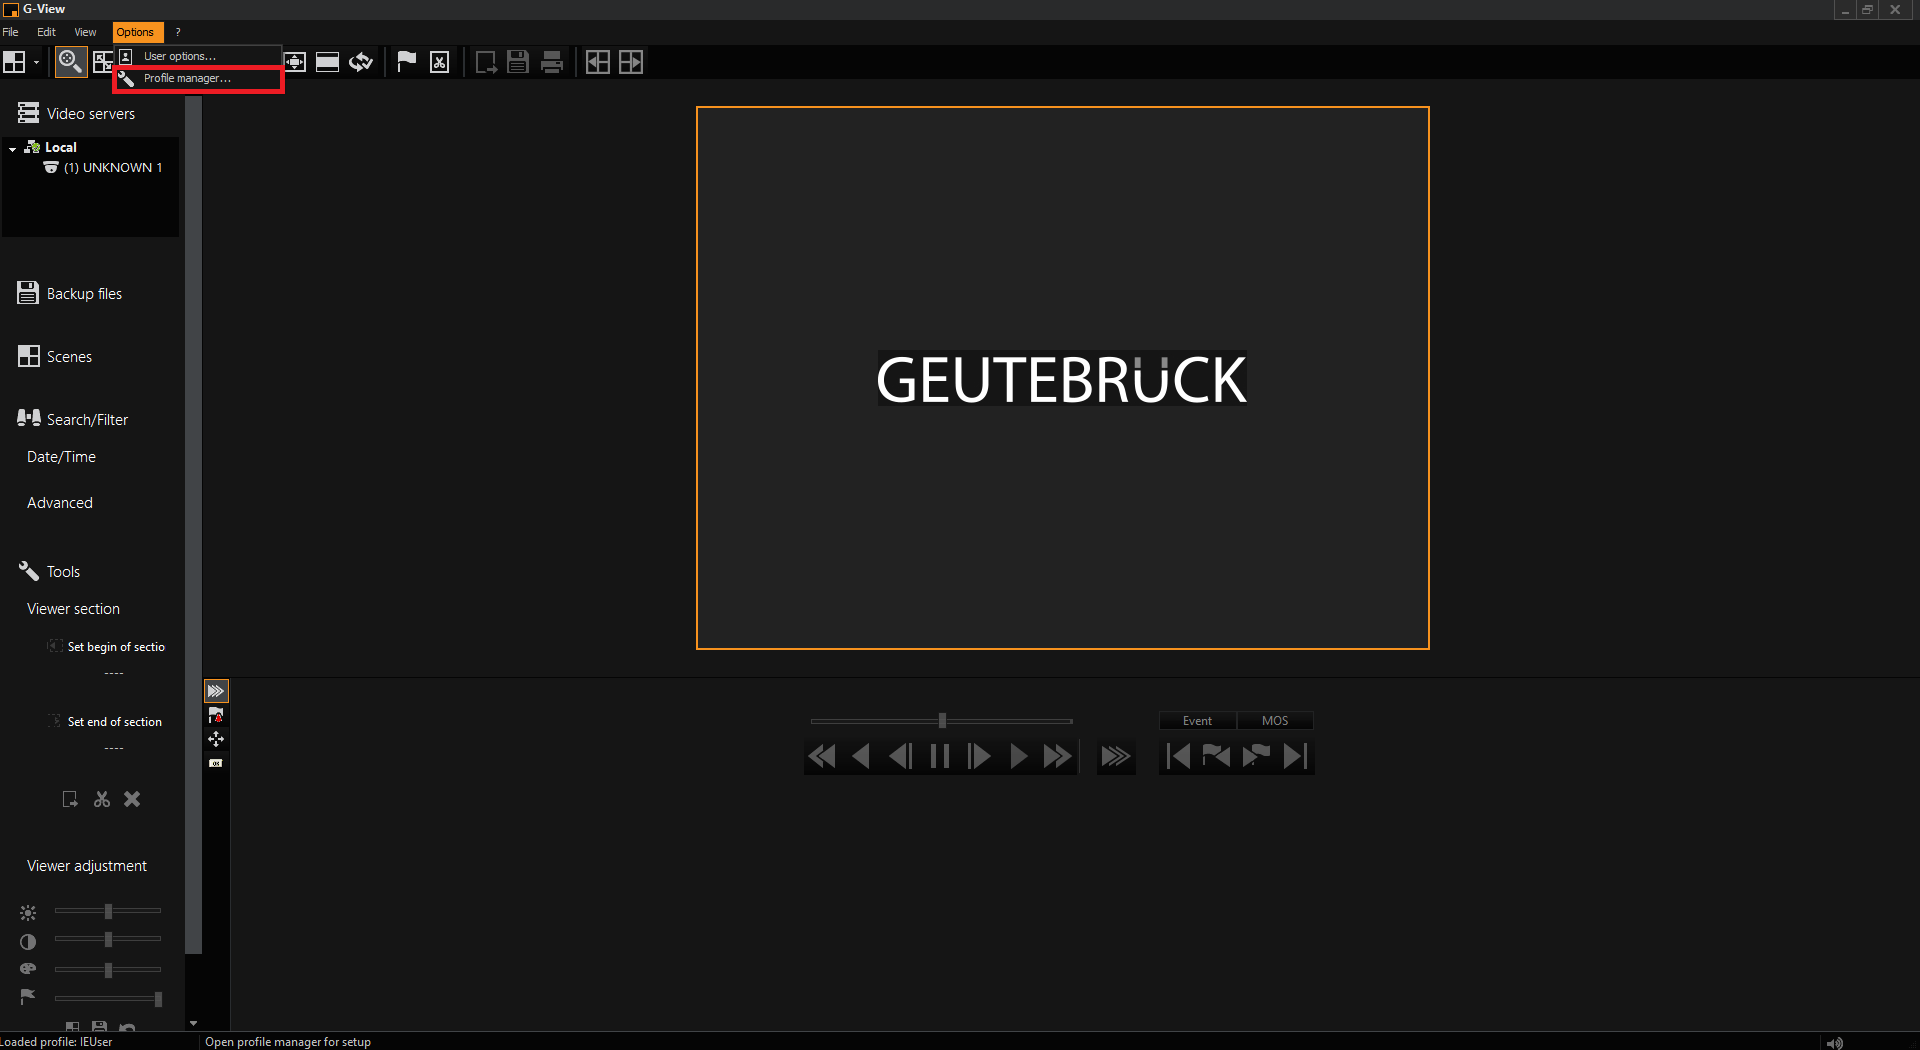
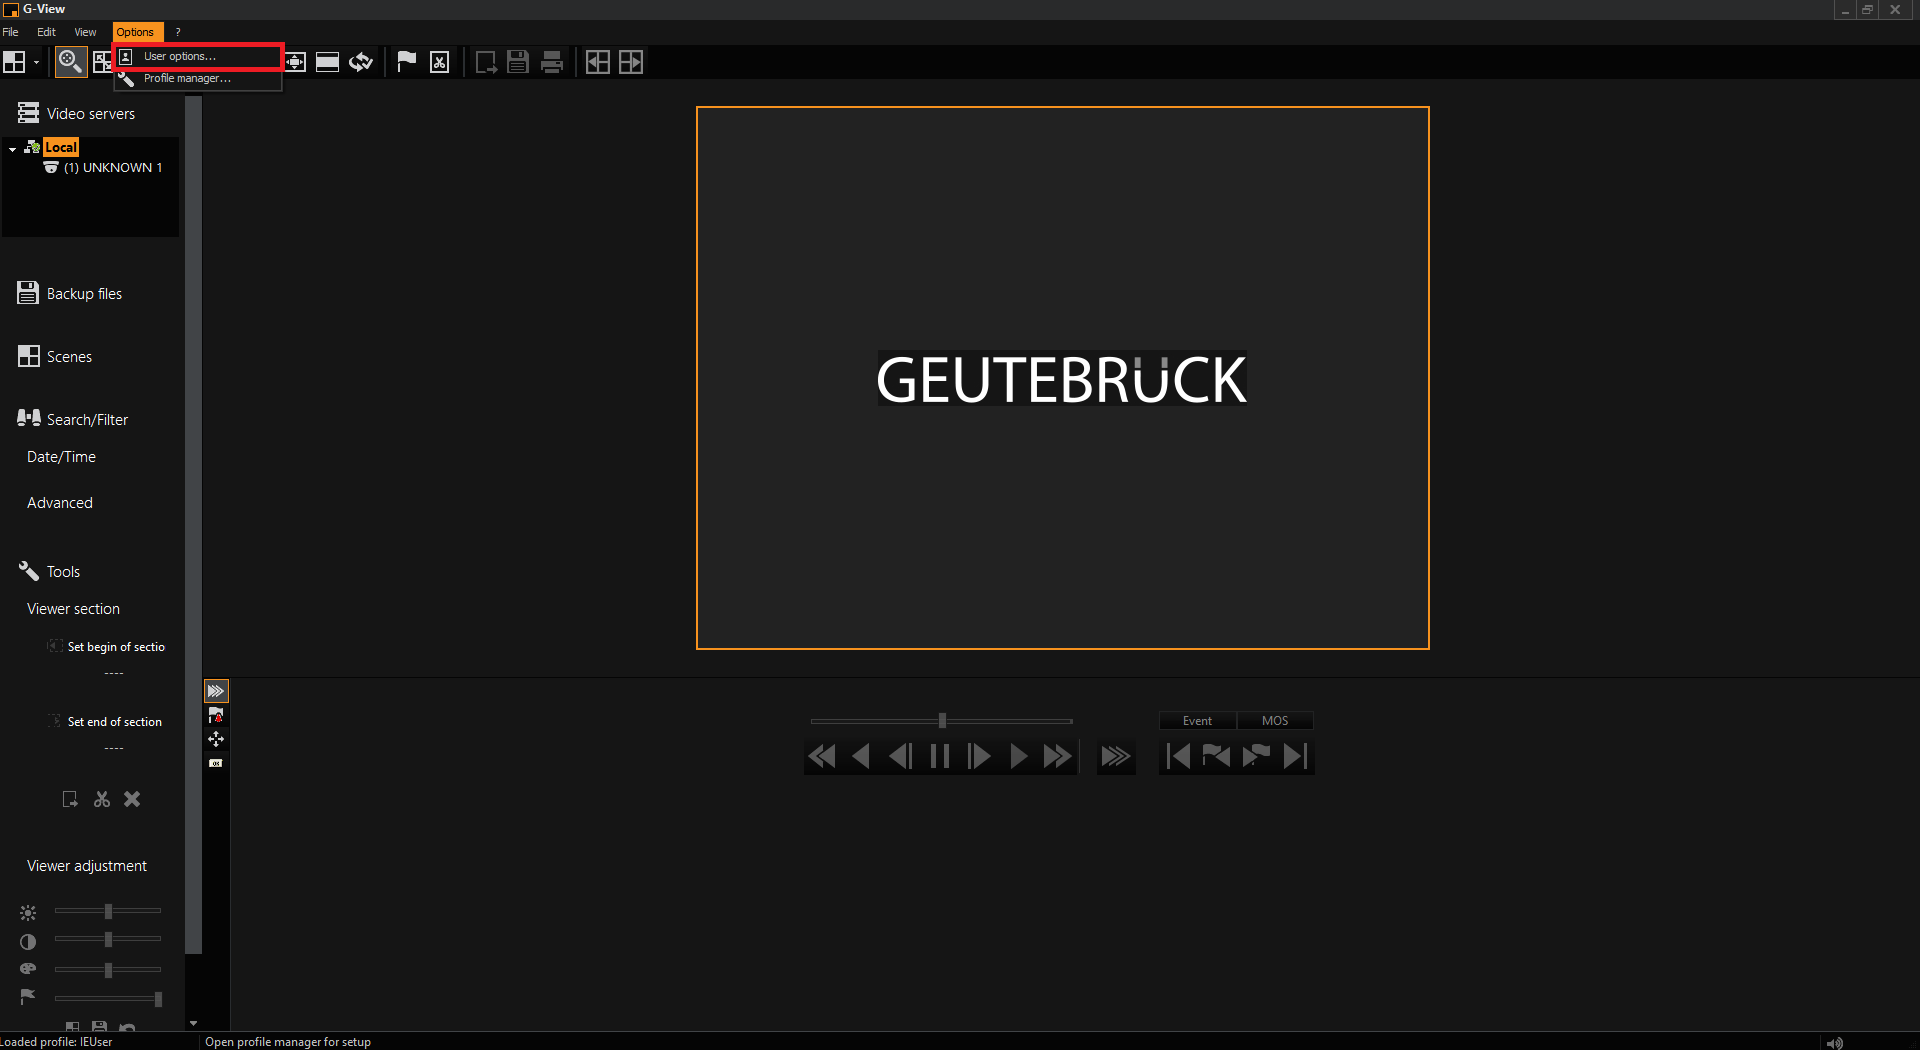
Turn on G-View and connect to server and choose Options from top menu than chose profile manager.
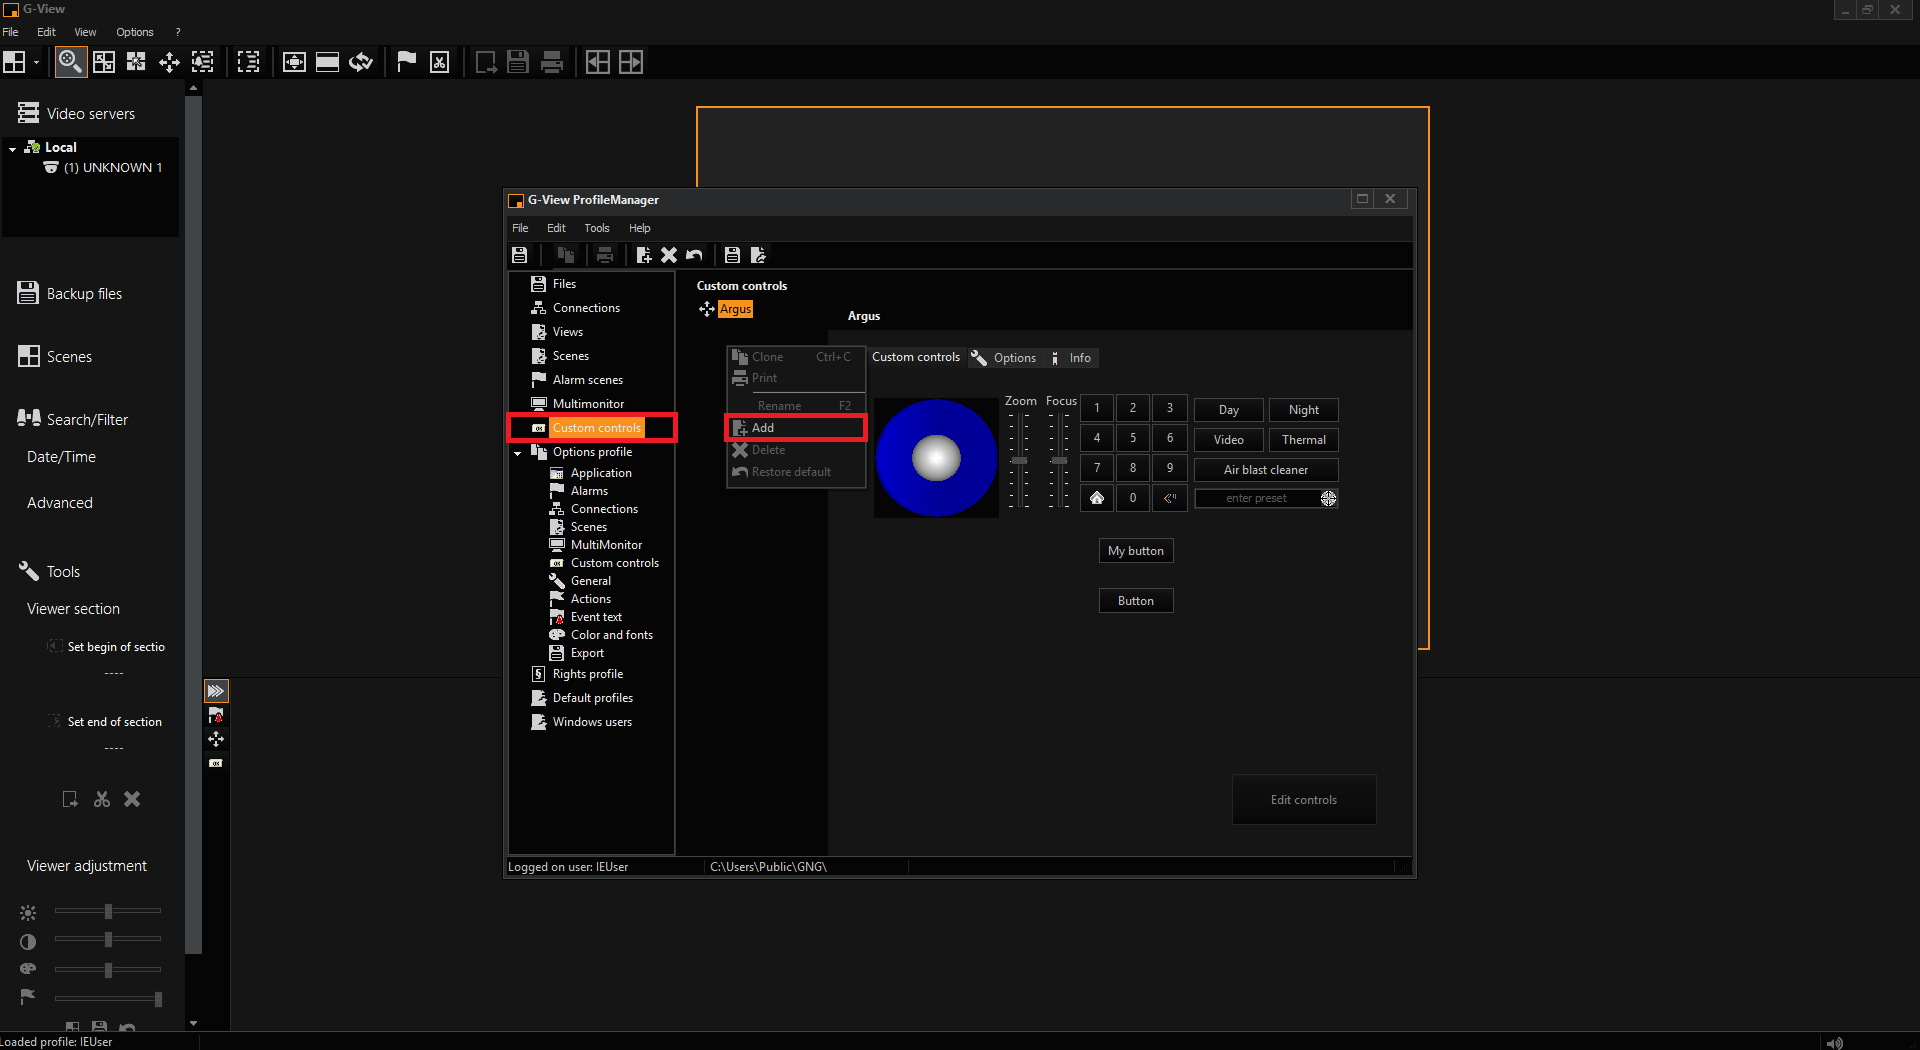
Go to Custom controls and right click on list -> Add.
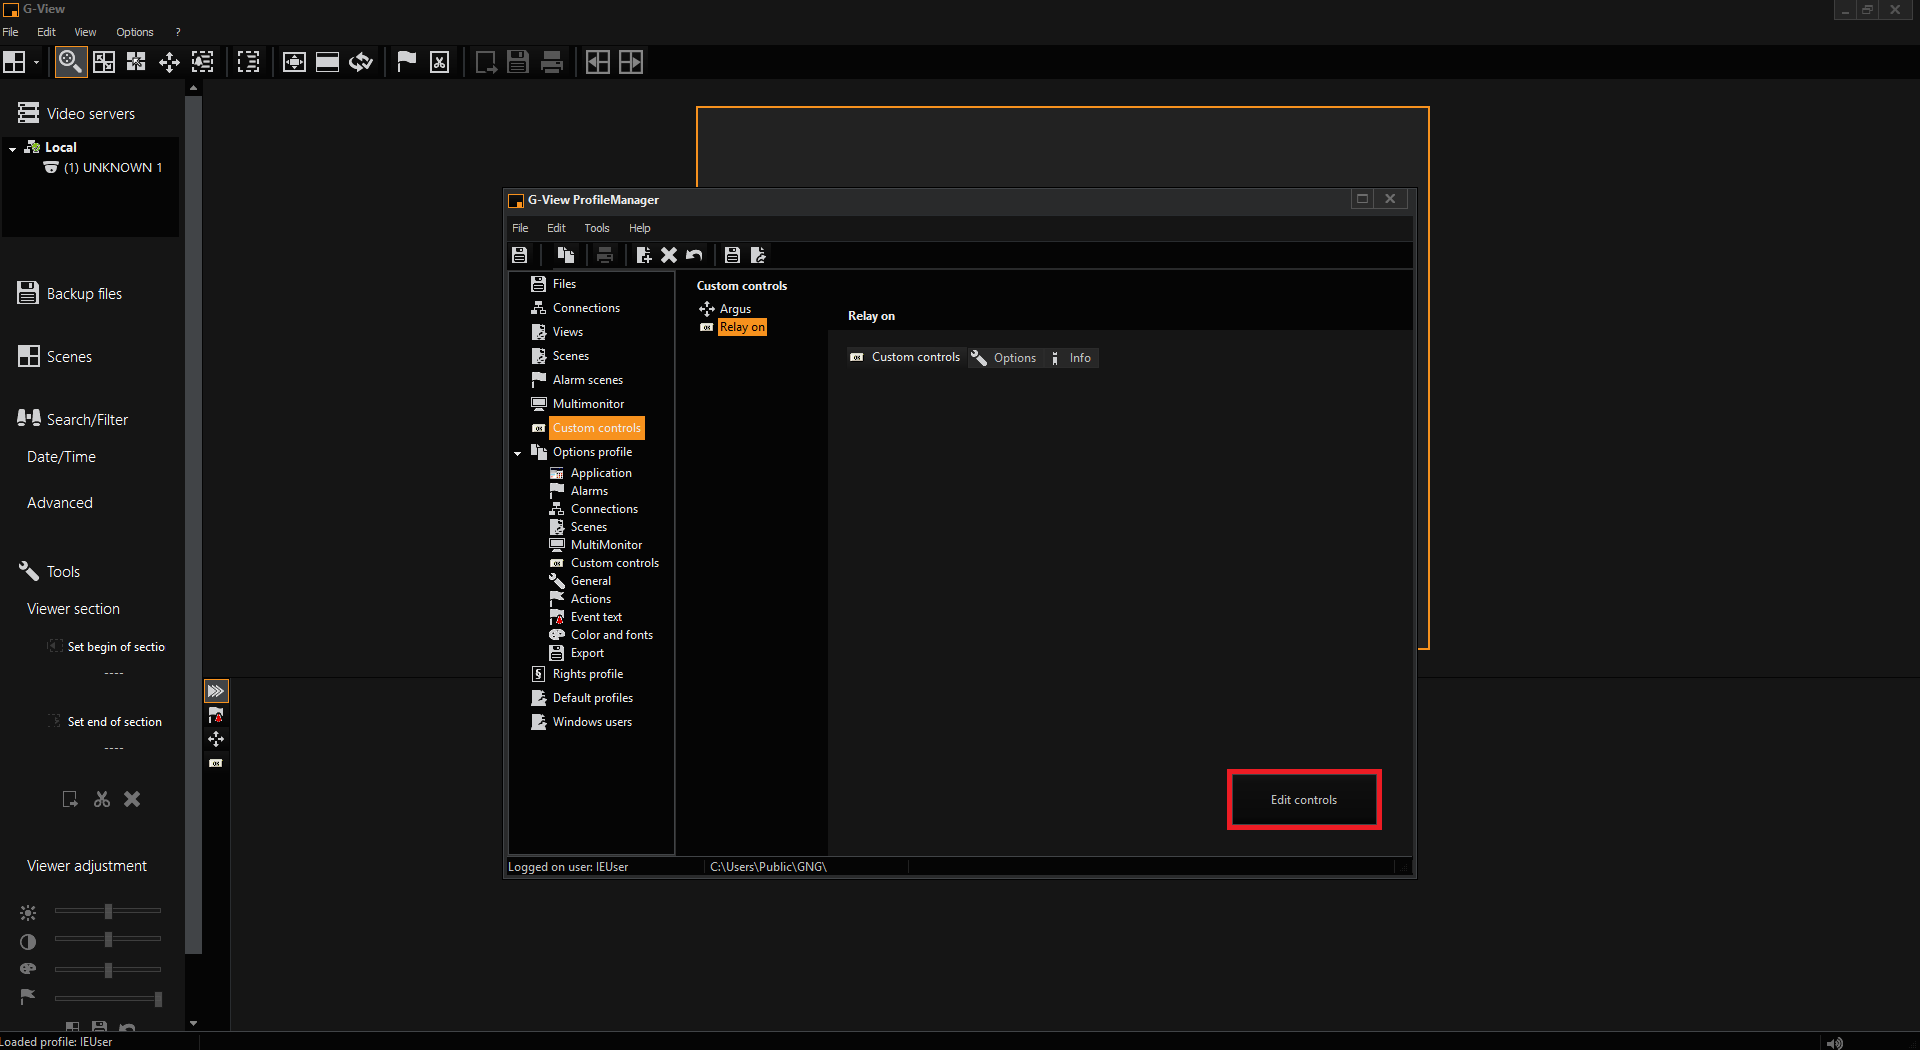
Click Edit button on the bottom-right.
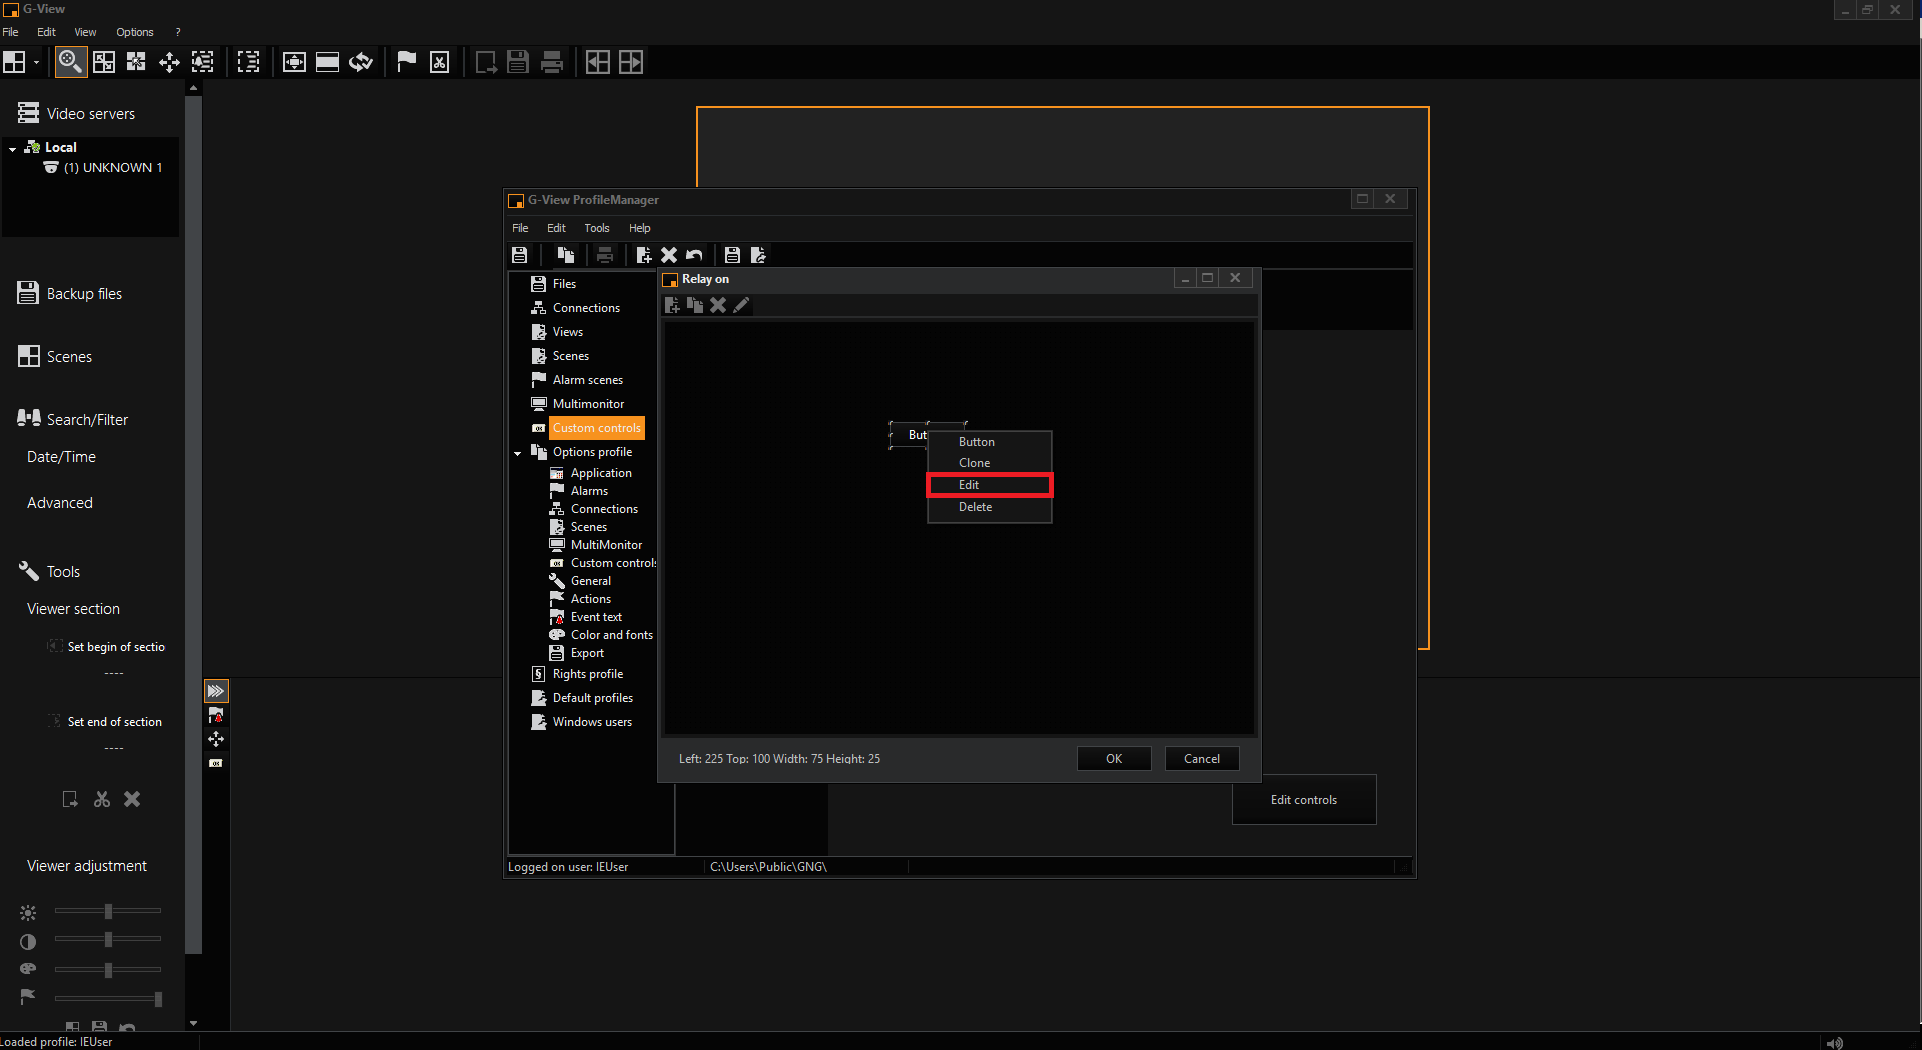
Click Add icon and choose Button.
Drag and drop button somewhere in top-left area and right click on Button to Edit.
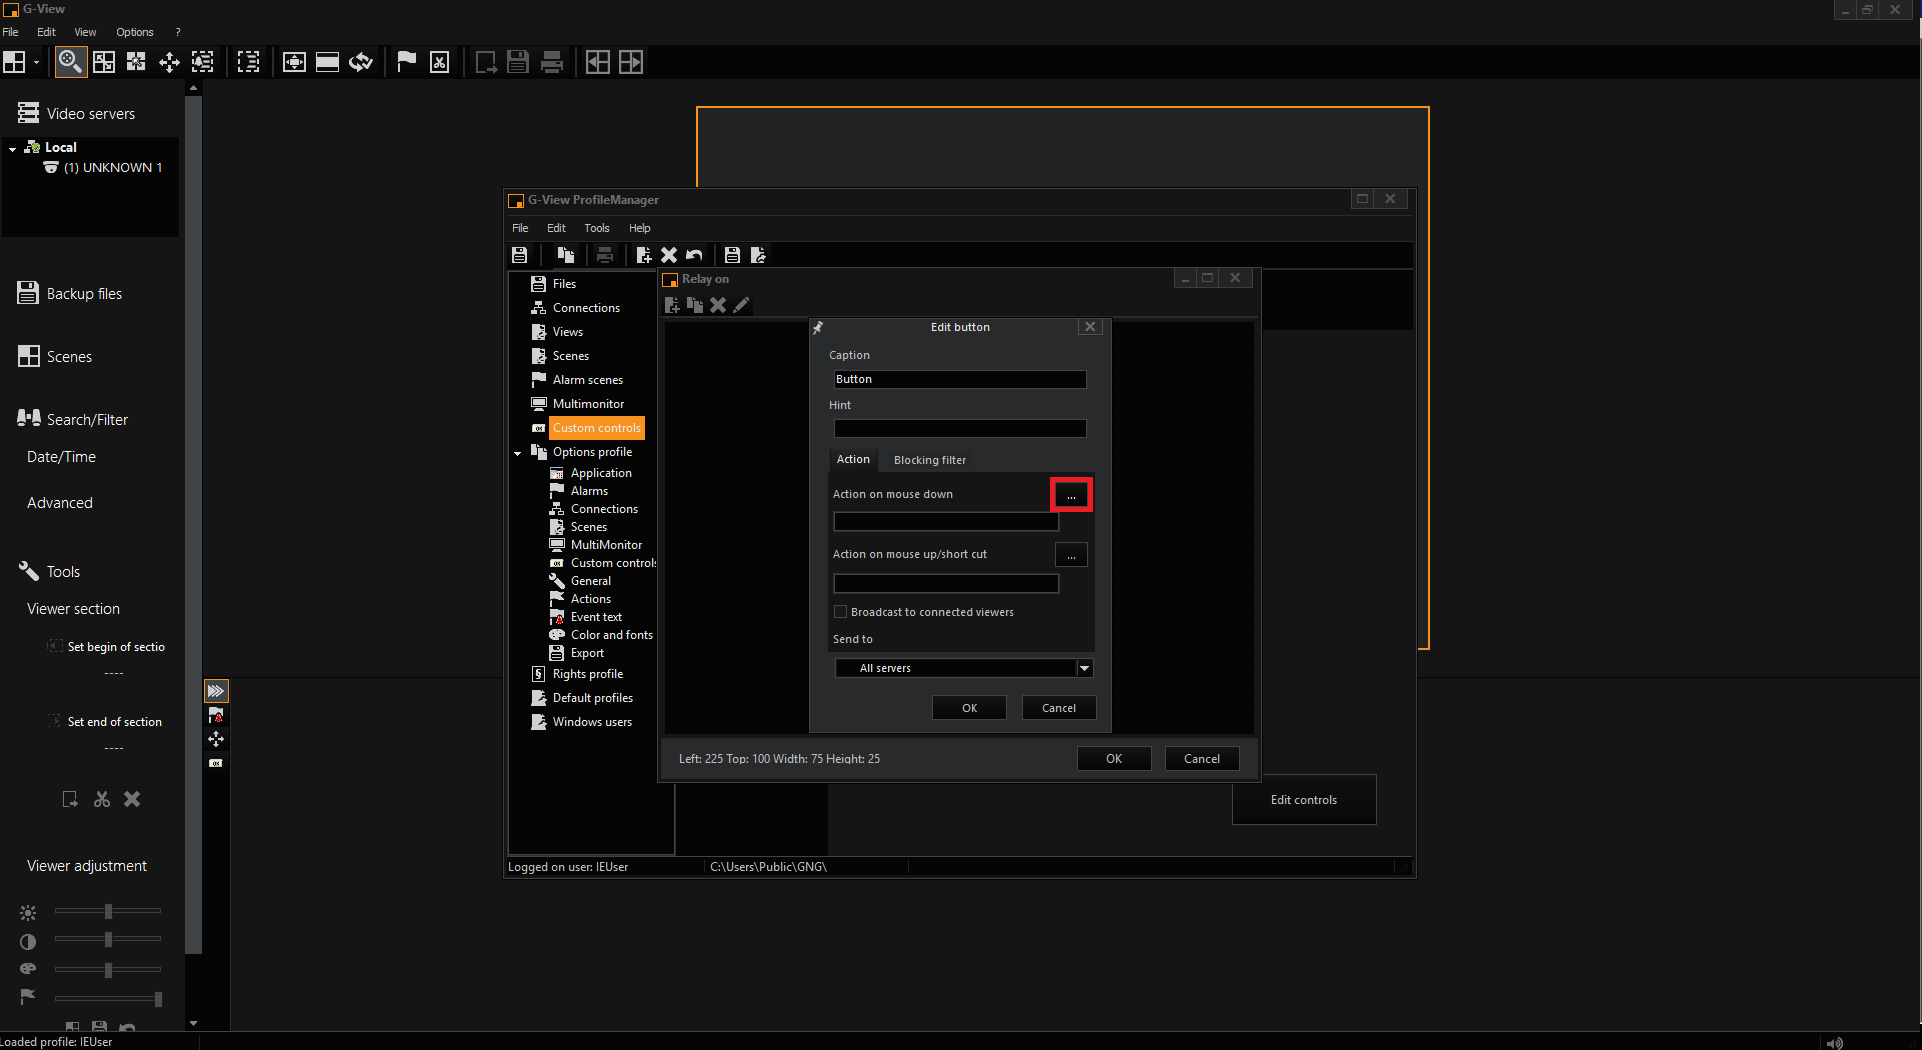
Click on set Action on mouse down.
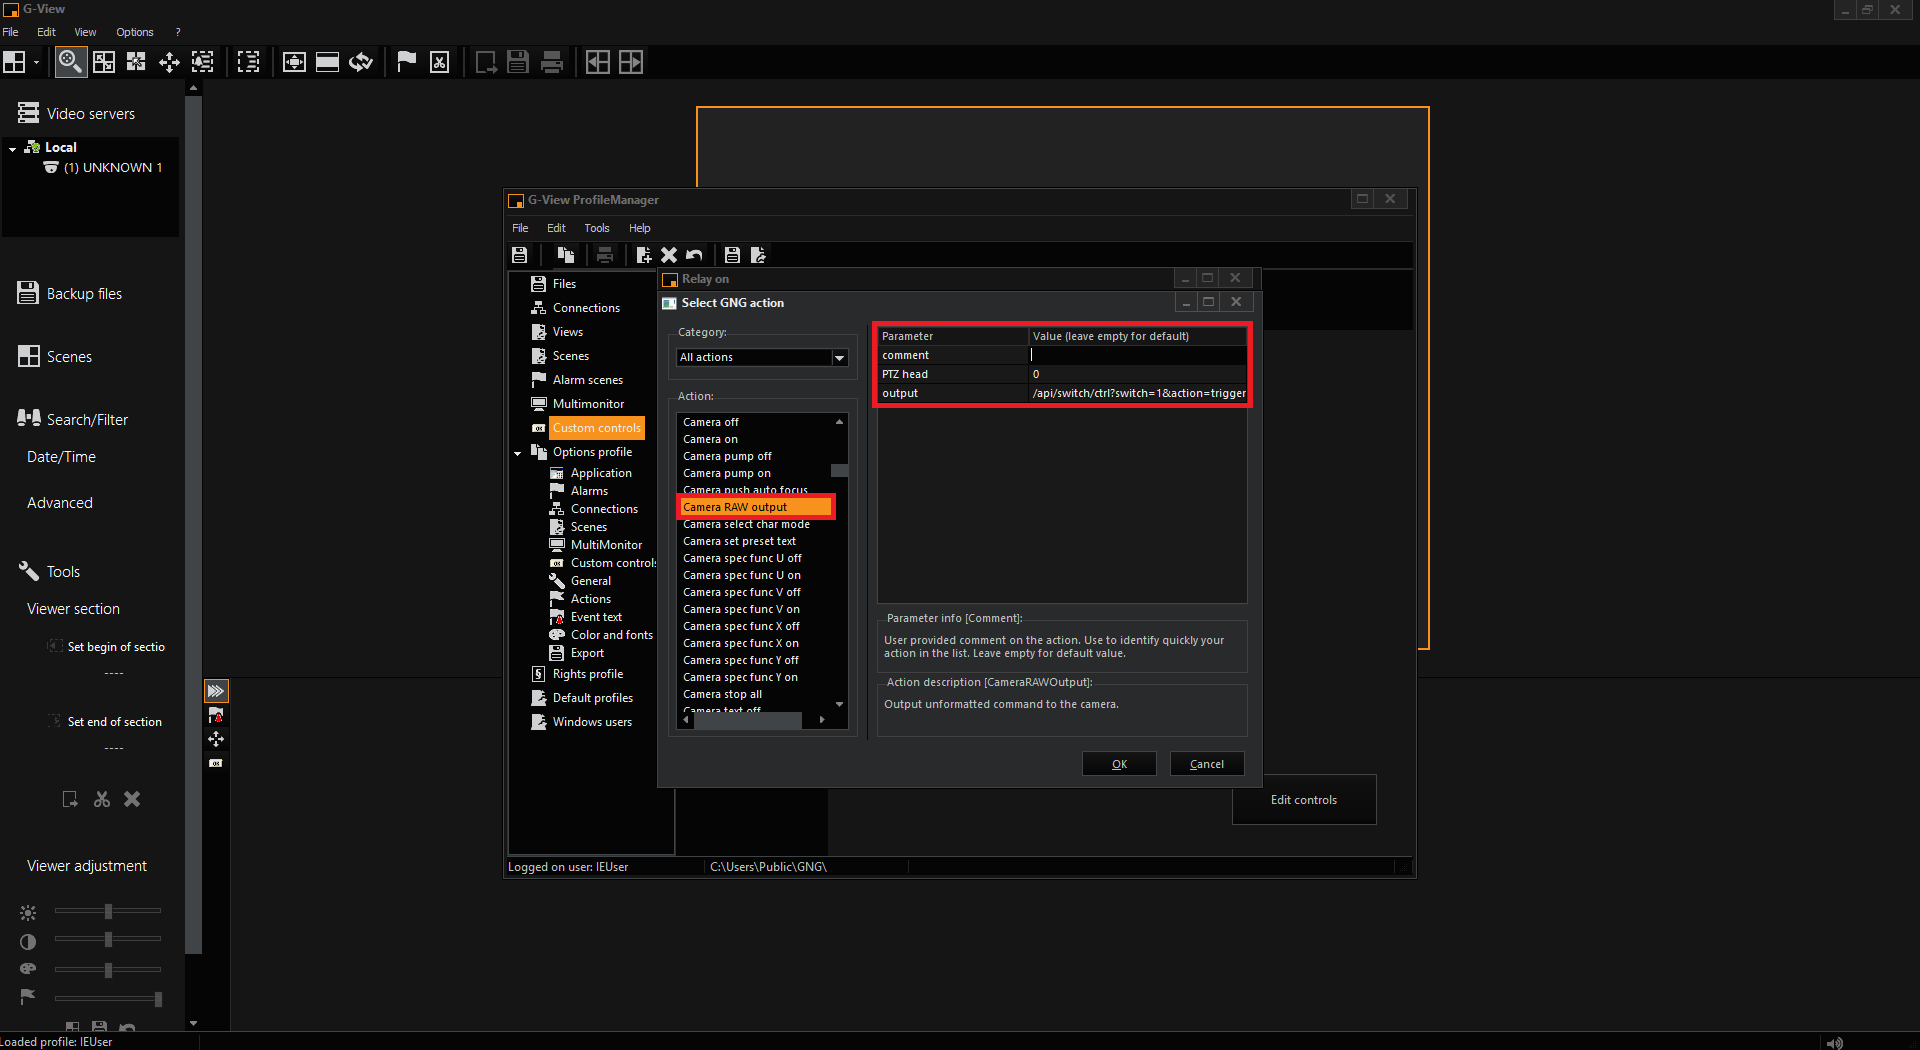
Choose Camera control and than Camera RAW output. And set following parameters: comment:
empty; PTZ head:
0 (0 means that button will work on chosen from live view camera not on pre specified one); output:
/api/switch/ctrl?switch=1&action=trigger (or any HTTP command
without ip address).
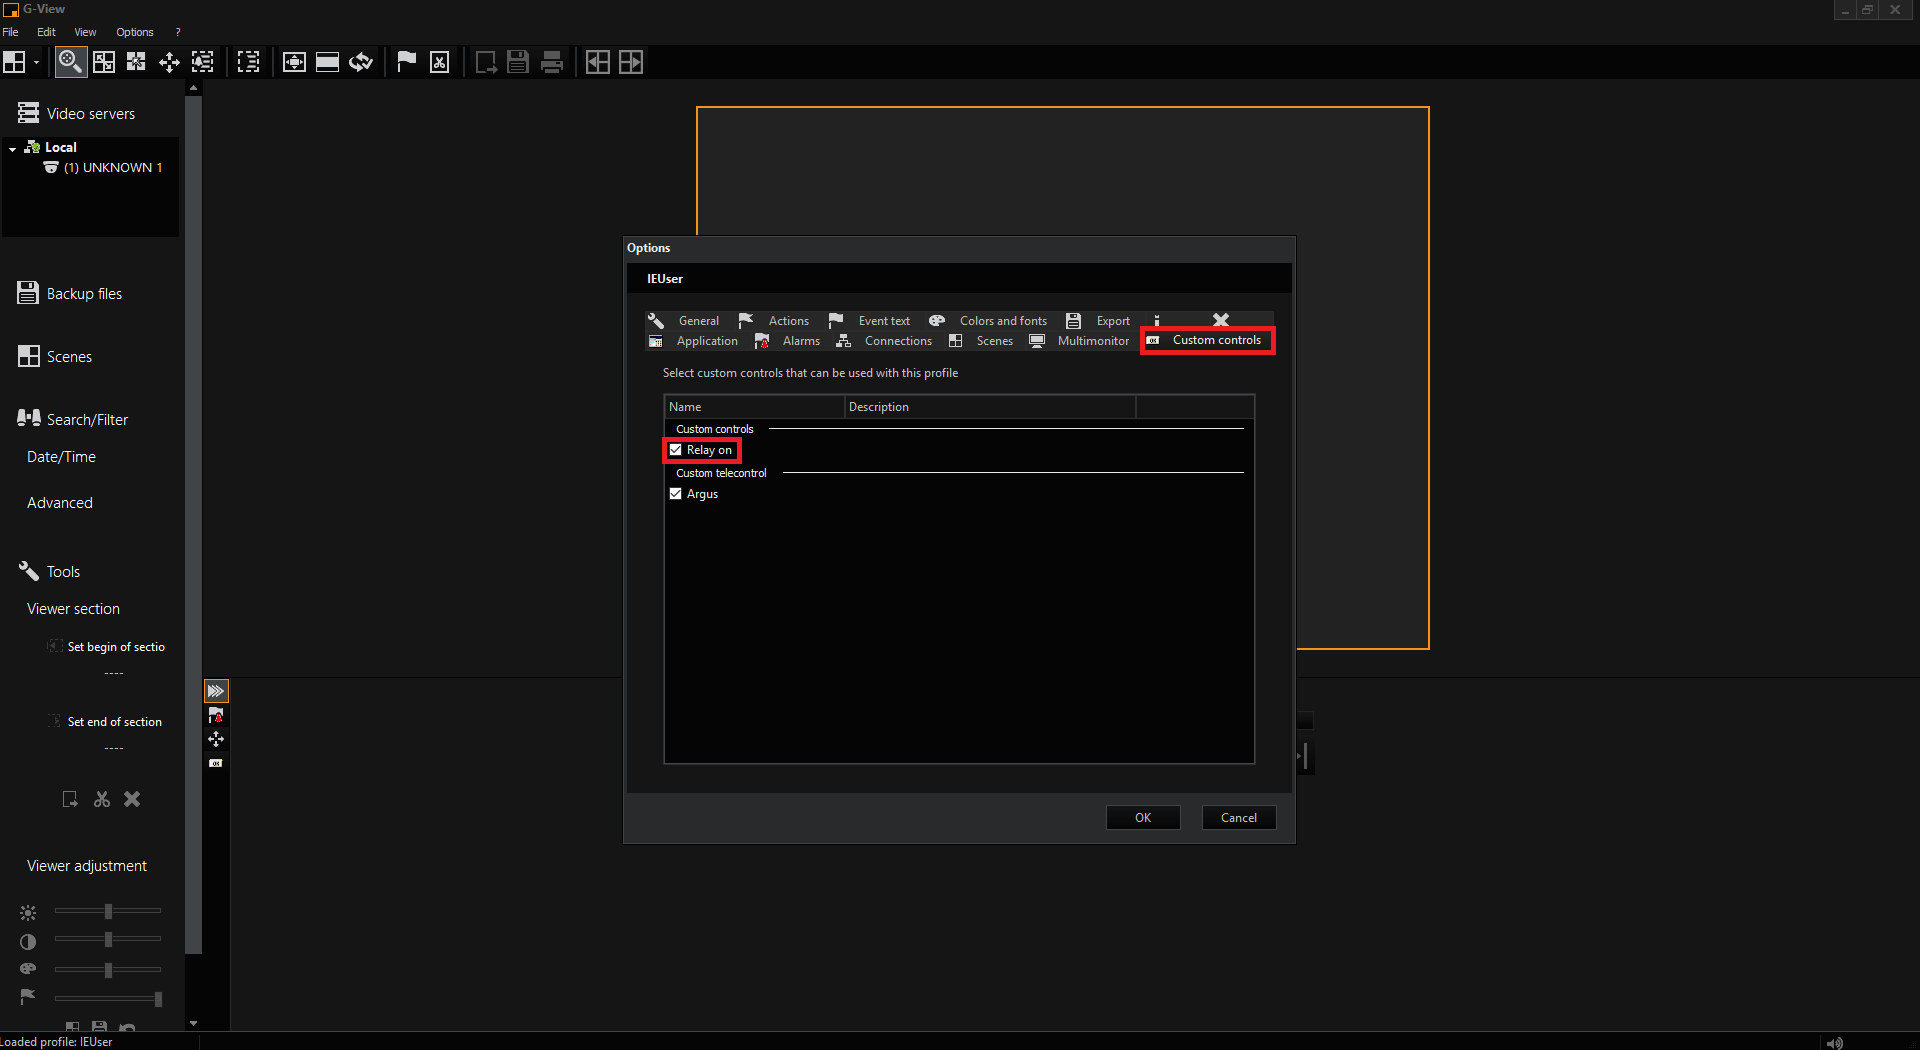
Click 3 times OK until you reach "ProgileManager G-View window). There you must click Save icon and close window. Choose Options from top list again and click User options.
Go to Defined buttons tab and enable just added button -> than click OK.
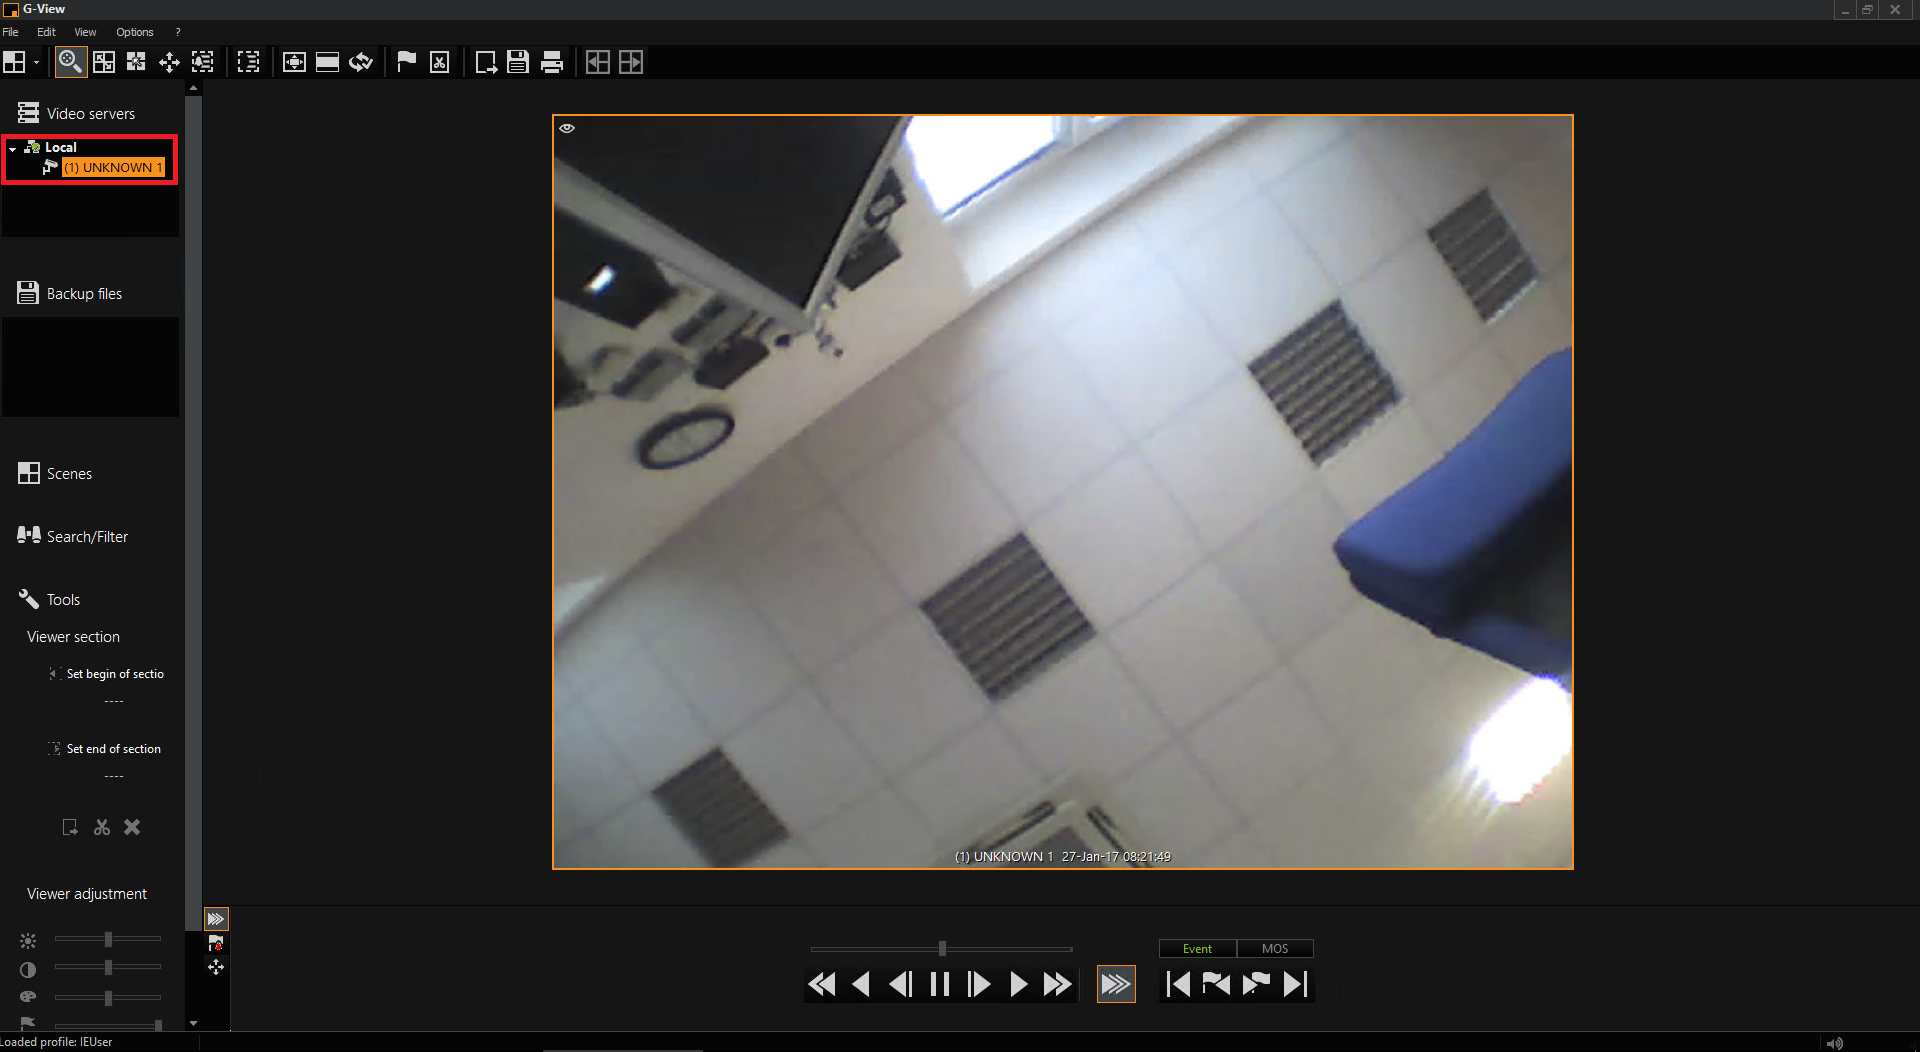
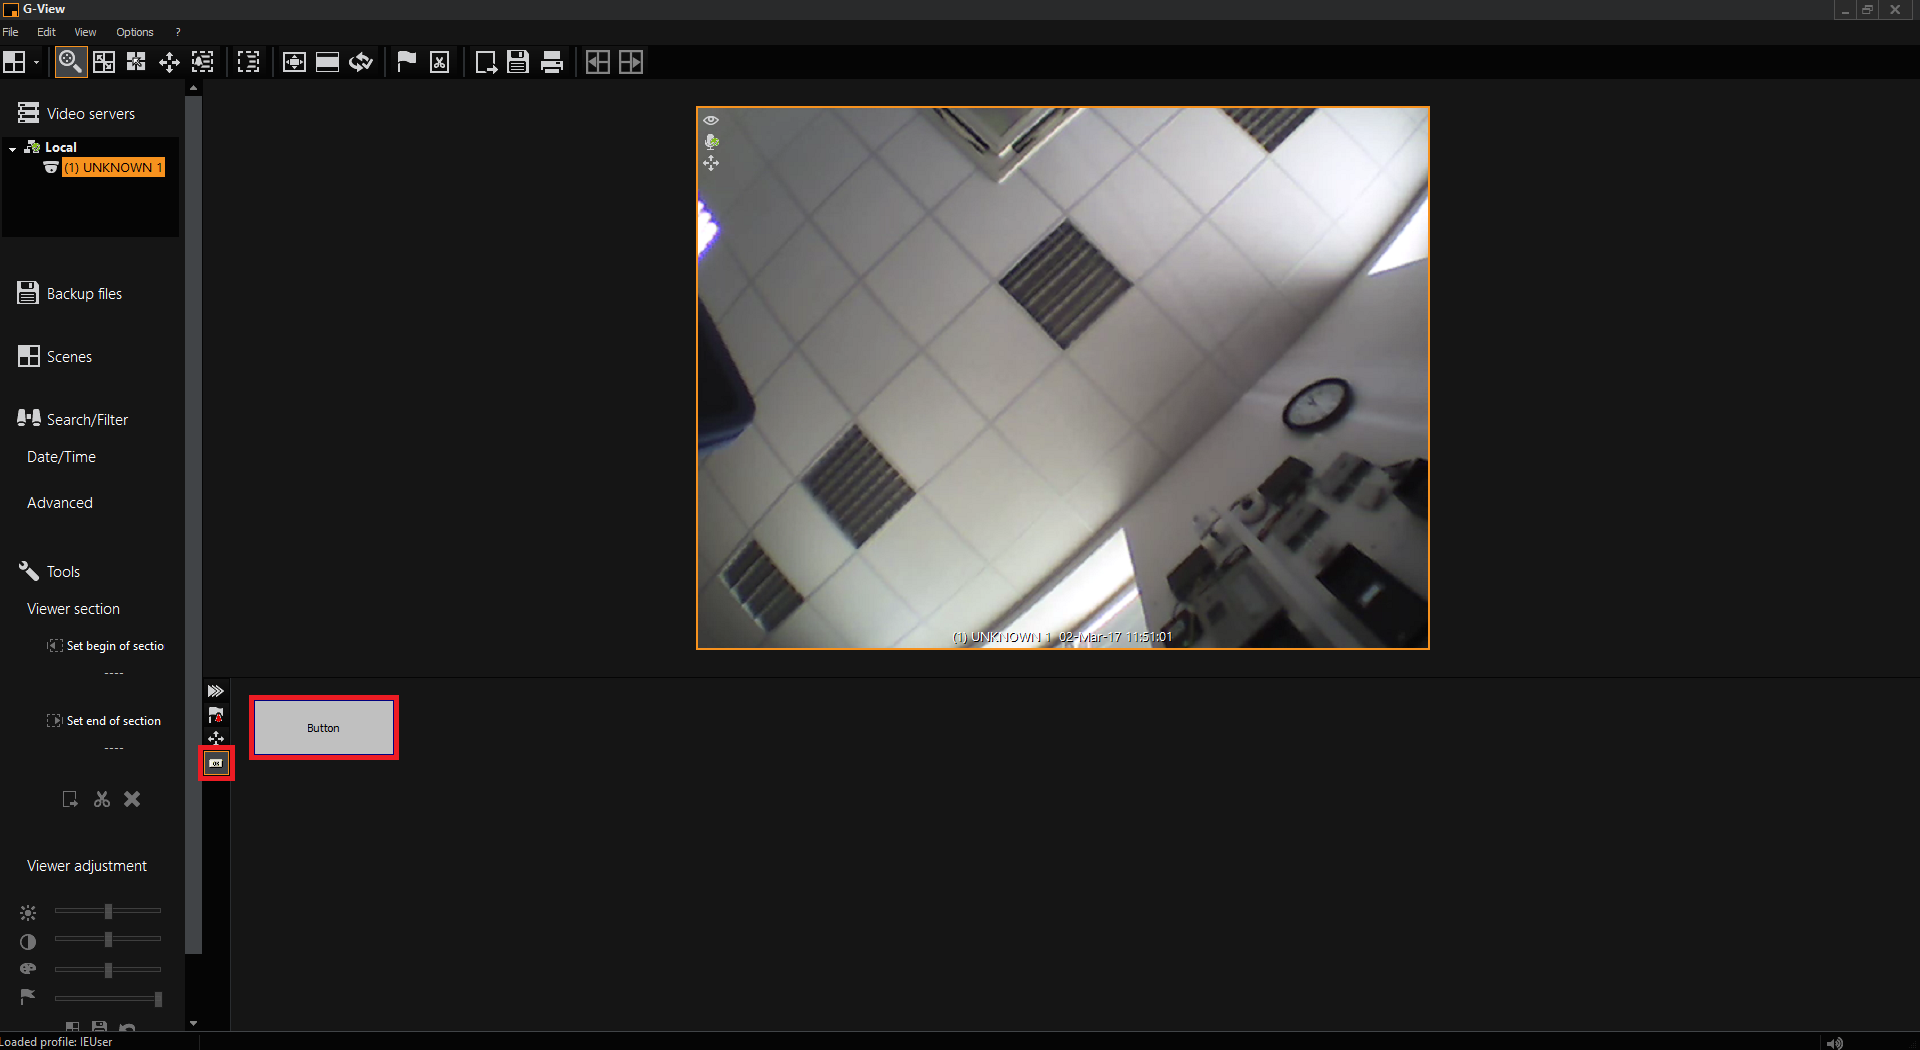
Drag and drop camera from list to live view window. On the bottom of G-View windows you should see 4 icons in vertical - chose last one, you should see your added button. Choose one camera and than click added button - it should send http command to chosen camera.

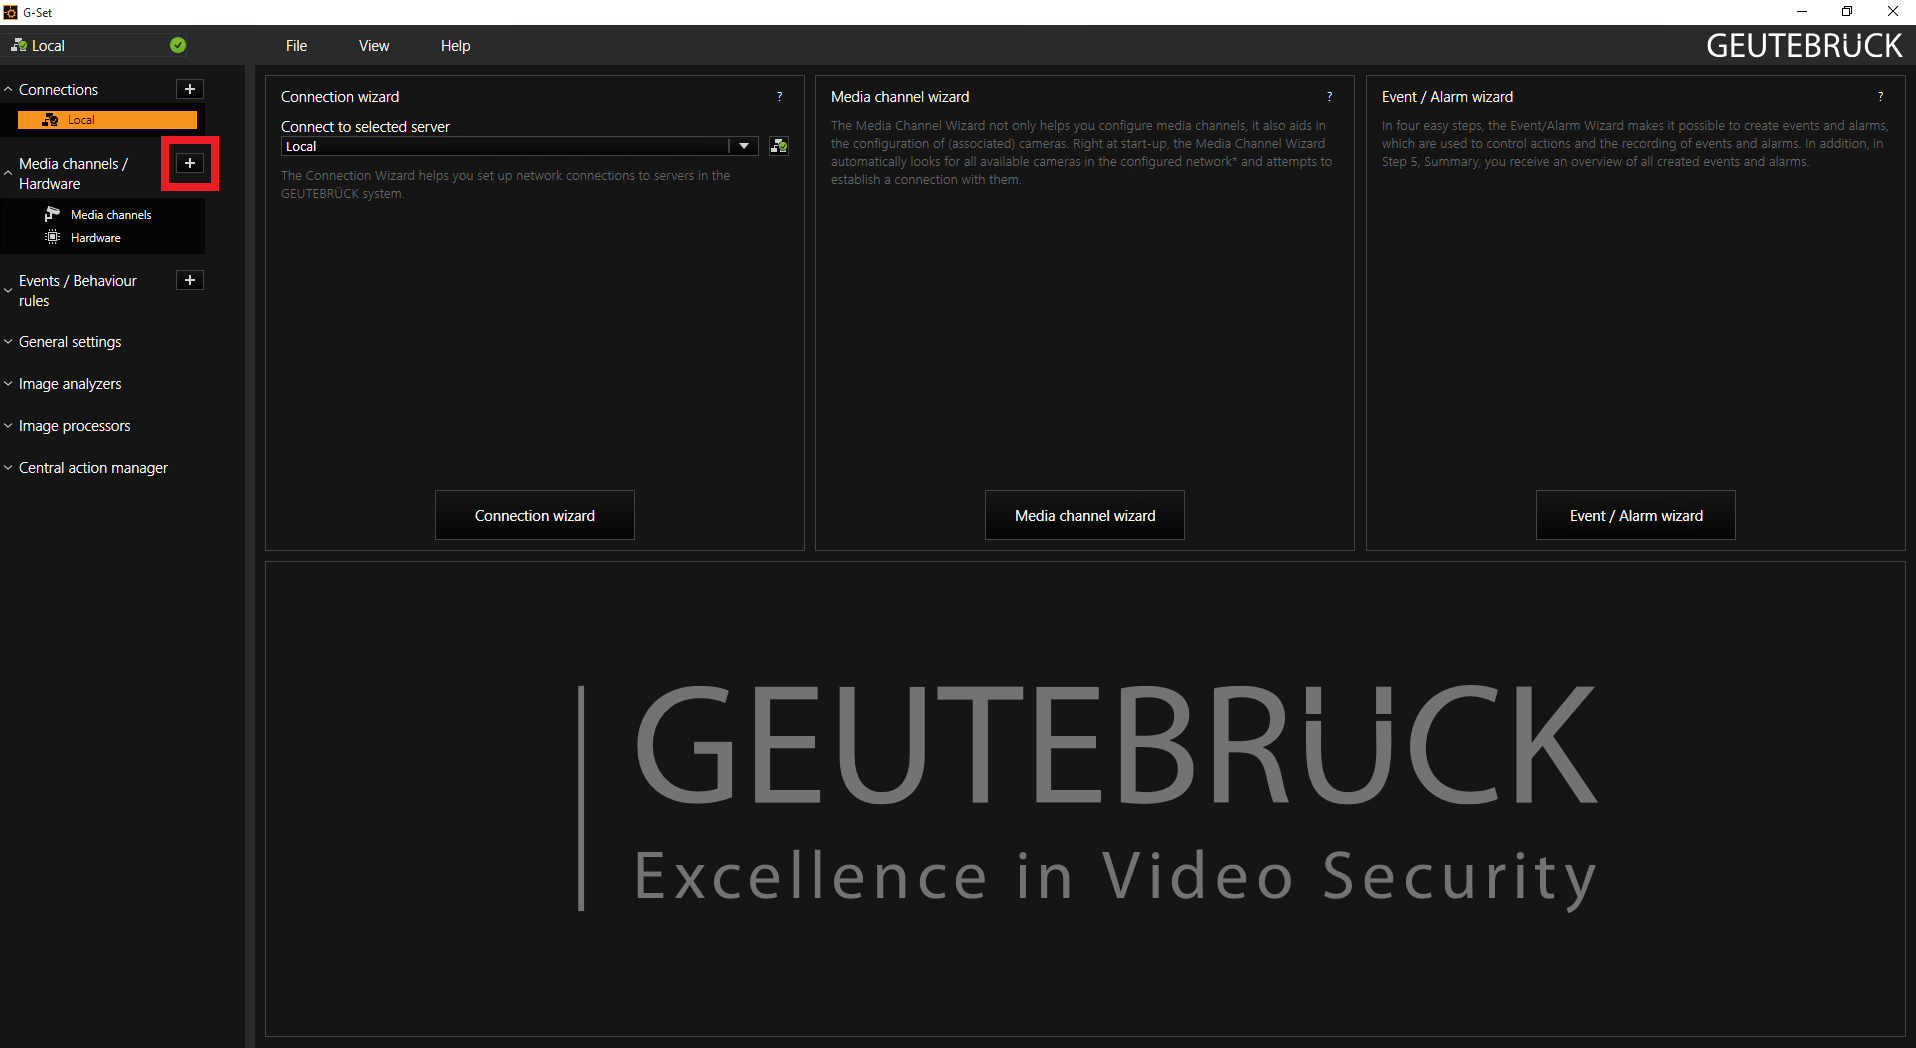
 on the right of media channels/devices.
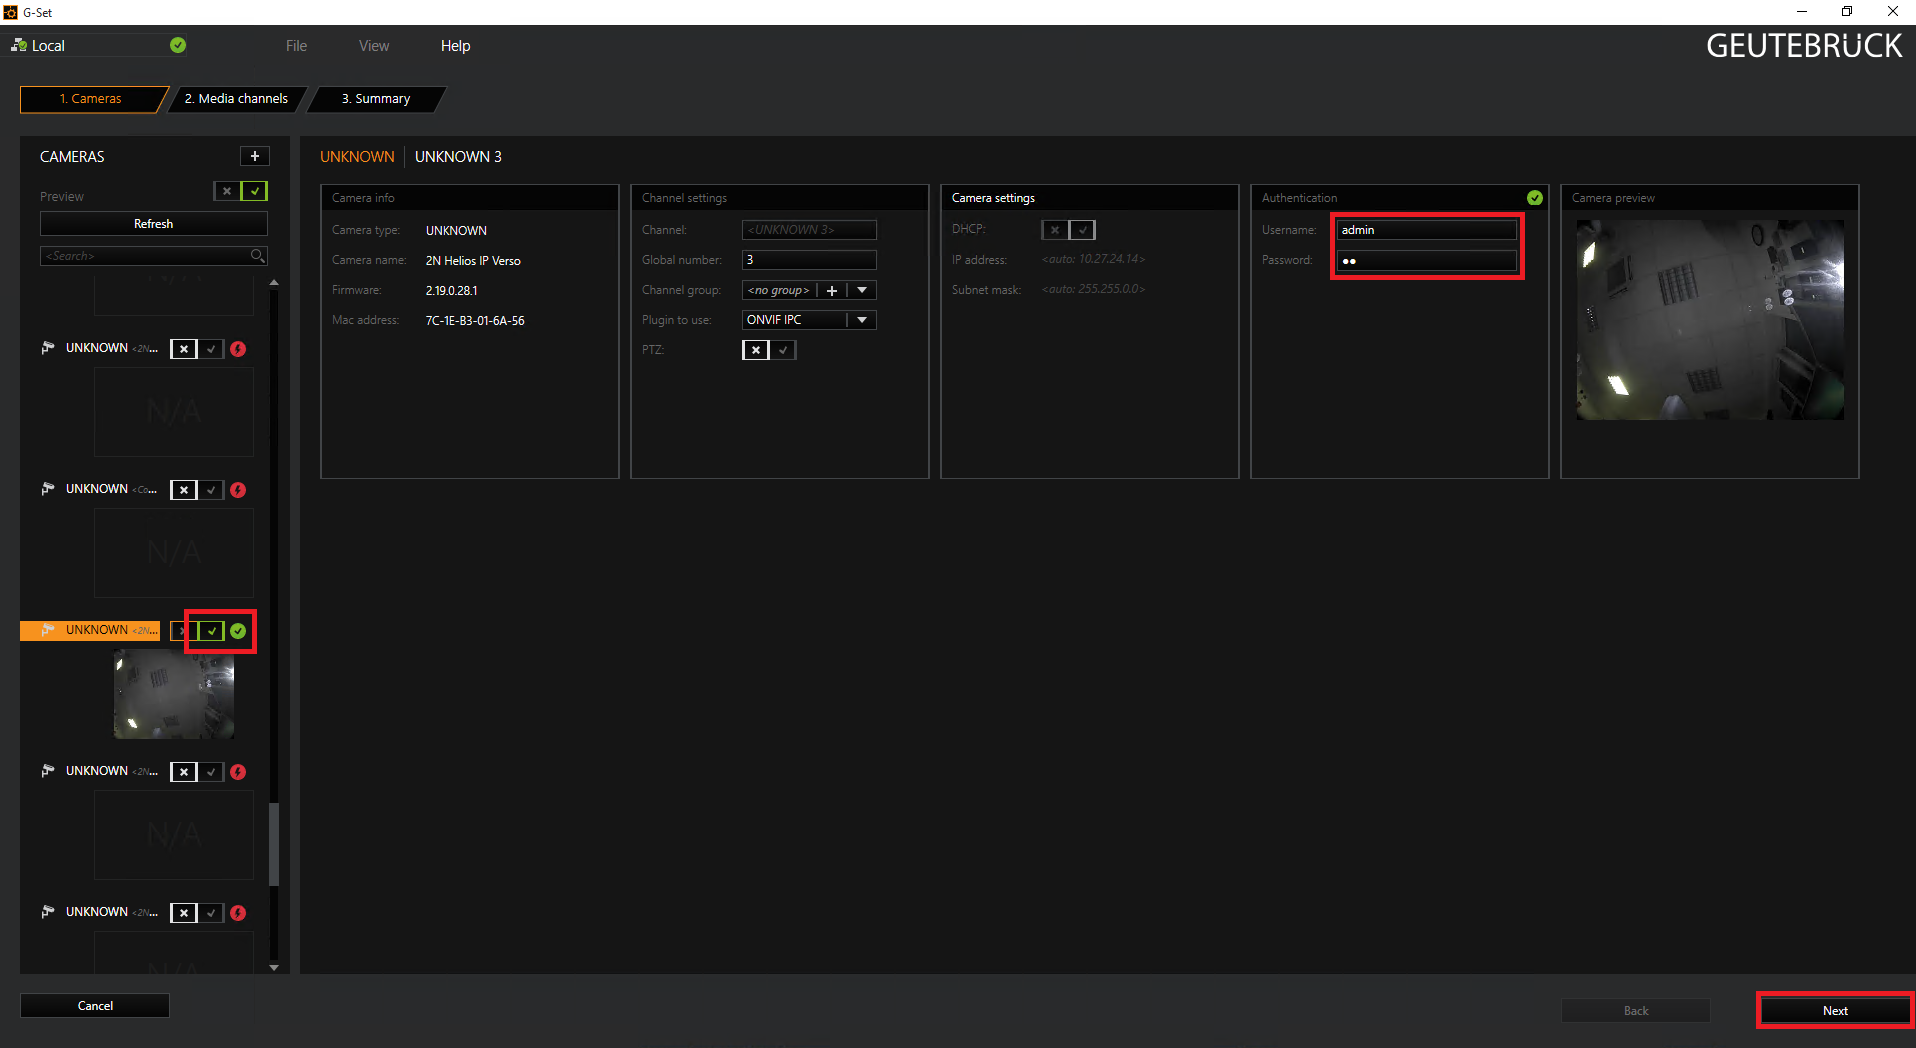
 ). Insert user name and password - click update. You should see preview and click next.