OnSSI Ocularis

Content

About

Version 5

Used Symbols

About

Ocularis is helping business owners, facility managers, and security professionals all over the world sleep better at night. The three models of Ocularis are designed to handle all

types of security demands. Regardless of the scale of your operation, all Ocularis platforms provide the kind of surveillance intelligence that has proven crucial in real world situations.

Key Features: http://onssi.com/ocularis-key-features/

Official website: http://onssi.com/

Version 5

Tested Functions

OnSSI OcularisIP Intercom VersionScan deviceVideo from IP IntercomAudio from IP IntercomAudio to IP IntercomSwitch controlEvents from IP Intercom

5.2.0.405

2.19.0.28.4

(tikot)(tikot)(tikot)N/S(tikot)(tikot)

5.2.0.405

2.17.1.26.4

(tikot)(tikot)(tikot)N/S(tikot)(varování)

2N IP Intercom Settings

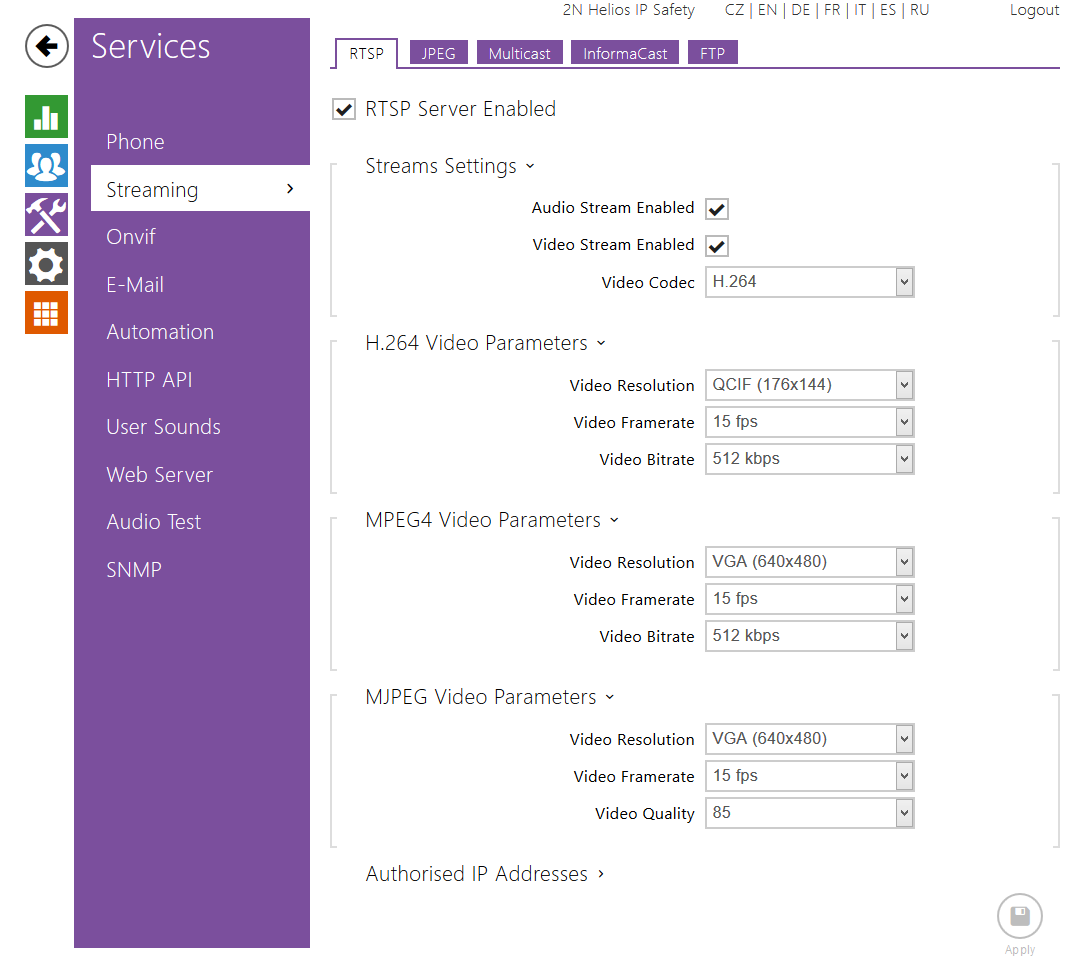
 Enable parameter RTSP Server Enabled in menu Services / Streaming.

Enable Onvif and set authorisation data in menu Services / Onvif. For correct switch control in OnSSI Ocularis you need to change Output type to Non Inverted.

Tested Features

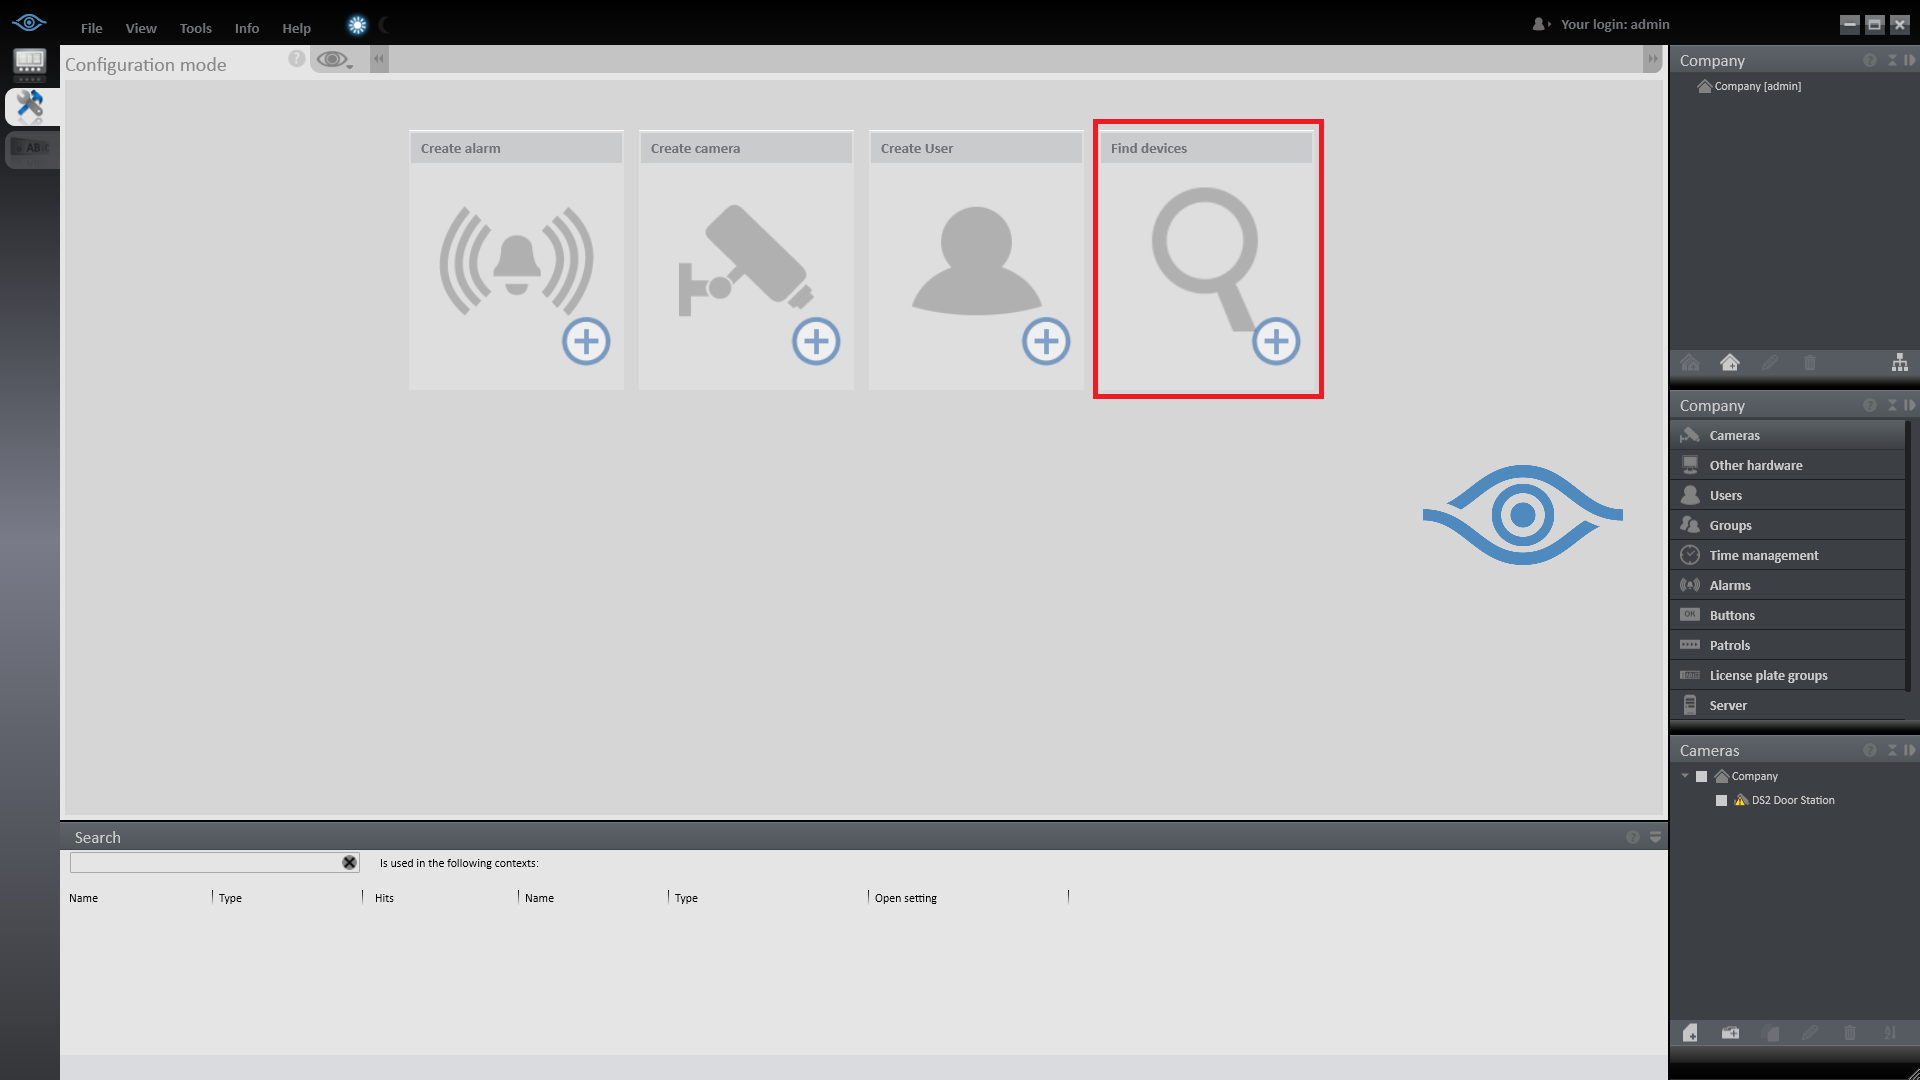
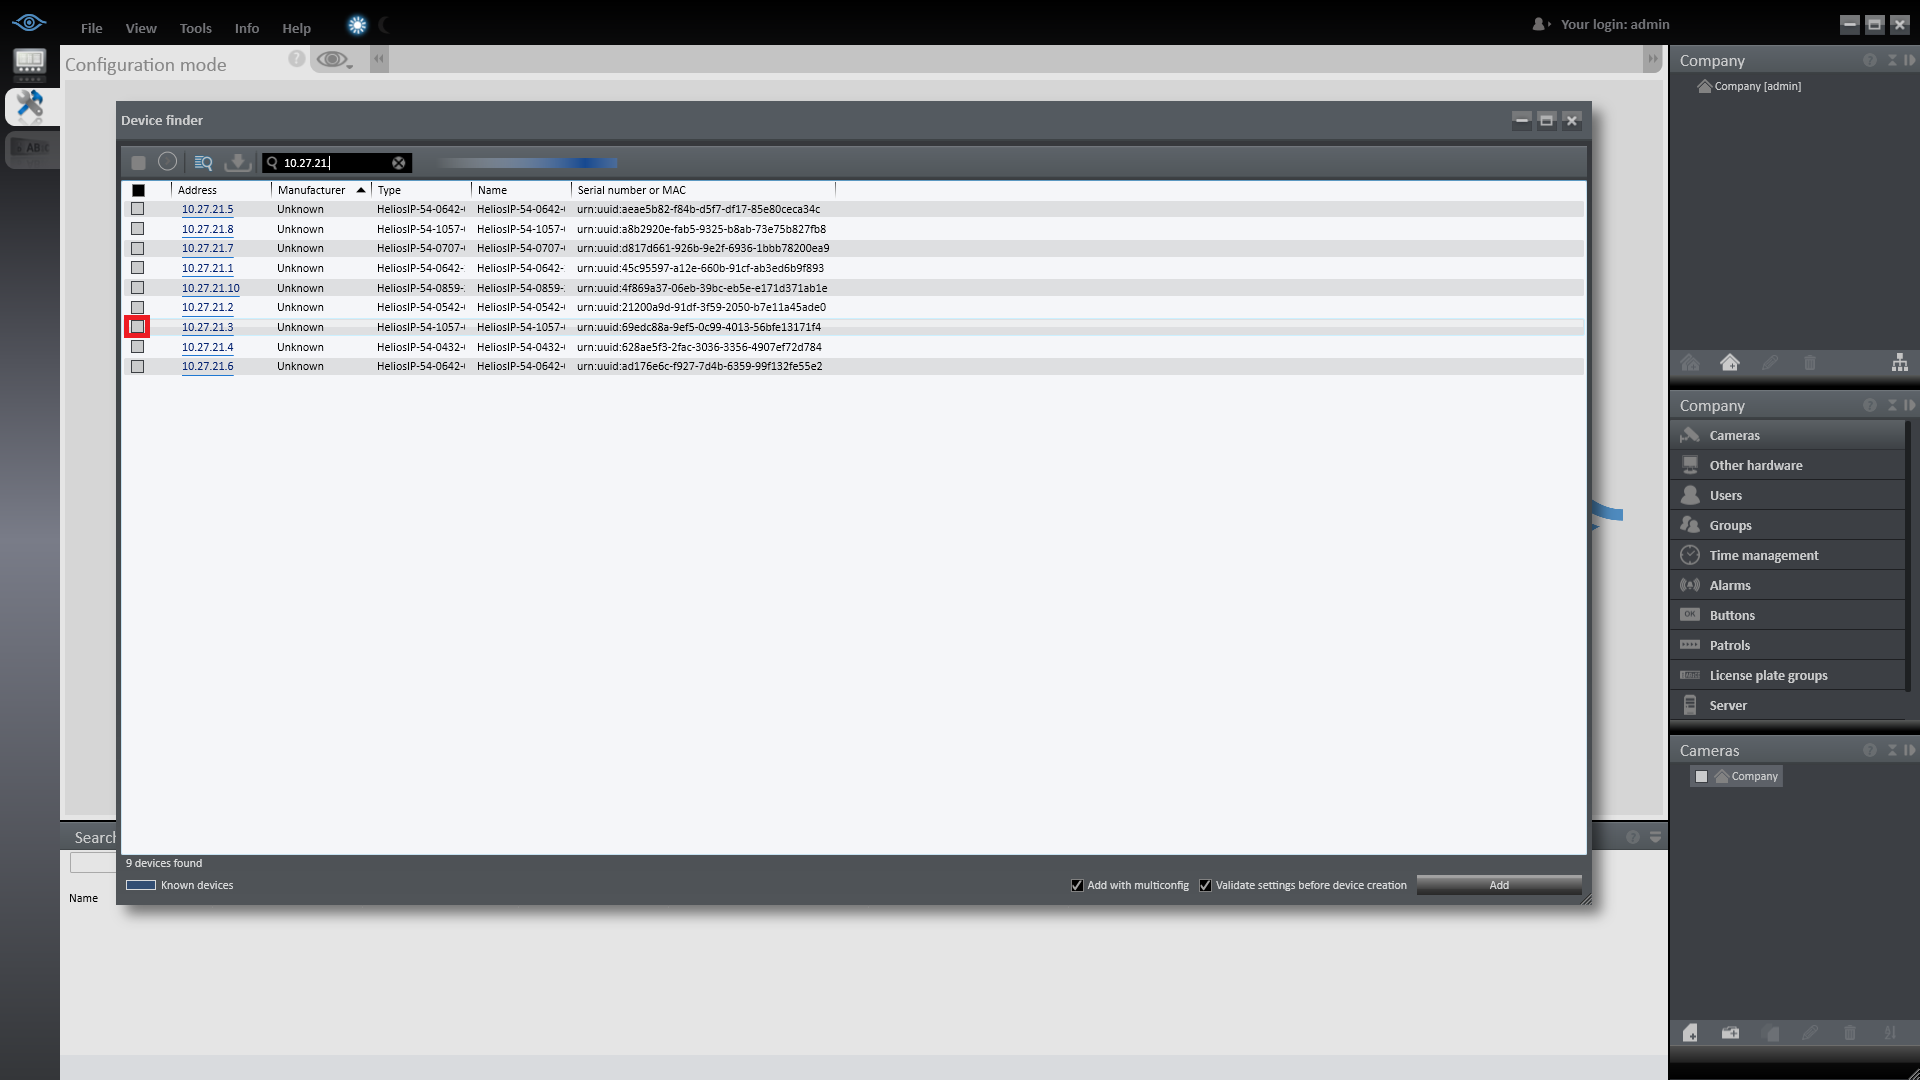
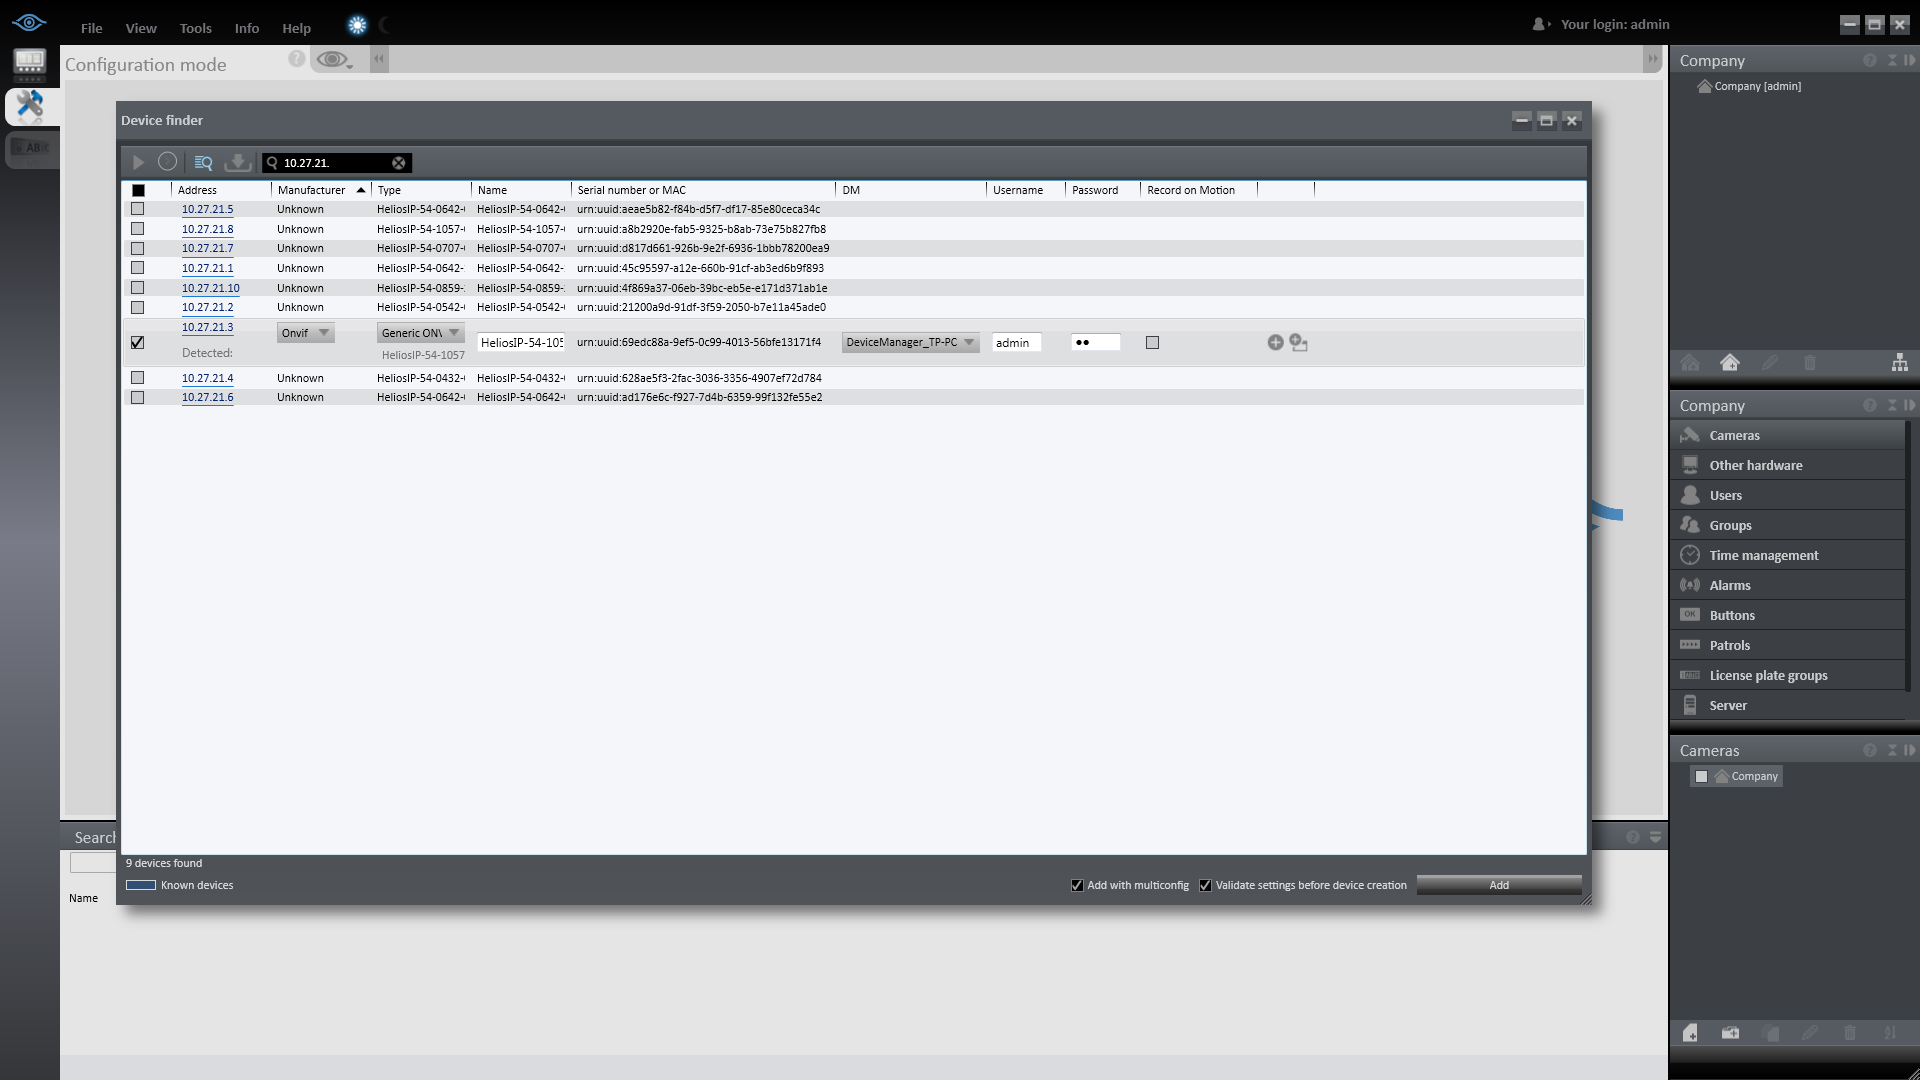
 To find devices use Record Manager application and star scanning your network with "Find Devices"

To add 2N IP Intercom.
After this you must choose following: Manufacturer: Onvif, Type: Generic ONVIF Driver (Profile S Compatible), Name: You can change name of the device (Optional), Username and Password: Fill in your ONVIF account details previously set on 2N IP Intercom. When all desired Devices are added proceed with add button on the lower right end of the Device Finder window.

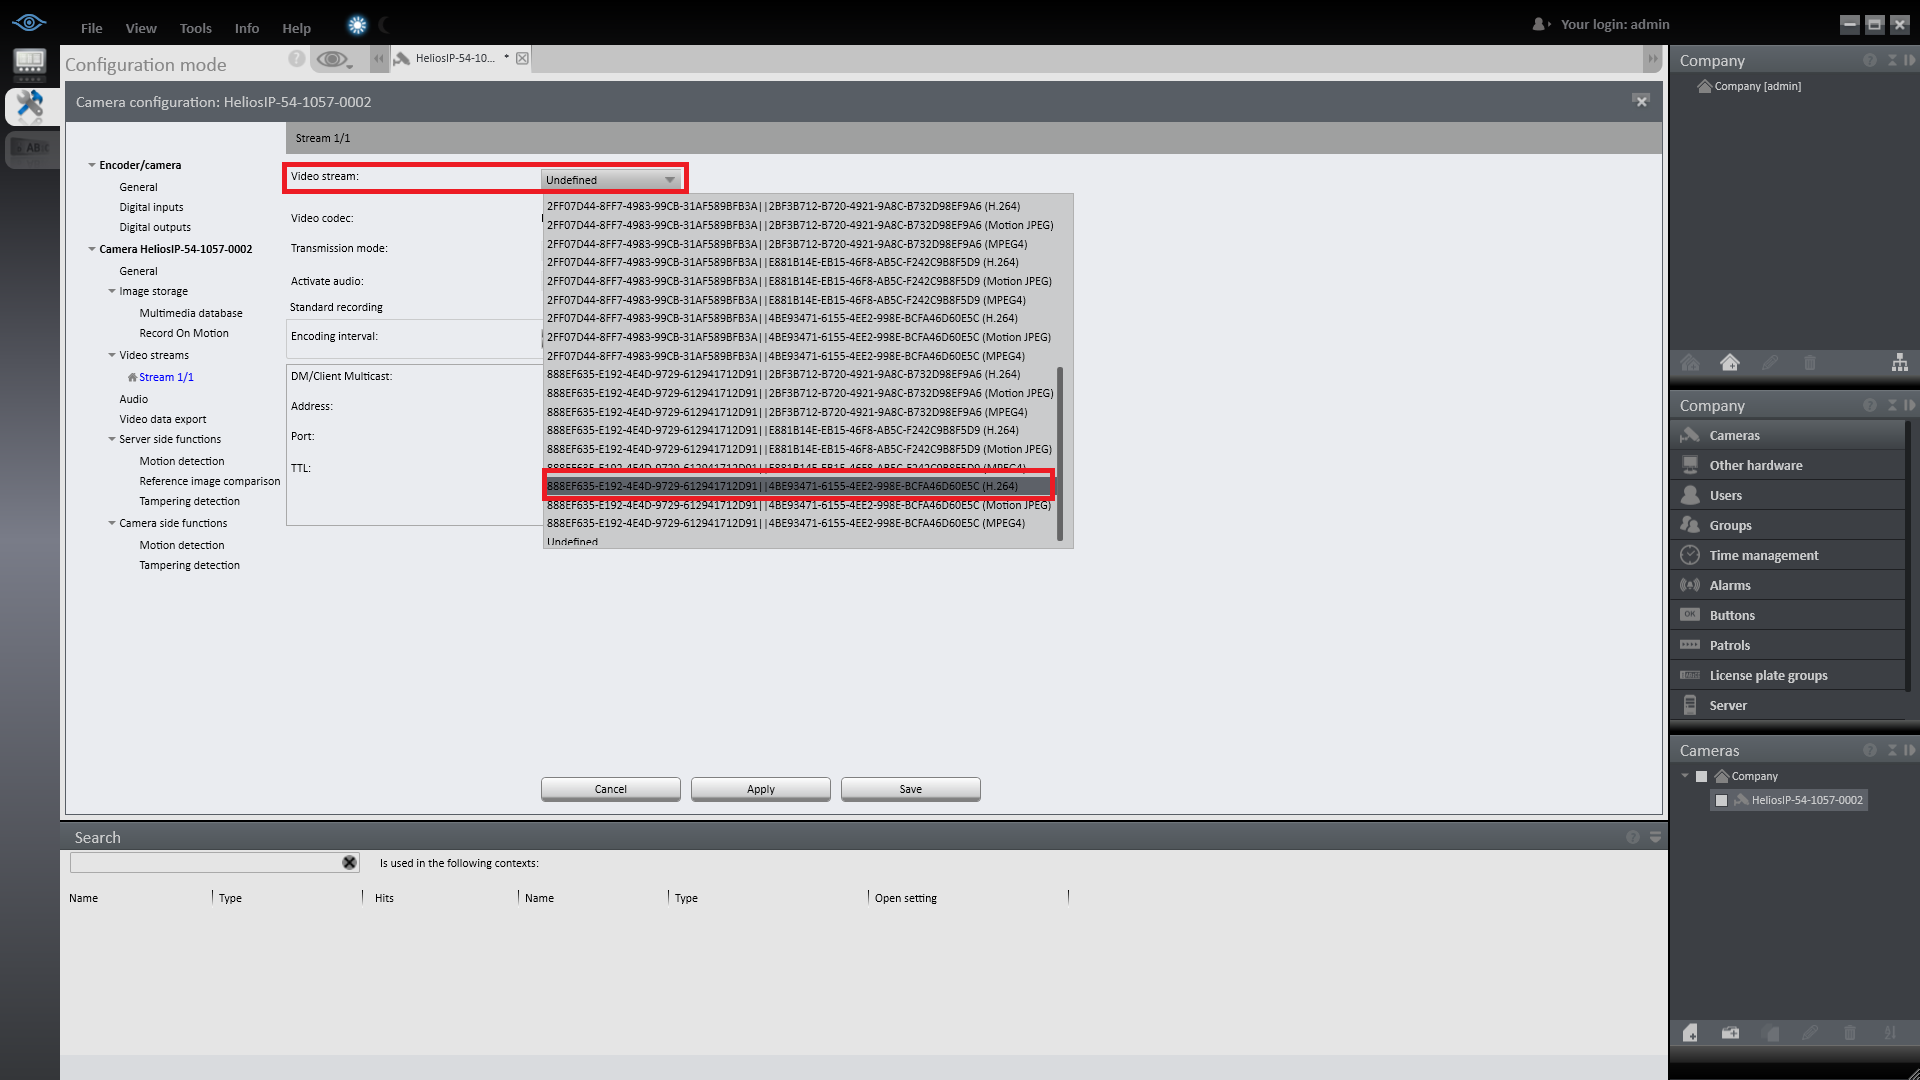
In next step it is important to chose correct codec for video stream. In configuration mode on Camera Recorder Manager you should be able to see configuration of cameres added in previous step. Choose menu Video Stream / Stream 1/1  and choose appropriate codec. If configuration tabs are not opened, they can be opened by navigating throught right panel Company / Cameras and in the bottom of the panel Cameras / Company and there added cameras can be found. Confirm it by Apply button.

To see video from camera it is needed to run Ocularis Client. Choose appropriete Template for your VMS.
In one of the screens add new camera by raght click and clicking on camera icon.
There should be list of avaiable cameras added to VMS. Chose one by double clicking on it.
Now there shloud be avaiable video from 2N IP Intercom.

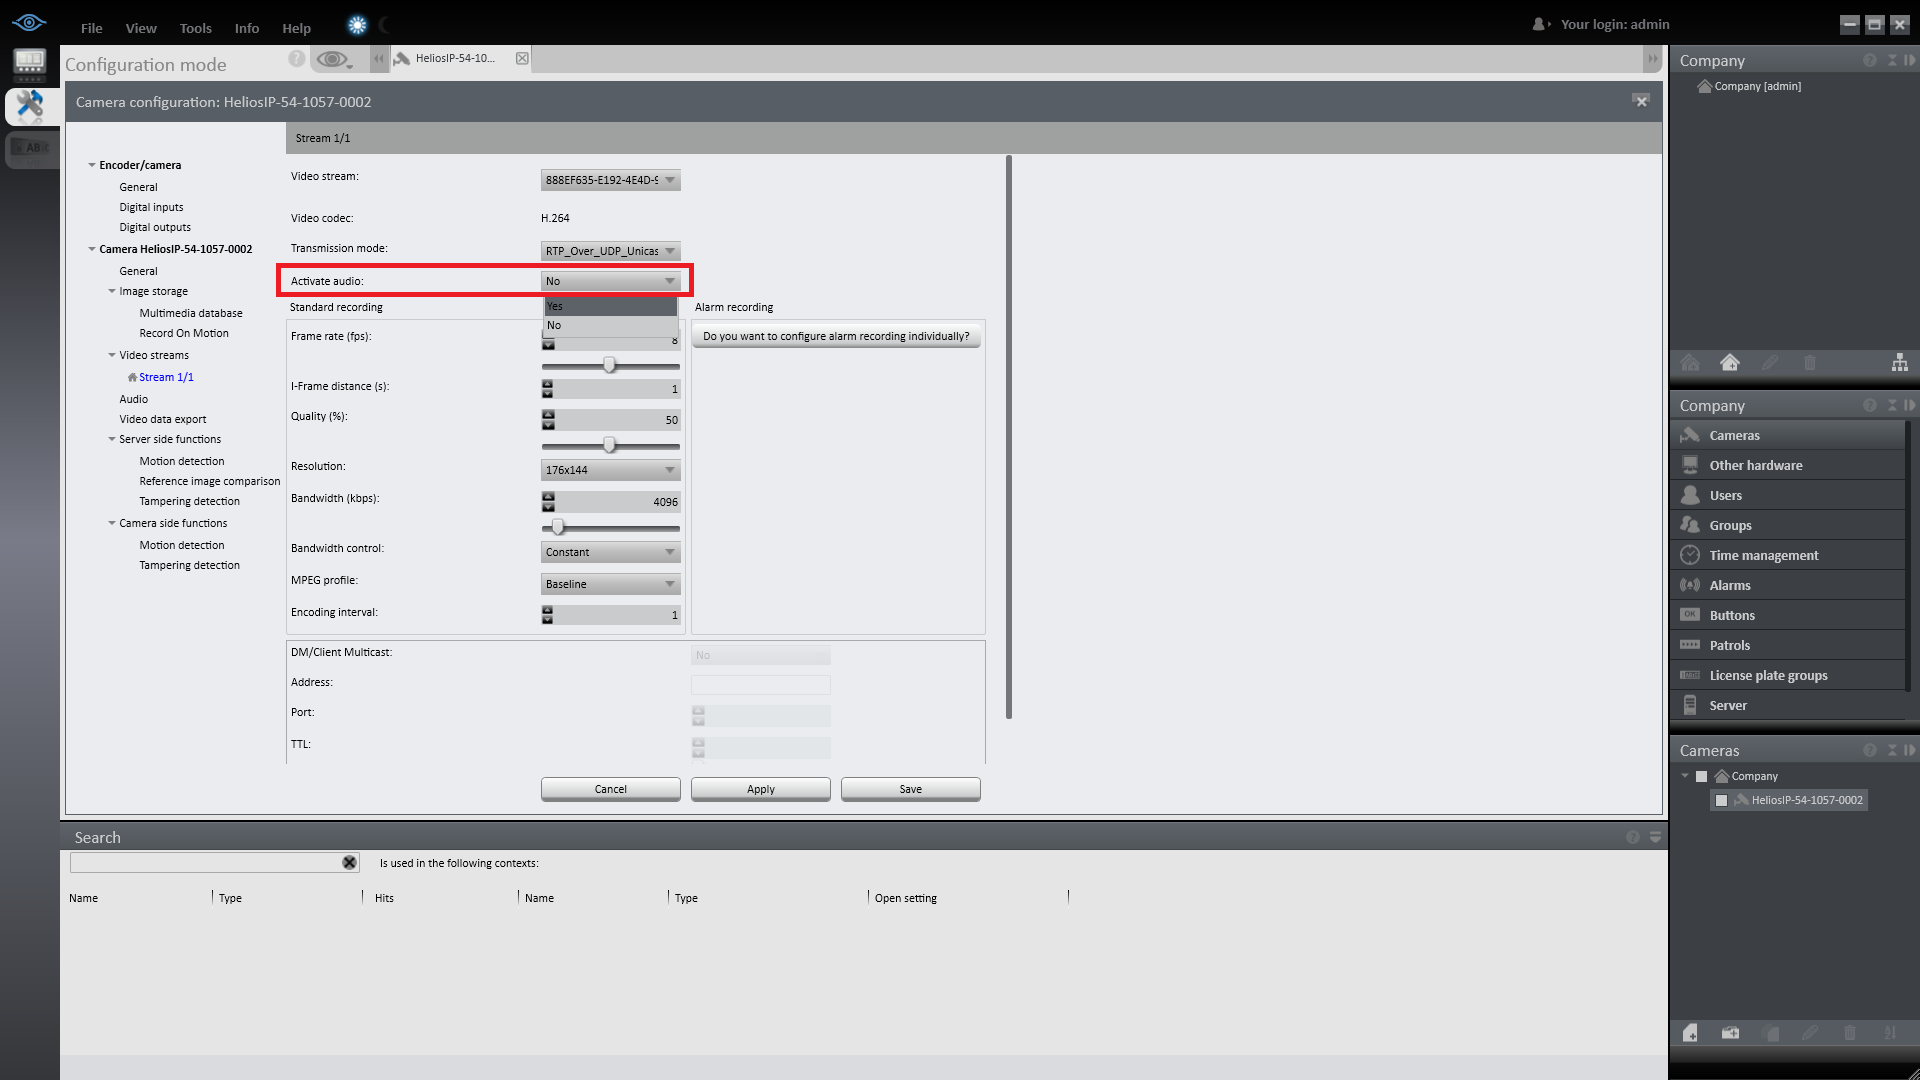
 To enable audio from 2N IP Intercom, go to Ocularis Recorder Manager > Configuration Mode, find your camera and in the Video Stream  / Video Stream 1/1 change attribute Activate Audio from No to Yes. Now there shloud be audio available from 2N IP Intercom in Ocularis Client. Confirm it by Apply button.

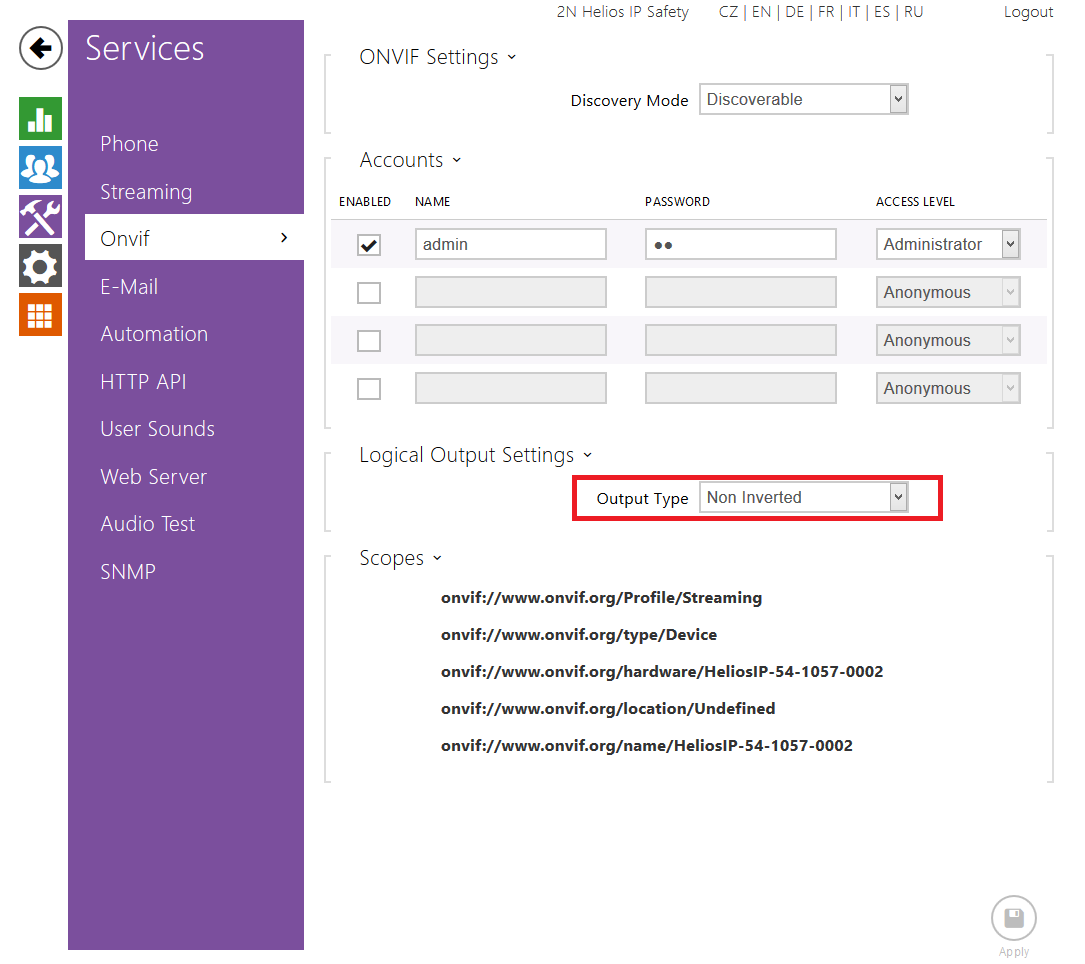
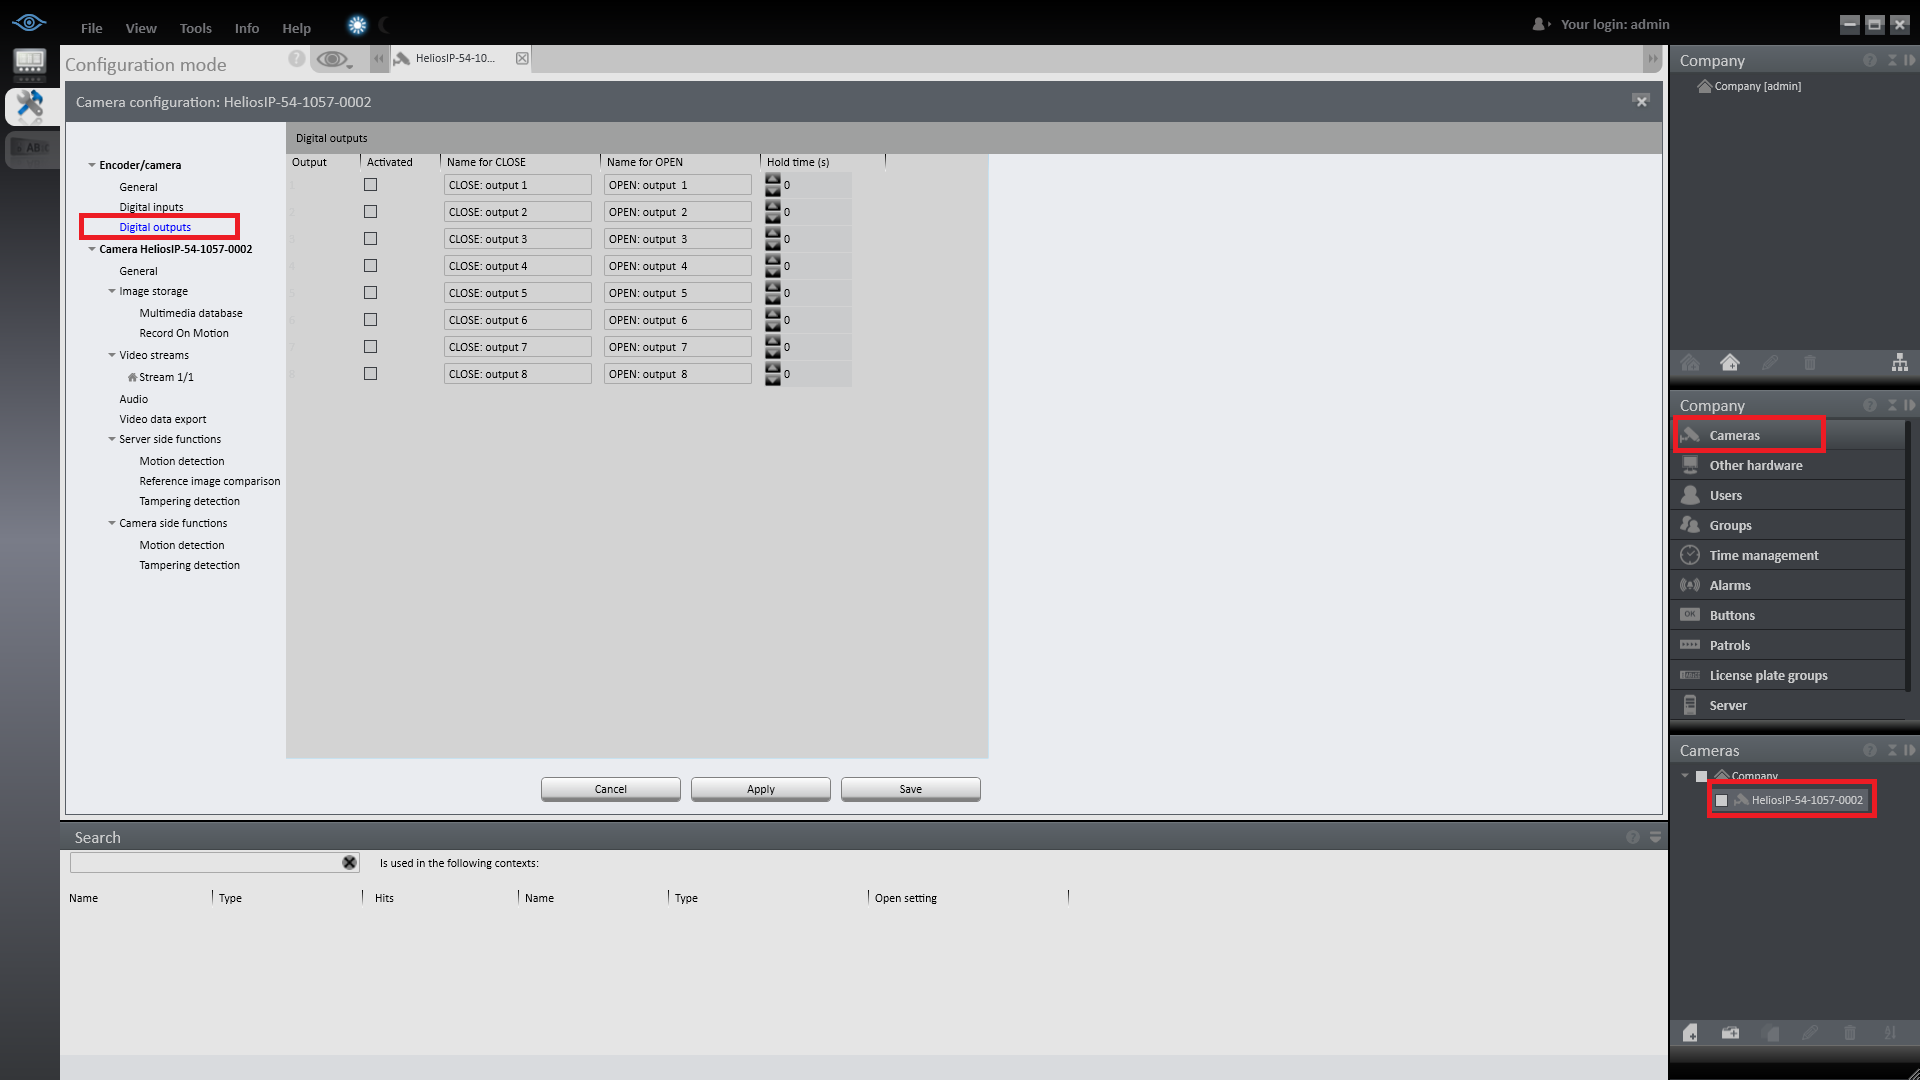
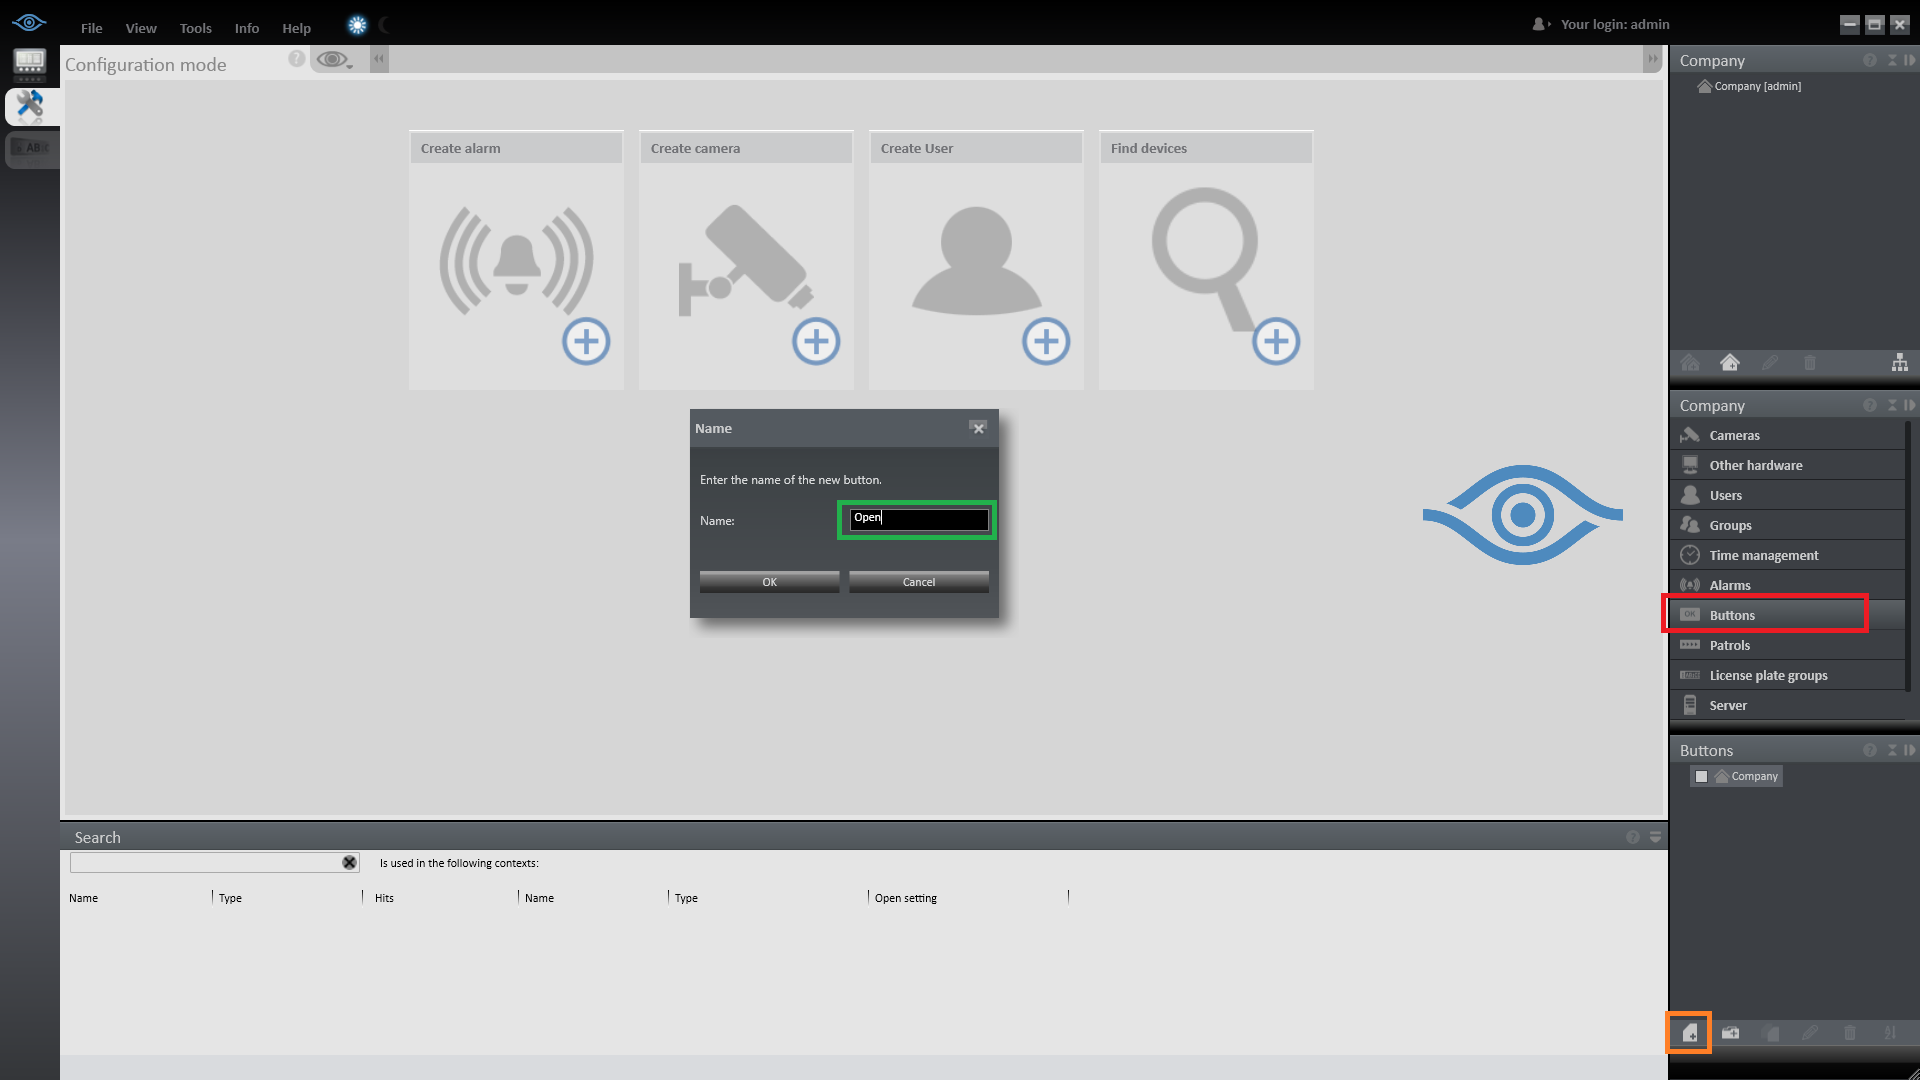
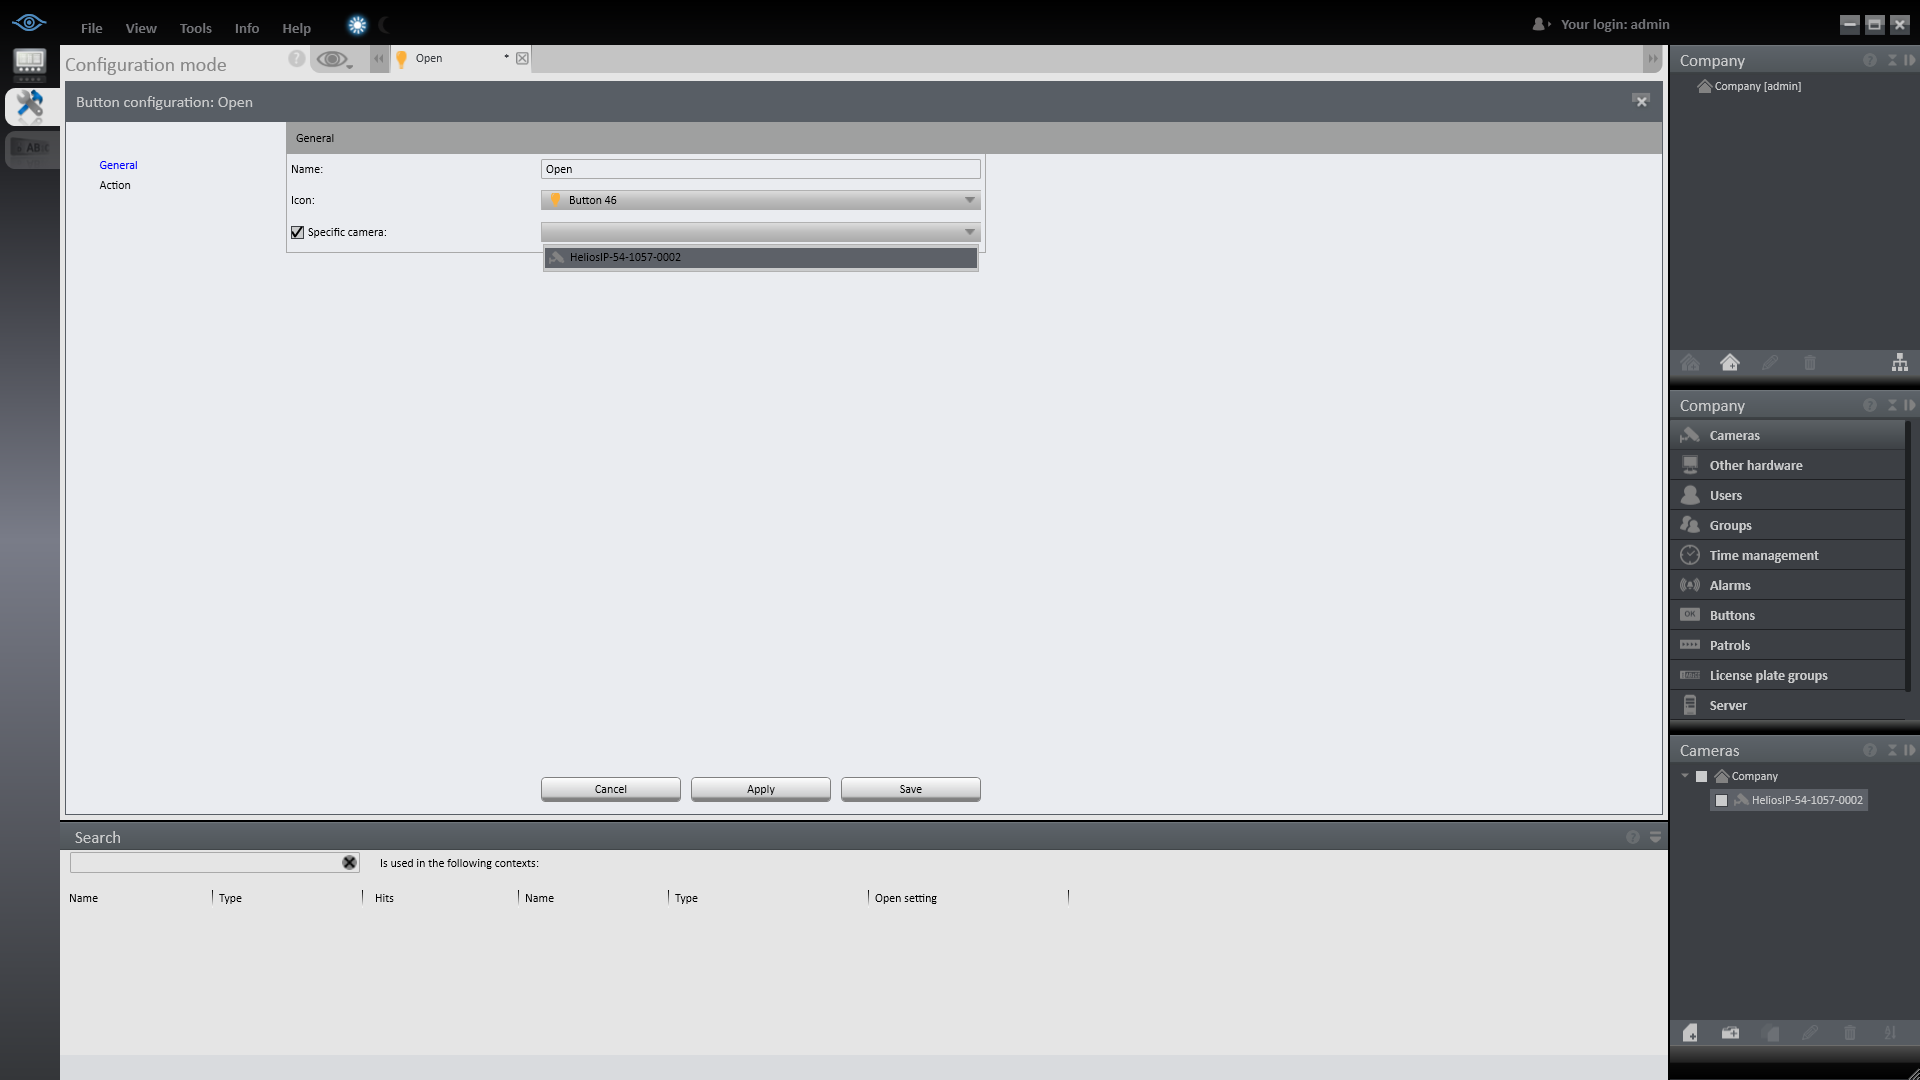
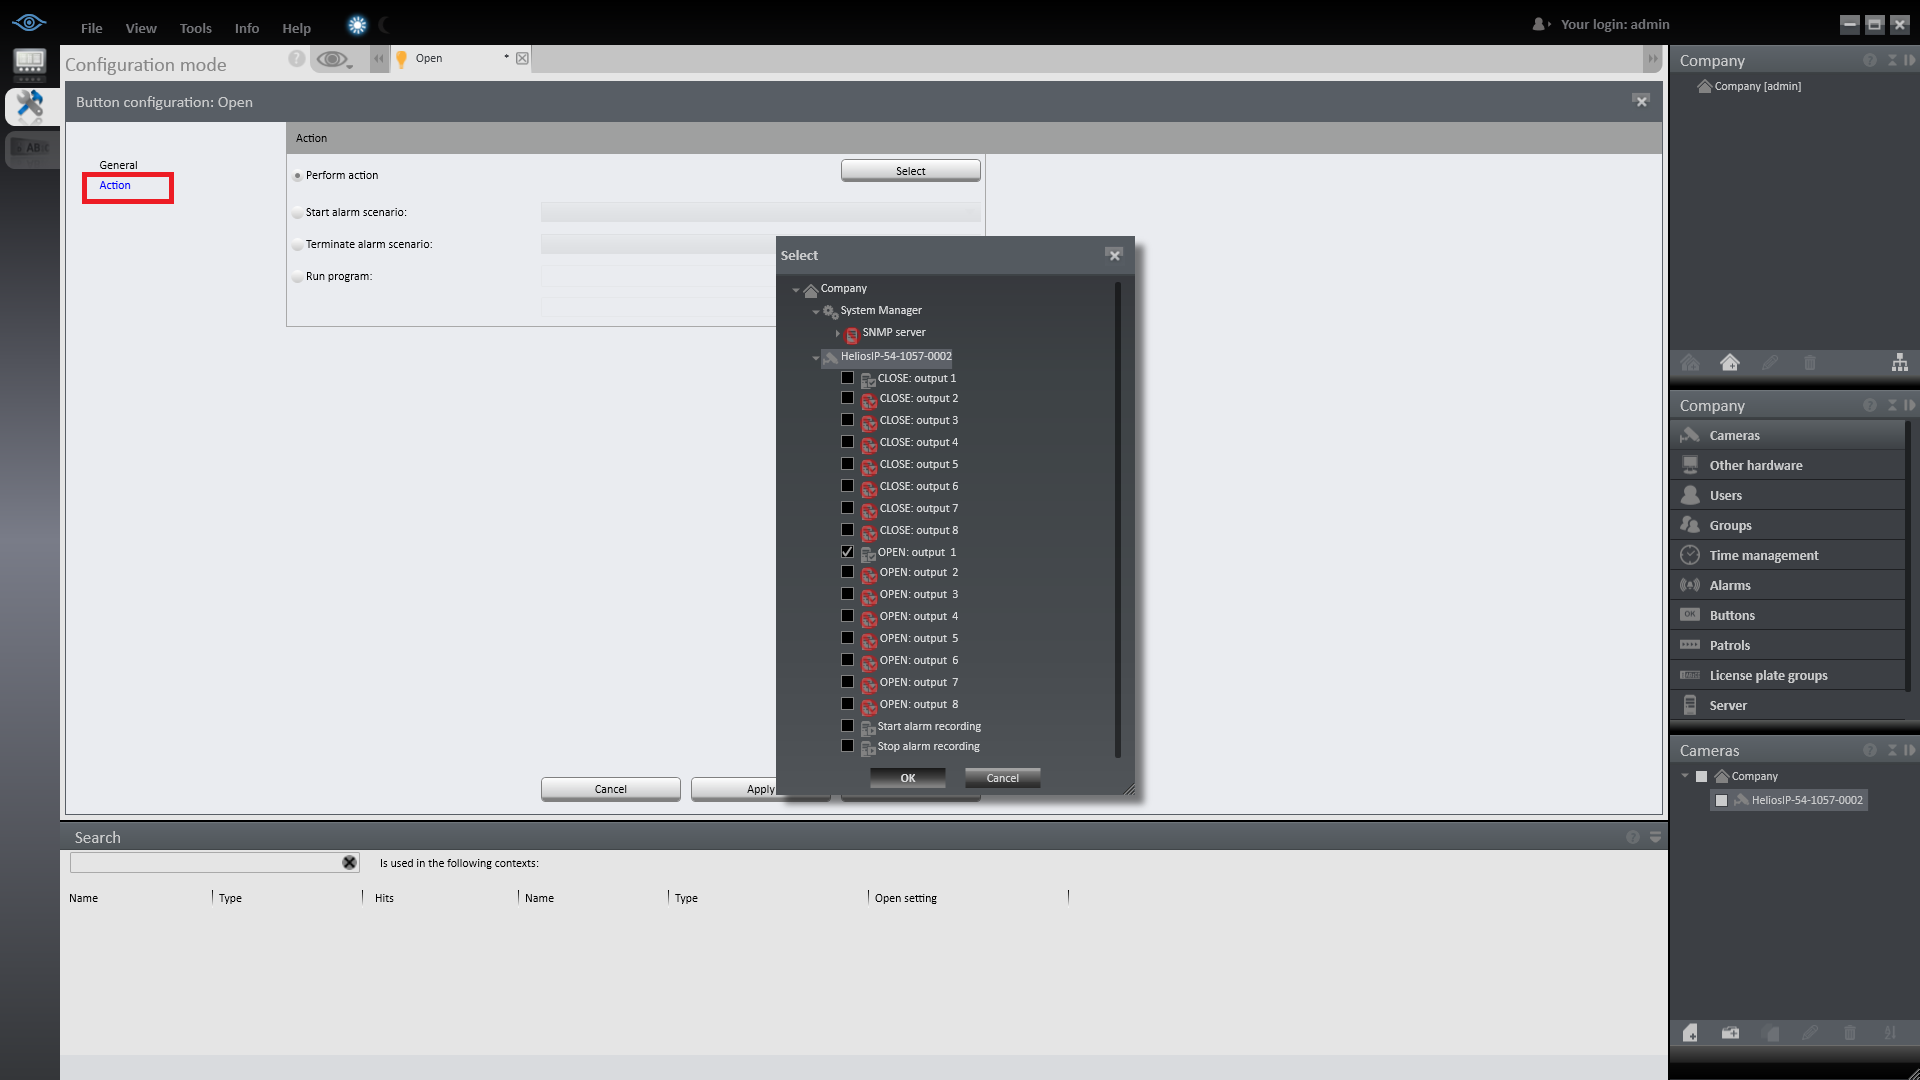
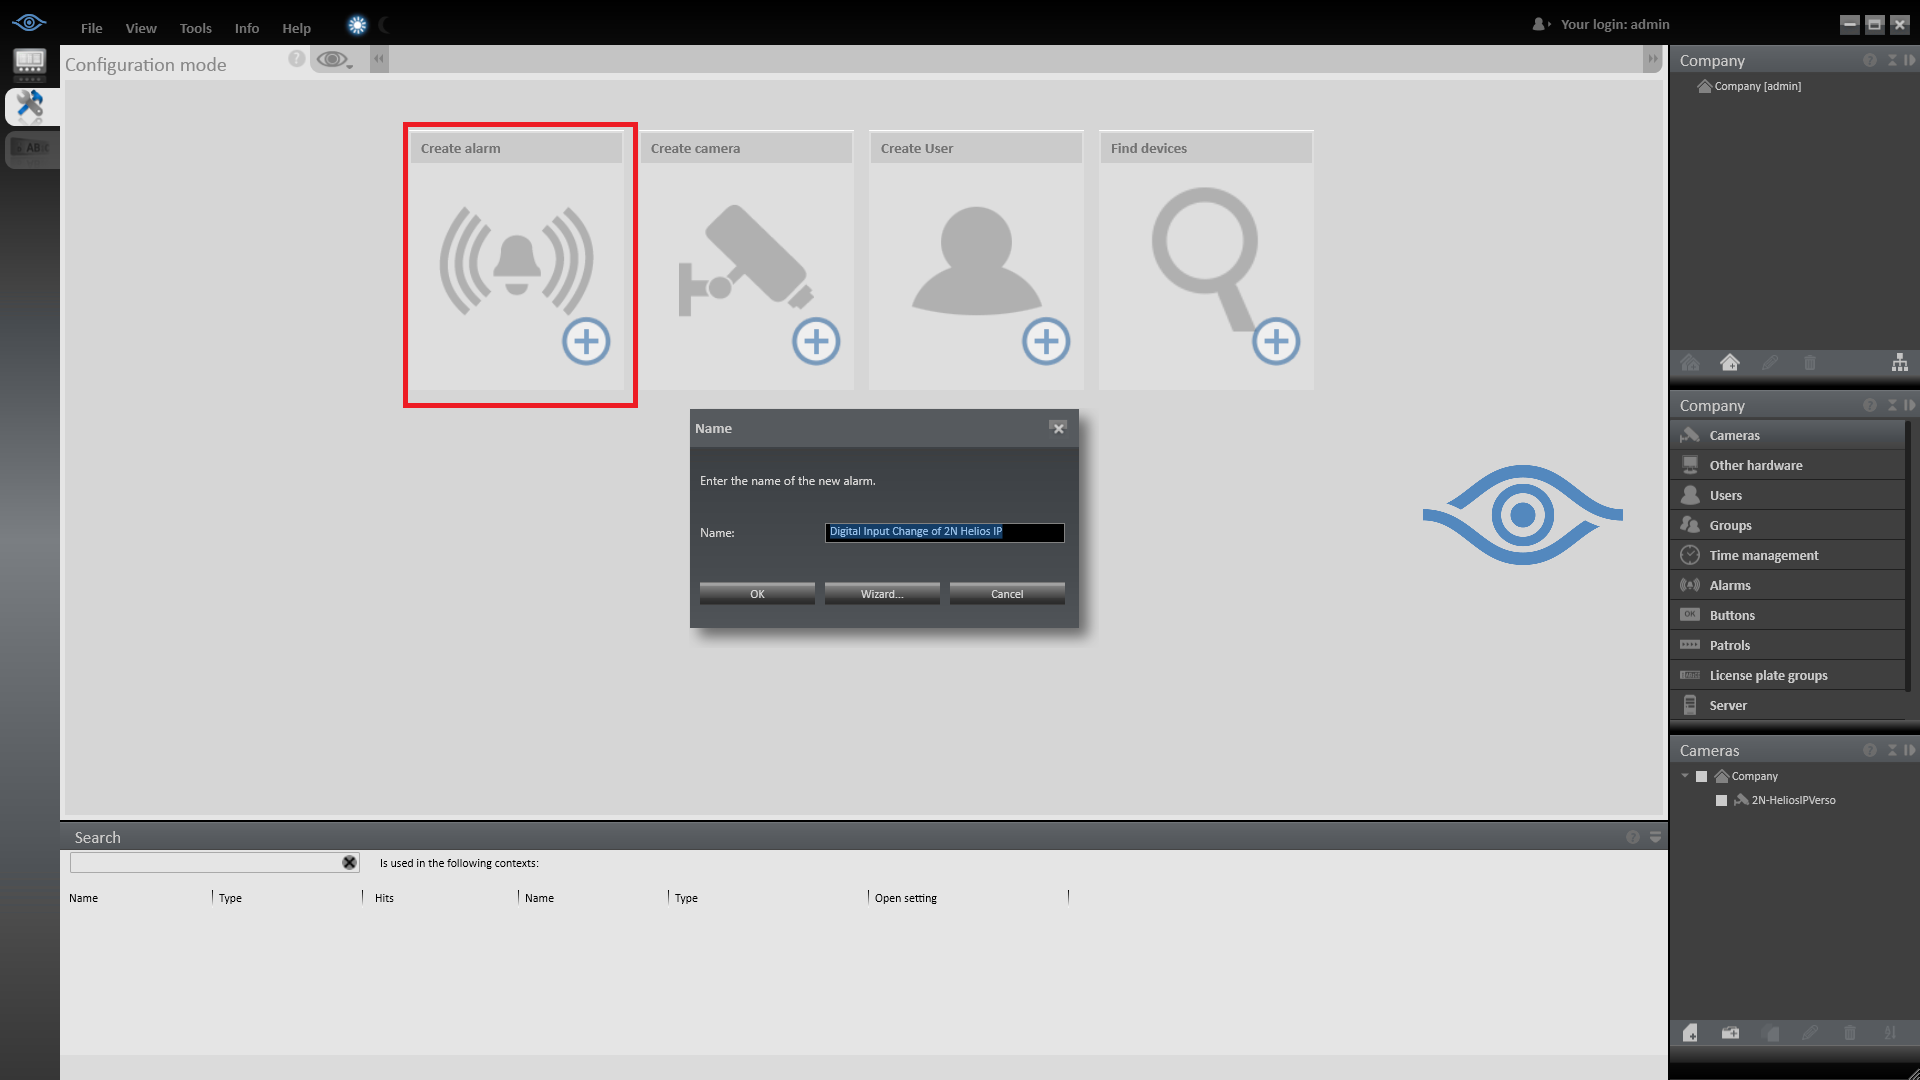
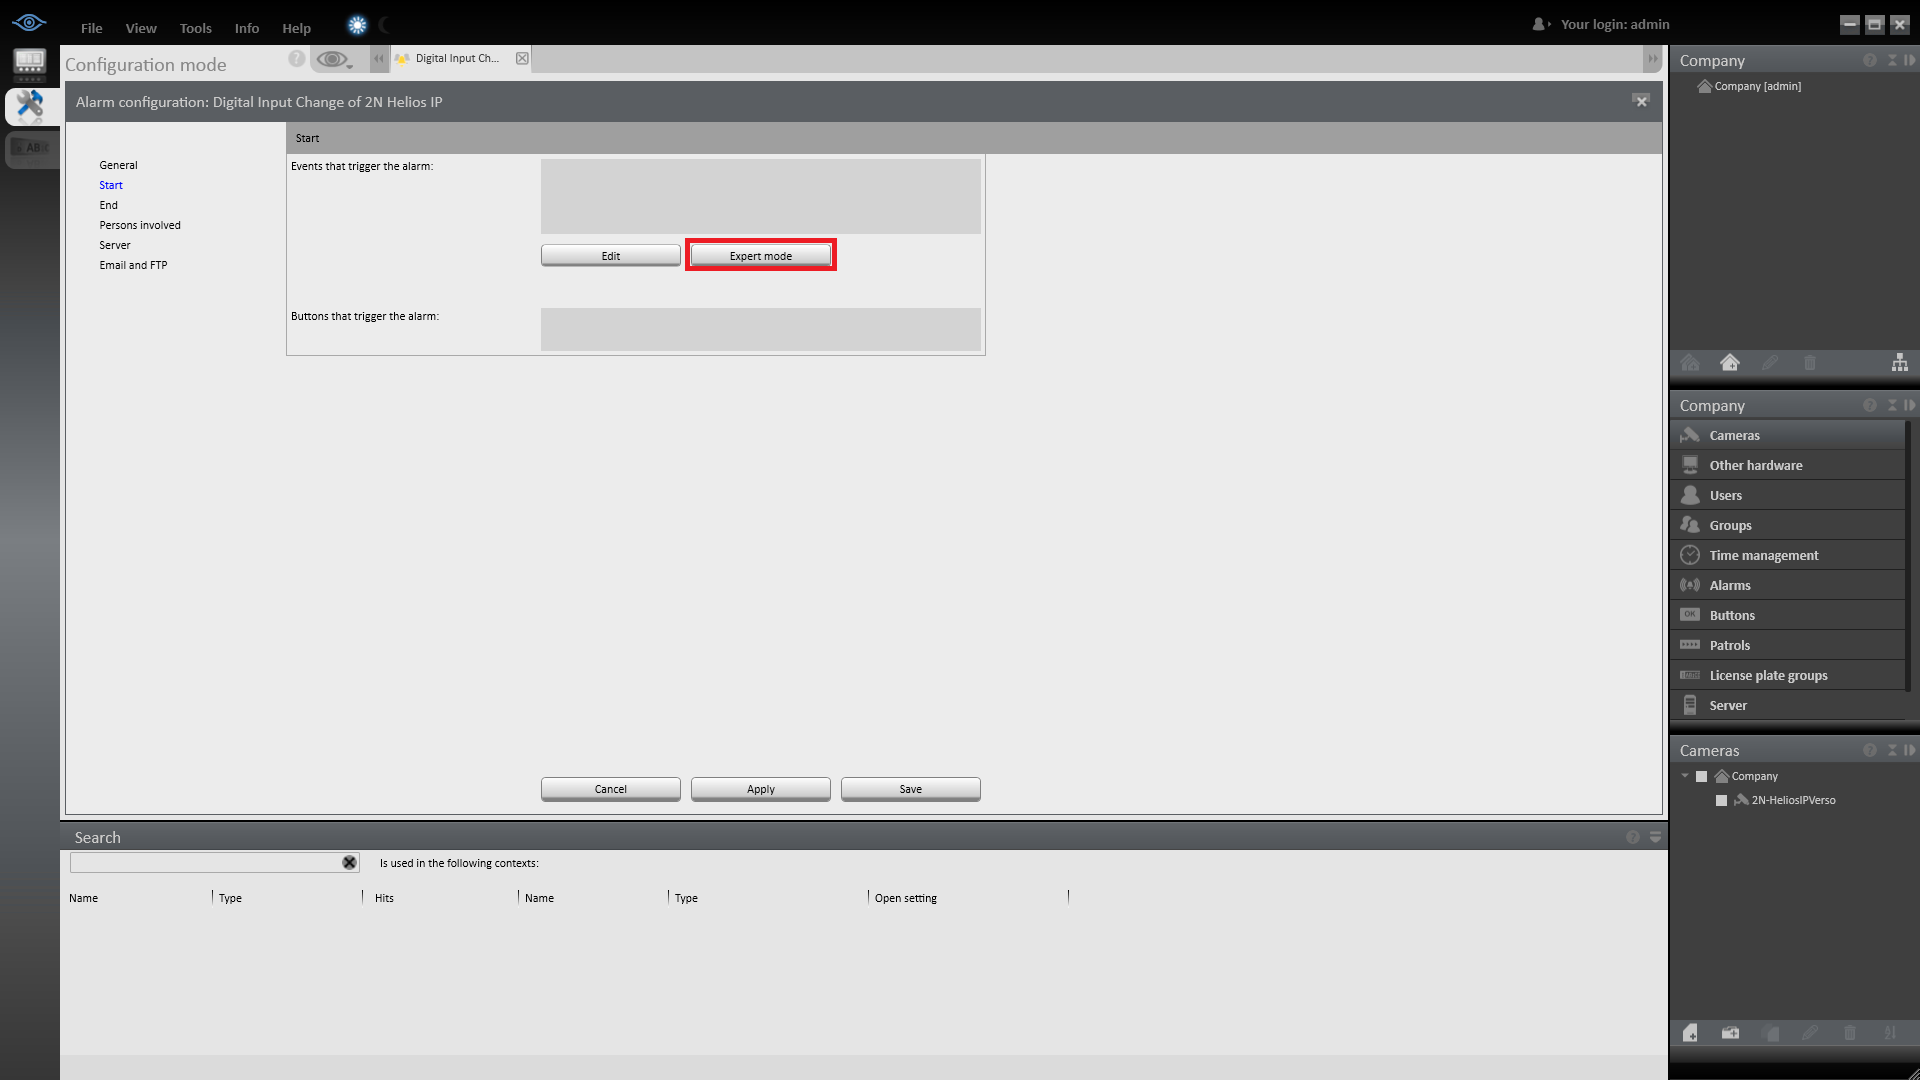
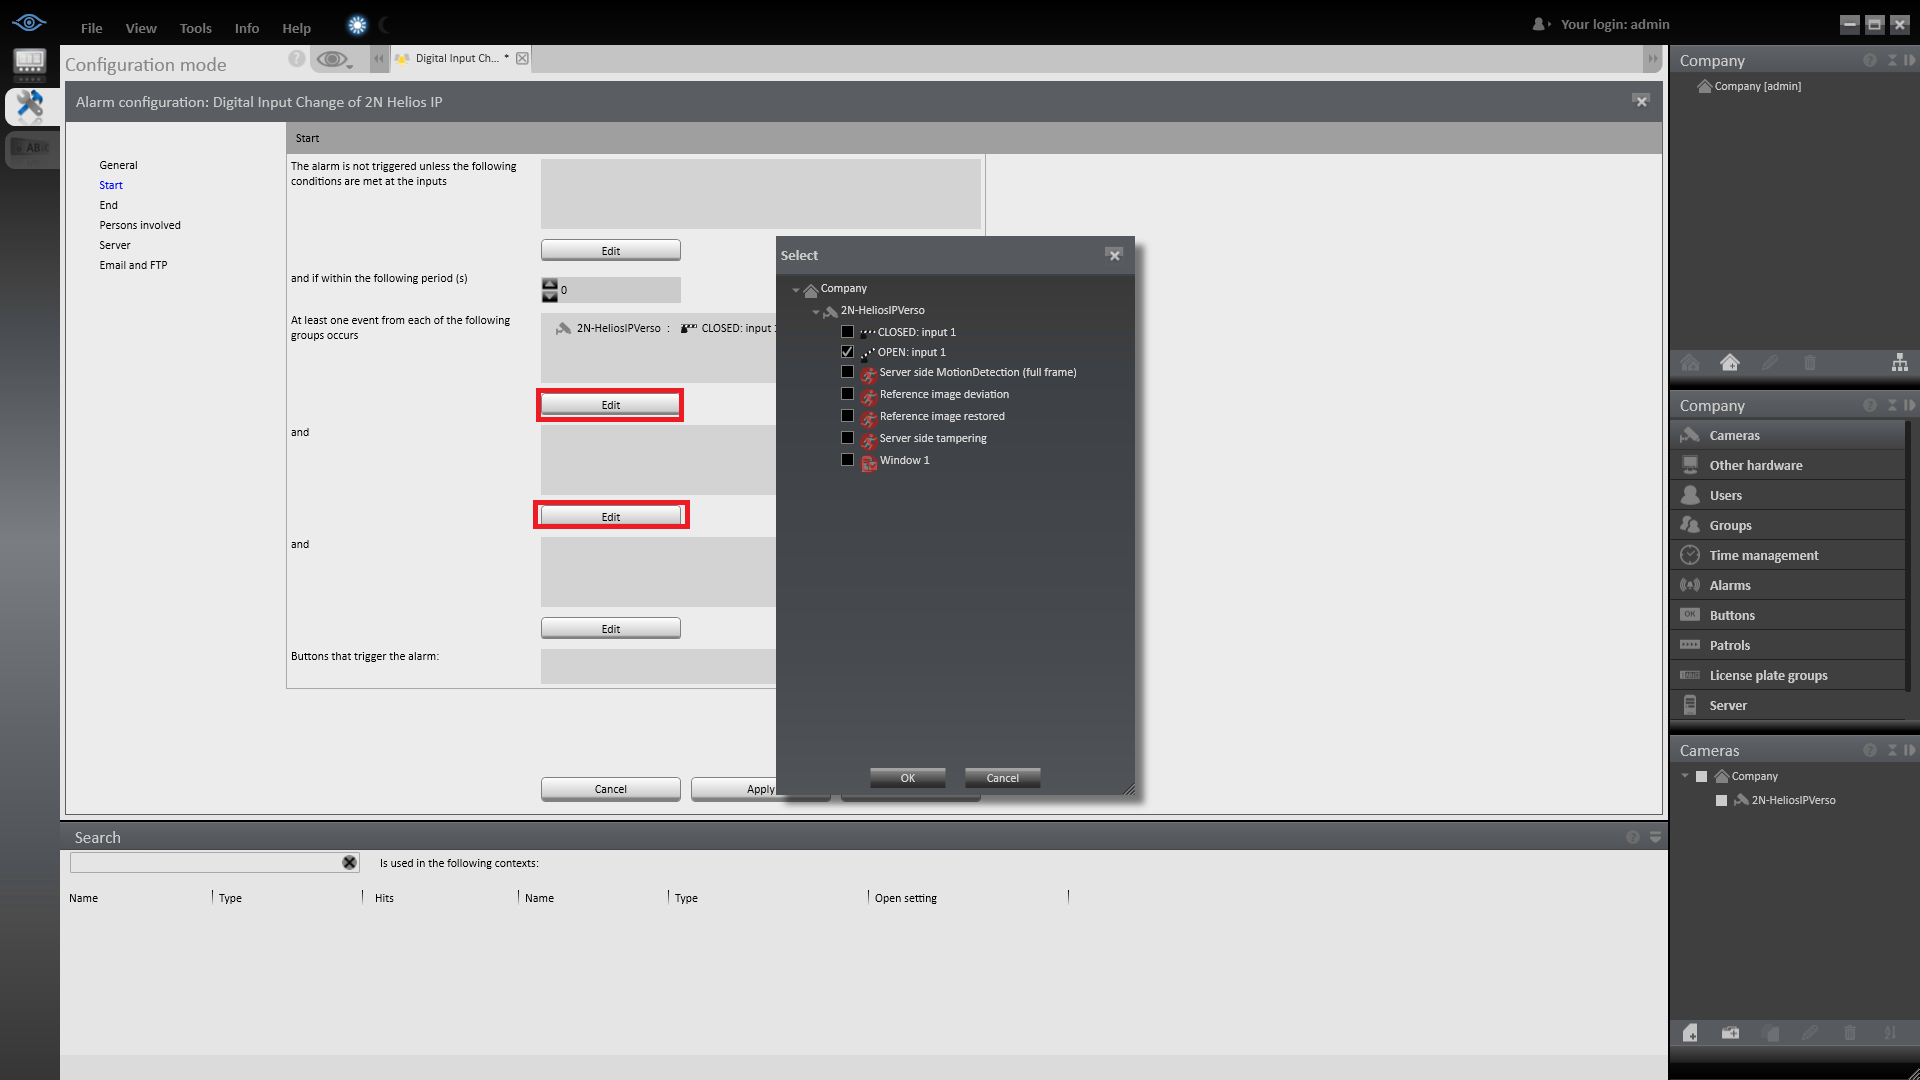
Buttons to control switches on 2N IP Intercom are created in Ocularis Recorder Manager. In the first step it this needed to open configuration of 2N IP Intercom and activate digital outputs that are managed by the switch. To open configuration choose Cameras > Your Desired Camera > Digital outputs. Confirm it by Apply button.

After activating the outputs close the configuration of camara and create new button by choosing Buttons , then in the lowest part of Ocularis Recorder Manager window create new object and in the pop-up window name your new button.
In configuration of the button bind bind to your camera by enabling and choosing Specific camera. Confirm it by Apply button.
In next step go to Action men. Check Perform action then select your output of your 2N IP Intercom by clicking on Select. Confirm it by OK and then by Apply button.
Follow the same procedure to create button for closing the switch. In Ocularis Client you should be able to see created buttons in camera view by clicking on aux button near controls of your camera. Now you can choose desired action button to open or close the switch.

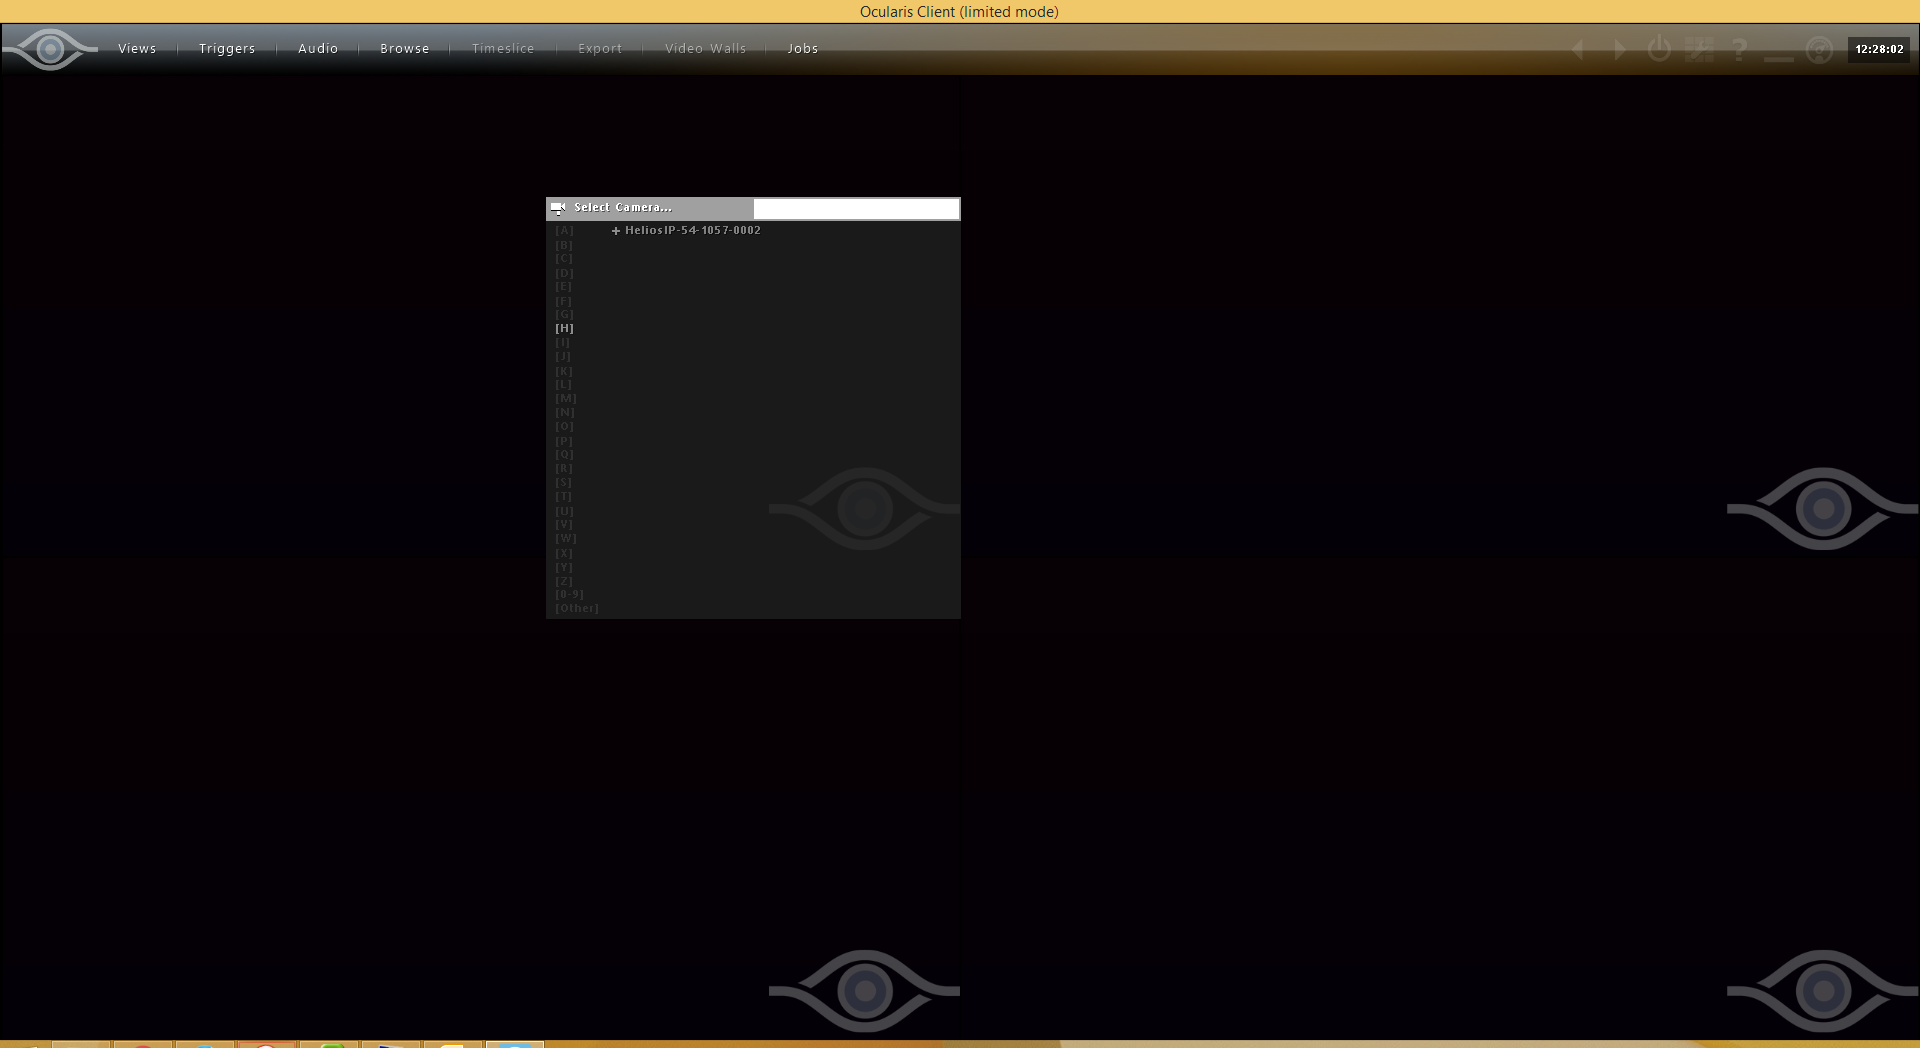
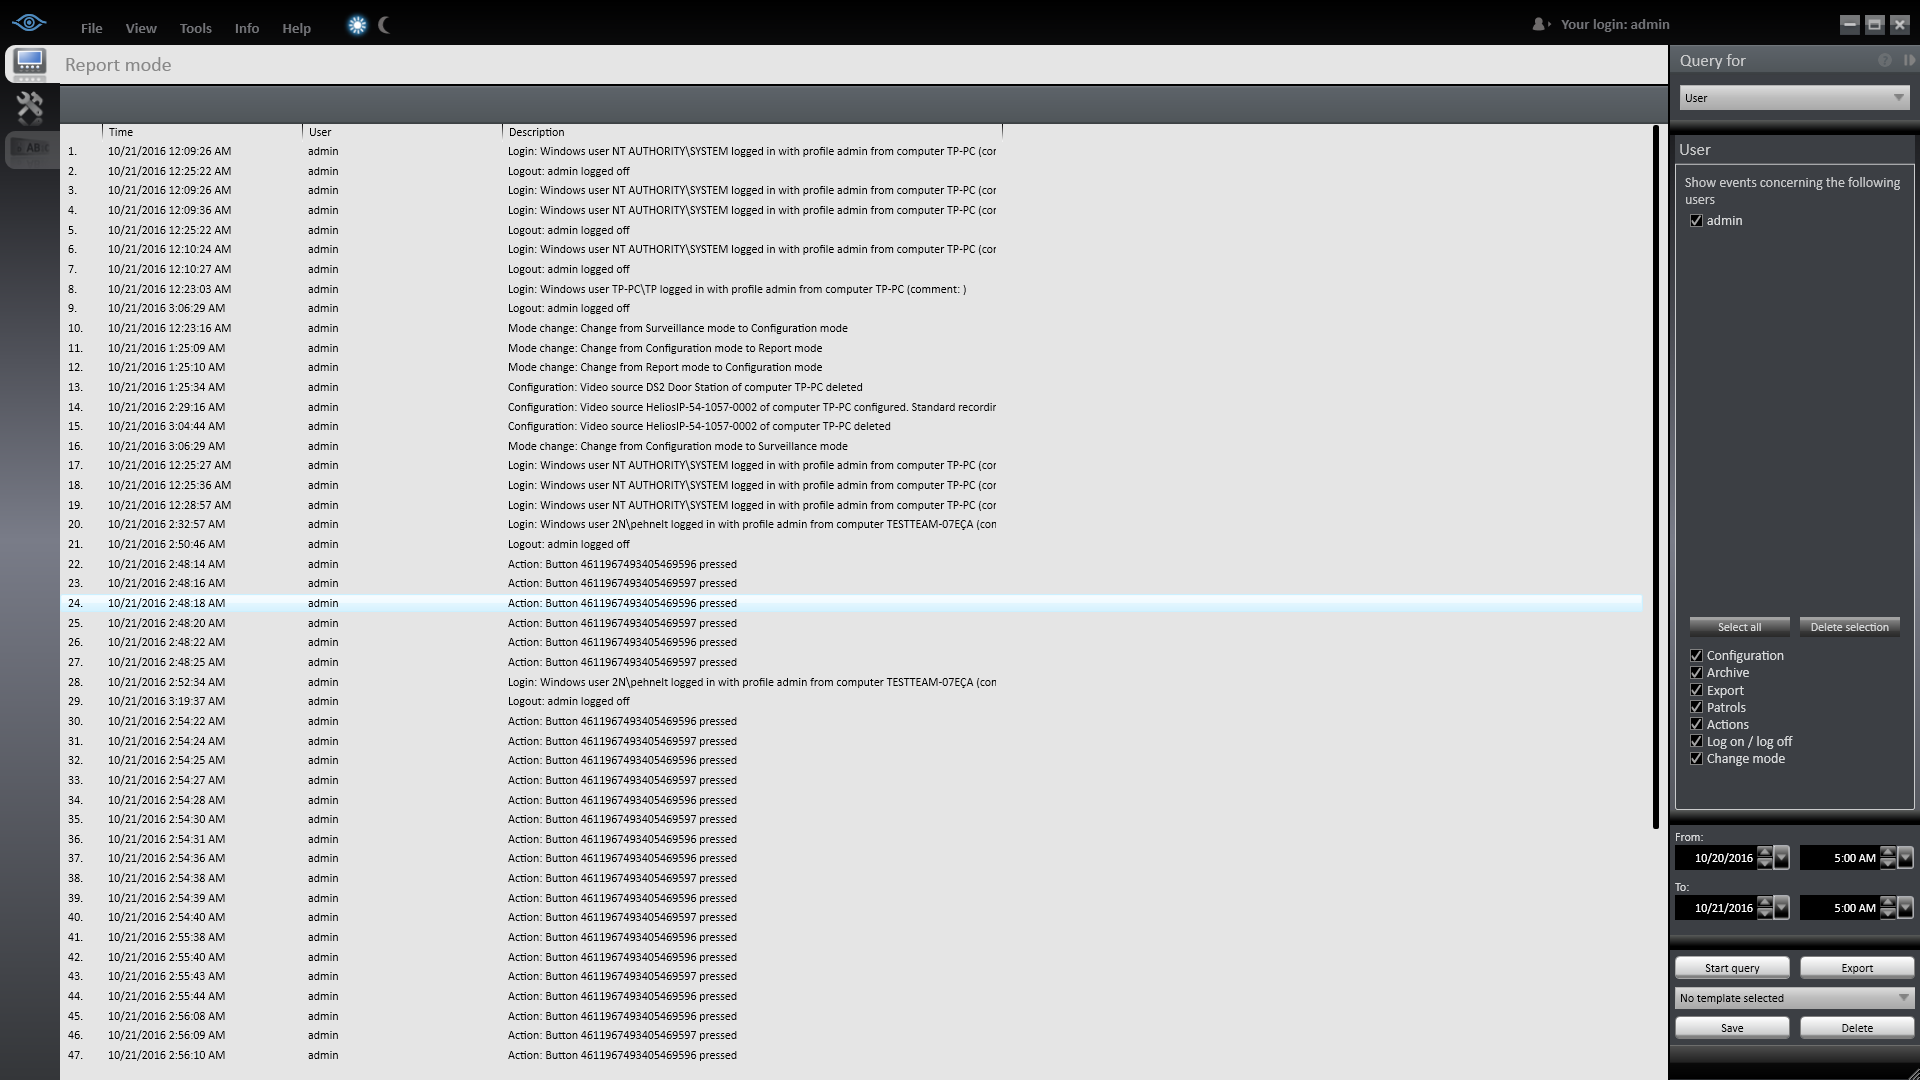
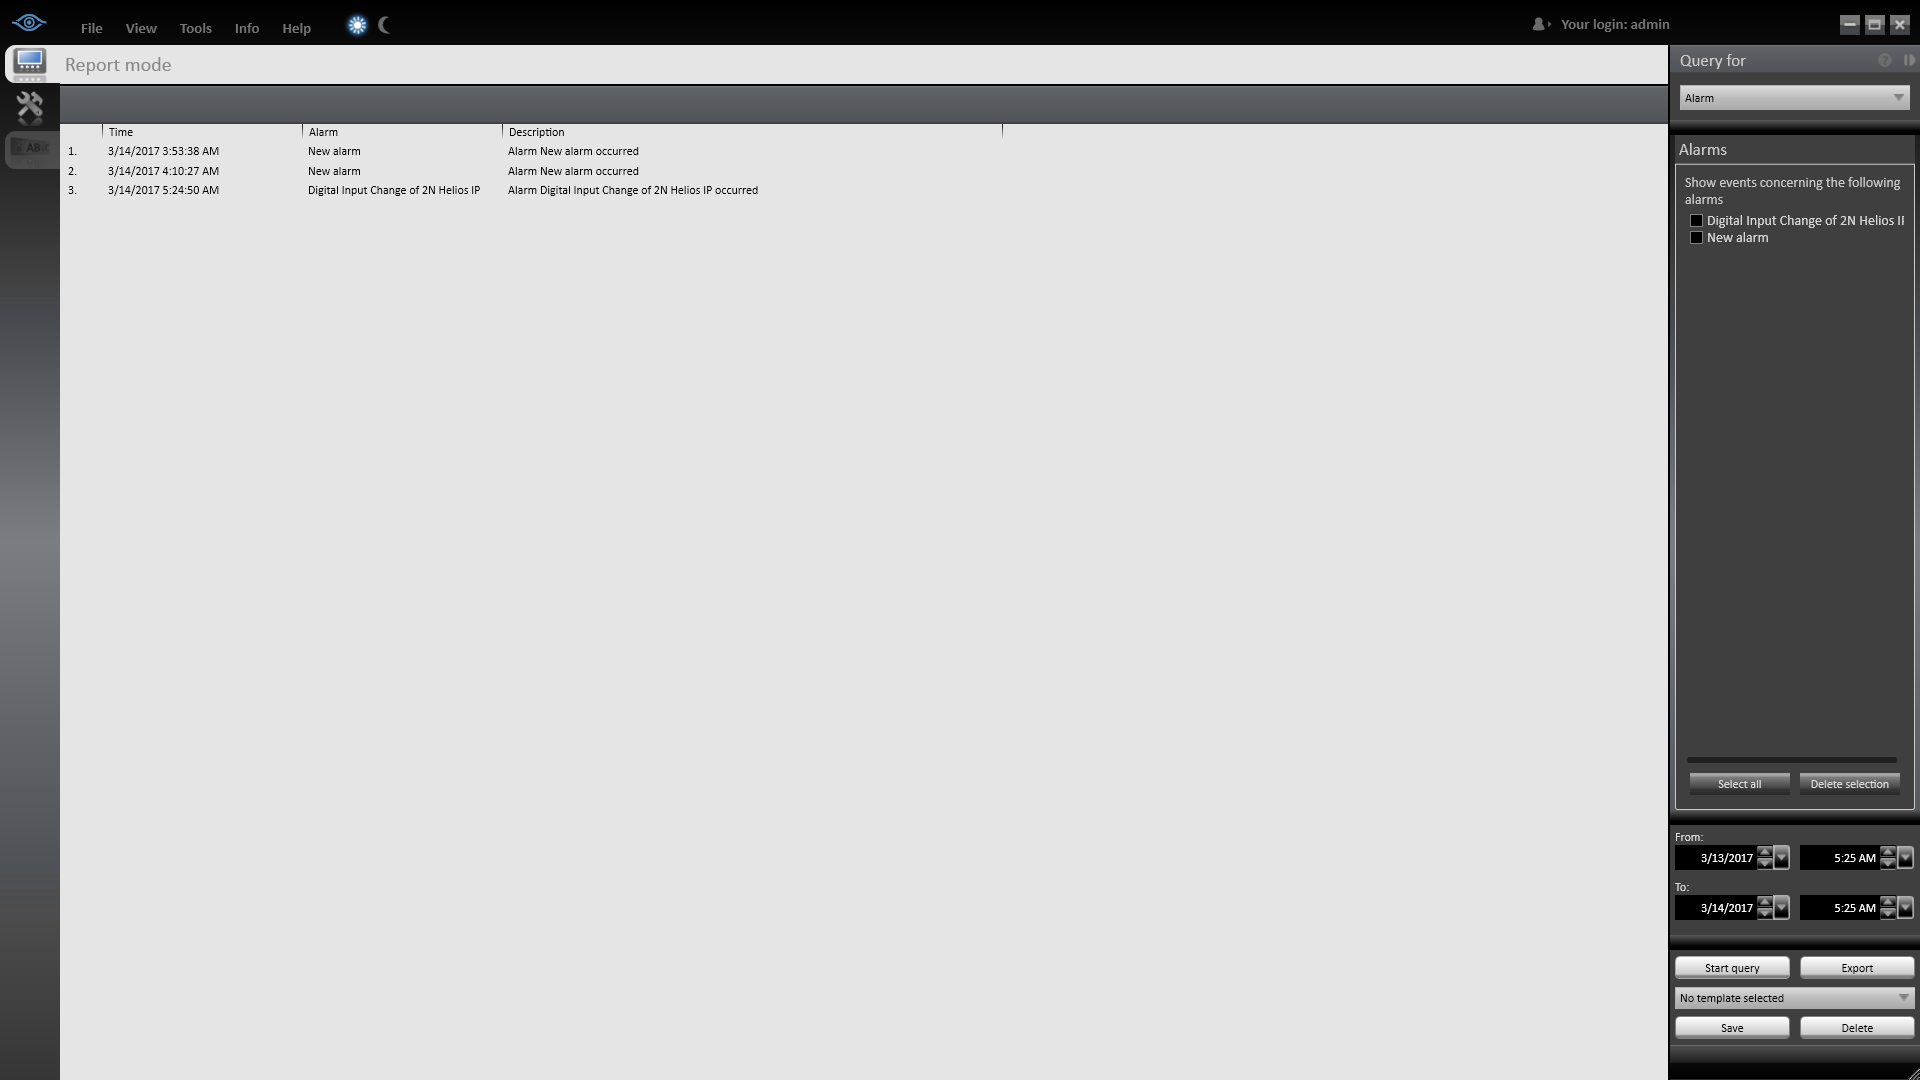
Ocularis can process events like press of created buttons in  Report mode. These events can be found in Query for User choosing appropriate parameters and then search for events by confirming Start query.

To process Digital Input change of 2N IP Intercom, Alarm in OnSSI Ocularis can be created. In alarm is created in configuration mode by Create alarm button and confirming OK after chosing appropriate name for the alarm.
After creation of an alarm, trigger for the alarm can be set in Start Section and chosing Expert mode, confirm any dialog pop-up window.
In section "At least one event from each of the following ... " chose edit and find Event corresponding to closed digital input of your 2N IP Intercom. In next section that follows after "and" chose in edit option corresponding to open digital input of your 2N IP Intercom. After this step confirm settings by apply or save button.
In section general of alarm configuration alarm can be triggered by "Test" button. Triggered alarms can be listed in report mode andin query for alarms.

Used Symbols

(tikot) - Compatible

(varování) - Work with limitation

(chyba) - Incompatible