3.3 Display-Equipped Intercom as Viewed by External User
Until the display program is uploaded to 2N® IP Vario, the display shows the 2N logo; refer to the figure below. In this state, 2N® IP Vario behaves and is controlled like no-display models, see Display-Equipped 2N® IP Vario Control as Viewed by External User.
 |
Display with enabled function without configuration
 |
Display with disabled function
With the proper display configuration, the advertisement or electronic name tag mode is displayed upon the 2N® IP Vario power on as pre-programmed.
The display-equipped 2N® IP Vario model is controlled using the numeric keypad and quick dialling buttons. Buttons 2, 4, 6 and 8 are cursor keys in the telephone directory mode. Buttons 3 and 6 are functional keys and initiate the action displayed in the right-hand and left-hand screen corners.
Advertisement Mode
One or more images defined in the display program are displayed in the advertisement mode. To quit the ad mode and move to the electronic name tag mode, push any quick dialling button or numeric keypad key.
Electronic Name Tags
1, 2 or 4 name tags emulating the paper name tags can be displayed in the electronic name tag mode. Push one of the 1, 2, 4 and 5 quick dialling buttons to call the user assigned.
 |
You can also enter the door lock opening codes and activate or deactivate a user or profile in this mode. For steps refer to the no-display 2N® IP Vario subsection. Push the quick dialling button 6 to move to the Telephone directory mode and the ![]() button to move to the Calling to number mode (only if the telephone function is enabled, see Miscellaneous).
button to move to the Calling to number mode (only if the telephone function is enabled, see Miscellaneous).
Calling to Number
If the Telephone function enable is selected (see Miscellaneous), 2N® IP Vario can be used for calling to selected telephone numbers in a standard way. Push ![]() in the Electronic name tag mode to move to this mode.
in the Electronic name tag mode to move to this mode.
 |
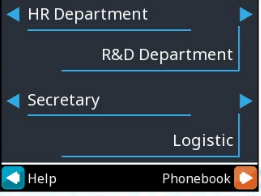
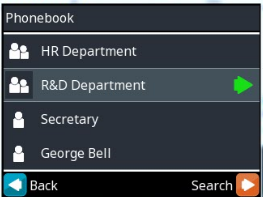
Phone Book
A structured phone book as defined by the display program is displayed in the telephone directory mode. To browse through the telephone directory use the numeric keypad arrow keys (i.e. keys 2, 4, 6 and 8). Use the up and down arrows to move between the items. Push the right arrow to establish a call or move to a subgroup. The ![]() key and quick dialling buttons 4 and 5 have the same function as the right arrow. Use the left arrow to return to the superior group.
key and quick dialling buttons 4 and 5 have the same function as the right arrow. Use the left arrow to return to the superior group.
|
You can also use the telephone directory for retrieving contacts. Push the quick dialling button 6 to switch on the phone directory searching mode.
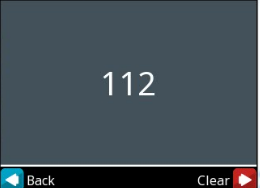
To retrieve a text, use the numeric keypad. The text to be searched is displayed in the centre of the status line. To delete the last character push the quick dialling button 3.
|
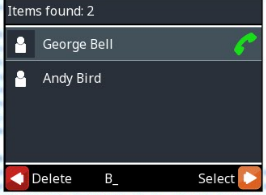
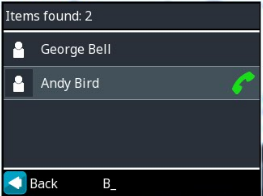
The text string is retrieved on the current level and all sublevels of the telephone directory. The count of contacts found is displayed on the top line. The first 3 (or 4) found contacts are displayed in the central part of the window.
To browse through the contacts found and select the required one, push the quick dialling button 6, thus recovering the arrow function of the numeric keypad.
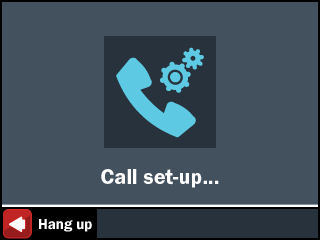
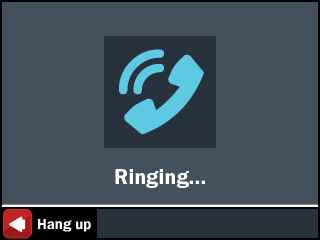
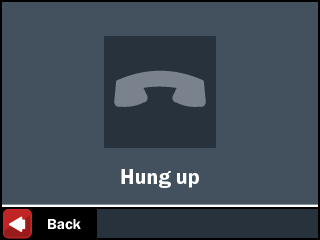
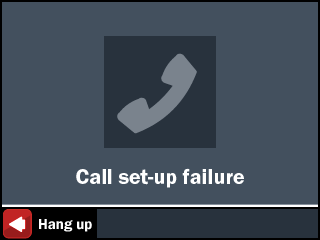
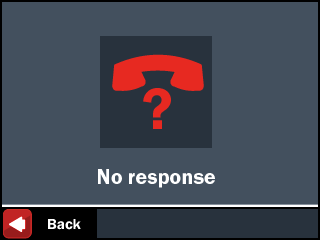
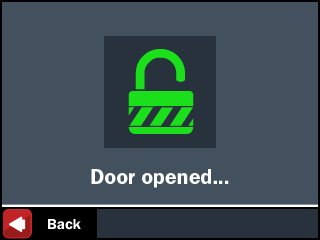
Status Information
In addition to the above described modes, the 2N® IP Vario display indicates various device statuses:
|