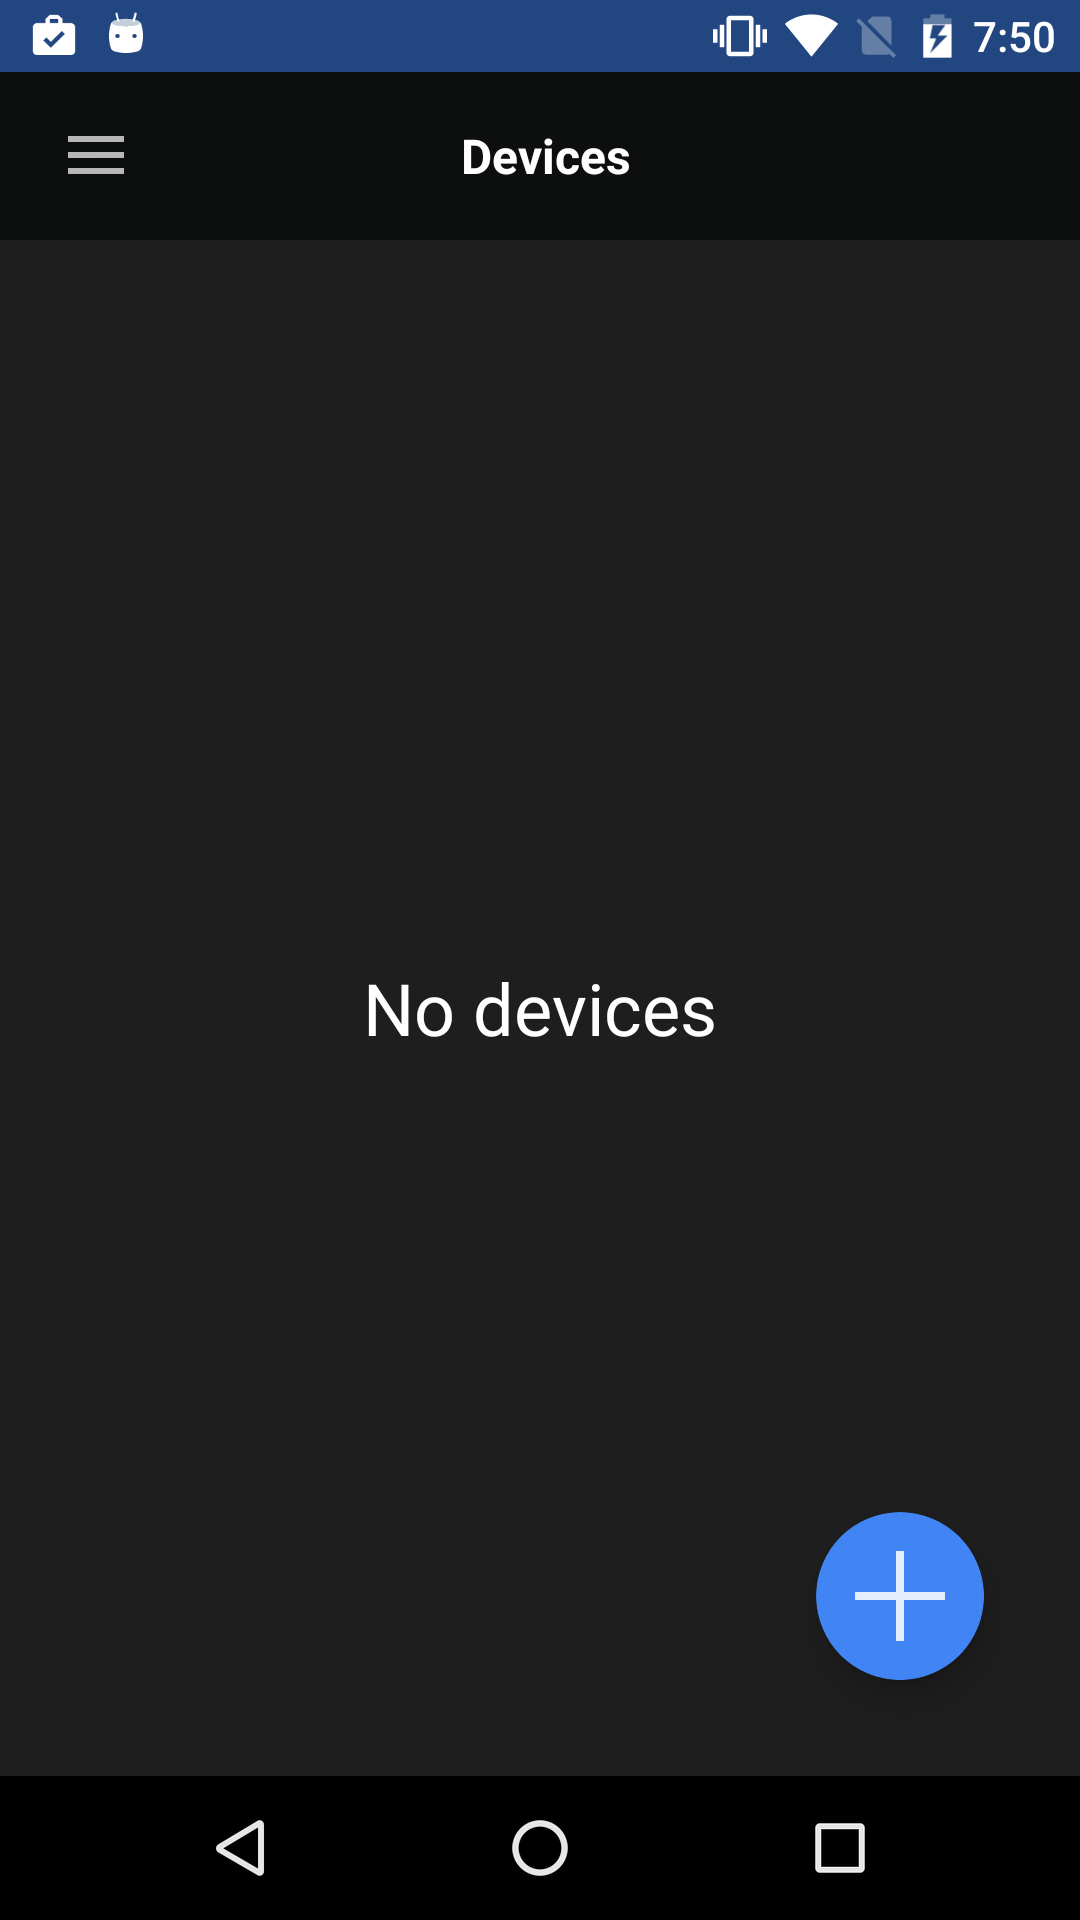
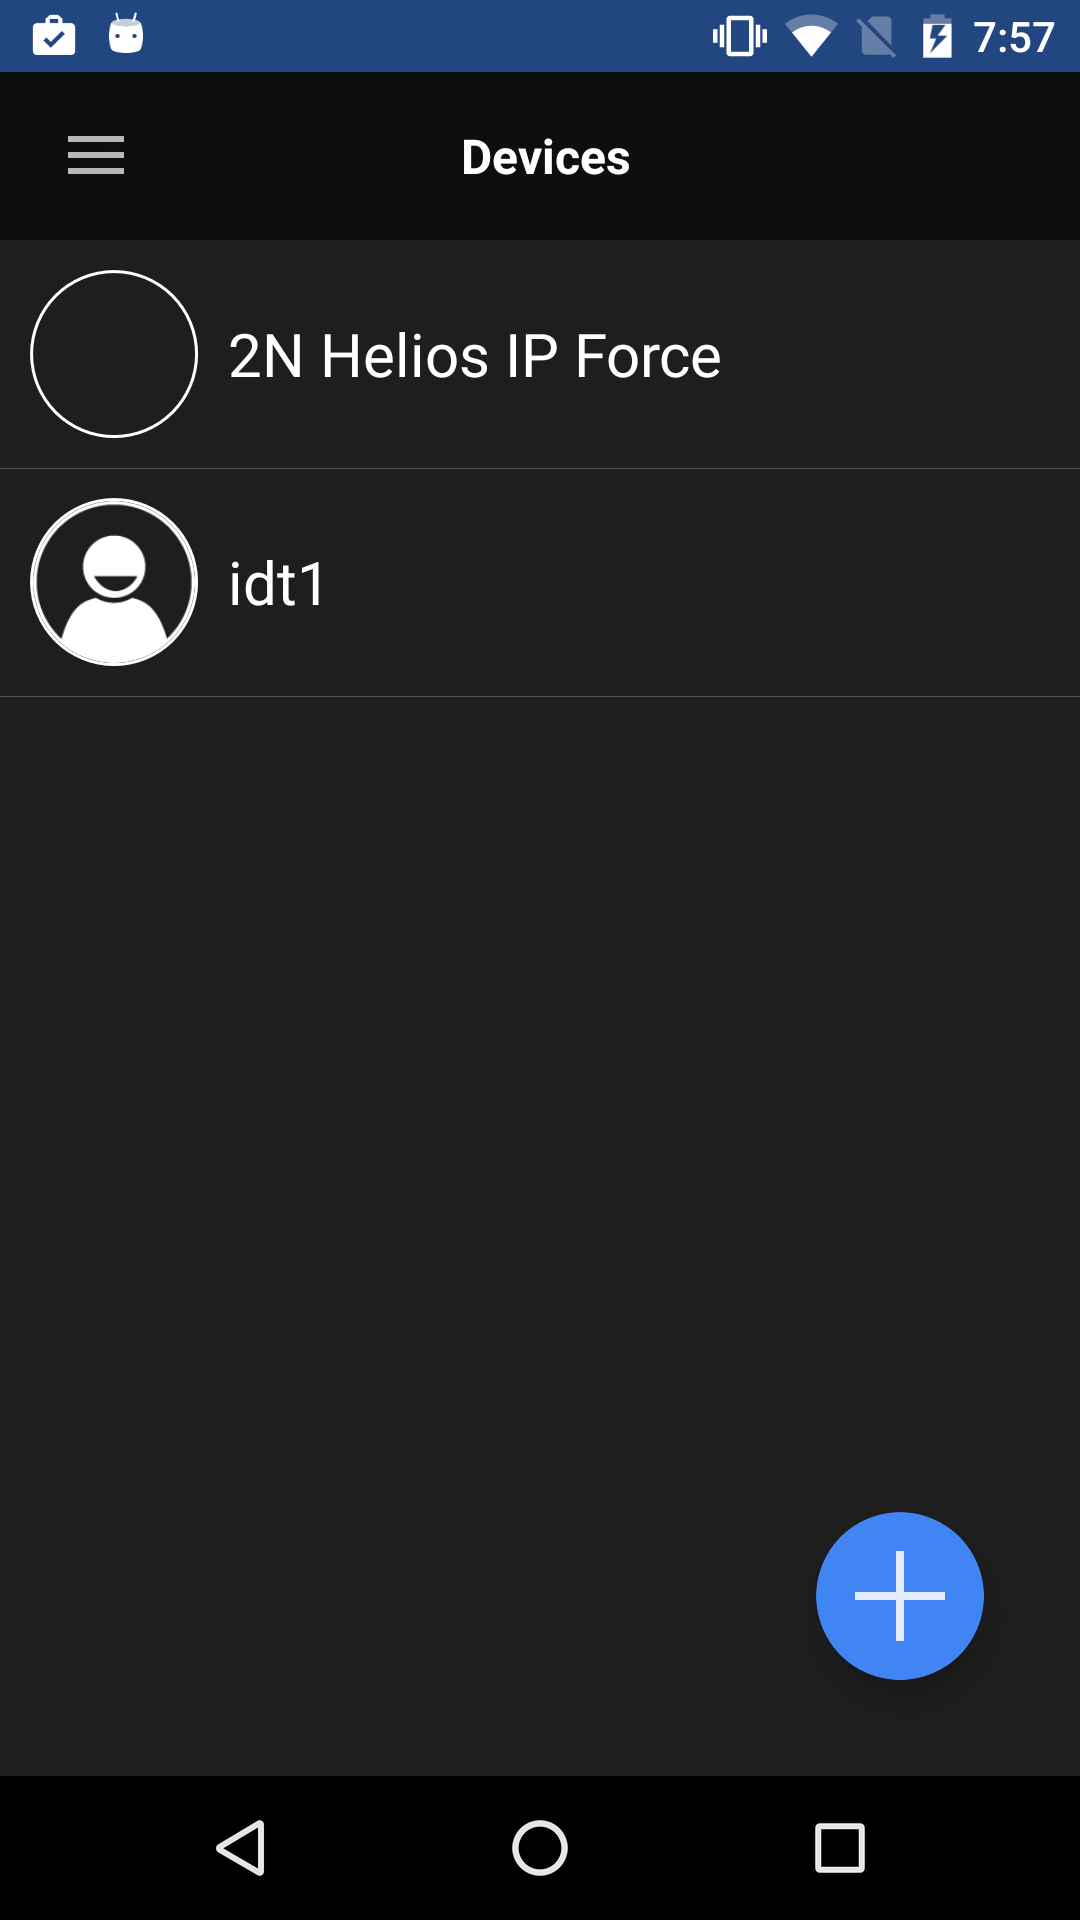
4.1.2.1 Devices
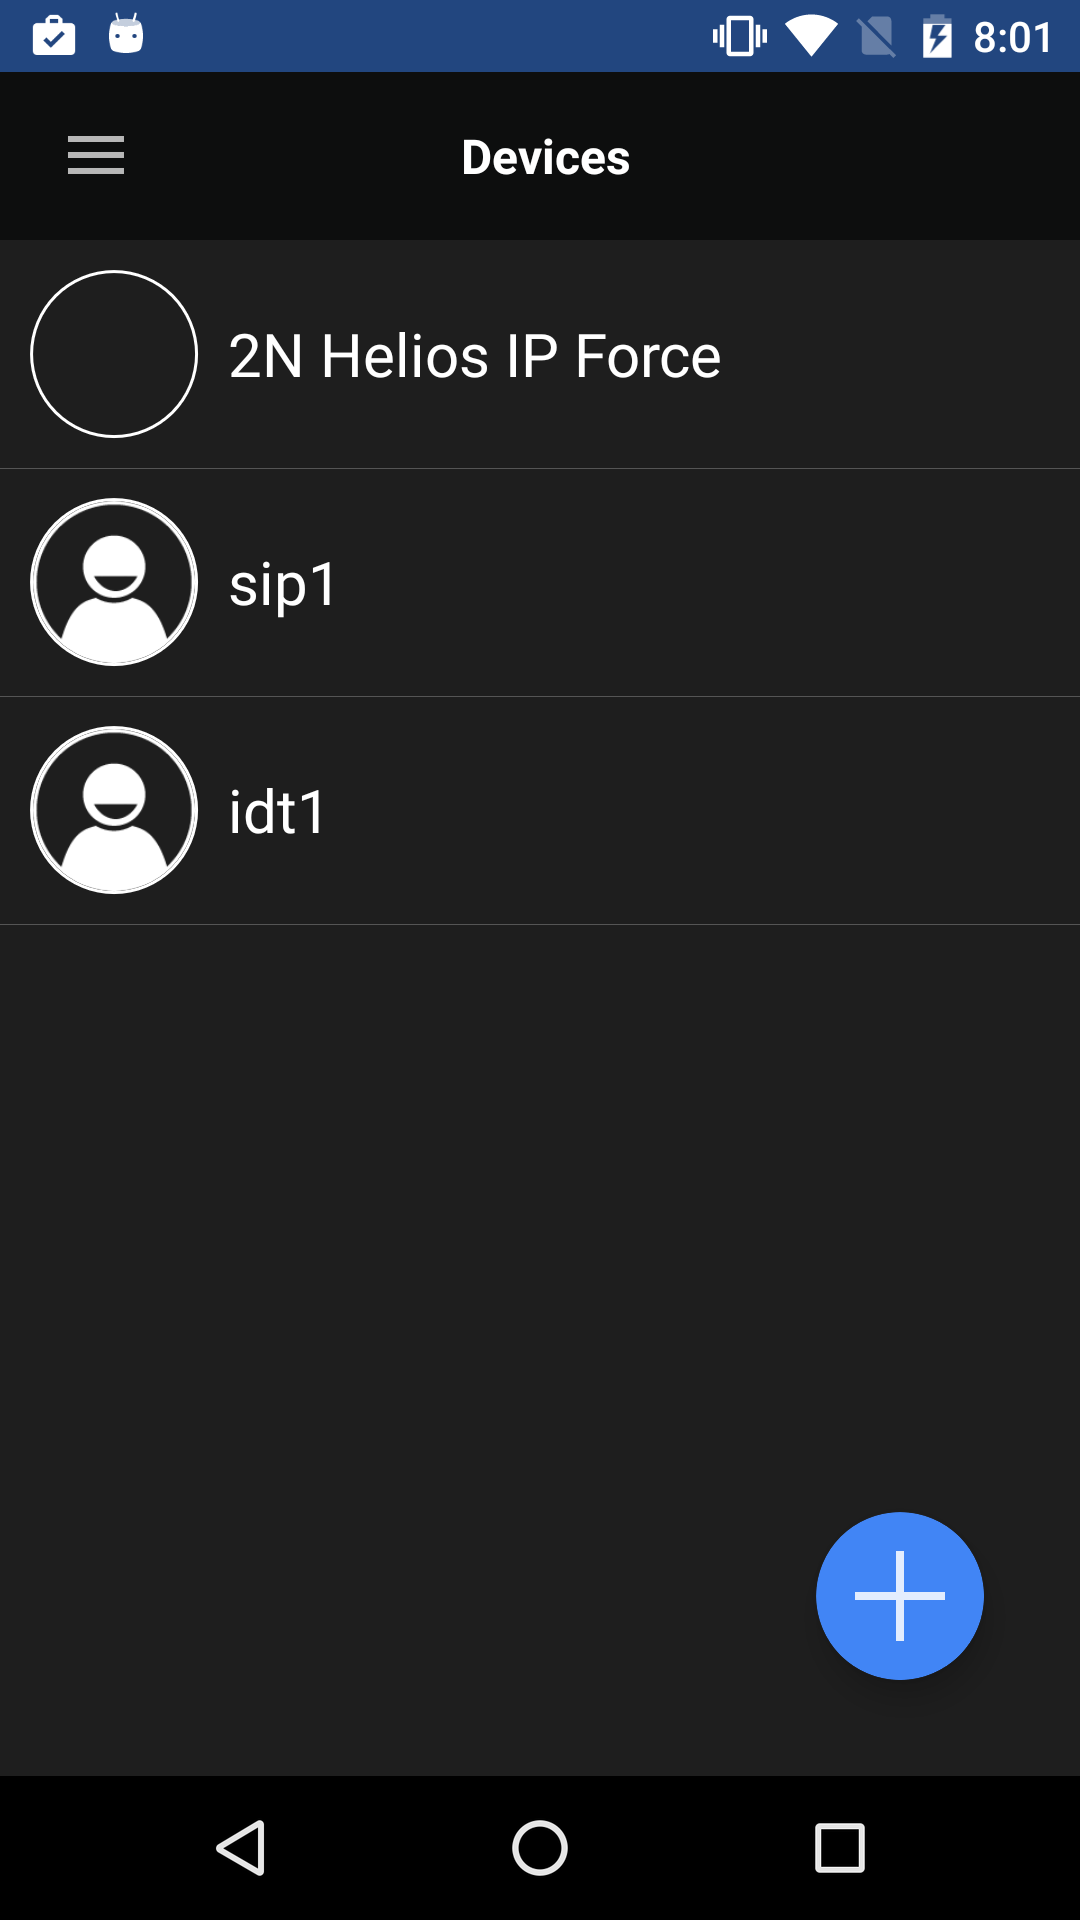
The Devices section helps you add 2N IP intercom or 2N® Indoor Touch devices and devices sharing one and the same SIP Proxy server. The 2N IP intercom and 2N® Indoor Touch devices are retrieved in the LAN automatically by the 2N® IP Mobile application. The devices that are connected to another LAN must use the SIP Proxy server and be added manually to Devices.
You can combine adding of devices from various groups (LAN / Proxy / My2N).
Note
- The application does not allow the SIP Proxy server and 2N® Mobile Video to be connected at the same time. Therefore, switching is made for the devices added too. SIP Proxy account connection, SIP Proxy creation and device listing result in saving of these devices. The application remembers these devices when connected to 2N® Mobile Video and re-lists them in Devices after SIP Proxy re-connection. The added LAN devices are always visible in the Devices menu.
Device Adding
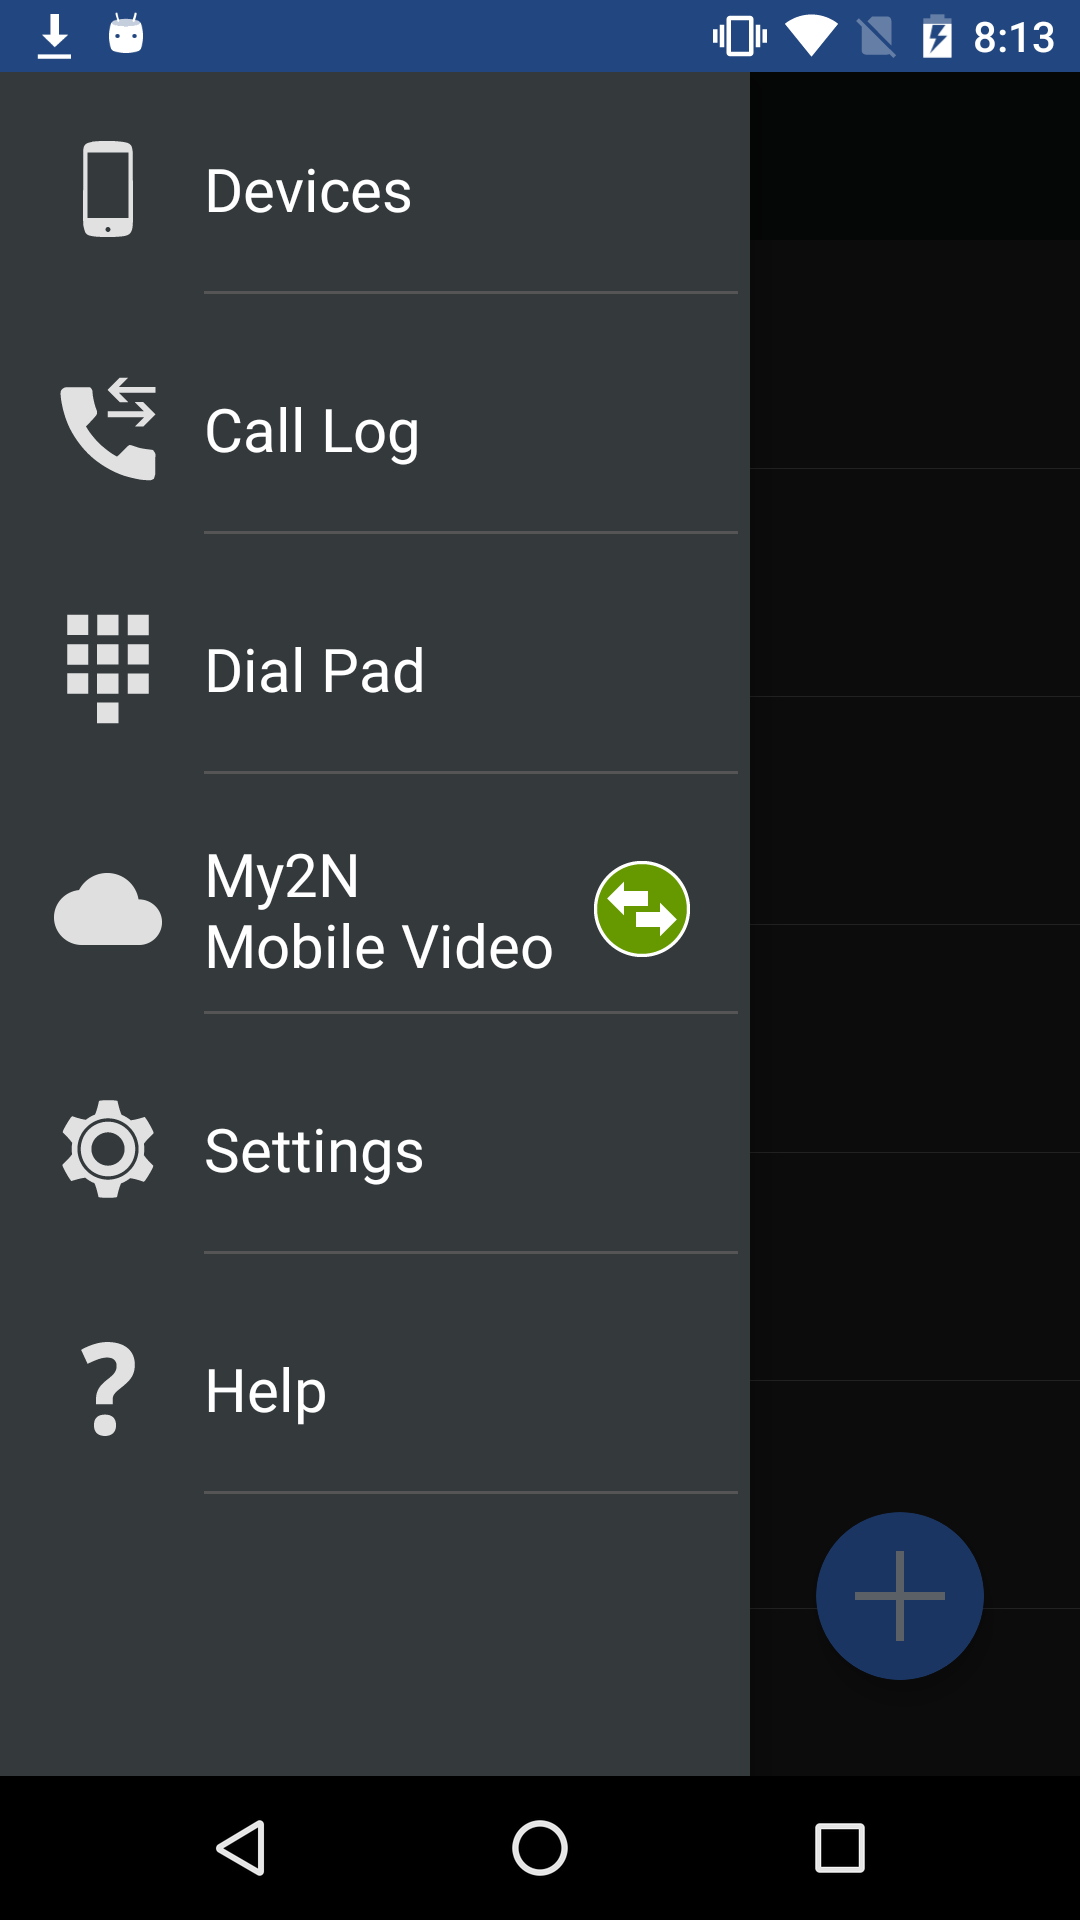
Click the ![]() icon in the right-hand bottom corner of the Devices main window to access the device adding menu.
icon in the right-hand bottom corner of the Devices main window to access the device adding menu.
 |
LAN Devices
The Devices / LAN devices window displays the automatically added 2N IP intercom, 2N® Indoor Touch and 2N® IP Mobile devices, which are currently located in one and the same LAN. Click the required row to select a device. Each device has a unique name and IP address. The selected device is marked with ![]() . Press the
. Press the ![]() button in the right-hand upper corner to select all the devices listed. Press the
button in the right-hand upper corner to select all the devices listed. Press the ![]() icon to edit the device name.
icon to edit the device name.
 |
Click the ![]() icon in the right part of the application upper panel to save the selected LAN devices. The application will move back to the Devices menu where the selected devices will be displayed.
icon in the right part of the application upper panel to save the selected LAN devices. The application will move back to the Devices menu where the selected devices will be displayed.
 |
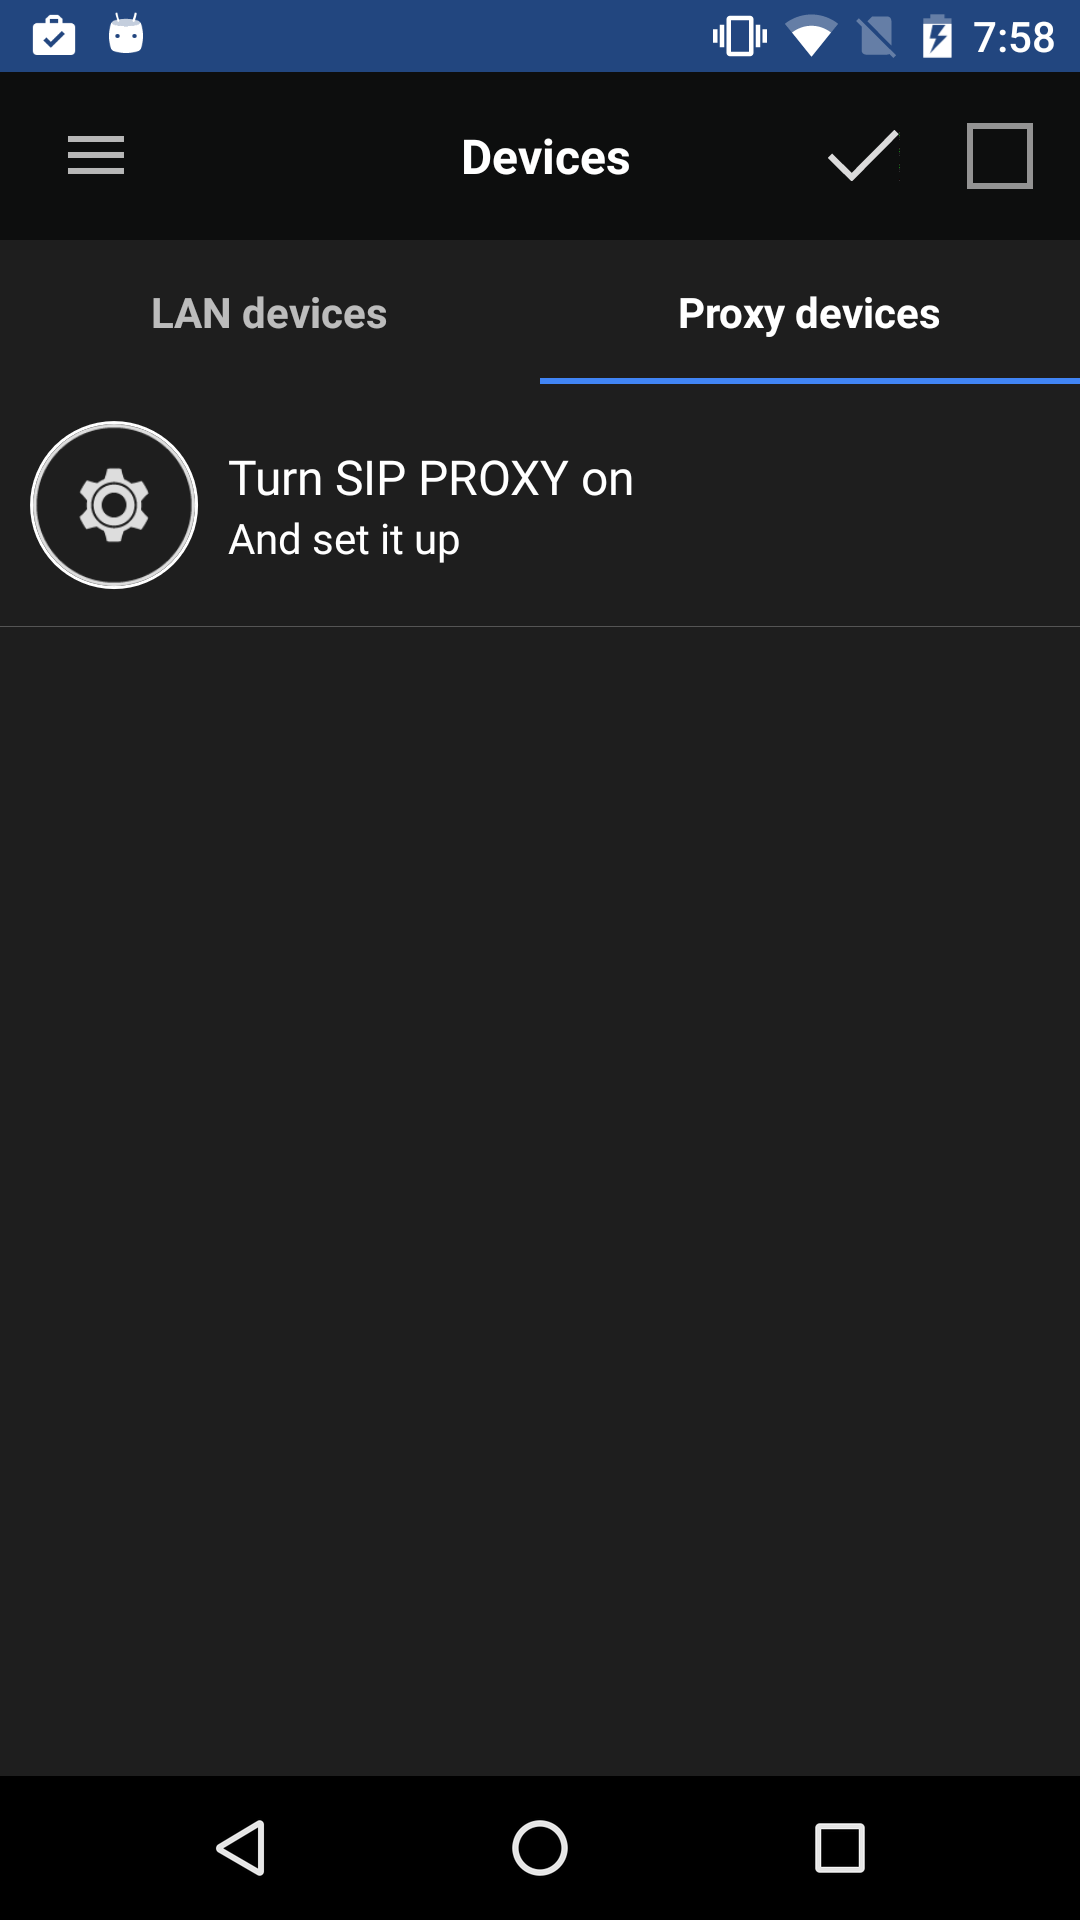
Proxy Devices
It is necessary to register with a SIP Proxy server to enable SIP Proxy devices.
Note
- The application will not allow you to add, create or edit a SIP Proxy device until connected correctly to a SIP Proxy server.
Registration with Proxy
To communicate successfully, 2N® IP Mobile and SIP supporting devices have to be registered with a common SIP Proxy server.
 |
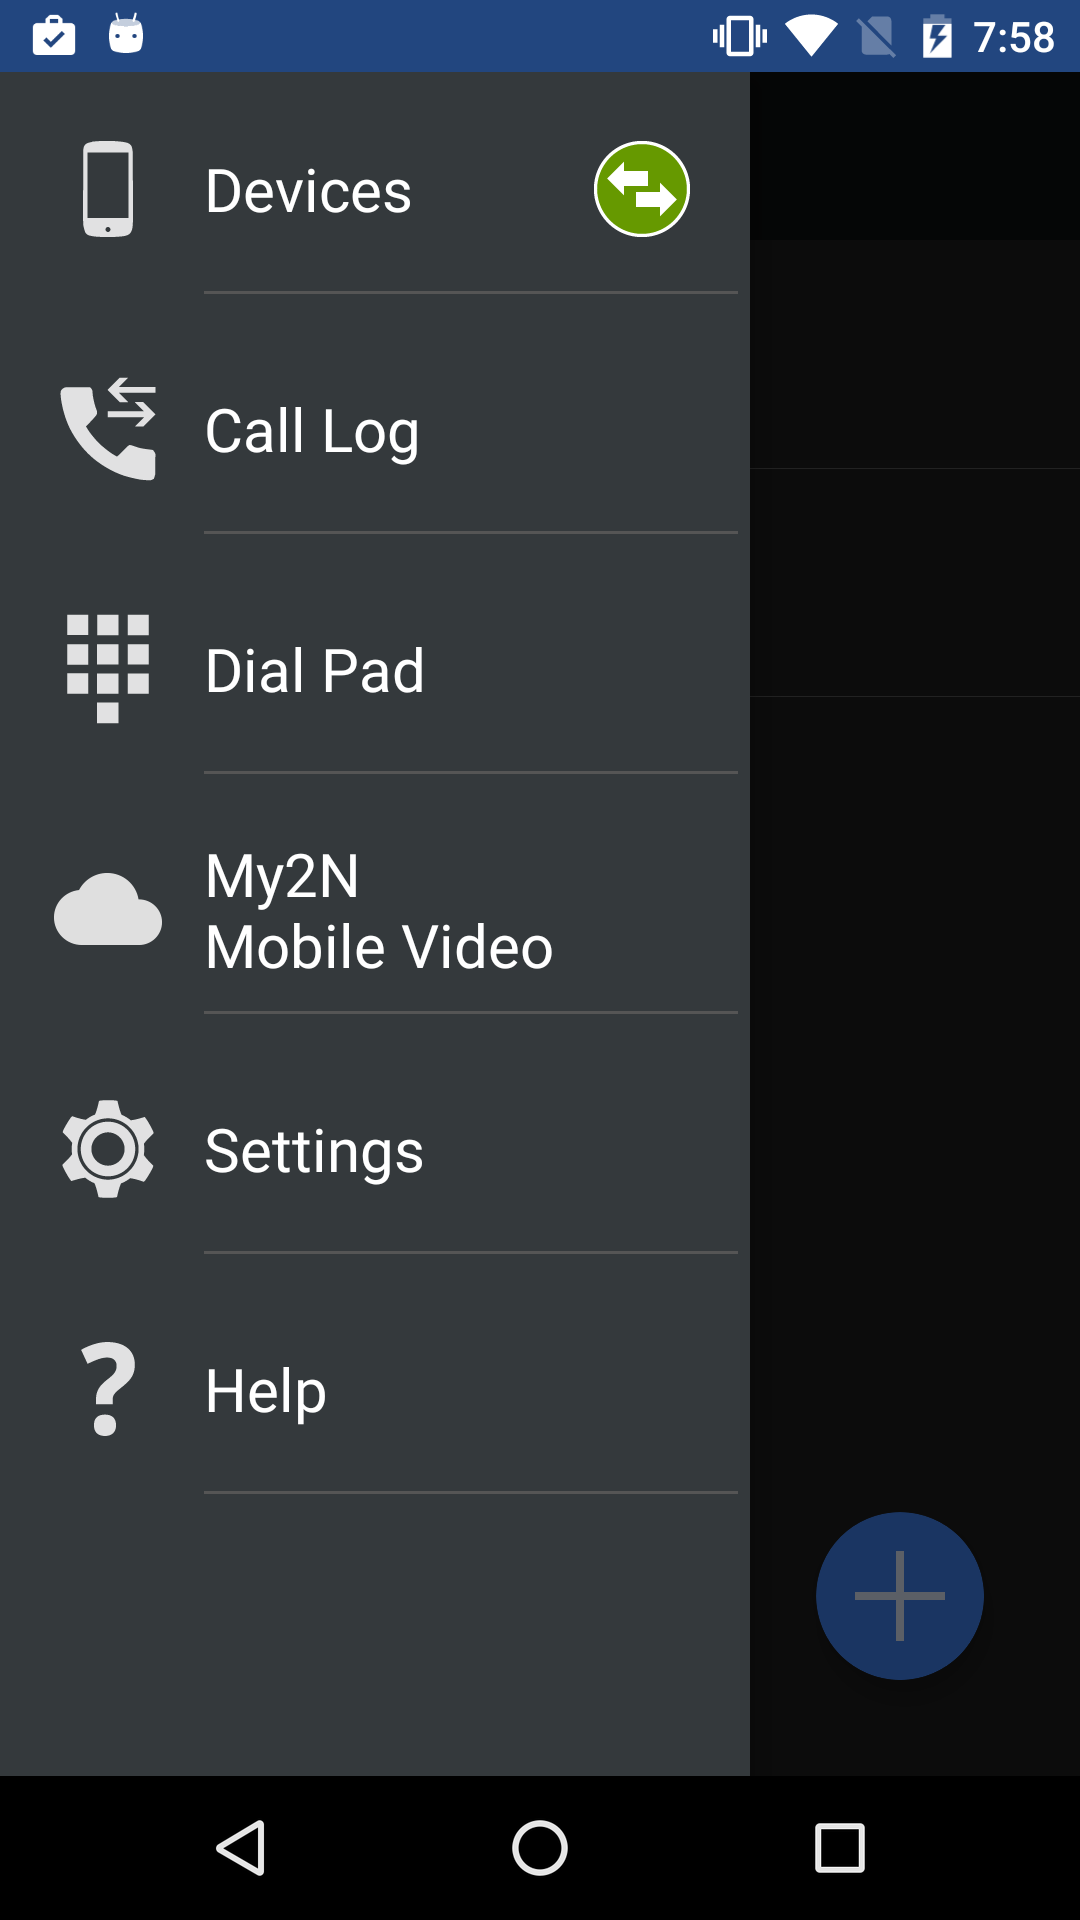
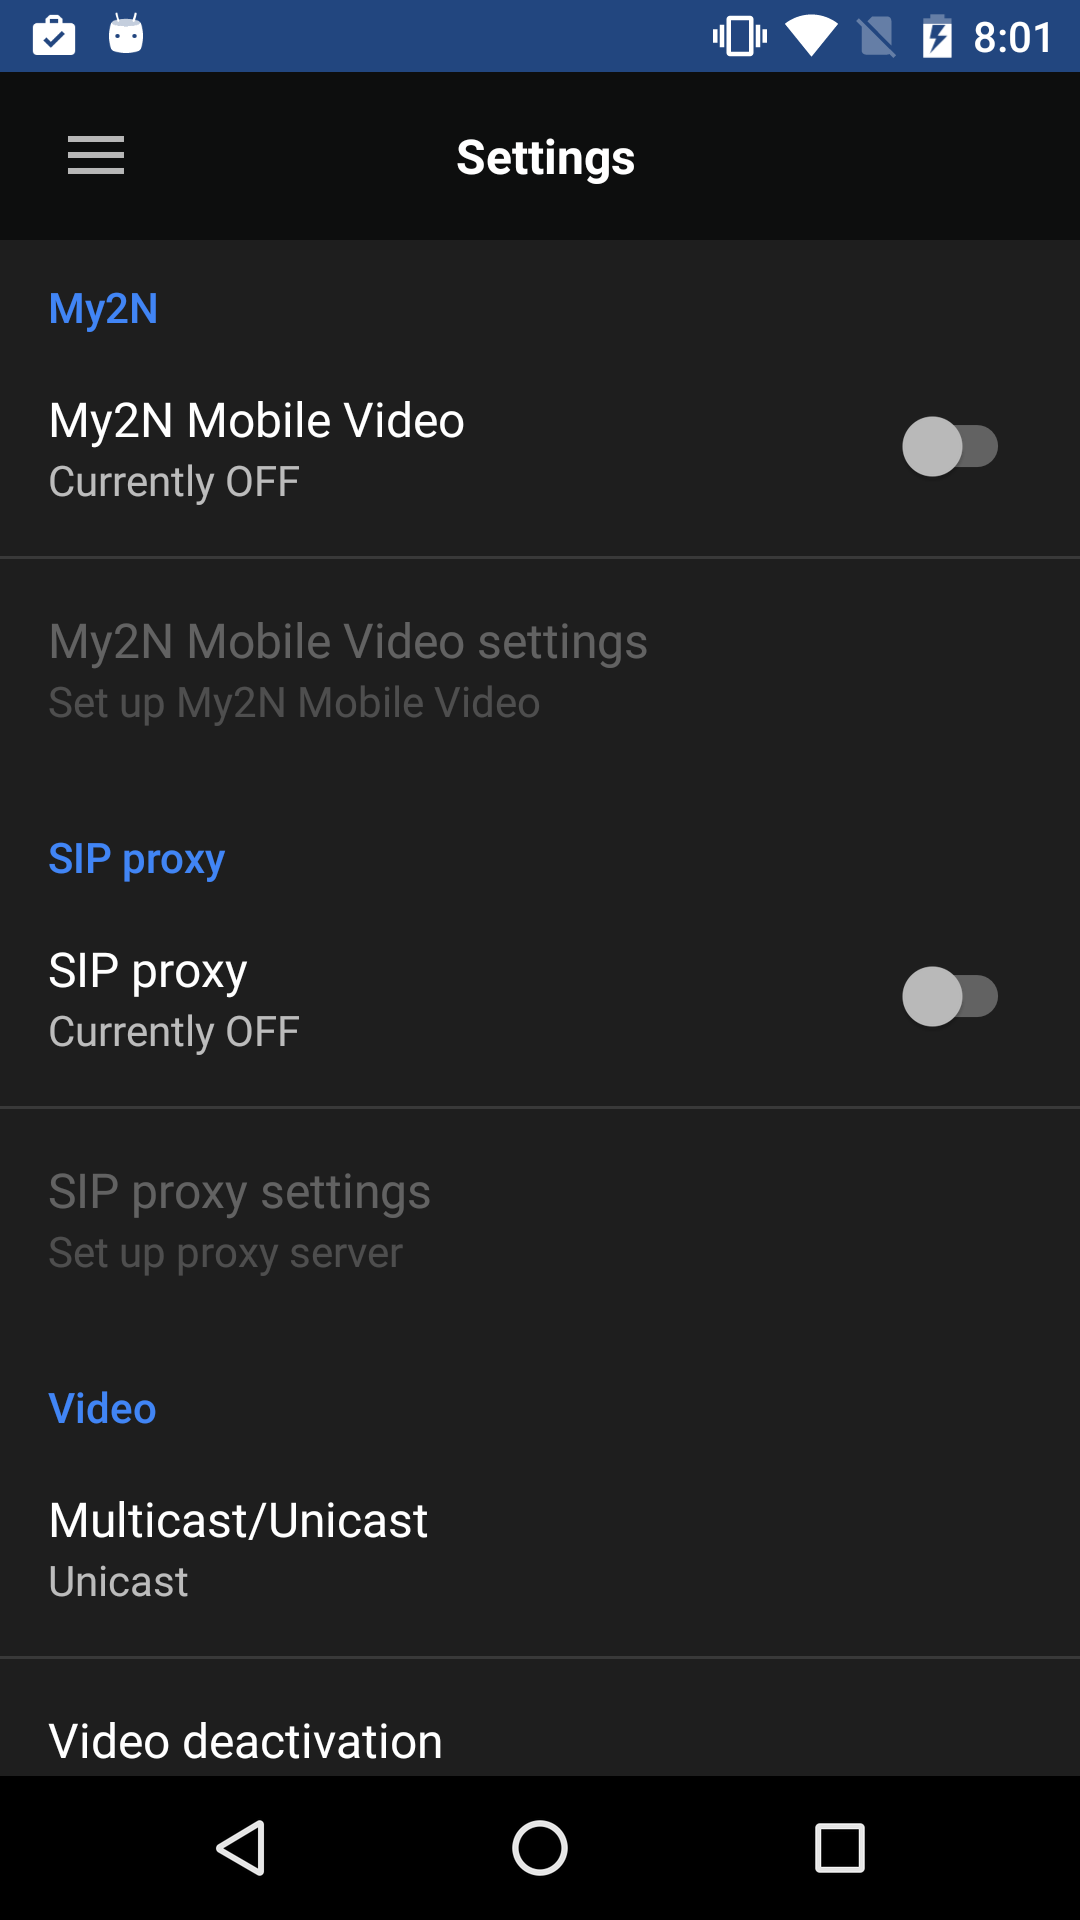
Click the ![]() row to switch the application into the Settings menu. Here switch the SIP Proxy ON and then go to the SIP Proxy Settings editing menu to set the SIP Proxy server connecting parameters. Refer to Subs. 4.3.2. for details.
row to switch the application into the Settings menu. Here switch the SIP Proxy ON and then go to the SIP Proxy Settings editing menu to set the SIP Proxy server connecting parameters. Refer to Subs. 4.3.2. for details.
Complete the parameters correctly to register 2N® IP Mobile with the SIP Proxy server. View the notification icon to check the registration states:
 – the application is successfully registered with the SIP Proxy server.
 – the application is trying to register with the SIP Proxy server. The SIP Proxy registration has not been successfully completed yet.
 – the SIP Proxy server registration is inactive due to SIP Proxy server rejection or unavailability.
 |
Caution
- The 2N® IP Mobile application requires the minimum registration expiration time of 60 s to avoid disconnection from the SIP Proxy server.
Proxy Device Adding
If 2N® Indoor Touch with 2N® IP Mobile is successfully registered with a SIP Proxy server, SIP Proxy devices can be added to the Devices list manually. Click the ![]() icon in the right-hand bottom corner of the Devices main window to enter the editing menu. Then switch the editing menu to the Proxy devices section using the tab below the application title row.
icon in the right-hand bottom corner of the Devices main window to enter the editing menu. Then switch the editing menu to the Proxy devices section using the tab below the application title row.
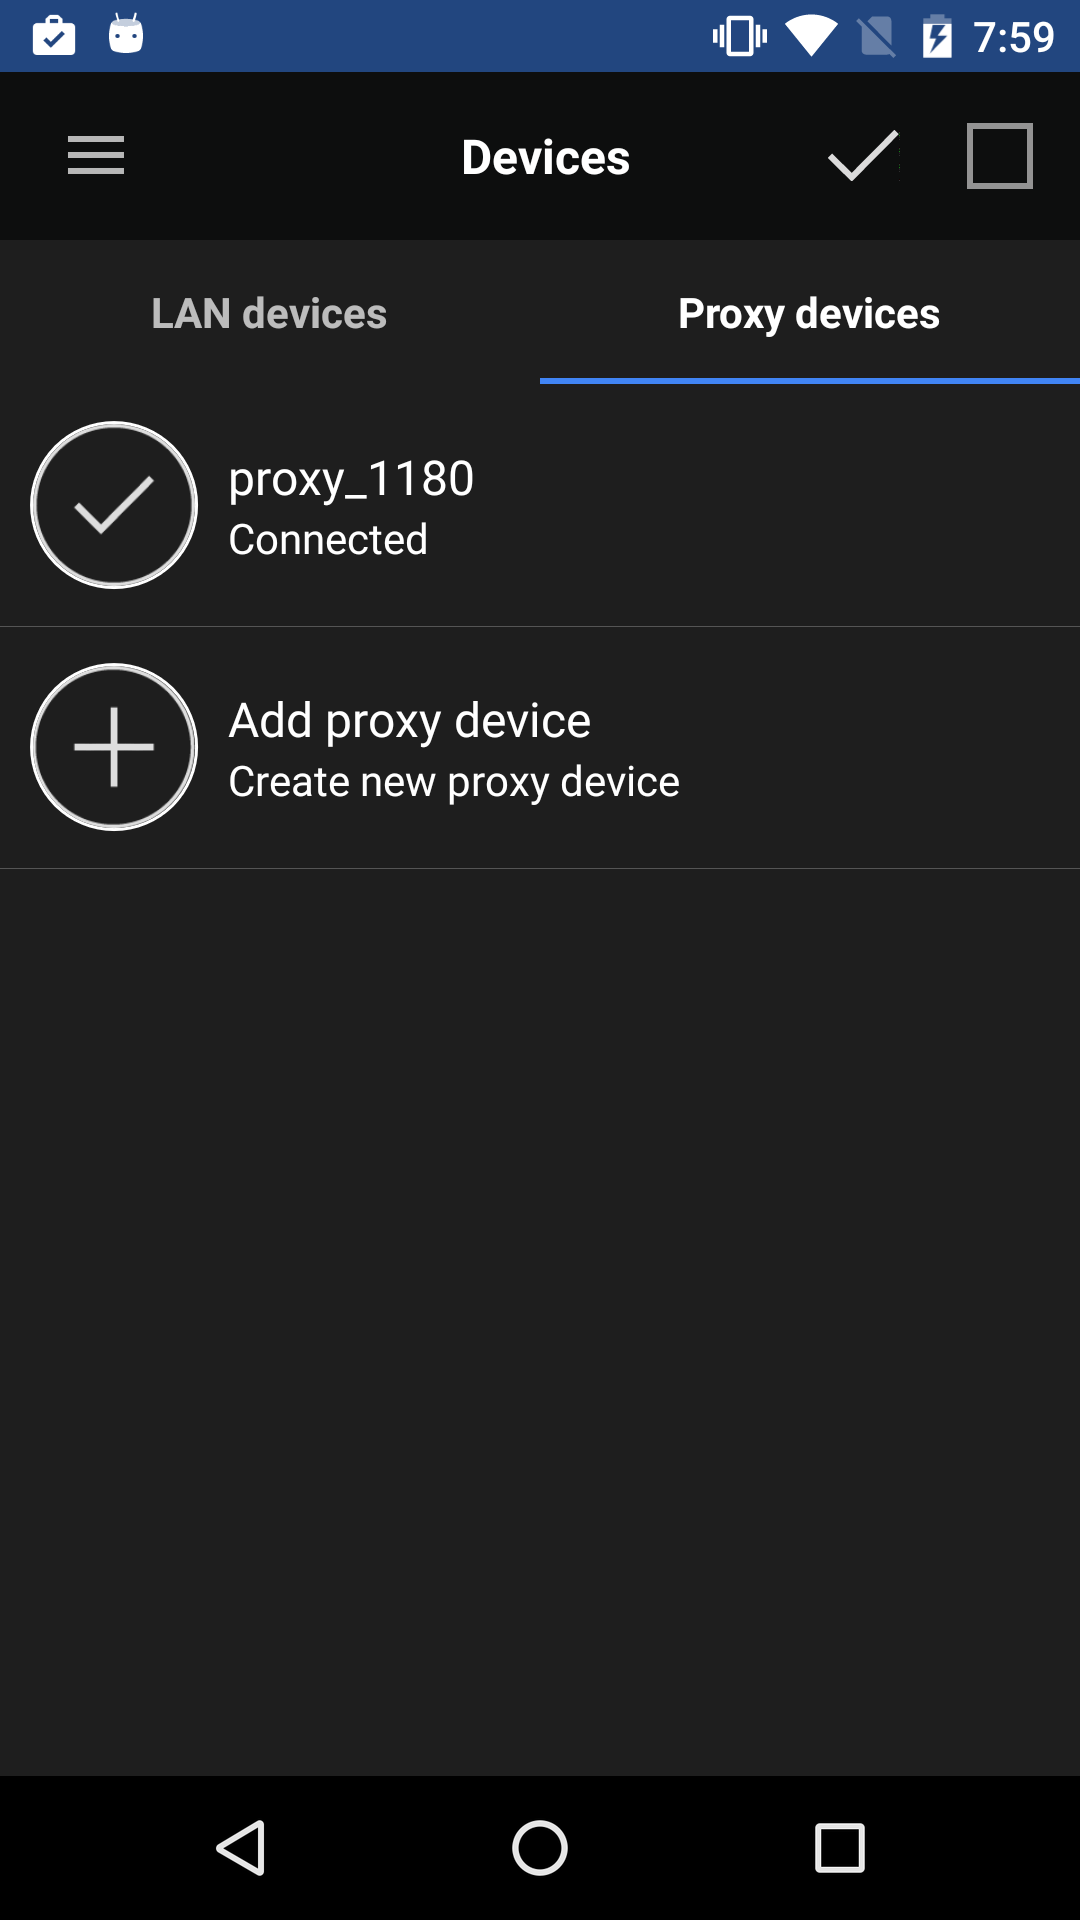 |
Select a row with the ![]() Add proxy device button to add a SIP Proxy device.
Add proxy device button to add a SIP Proxy device.
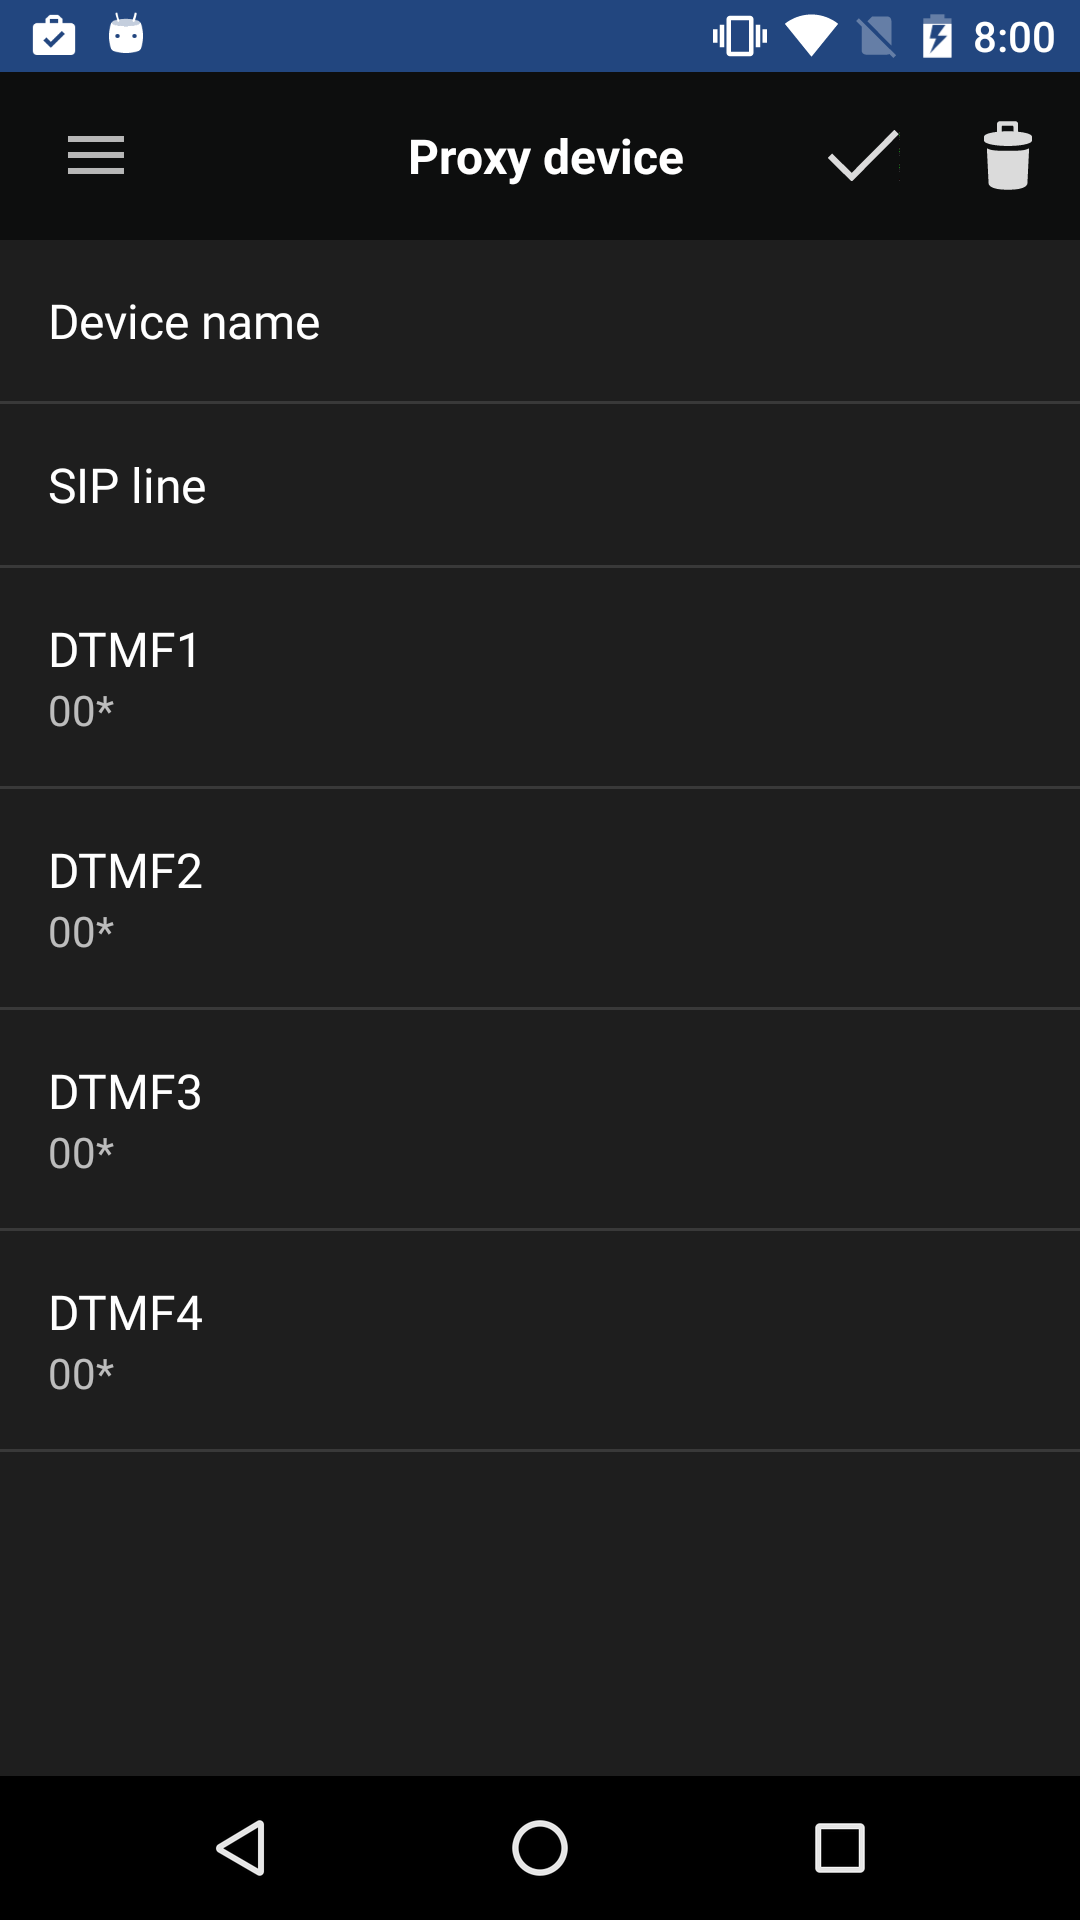 |
Complete the following parameters:
- Device name – device name under which the device will be presented in 2N® IP Mobile. For application use only.
- SIP line – line to be dialled by 2N® IP Mobile for outgoing calls.
- DTMF1–4 – DTMF to be sent when lock 1–4 is pressed. These parameters are primarily used for sending DTMF codes to an 2N IP intercom and subsequent unlocking of the lock connected.
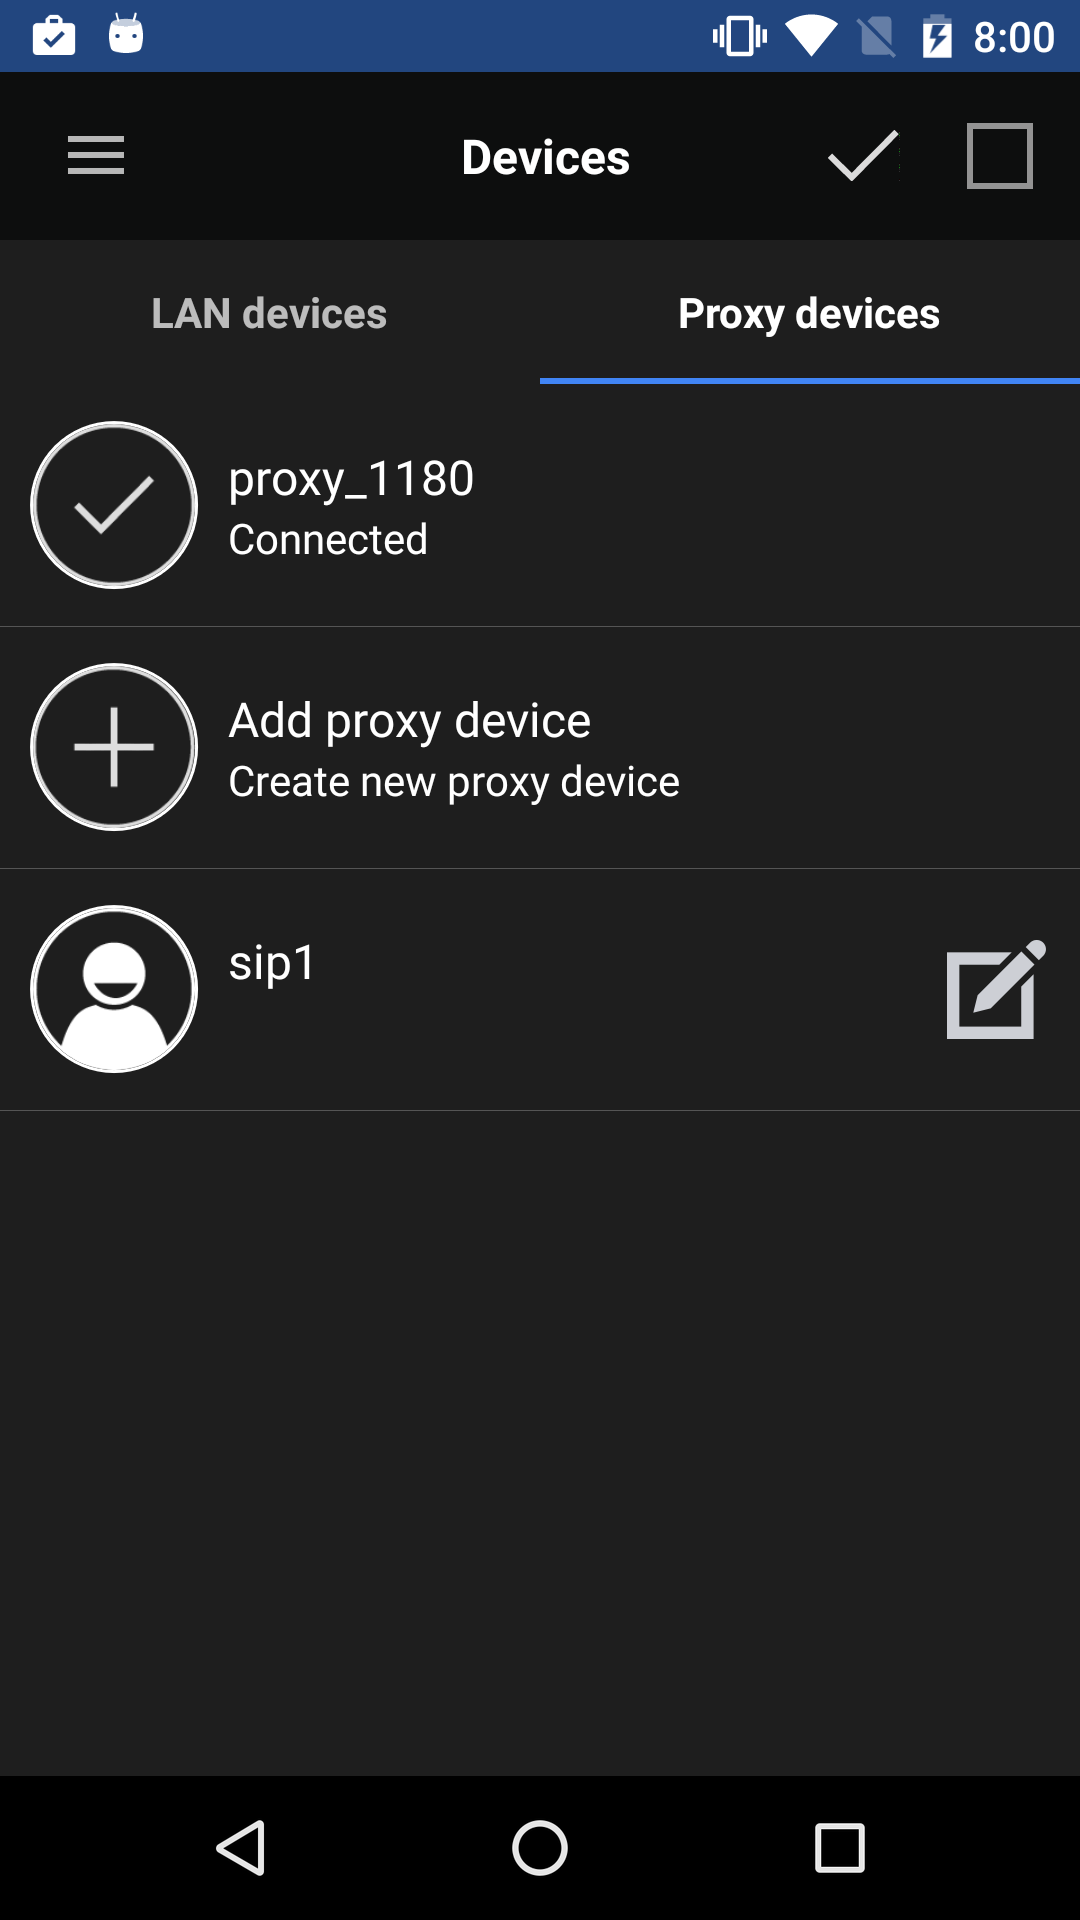 |
The selected device is marked with ![]() . Press the
. Press the ![]() button in the right-hand upper corner to select all the devices listed. Press the Edit
button in the right-hand upper corner to select all the devices listed. Press the Edit ![]() icon to edit the device name. Click the Save
icon to edit the device name. Click the Save ![]() icon to save the selected Proxy devices. The application will move back to the Devices menu where the selected devices will be displayed.
icon to save the selected Proxy devices. The application will move back to the Devices menu where the selected devices will be displayed.
 |
My2N Devices
My2N devices are devices from the 2N® Mobile Video service. Like SIP Proxy devices, My2N devices cannot be added to Devices until the application is connected to the cloud at www.my2n.com.
Note
- To use the 2N® Mobile Video functions, create an account on the service web and 1 device at least of the Smartphone or Tablet type. Refer to faq.2n.cz for setting details.
Warning
- When the 30-day Trial licence expires, you have to purchase a licence for your devices to make use of the 2N® Mobile Video functions. Otherwise, you will not be able to log in and use the cloud call functions.
Connection to Service
Use the application settings to get connected to the 2N® Mobile Video service. Get there via the main menu Settings by clicking the My2N Mobile Video anchor, which moves you directly to the My2N settings. Turn the switch to ON to activate the My2N Mobile Video settings and complete login data. Refer to Subs. 4.3.3 for details.
 |
The application indicates the 2N® Mobile Video server connection states. The icon is next to the My2N Mobile Video tab and indicates the following states:
- – the application has downloaded all data successfully and is registered with the 2N® Mobile Video SIP Proxy server.
- – the application has downloaded all data succesfully and is trying to register with the 2N® Mobile Video SIP Proxy server. The connection has not been successful yet.
- – the application cannot get connected to the 2N® Mobile Video servers.
 |
My2N Device Adding
The downloaded Phonebook is displayed in the Devices menu when 2N® IP Mobile gets connected to and registered with 2N® Mobile Video successfully. You can edit the Phonebook device list: disable displaying of or change the device name. Again, click the ![]() icon located in the right-hand bottom corner of the Devices main window to enter the device adding menu. Then switch the window to the My2N devices menu using the tab below the application title row.
icon located in the right-hand bottom corner of the Devices main window to enter the device adding menu. Then switch the window to the My2N devices menu using the tab below the application title row.
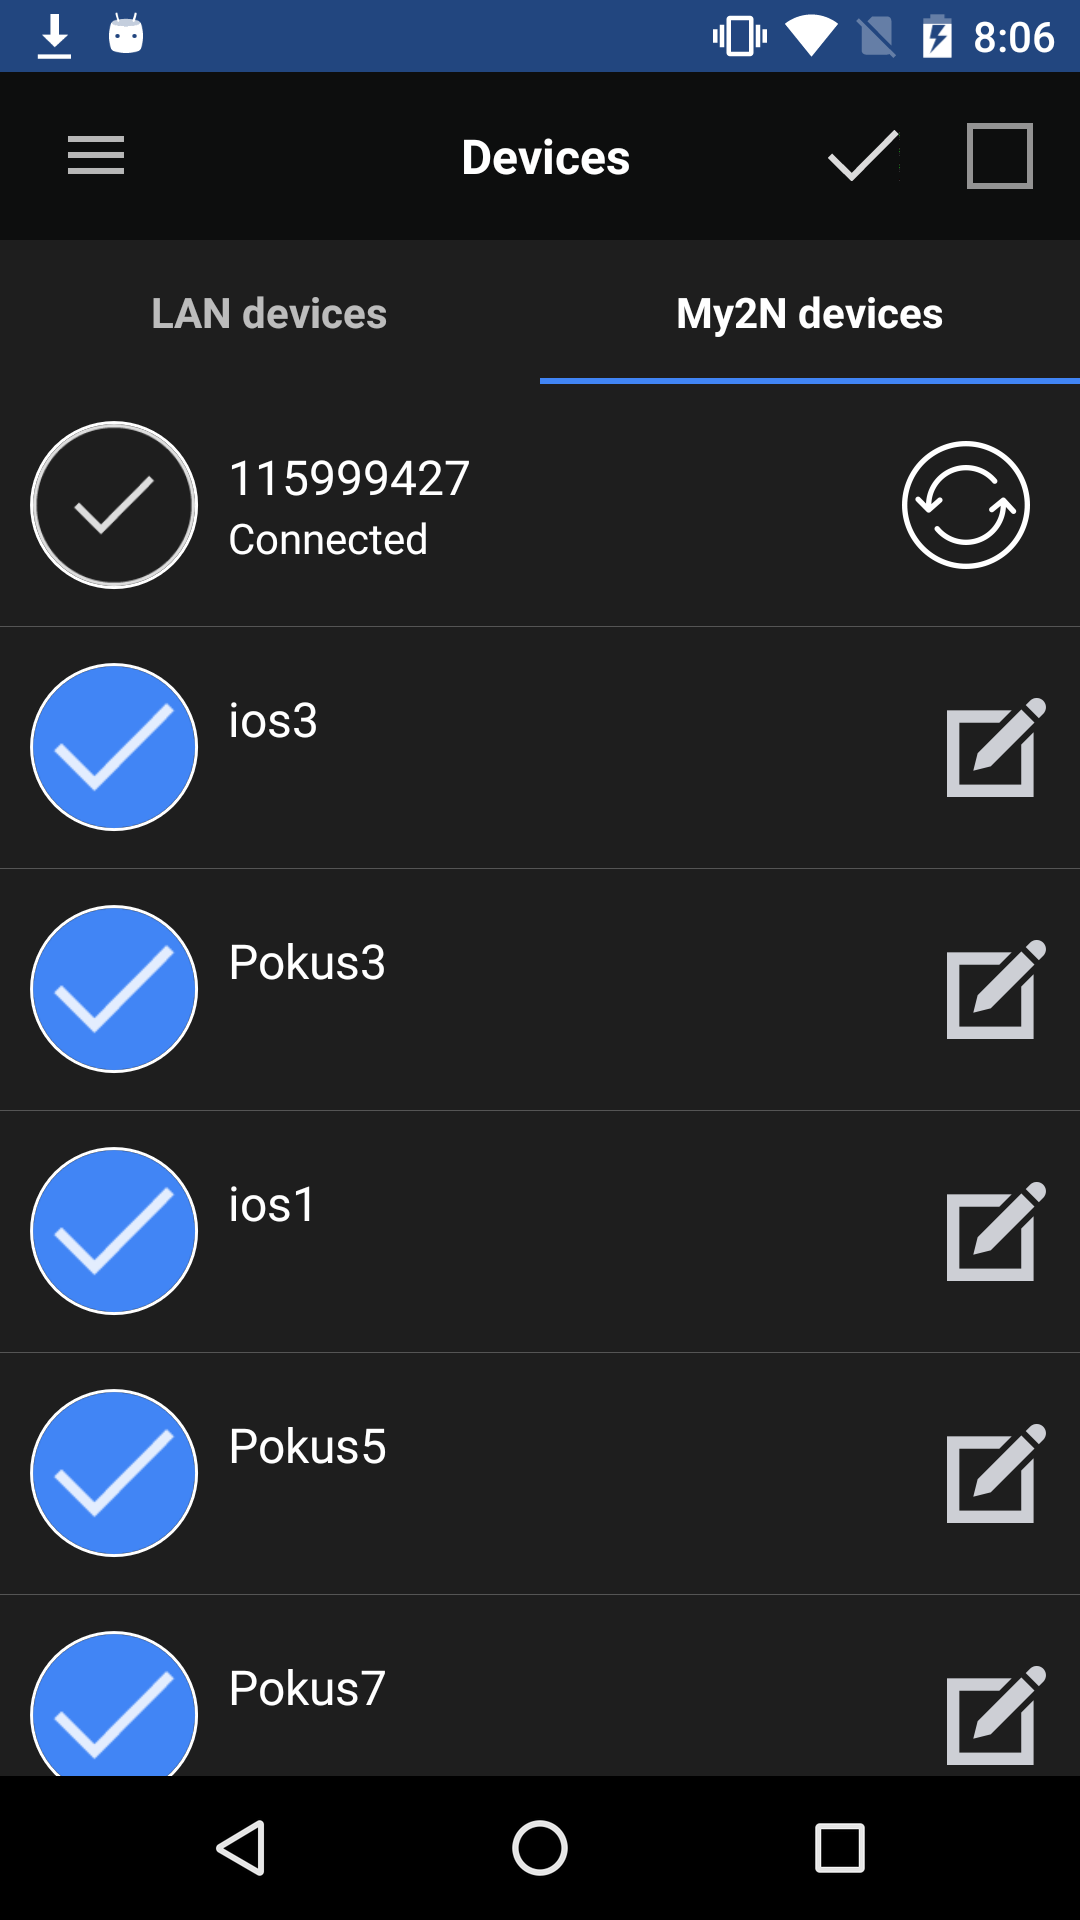 |
The selected device is marked with ![]() . Click the
. Click the ![]() button located to the right on the upper application bar to select all the devices listed. Click the
button located to the right on the upper application bar to select all the devices listed. Click the ![]() icon to display the editing menus of all the devices. Click the
icon to display the editing menus of all the devices. Click the ![]() icon to save the selected My2N devices. The application will then move to the Devices menu where the selected devices will be displayed. Press
icon to save the selected My2N devices. The application will then move to the Devices menu where the selected devices will be displayed. Press ![]() to re-download the Phonebook without re-logging in from the application.
to re-download the Phonebook without re-logging in from the application.
Note
- When the Phonebook is downloaded, all the devices associated with 2N® Mobile Video are selected and added to Devices.
- You can only change the name of a device displayed in the application while editing the My2N devices. Thus, a name change will not result in a name change on the service web.