5.5.6.1 2N IP Style Display
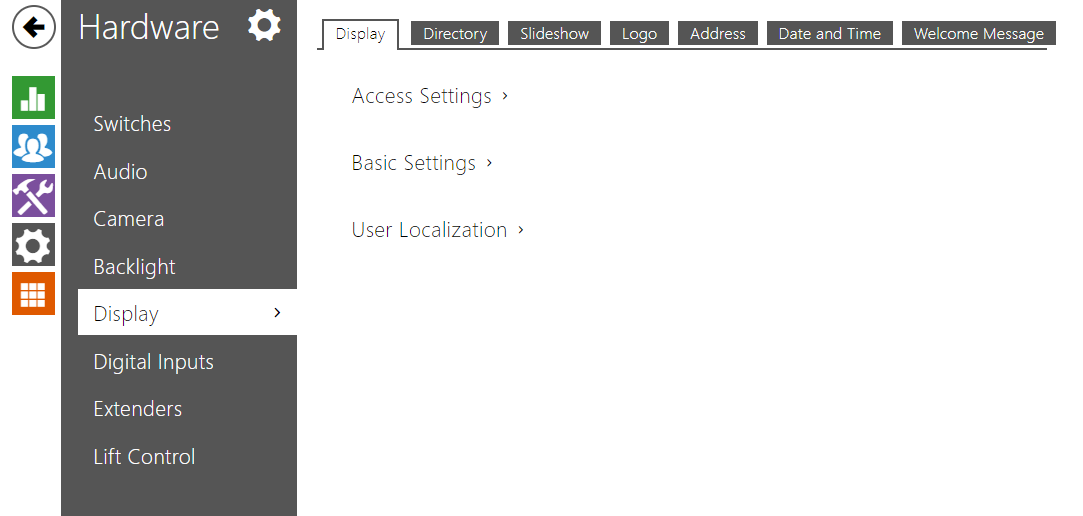 |
- Display – display the directory including the users to be called and a numeric keypad for code access.
- Slideshow – a slideshow of recorded images can be displayed after a preset idle time. The images are automatically switched over and the transition time can be set.
- Logo – a logo uploaded to the device configuration can be displayed after a preset idle time.
- Address – a house address / number / identifier can be displayed after a preset idle time.
- Date and Time – set the date, time and weather parameters.
- Welcome Message – set a message to be displayed after successful authentication.
Display
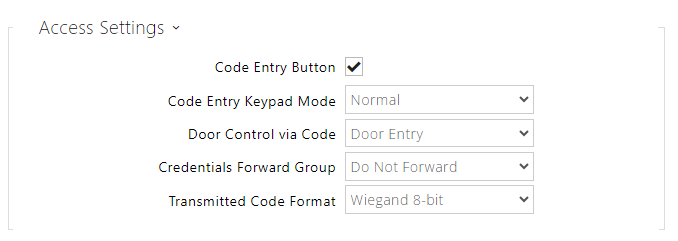 |
- Code Entry Button – set whether the Enter PIN button to open the numeric keypad is visible on the home screen.
- Code Entry Keypad Mode – select between a normal and scrambled layout for the numeric keypad, where the position of numbers changes after each confirmation for enhanced security. This setting also applies to multifactor authentication.
- Door Control via Code – enables or disables door control by entering a numeric code from the screen.
- Credentials Forward Group – set the group to which all entered access codes will be forwarded.
- Transmitted Code Format – selects a 4bit or 8bit (higher security) format for the codes to be transmitted
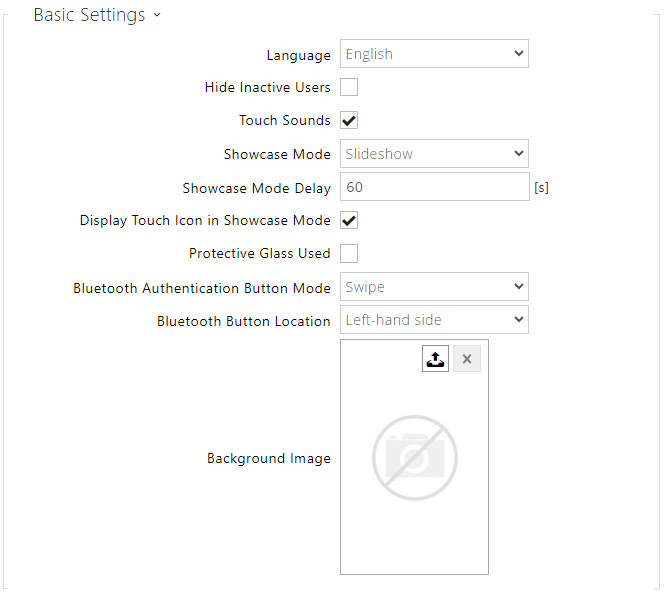 |
- Language – set the language of the texts displayed on the screen. You can choose from predefined languages or a user-defined language.
- Hide Inactive Users – select this to automatically hide the user on the display whose active time profile disables contacting.
- Touch Sounds – enable the acoustic display touch signaling.
- Showcase Mode – set whether the device shall go into the Showcase mode when idle. Choose various options in the Showcase mode (OFF, Slideshow, Logo, Address, Date and Time).
- Showcase Mode Delay – set the idle timeout in the range of 1 to 600 seconds after which the device goes into the Showcase Mode. There is always a fixed 15-second timeout for the device to return to the homescreen.
-
Caution
- The device automatically returns to the display home page in a 60-second idle time. After that, the countdown of the timeout set in this parameter starts and then the device goes into the Showcase mode.
- After a 2-minute idle time, the screen saver is launched on 2N IP Style, in which the display brightness value goes up and down alternately in 20-second intervals. The screen saver mode is terminated by a screen touch, access attempt, incoming call, notification display or motion detection even in case the motion detection function is disabled. If the screen saver is running on the background in the Showcase mode, the termination by a touch also switches the device onto the home page.
- Display Touch Icon in Showcase Mode – Enable displaying the touch icon (pulsating hand) in Showcase mode.
- Protective Glass Used – enable displaying information about the use of protective glass with an antibacterial layer in Showcase mode. Protective glass is an optional accessory.
- Display GUI Mode (beta feature) – Select the display graphical layout.
You can create a customized interface using the user interface creating tool. The first step is to turn the Home page into a navigation center for access to other pages. Each page is based on a template selected. The user interface itself offers a few improvements compared to the standard one, e.g. adaptable navigation panel, unified location of Bluetoooth buttons and other function options such as sending HTTP commands and access to the QR reader wizard.
- Background Image – load the background image (to be used for various screens). The file must be an image with the minimum resolution of 800 x 1280 pixels. Images with higher resolutions will be reduced in size.
Caution
- The root folder display changes are not applied until you go to the search or dialing menu.
- To apply the Bluetooth authentication button location / mode display change, disconnect all the available devices with Bluetooth authentication or move them outside the reach of 2N IP Style.
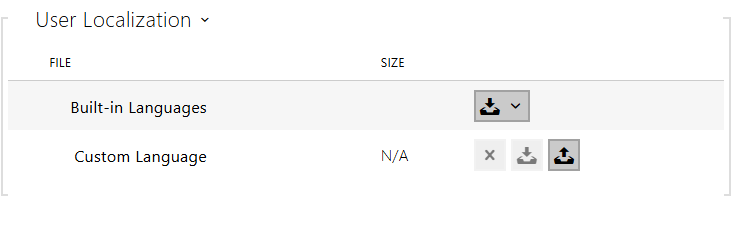 |
- Built-in Languages – download a preset XML file with all the texts to be displayed.
User Language – record, remove and load a localization file of your own.
Slideshow
This tab helps you configure a list of images to be displayed in the Slideshow mode. Up to 14 images and videos can be uploaded for the Slideshow to be switched with a predefined delay.
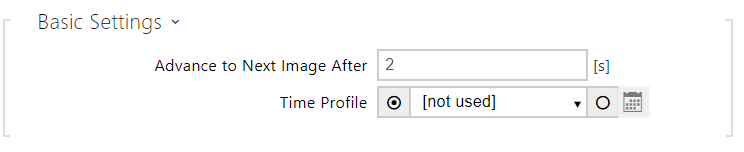 |
- Advance to Next Image After – set the image displaying time in a slideshow.
- Time Profile – choose one or more time profiles to be applied. Set the time profiles in Directory / Time profiles.
 – select one of the pre-defined profiles or set the time profile for the given element manually.
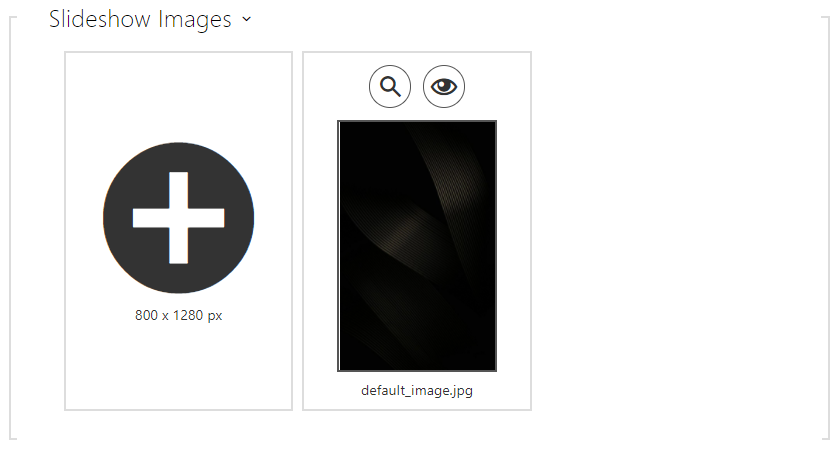 |
The recommended resolution is 800 x 1280 px for images in 2N IP Style. The device automatically adjusts images with a different resolution value. Video files must have the maximum resolution of 400 x 640 px, maximum size of 7 MB and maximum framerate of 24 fps. If no image is loaded, the Slideshow mode will never be activated.
Click the magnifier icon ![]() to view the loaded image, press
to view the loaded image, press ![]() to delete an image. U každého nahraného obrázku a videa je možné přepínat mezi módy zobrazení.
to delete an image. U každého nahraného obrázku a videa je možné přepínat mezi módy zobrazení.
| Zobrazuje se vždy. |
| Nezobrazuje se. |
| Zobrazuje se pouze v časovém profilu pro Prezentaci. |
| Zobrazuje se pouze mimo časový profil pro Prezentaci. |
Caution
- The Slideshow images are displayed only if this mode is allowed in the Hardware / Display / Display menu.
Logo
This tab helps you upload a logo for the Showcase mode. Any image with a resolution higher than 800 x 1280 pixels will be reduced. Smaller files remain the same and will not cover the whole area. PNG images with transparent backgrounds are also supported.
 |
Caution
- The Logo image is displayed only if this mode is allowed in the Hardware / Display / Display menu.
Address
Address helps you set the house address or any other identifier for the Showcase mode, which will be displayed during the device idle time.
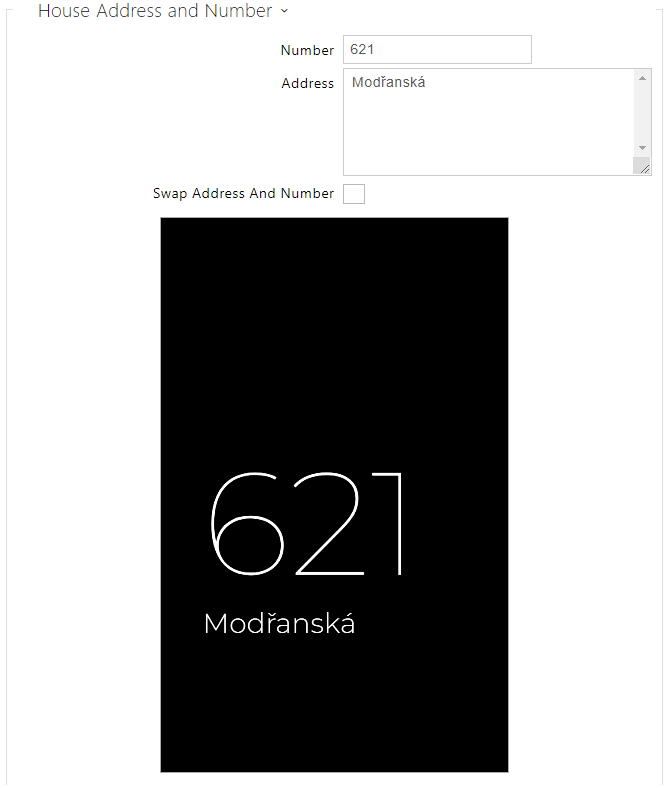 |
- Number – enter the house number or any other identification used in the location. It is displayed in the Showcase mode if Address is selected.
- Address – enter the building address/name shown in the Showcase mode if Address is selected.
- Swap Address and Number – change the address and number sequence.
Caution
- The Address image is displayed only if this mode is allowed in the Hardware / Display / Display menu.
Date and Time
Helps you set the date, time and weather parameters.
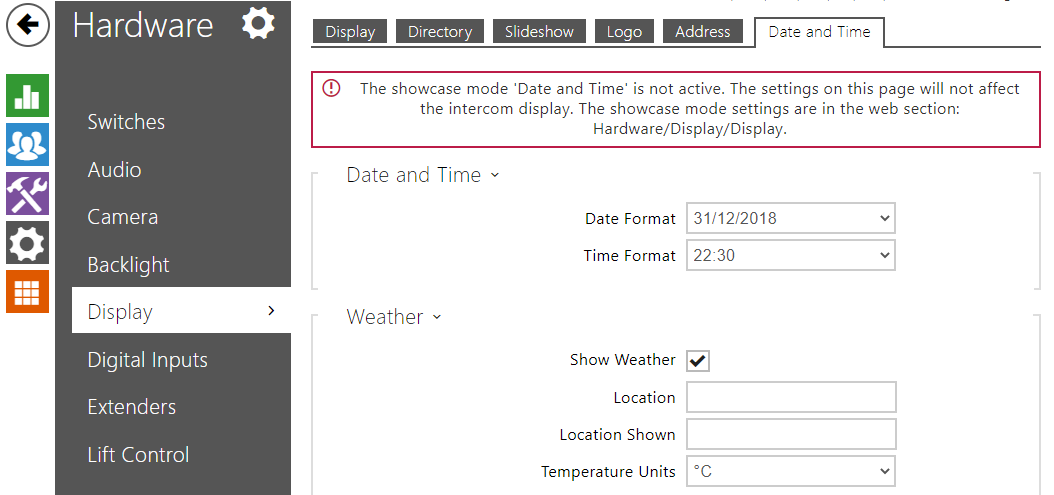
- Date Format – set the data format to be displayed.
- Time Format – set the time format to be displayed.
Weather
- Show Weather – display the current weather info on the device.
- Location – set the device location for weather forecast. If not completed, the automatically selected location is used.
- Location Shown – set the location to be shown on the display. If not completed, the weather forecast location is displayed.
- Temperature Units – select the temperature units to be displayed. The options are °C and °F.