5.6.6 Auto Provisioning
 |
The 2N IP intercoms help you update firmware and configuration manually, or automatically from a storage on a TFTP/HTTP server selected by you according to predefined rules.
You can configure the TFTP and HTTP server address manually. The 2N IP intercoms support automatic identification of the local DHCP server address (Option 66).
Caution
- The login password is saved in the configuration file. If the password is 2n (default), the valid configuration part is only uploaded. This means that the configuration is uploaded, but the password remains the same, not assuming the value included in the file.
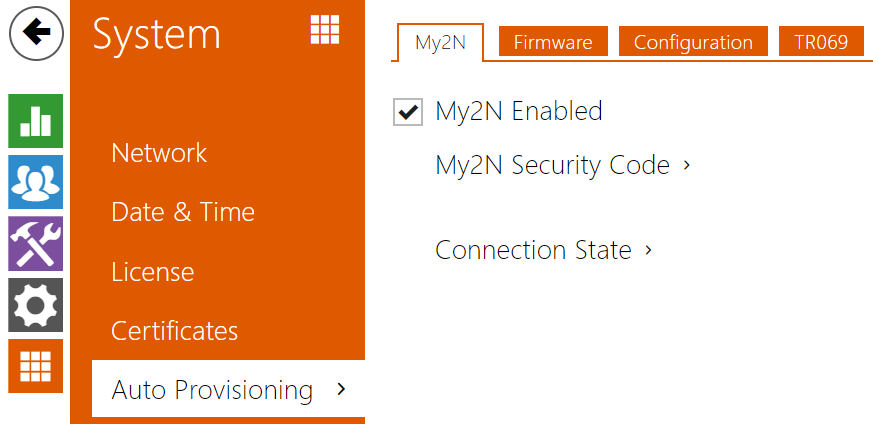
My2N
 |
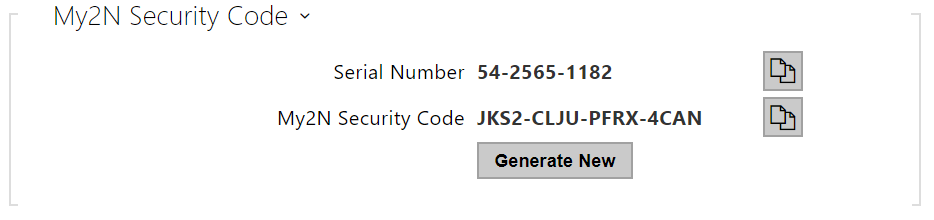 |
- Serial Number – display the serial number of the device to which the valid My2N code applies.
- My2N Security Code – display the full application activating code.
- Generate New – the active My2N Security Code will be invalidated and a new one will be generated.
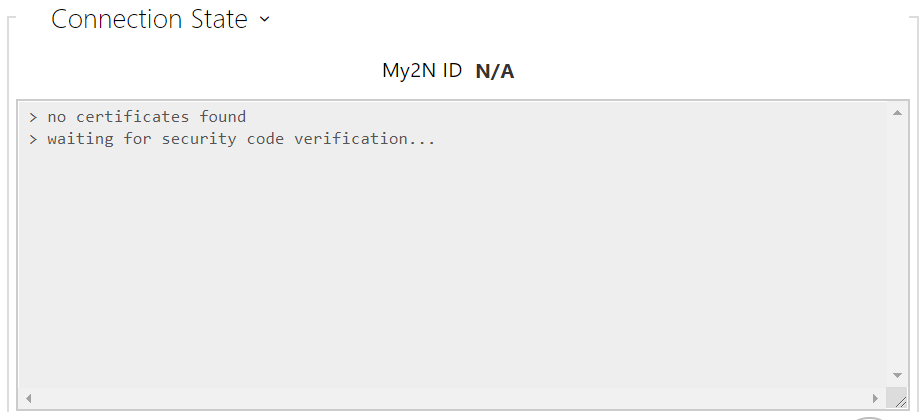 |
- My2N ID – unique identifier of the company created via the My2N portal.
Firmware
Use the Firmware tab to set automatic firmware download from a server defined by you. The intercom compares the server file with its current firmware file periodically and, if the server file is later, automatically updates firmware and gets restarted (approx. 30 s). Hence, we recommend you to update when the intercom traffic is very low (at night, e.g.).
2N IP intercom expects the following files:
- MODEL-firmware.bin – intercom firmware
- MODEL-common.xml – common configuration for all intercoms of one model
- MODEL-MACADDR.xml – specific configuration for one intercom
MODEL in the file name gives the technical specification of the 2N IP intercom / 2N IP audio device:
- hipv – 2N IP Vario
- hipf – 2N IP Force
- ipforce2 – 2N IP Force 2.0
- hipsf – 2N IP Safety
- hipak – 2N IP Audio Kit
- hipvk – 2N IP Video Kit
- hipve – 2N IP Verso
- verso2 – 2N IP Verso 2.0
- au – 2N Access Unit
- aug2 – 2N Access Unit 2.0
- aum – 2N Access Unit M
- auqr – 2N Access Unit QR
- hipso – 2N IP Solo
- hipba – 2N IP Base
- sac – 2N SIP Audio Converter
- sassh – 2N SIP Speaker Horn
- ss – 2N SIP Speaker
- style – 2N IP Style
- ipone – 2N IP One
MACADDR is the MAC address of the intercom in the 00-00-00-00-00-00 format. Find the MAC address on the intercom production plate or in the Intercom Status tab via the web interface.
Example:
2N IP Vario with MAC address 00-87-12-AA-00-11 downloads the following files from the TFTP server:
- hipv-firmware.bin
- hipv-common.xml
- hipv-00-87-12-aa-00-11.xml
List of Parameters
 |
- Firmware Update Enabled – enable automatic firmware/configuration updating from the TFTP/HTTP server.
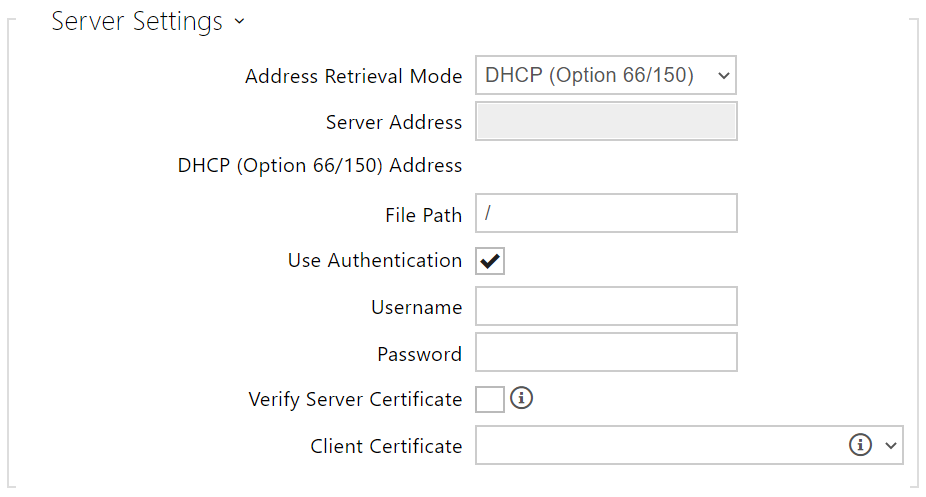 |
- Address Retrieval Mode – select whether the TFTP/HTTP server address shall be entered manually or a value retrieved automatically from the DHCP server using Option 66 shall be used.
- Server Address – enter the TFTP (tftp://ip_address), HTTP (http://ip_address) or HTTPS (https://ip_address) server address manually.
- DHCP (Option 66/150) Address – check the server address retrieved via the DHCP Option 66 or 150.
- File Path – set the path to firmware files folder. Enter / to search for model-firmware.bin (specific model) in the server's root folder. Refer to the sidebar (?) for details about models, etc.
- Use Authentication – enable authentication for HTTP server access.
- Username – enter the user name for server authentication.
- Password – enter the password for server authentication.
- Verify Server Certificate – set the set of CA certificates for validation of the ACS public certificate.
- Client Certificate – specify the client certificate and private key to validate the intercom right to communicate with the ACS.
Info
- The intercom contains the Factory Cert, a signed certificate used for British Telecom integration, for example.
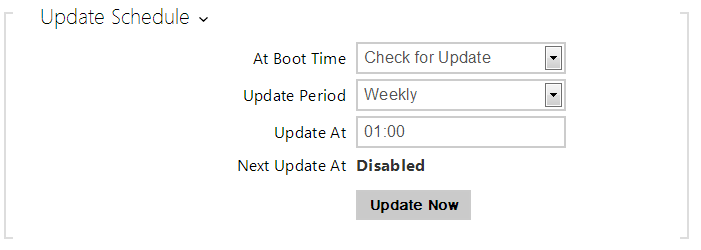 |
- At Boot Time – enable check and, if possible, update execution upon every intercom start.
- Update Period – set the update period. Set an automatic update to take place hourly/daily/weekly/monthly, or set the period manually.
- Update At – set the update time in the HH:MM format for periodical updating at a low-traffic time. The parameter is not applied if the update period is set to a value shorter than 1 day.
- Next Update At – set the next update time.
 |
- Last Update At – last update time.
Update Result – last update result. The following options are available: DHCP option 66 failed, Firmware is up to date, Server connection failed, Running..., File not found.
- Communication Result Detail – server communication error code or TFTP/HTTP status code.
| Result | Description |
|---|---|
| Invalid server address | The server address is invalid. |
| Unsupported protocol | The protocol is not supported. HTTP(s) and TFTP are supported only. |
| Invalid file path | The provisioning file location is invalid. |
| DHCP option 66 failed | The server address loading via DHCP Option 66 or 150 has failed. |
| Invalid domain name | The server domain name is invalid due to wrong configuration or unavailability of the DNS server. |
| Server not found | The requested HTTP/TFTP server fails to reply. |
| Authentication failed | The HTTP credentials are invalid. |
| File not found | The file has not been found on the server. |
| Request waiting in queue... | The provisioning request is queuing... |
| In progress... | Update is in progress. |
| File is invalid | The file to be downloaded is corrupted or of a wrong type. |
| Firmware is up to date | The firmware update attempt reveals that the latest firmware version has been loaded. |
| Update Succeeded | The configuration/firmware update has been successful. With firmware update, the device will be restarted in a few seconds. |
Internal error | An unspecified error occurred during file download. |
Configuration
Use the Configuration tab to set automatic configuration download from the server defined by you. The intercom periodically downloads a file from the server and gets reconfigured without getting restarted.
Note
- A few seconds' interruption of the display function occurs in the display-equipped 2N IP Vario models during reconfiguration. Therefore, we recommend you to update when the intercom traffic is very low (at night, e.g.).
 |
- Firmware update enabled – enable automatic firmware/configuration updating from the TFTP/HTTP server.
|
- Address Retrieval Mode – select whether the TFTP/HTTP server address shall be entered manually or a value retrieved automatically from the DHCP server using Option 66 shall be used.
- Server Address – enter the TFTP (tftp://ip_address), HTTP (http://ip_address) or HTTPS (https://ip_address) server address manually.
- DHCP (Option 66/150) Address – check the server address retrieved via the DHCP Option 66 or 150.
- File Path – set the firmware/configuration filename directory or prefix on the server. The intercom expects the XhipY_firmware.bin, XhipY-common.xml and XhipY-MACADDR.xml files, where X is the prefix specified herein and Y specifies the intercom model.
- Use Authentication – enable authentication for HTTP server access.
- Username – enter the user name for server authentication.
- Password – enter the password for server authentication.
- Verify Server Certificate – set the set of CA certificates for validation of the ACS public certificate.
- Client Certificate – specify the client certificate and private key to validate the intercom right to communicate with the ACS.
Info
- The intercom contains the Factory Cert, a signed certificate used for British Telecom integration, for example.
 |
- Configuration Password – set password used to decrypt password-protected configuration.
|
- At Boot Time – enable check and, if possible, update execution upon every intercom start.
- Update Period – set the update period. Set an automatic update to take place hourly/daily/weekly/monthly, or set the period manually.
- Update At – set the update time in the HH:MM format for periodical updating at a low-traffic time. The parameter is not applied if the update period is set to a value shorter than 1 day.
- Next Update At – set the next update time.
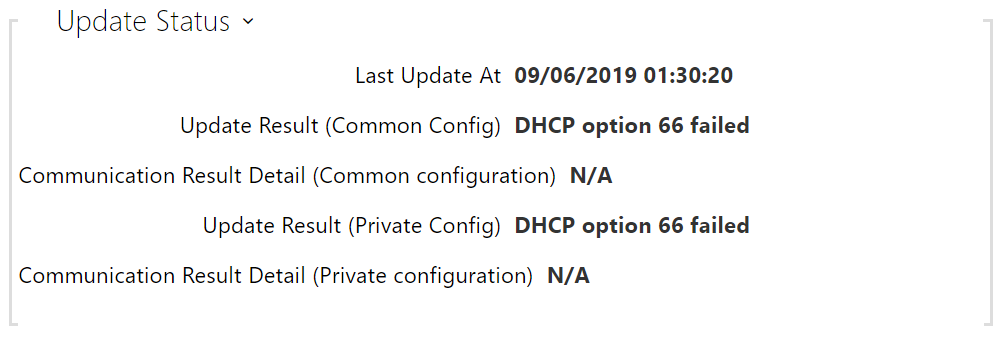 |
- Last Update At – last update time.
Update Result (Common Config) – last update result. The following options are available: DHCP option 66 failed, Firmware is up to date, Server connection failed, Running..., File not found.
- Communication Result Detail(Common Config) – server communication error code or TFTP/HTTP status code.
- Update Result (Private Config) – private configuration follows the common configuration update. The device with private configuration is identified by its MAC address. The last performed private update result is displayed. The following options are available: DHCP option 66 failed, Firmware is up to date, Server connection failed, Running..., File not found.
- Communication Result Detail (Private Config) – server communication error code or TFTP/HTTP status code.
My2N / TR069
Use this tab to enable and configure remote intercom management via the TR-069 protocol. TR-069 helps you reliably configure intercom parameters, update and back up configuration and/or upgrade device firmware.
The TR-069 protocol is utilised by the My2N cloud service. Make sure that TR-069 is enabled and Active profile set to My2N to make your intercom log in to My2N periodically for configuration.
This function helps you connect the intercom to your ACS (Auto Configuration Server). In this case, the connection to My2N will be disabled in the intercom.
 |
- My2N / TR069 Enabled – enable connection to My2N or another ACS server.
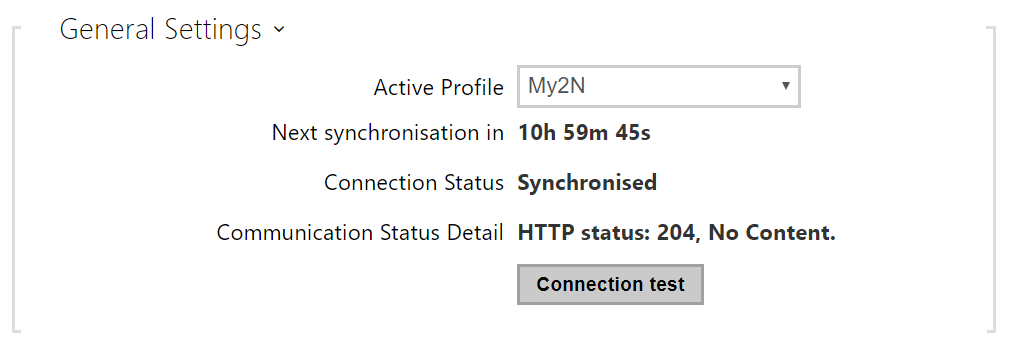 |
- Active Profile – select one of the pre-defined profiles (ACS), or choose a setting of your own and configure the ACS connection manually.
- Next Synchronisation in – display the time period in which the intercom shall contact a remote ACS.
- Connection Status – display the current ACS connection state or error state description if necessary.
- Communication Status Detail – server communication error code or HTTP status code.
- Connection test – test the TR069 connection according to the set profile, see the Active profile. The test result is displayed in the Connection status.
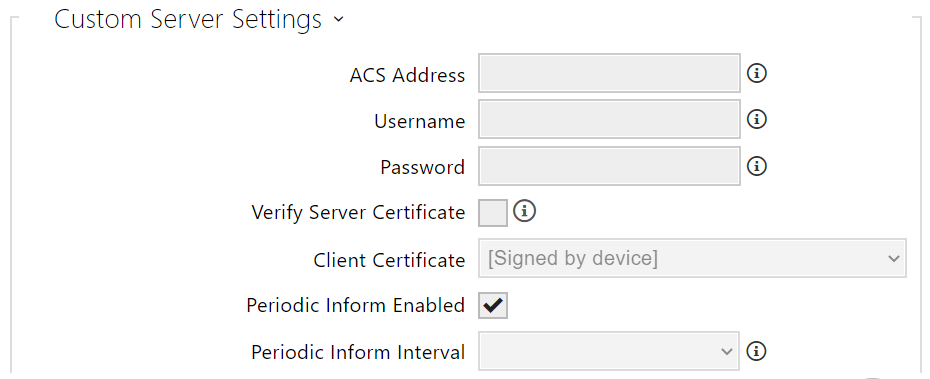 |
- ACS Address – set the ACS address in the following format: ipaddress[: port], 192.168.1.1:7547, for example.
- Username – set the user name for intercom authentication while connecting to the ACS server.
- Password – set the user password for intercom authentication while connecting to the ACS server.
- Verify Server Certificate – set the set of CA certificates for validation of the ACS public certificate. Choose one of three sets, see the Certificates subsection. If none is selected, the ACS public certificate is not validated.
- Client Certificate – specify the client certificate and private key to validate the intercom right to communicate with the ACS. Choose one of three sets, refer to the Certificates subsection.
- Periodic Inform Enabled – enable periodical logging of the intercom to the ACS.
- Periodic Inform Interval – set the interval of periodical logging of the intercom to the ACS if enabled by the Periodic Inform Enabled parameter.