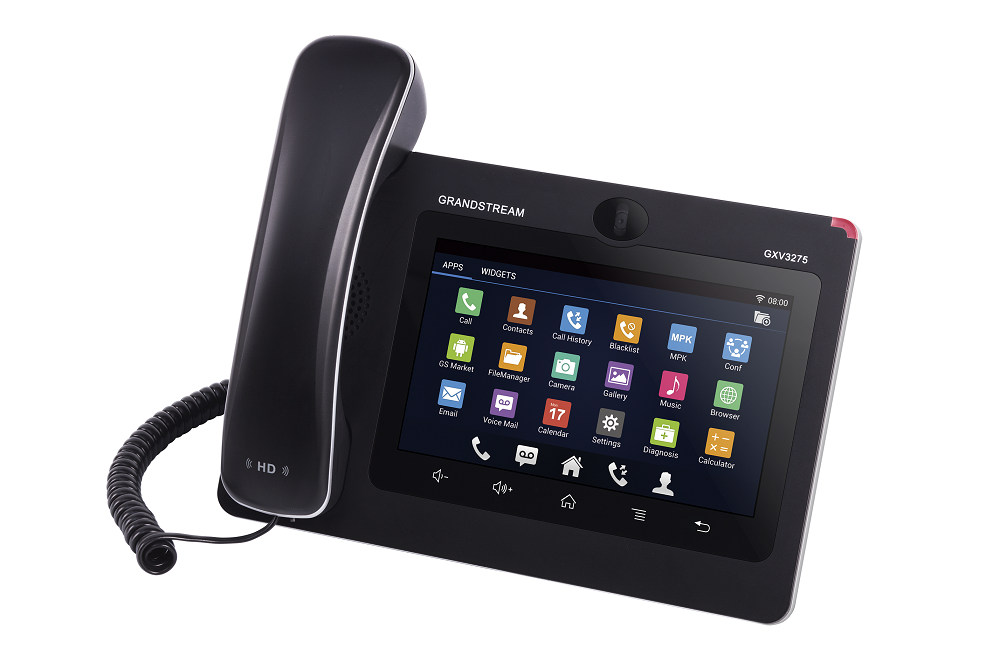
This guide describes basic steps for configuration of peer to peer communication between 2N IP Intercom and IP phone Grandstream GXV3275. There is also a possibility to register both these devices to the IP PBX (SIP proxy server) and use internal dialling plan for calling between each other but it is not described in this FAQ. Grandstream GXV3275 is IP video phone with 7 touch screen colour LCD, integrated Wi-Fi and supporting many different features, audio codecs and video codecs (H.264, H.263 and H.263+).
Note: Grandstream GXV3275 IP video phone is placed in the same LAN (local network) as intercom. IP address of GXV3275 is 192.168.50.206 and IP address of 2N IP Intercom is 192.168.50.134. These IP addresses and names are used only such as example – please change it according to your names and network plan. Tested with Grandstream GXV3275: hardware revision - V1.4B, system version : 1.0.3.162, recovery version : 1.0.1.6, boot version : 1.0.1.6, kernel version : 1.0.1.13, Android™ version : 4.2.2 Firmware version of 2N IP Intercom is 2.12 for this FAQ.
How to set 2N IP Intercom?
Settings of 2N IP Intercom is very easy. First of all create a new user and assign him a phone number – we will make SIP direct call (peer-to-peer call) to GXV3275 in our scenario. Therefore the number is set in the format: sip:IP_address (or sip:x@IP_address). See the picture below for more information.
2) In the next step we will modify the settings of Video codecs (section "Services – Phone – Video"). You can set the highest possible resolution (VGA or HD which is available only for
2N® IP Verso) and also modify the bitrate and framerate parameters if needed. Consider the bandwidth consumption during the settings. Enable also the Polycom compatibility mode.
It is possible that after you finish configuration of both devices and try to make a test call, you will have only one way audio. In this case please go to section
Services->Phone->Video and enable parameter Polycom compatibily mode.
How to set Grandstream GXV3275 IP phone?
The easiest way how to set up this IP phone is via web interface but you can also use touch screen of this phone and set all necessary parameters this way. Complete setting via web interface is described below. All settings are done after factory reset which is available in the "Maintenance/Upgrade" section
Than you have to enable "Account 1" and set all necessary information for this account in the "General" section. We will set peer-to-peer connection between 2N IP Intercom and GXV3275. Therefore set the IP address of the intercom into the "SIP Server" field as shown in the picture below. Authentication ID and password aren´t used in this case.
Go to the "SIP settings" section and disable the "SIP registration" field based in the picture below.
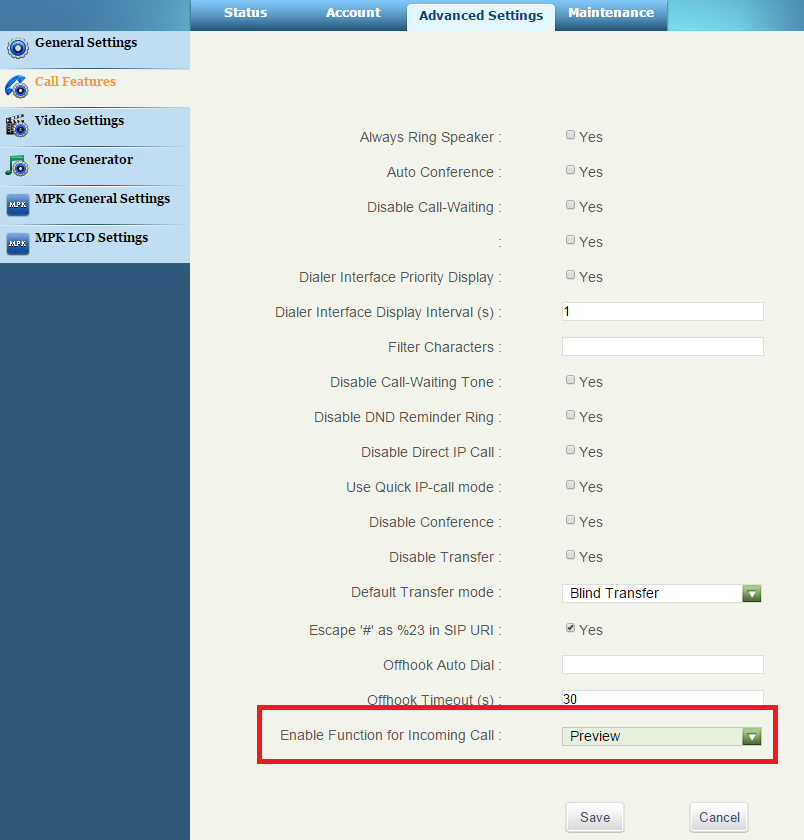
For the activation of the "Video Preview" function, which shows the video from the intercom before picking up the call, you need to enable it in the Advanced Settings -> Call Features menu as seen in the next picture. Video Preview for model GXV3275 is supported in FW version 1.0.1.50 and newer. This function is available for several phones at the same time. It also works with using My2N services.
At the end all changes have to be activated by the "Apply configuration changes"!!!
Automatic video preview displaying is configured individually for each account. In the Account Call settings section set the Auto Preview parameter to yes.
On the same page it is also possible to configure a software button for opening the door by automatically sending a DTMF code. This button will appear as an overlay over the video from the intercom. As a DTMF content enter a 2N IP Intercom switch code terminated with an asterisk.
At the end all changes have to be activated by the "Apply configuration changes"!!!
- Verified with video
- Verified with audio only
- Work with limitation
- Incompatible


