BUSing
About Company
Ingenium is a vanguard company dedicated to the design, development and manufacture of the highest home automation technology since 1998. Following this path traced by innovation, Ingenium propose a wired product line based on BUSing protocol, and also Wings series, a line of wireless devices based on BUSing wireless that will make the home automation available to everyone.
The Ingenium system is completely open and royalty-free, allowing other manufacturers to design equipment under its standard, as well as the development of integrations over devices or gateways with other standards.
Supported Features
- Video from intercom
- Calls from intercom
- Door lock control
- Video to intercom
- Call fordwarding
- Missed call log
Supported versions:
| VIIP screens | 2N IP Intercoms | SIP Calls | Video | Door Control |
|---|---|---|---|---|
| 1.0.41719 or higher | 2.30+ |
|
|
|


License
No licenses required.
Manual
2N Device configuration
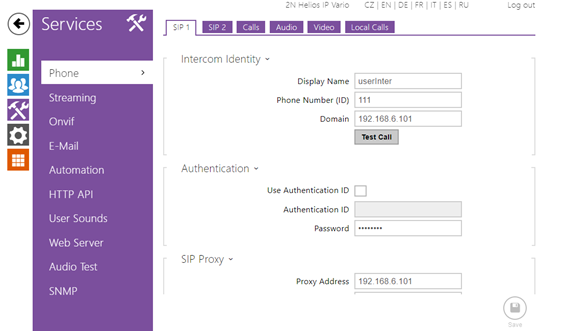
Go to Services/Phone/SIP1. The following data must be entered in this menu:
- Display name
- Phone number (ID)
- Domain (Viip‘s IP)
- Proxy Address (Viip‘s IP)
 |
 .
.
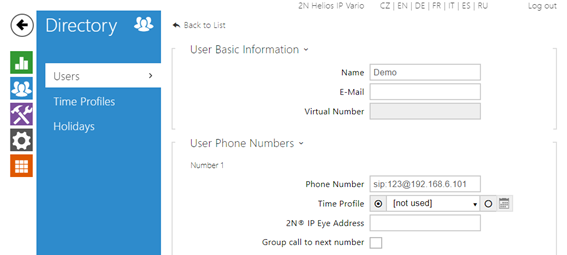
To configure the outdoor devices, it is necessary to create a user, to do this, access the Directory menu.
Click on the button  to create a new user and a new window opens in which you enter:
- Name
- Phone number: sip: + a 3 digit number + @ + Viip‘s IP.
E.g.: sip:123@192.168.6.101.
 |
 .
.
On the main screen you can check that the user has been saved ok.
 |
 .
.
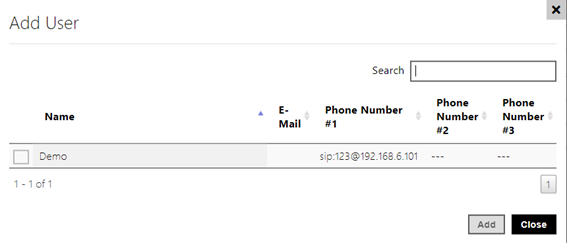
Select the user created to associate it with the button on the board and click add.
 |
 .
.
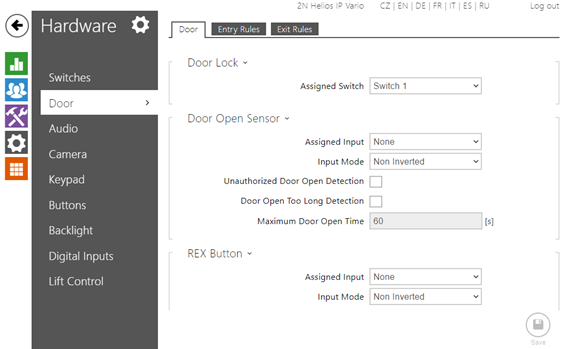
To associate the button created with the relay go to Hardware/Door/Door and assign the switch.
Assigned switch: Switch 1
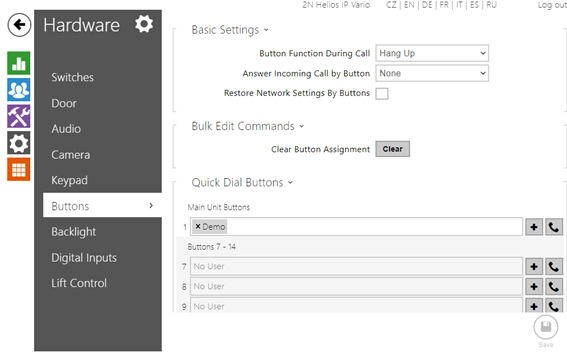 |
- Assigned switch: Switch 1
 |
 .
.
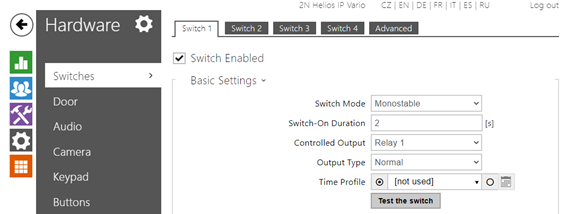
To configure the switch, go to Hardware/Switches/Switch 1 menu and complete the following fields:
- Switch Enabled

- Controlled Output: Relay 1
 |
- Activation codes: (Activation code to open the door)
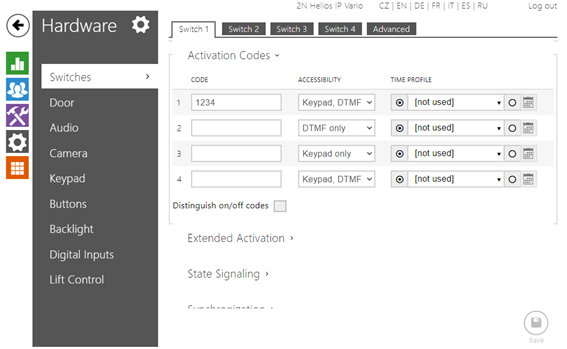 |
Legacy Switch Code
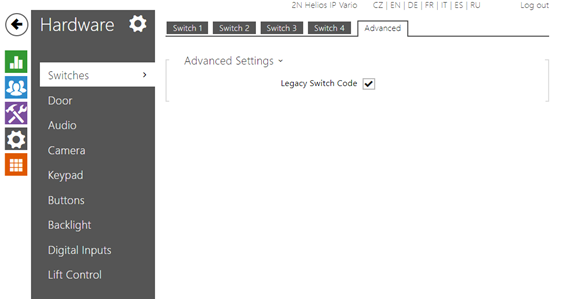 |
 .
.
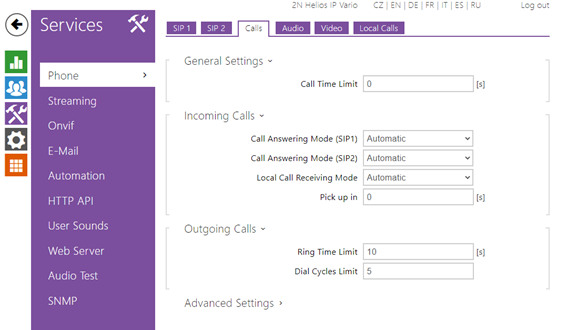
Go to Services/Phone/Calls
- Call Answering Mode (SIP1): Automatic
- Local Call Receiving Mode: Automatic
 |
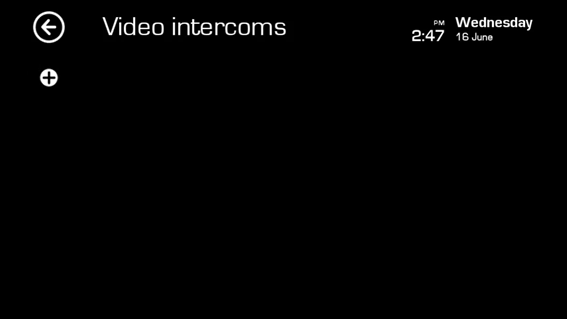
VIIP screen configuration
To configure the VIIP device, go to the menu Settings / Connections / Video intercom configuration.
Click on the button + to add a device.
 |
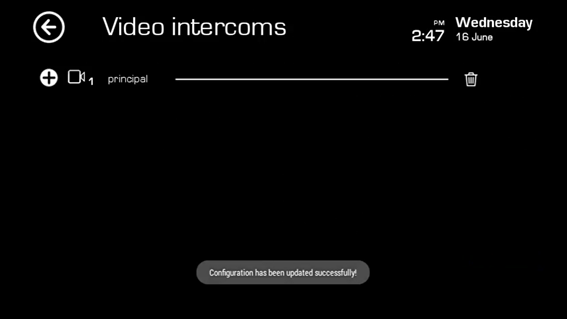
- Name of the plate.
- IP of the board
- Extension (enter any 3 digit number e.g.:101)
- Door opener code, which has to coincide with the one configured on the panel (some panels have restrictions in this code that must be taken into account when configuring).
 |
 |