5.4.8 Web Server
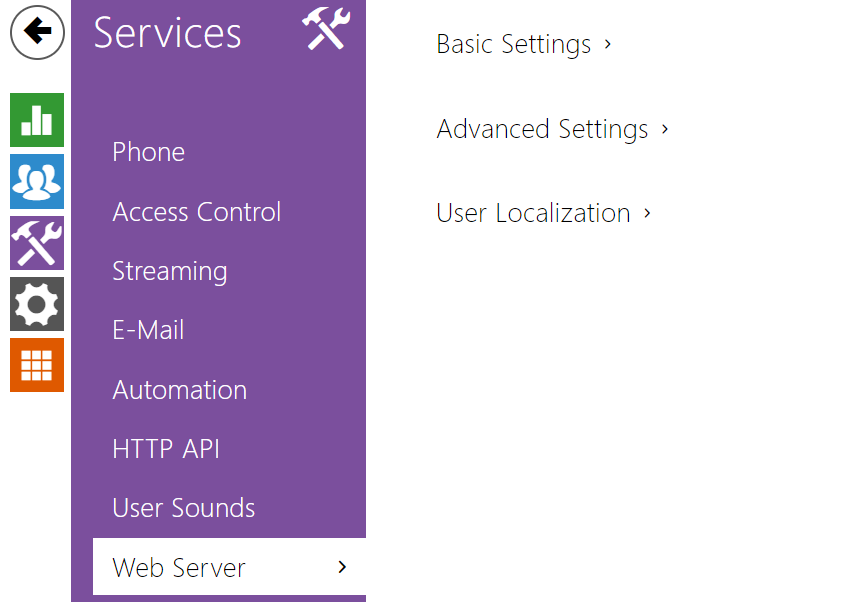 |
You can configure your 2N IP intercom using a standard browser which accesses the integrated web server. Use the secured HTTPS protocol for communication between the browser and intercom. Having accessed the intercom, enter the login name and password. The default login name and password are admin and 2n respectively. We recommend you to change the default password as soon as possible.
The Web Server function is used by the following intercom functions too:
- JPEG snapshot/MJPEG video download; refer to Streaming.
- ONVIF protocol for video streaming, refer to Streaming.
- HTTP commands for switch control, refer to Switches.
- Event.HttpTrigger in Automation, refer to the respective manual.
The unsecured HTTP protocol can be used for these special communication cases.
List of Parameters
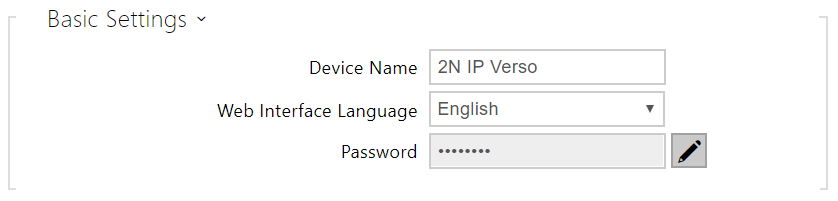 |
- Device name – set the device name to be displayed in the right upper corner of the web interface, login window and other applications if available (2N® Network Scanner, etc).
- Web interface language – set the default language for administration web server login. Use the upper toolbar buttons to change the language temporarily.
- Password – set the intercom access password. Press
 to change the password. The 8-character password must include one lower-case letter, one upper-case letter and one digit at least.
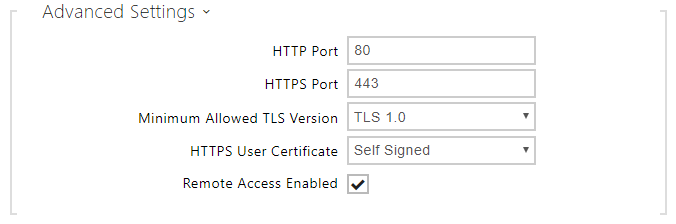 |
- HTTP port – set the web server port for HTTP communication. The port setting will not be applied until the intercom gets restarted.
- HTTPS port – set the web server port for HTTPS communication. The port setting will not be applied until the intercom gets restarted.
- Minimum Allowed TLS Version – define the lowest TLS version to be connected to the devices.
- HTTPS user certificate – specify the user certificate and private key for the intercom HTTP server – user web browser communication encryption. Choose one of the three sets of user certificates and private keys (refer to the Certificates subsection) or keep the SelfSigned setting, in which the certificate automatically generated upon the first intercom power up is used.
- Remote access enabled – enable remote access to the intercom web server from off-LAN IP addresses.
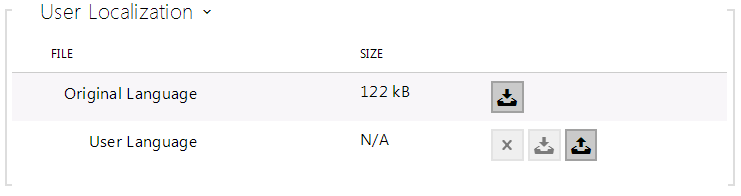 |
- Original language – download the original file containing all the user interface texts in English. The file format is XML; see below.
- User language – record, load and remove, if necessary, a user file containing your own user interface text translations.
<?xml version="1.0" encoding="UTF-8"?>
<strings language="English" languageshort="EN">
  <!-- Global enums-->
  <s id="enum/error/1">Invalid value!</s>
  <s id="enum/bool_yesno/0">NO</s>
  <s id="enum/bool_yesno/1">YES</s>
  <s id="enum/bool_user_state/0">ACTIVE</s>
  <s id="enum/bool_user_state/1">INACTIVE</s>
  <s id="enum/bool_profile_state/0">ACTIVE</s>
  <s id="enum/bool_profile_state/1">INACTIVE</s>
  ..
  ..
  ..
</strings>
While translating, modify the value of <s> elements only. Do not modify the id values. The language name specified by the language attribute of the <strings> element will be available in the selections of the Web interface language parameter. The abbreviation of the language name specified by the languageshort attribute of the <strings> element will be included in the language list in the right-hand upper corner of the window and will be used for a quick language switching.