4.2 Directory
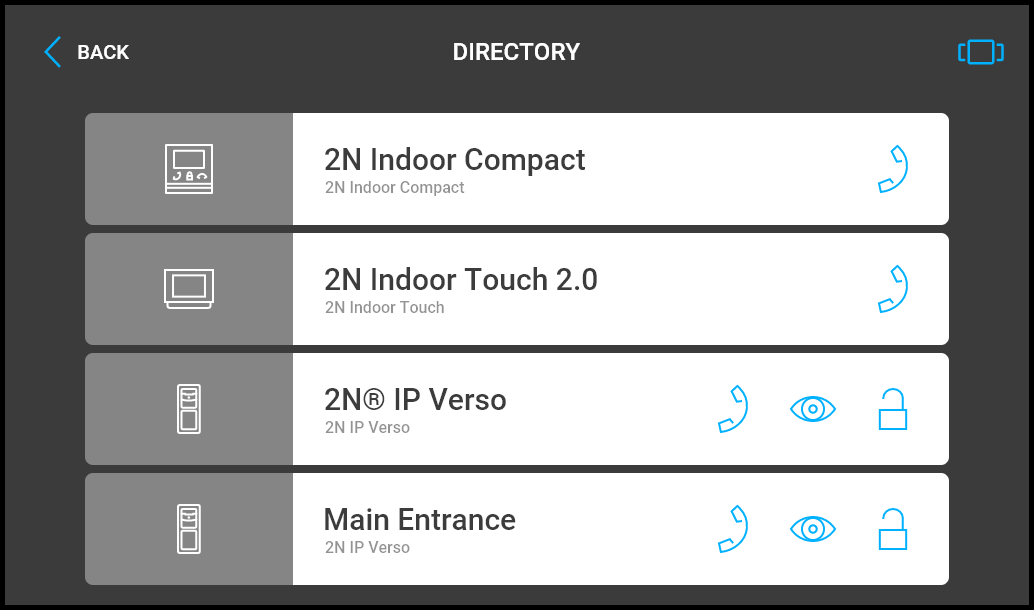 |
Press the call receiving button to start a call to the selected device or user. Press the eye button to show the camera preview (the button is only available if the device is equipped with a camera). Click the lock button to open the door during an incoming/outgoing call for the selected device.
When the intercom camera view is displayed on 2N® Indoor View during the call, you can choose any of the following actions:
- Switch camera using the left-hand button at the
 /
/ icon.
icon. - Switch off microphone in call using the
 button.
 - Increase and decrease volume using the
 button.
 - Switch off ringtone using the
 button.
 - Open door using the door lock button
 .
. - End call using the
 call end button.
Caution
- The camera switching function is only displayed if it has been activated and properly configured in the intercom.
Set the Directory via the web interface in the Directory / Device section. You can add a device manually, by clicking on the device adding icon ![]() or automatically by clicking the registered device searching icon
or automatically by clicking the registered device searching icon ![]() . Select the device in the list to add it automatically to the Directory list. The values are completed in the basic settings. With manual addition of a device/user to the Directory, the basic parameters are not completed automatically but have to be added manually. Make sure to complete the proper parameter in the Display section to display the CLIP. This helps the user choose and call any device displayed; refer to 3.2.2 Directory for more details.
. Select the device in the list to add it automatically to the Directory list. The values are completed in the basic settings. With manual addition of a device/user to the Directory, the basic parameters are not completed automatically but have to be added manually. Make sure to complete the proper parameter in the Display section to display the CLIP. This helps the user choose and call any device displayed; refer to 3.2.2 Directory for more details.